
SEW ALONG // TPC28
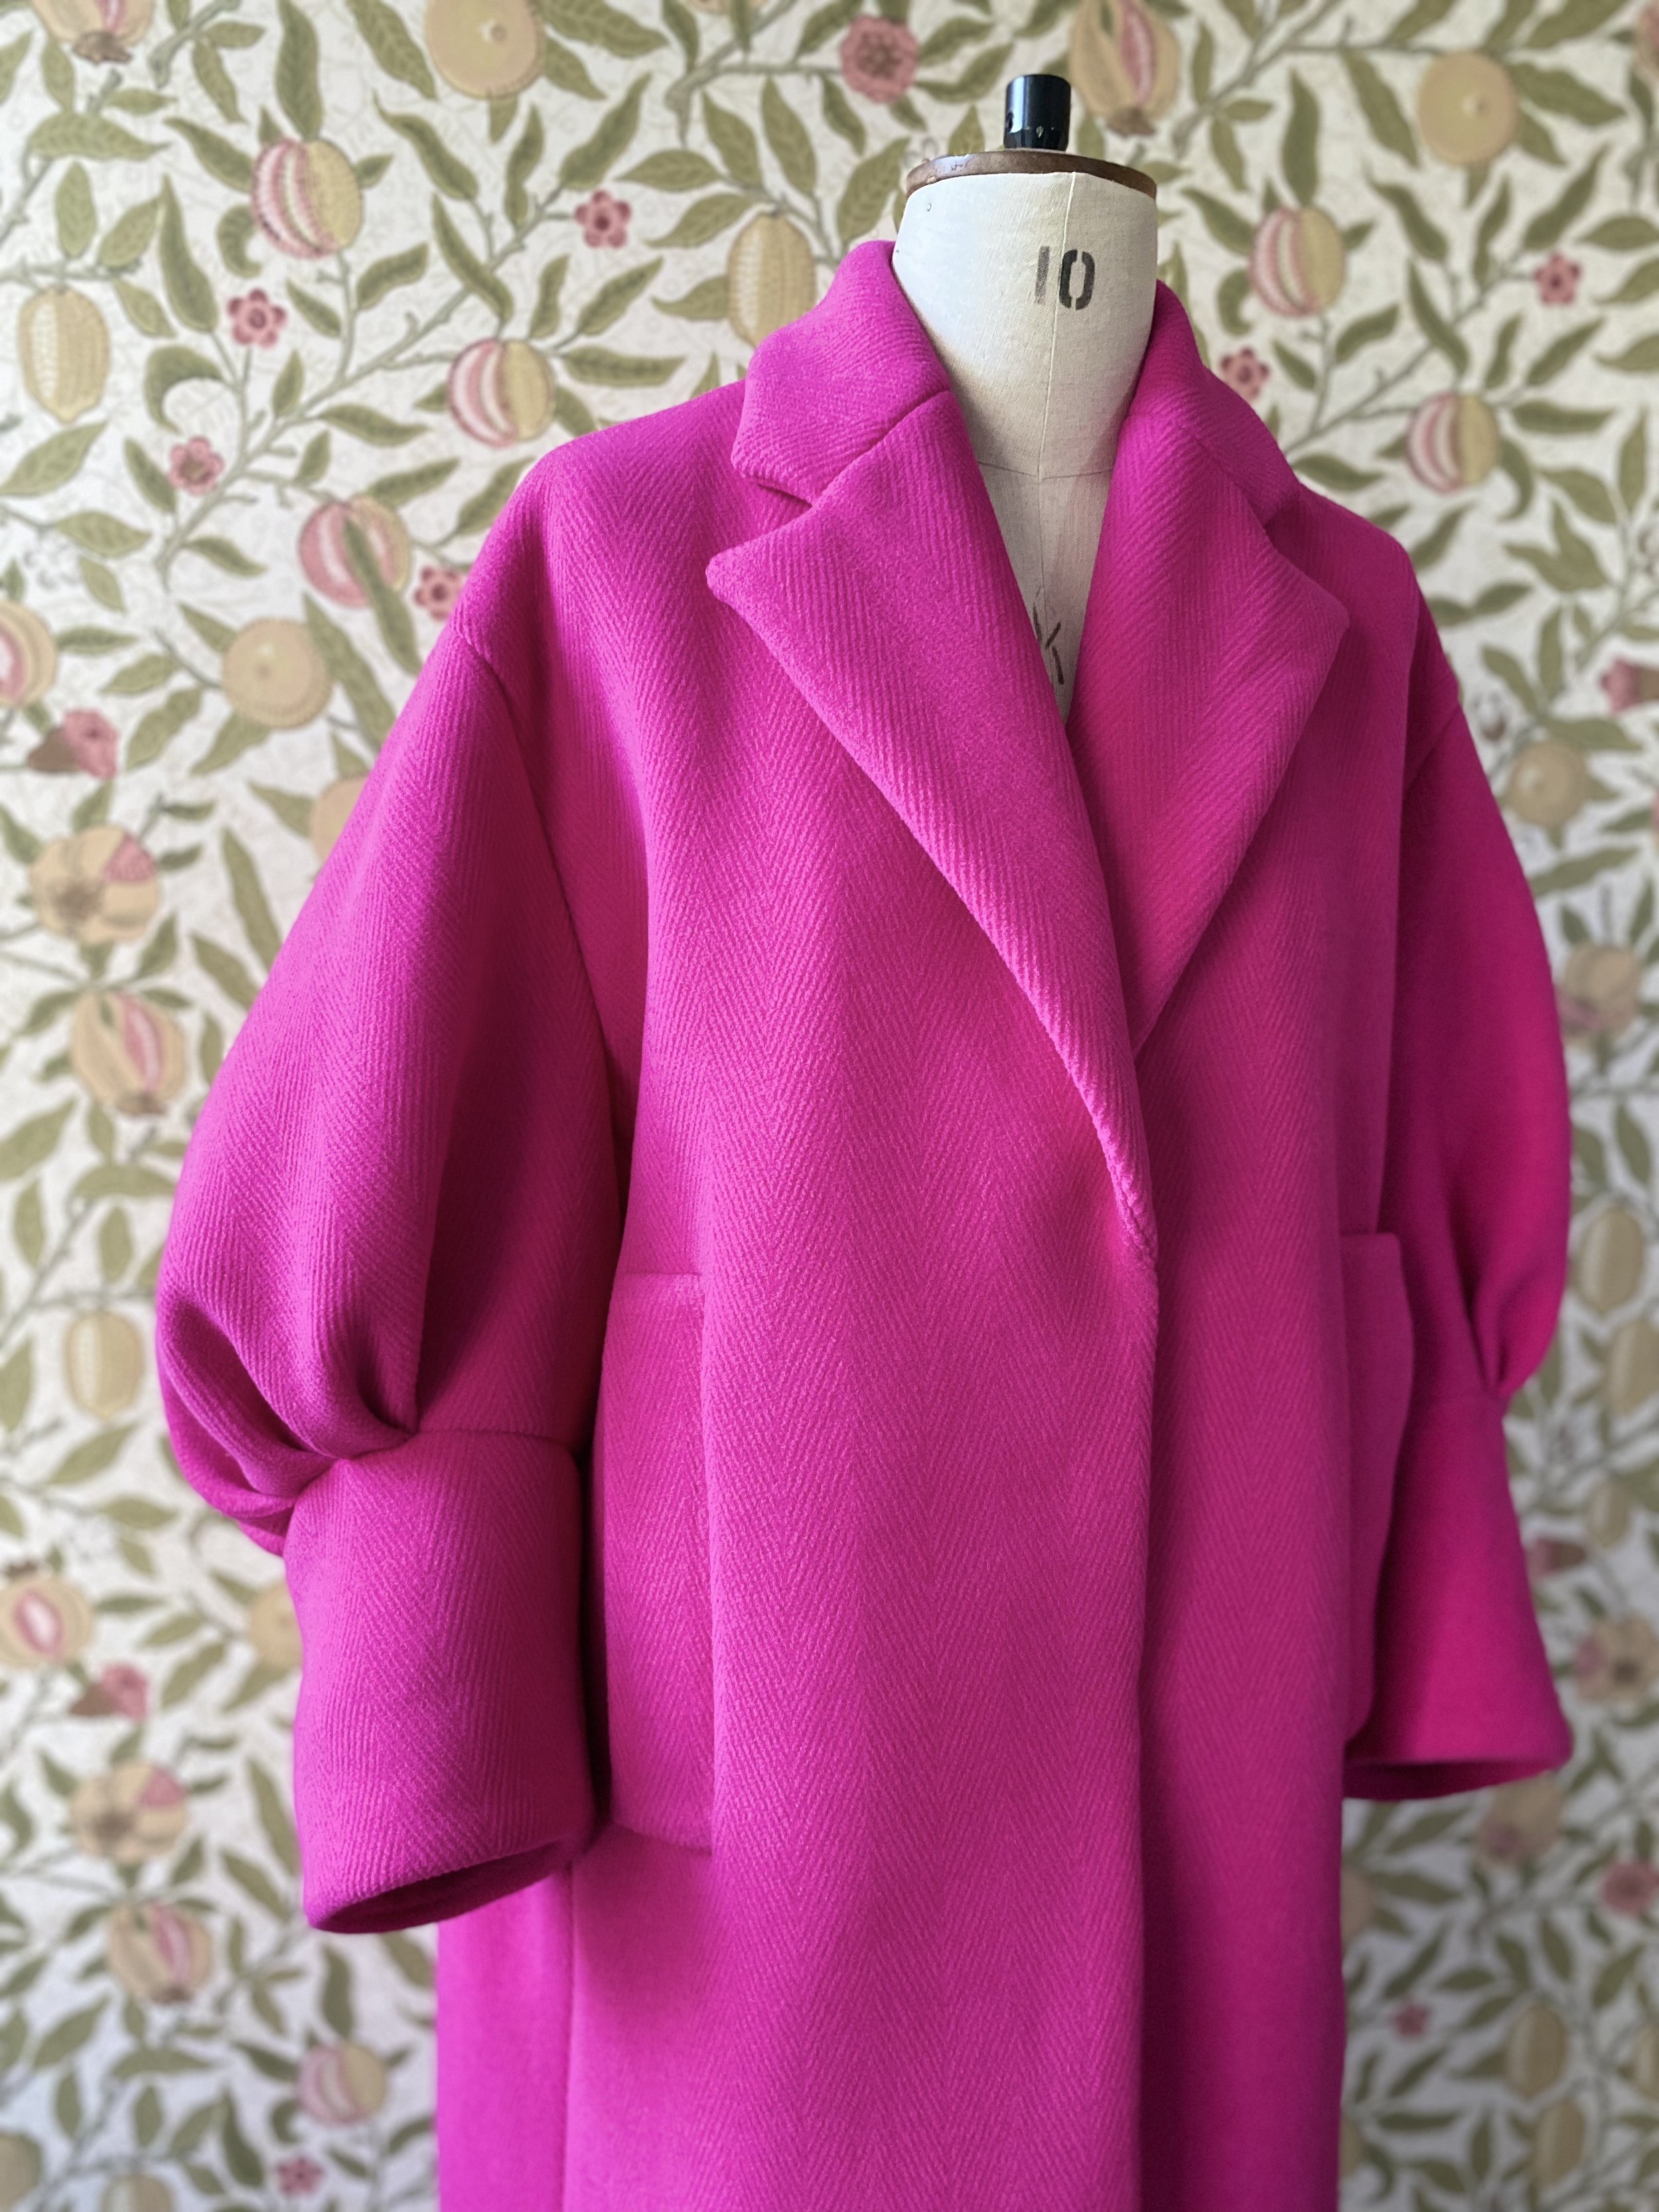
In this Sew-along I’m going to take you through the steps of making my bright pink version of TPC28 Oversized Coat.
Sewing a coat is a big project and illustrating the instructions was also very tricky, so I’m hoping that the photographs here will help you to understand any of the steps you need an extra bit of help with.
I’ve included anything I think could be of interest, and not included easy steps like sewing side seams, shoulder seams on the outer or the lining.
MY PINK COAT

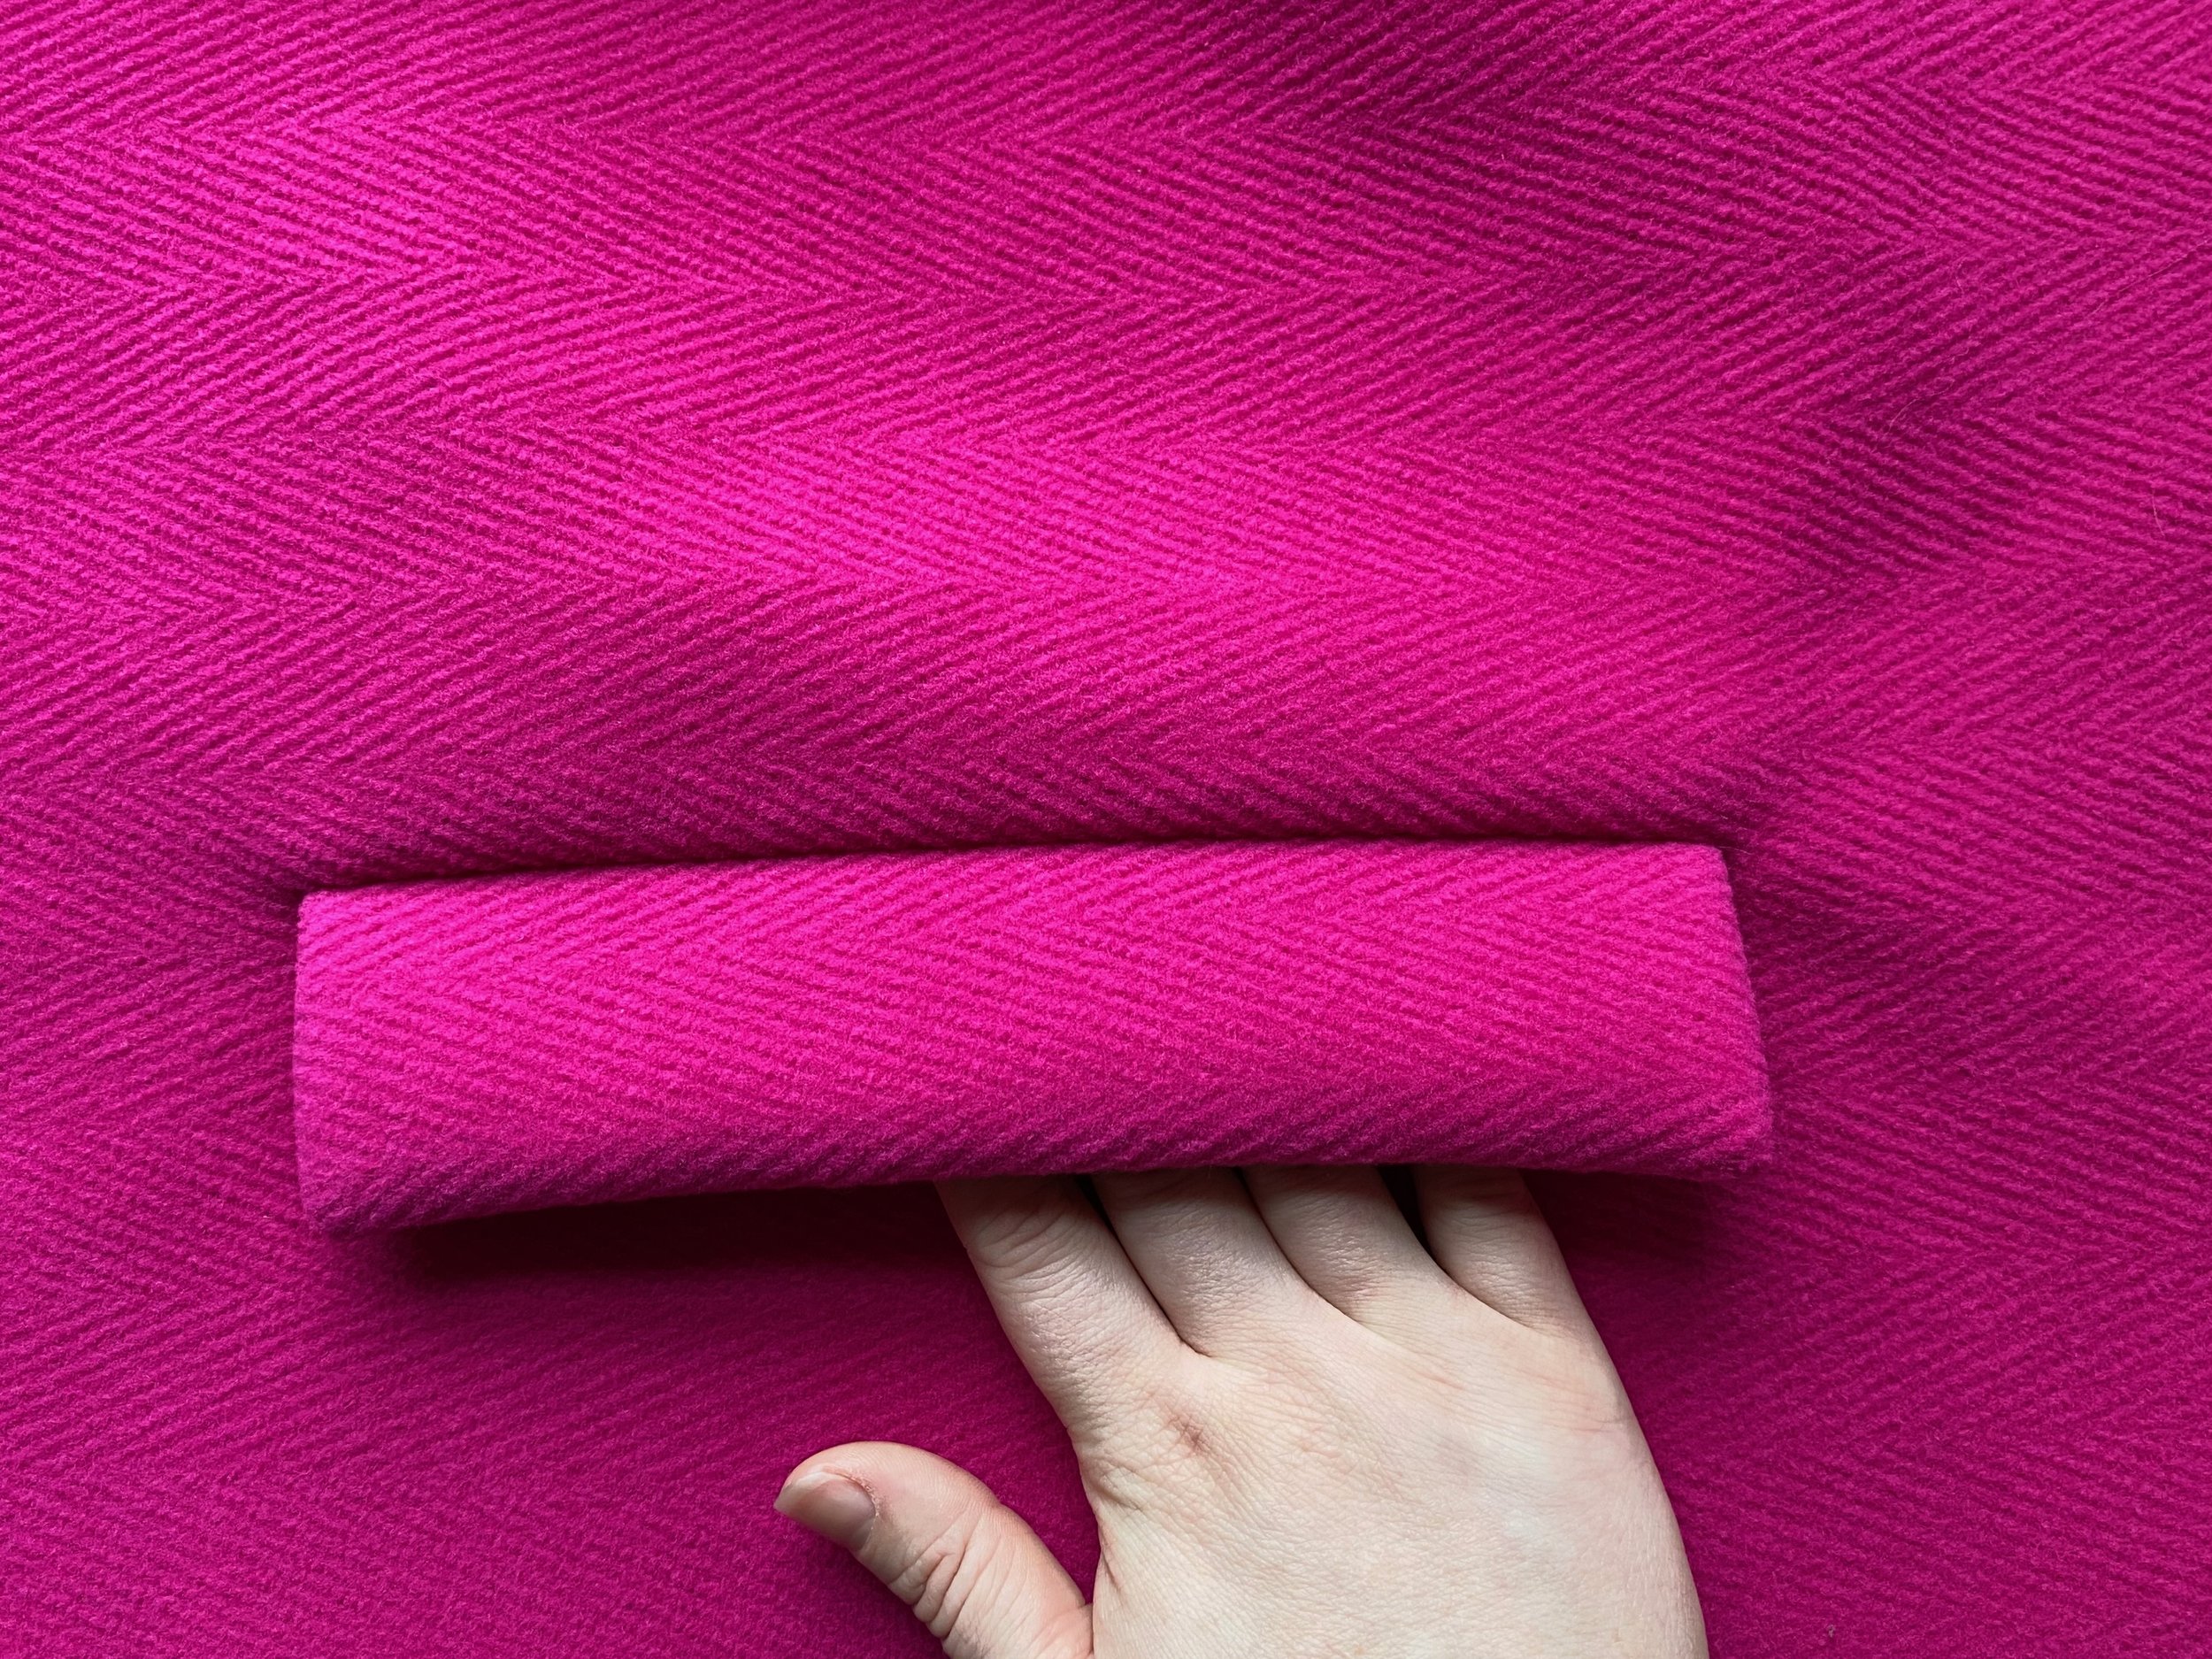
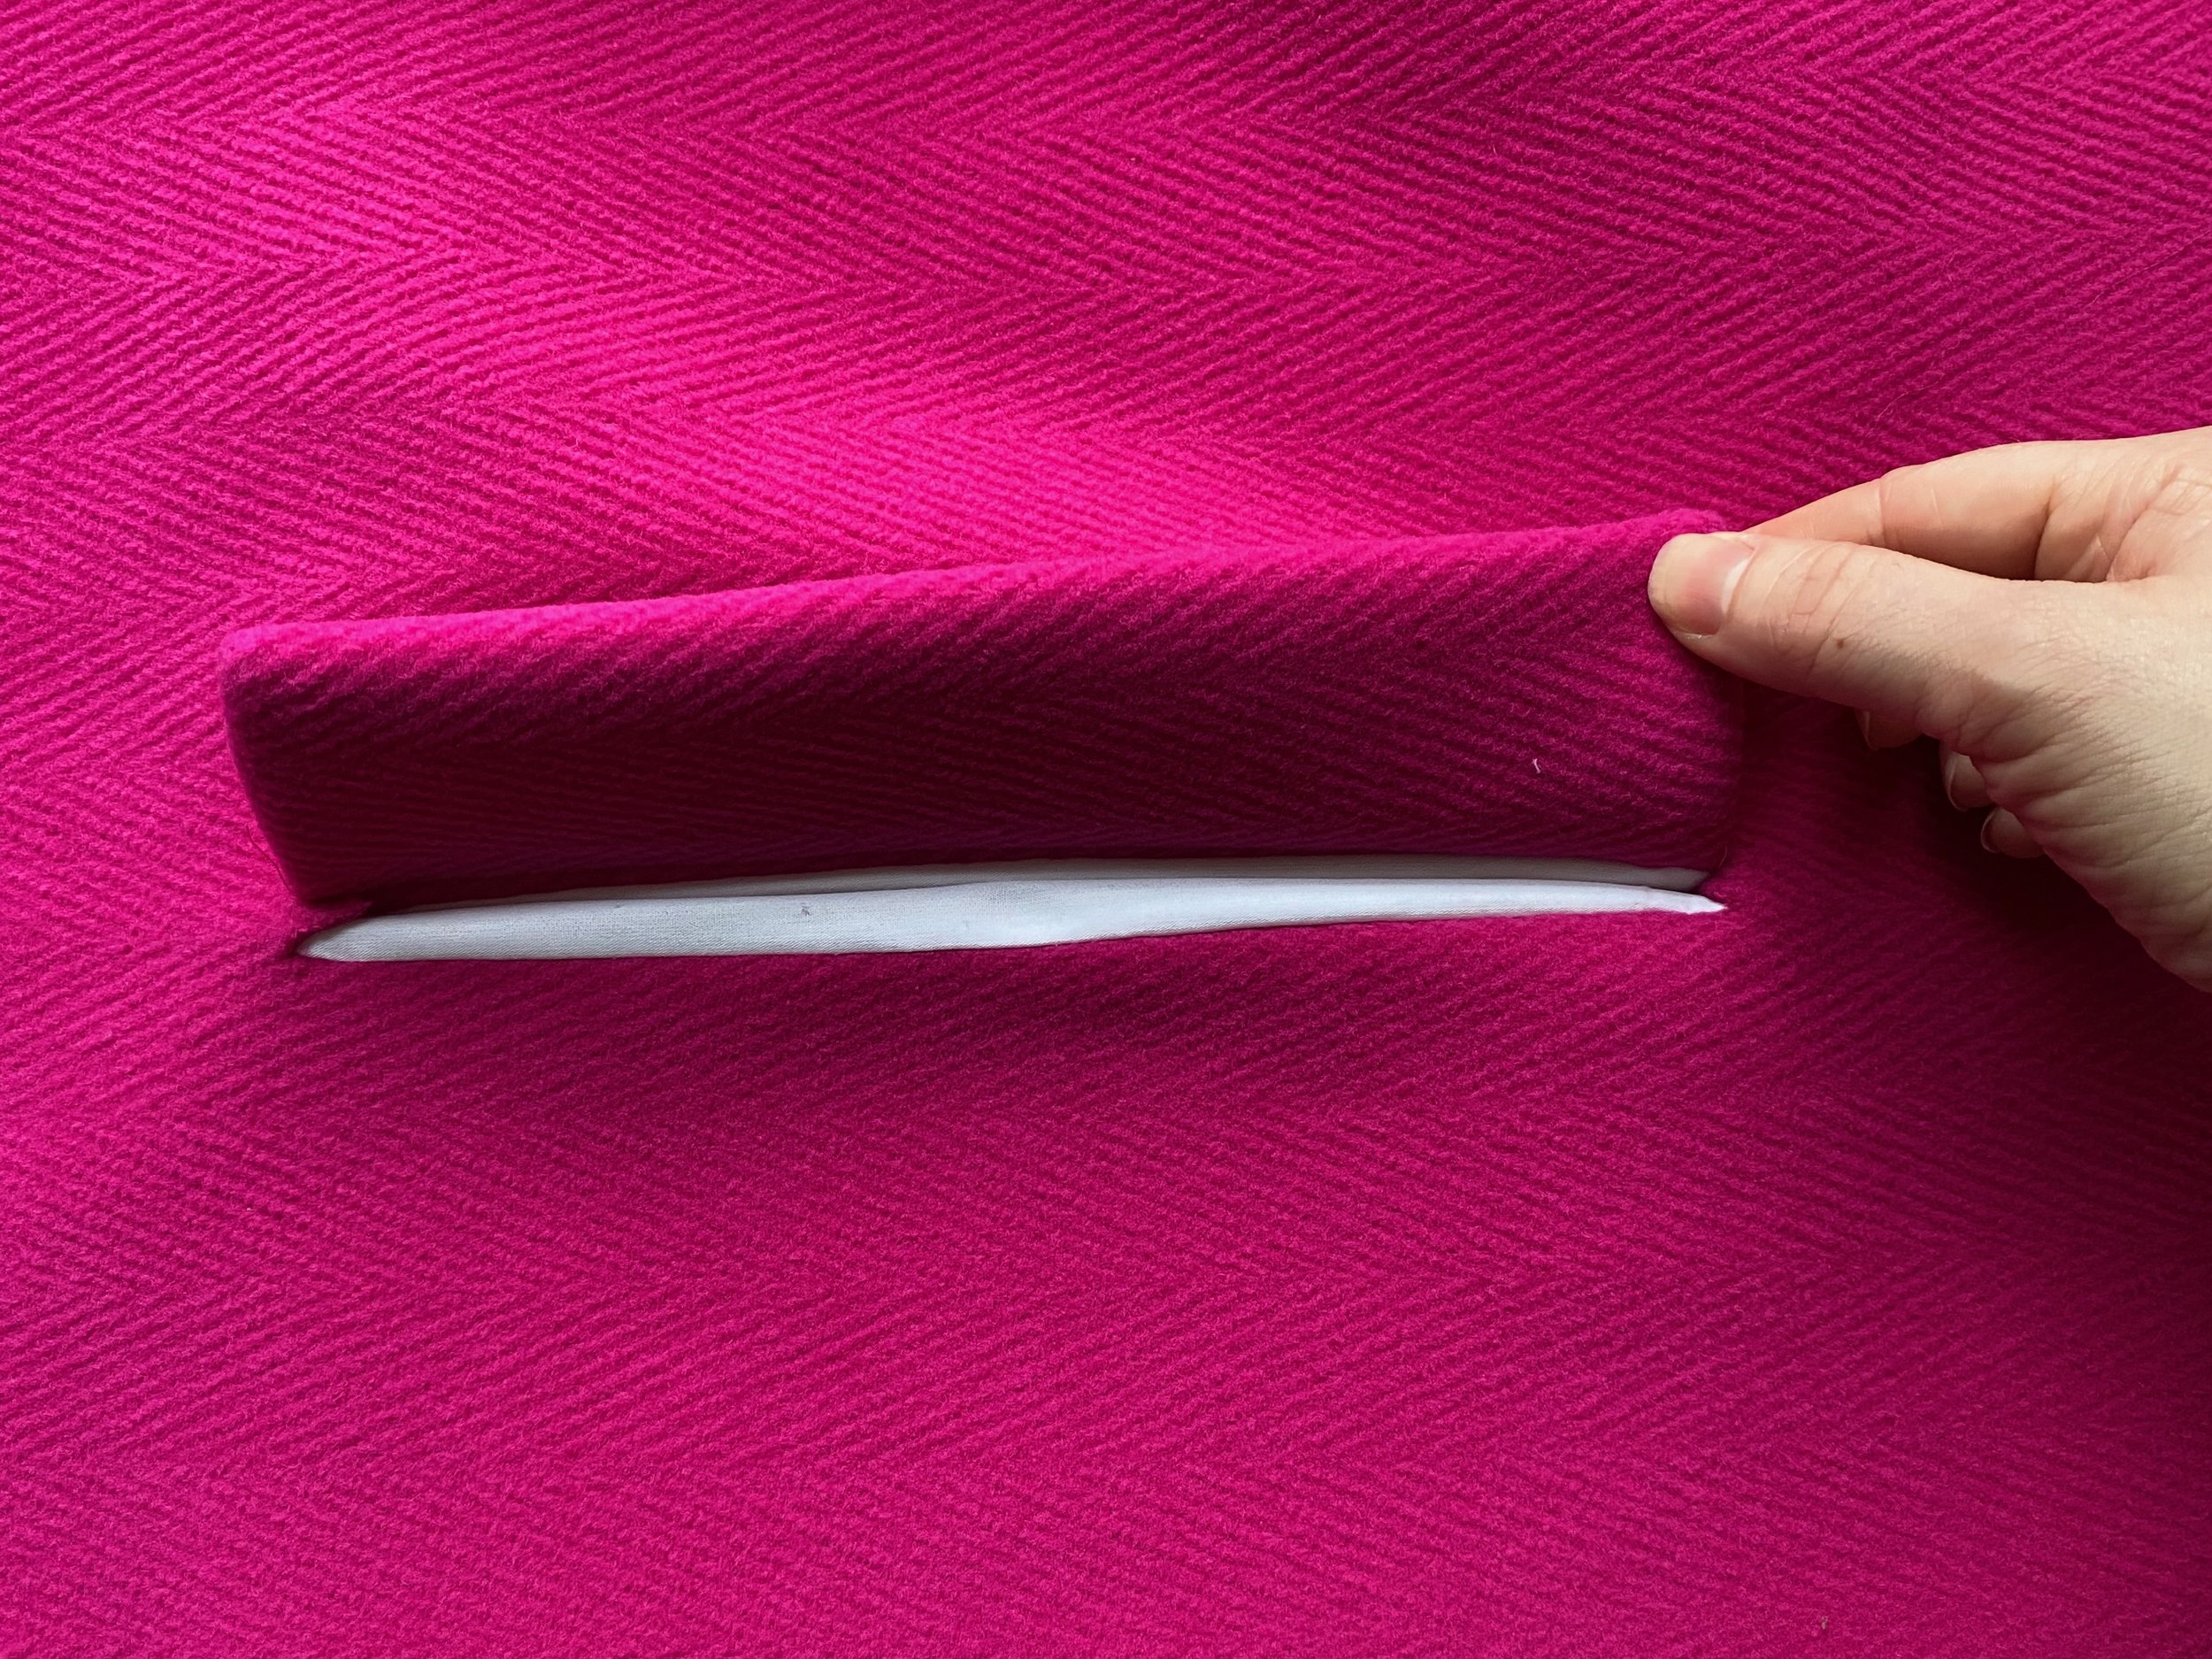
The fabric I chose is VERY thick. Now I’ve finished my coat I can tell you I don’t really recommend using anything as thick. I use an industrial sewing machine and I broke a lot of needles, oops! Thickness problem areas were the tucks on the sleeves, sewing the cuff to the sleeve, back stitching at either end of the welts. To really professionally finish a coat like this there needs to be a lot of internal mounting of layers which will need to be done by hand because of the thickness so adding time to this project that could potentially be avoided with a thinner fabric.
It’s a beautiful wool, so I did a little iron test before I started. I religiously covered my fabric with a tea towel while I pressed and steamed my seams so I could get the best result without burning it.
All the negatives here haven’t preventing me from loving my finished result at all though. My Tips if you do have a thick fabric are:
Use the widest stitch setting throughout and sew sew slowly especially when back stitching.
Take a slightly wider seam allowance at the tricky spots- I’m talking millimetres though!
The fabric will want to move so match your notches and keep checking the two layers are still matching up as you sew (the piece on top could stretch while the piece underneath have the teeth feeding under the machine foot)
Snipping the bulky corners and edges in layers/grading back the seam allowances will make your edges smoother once bagged out.
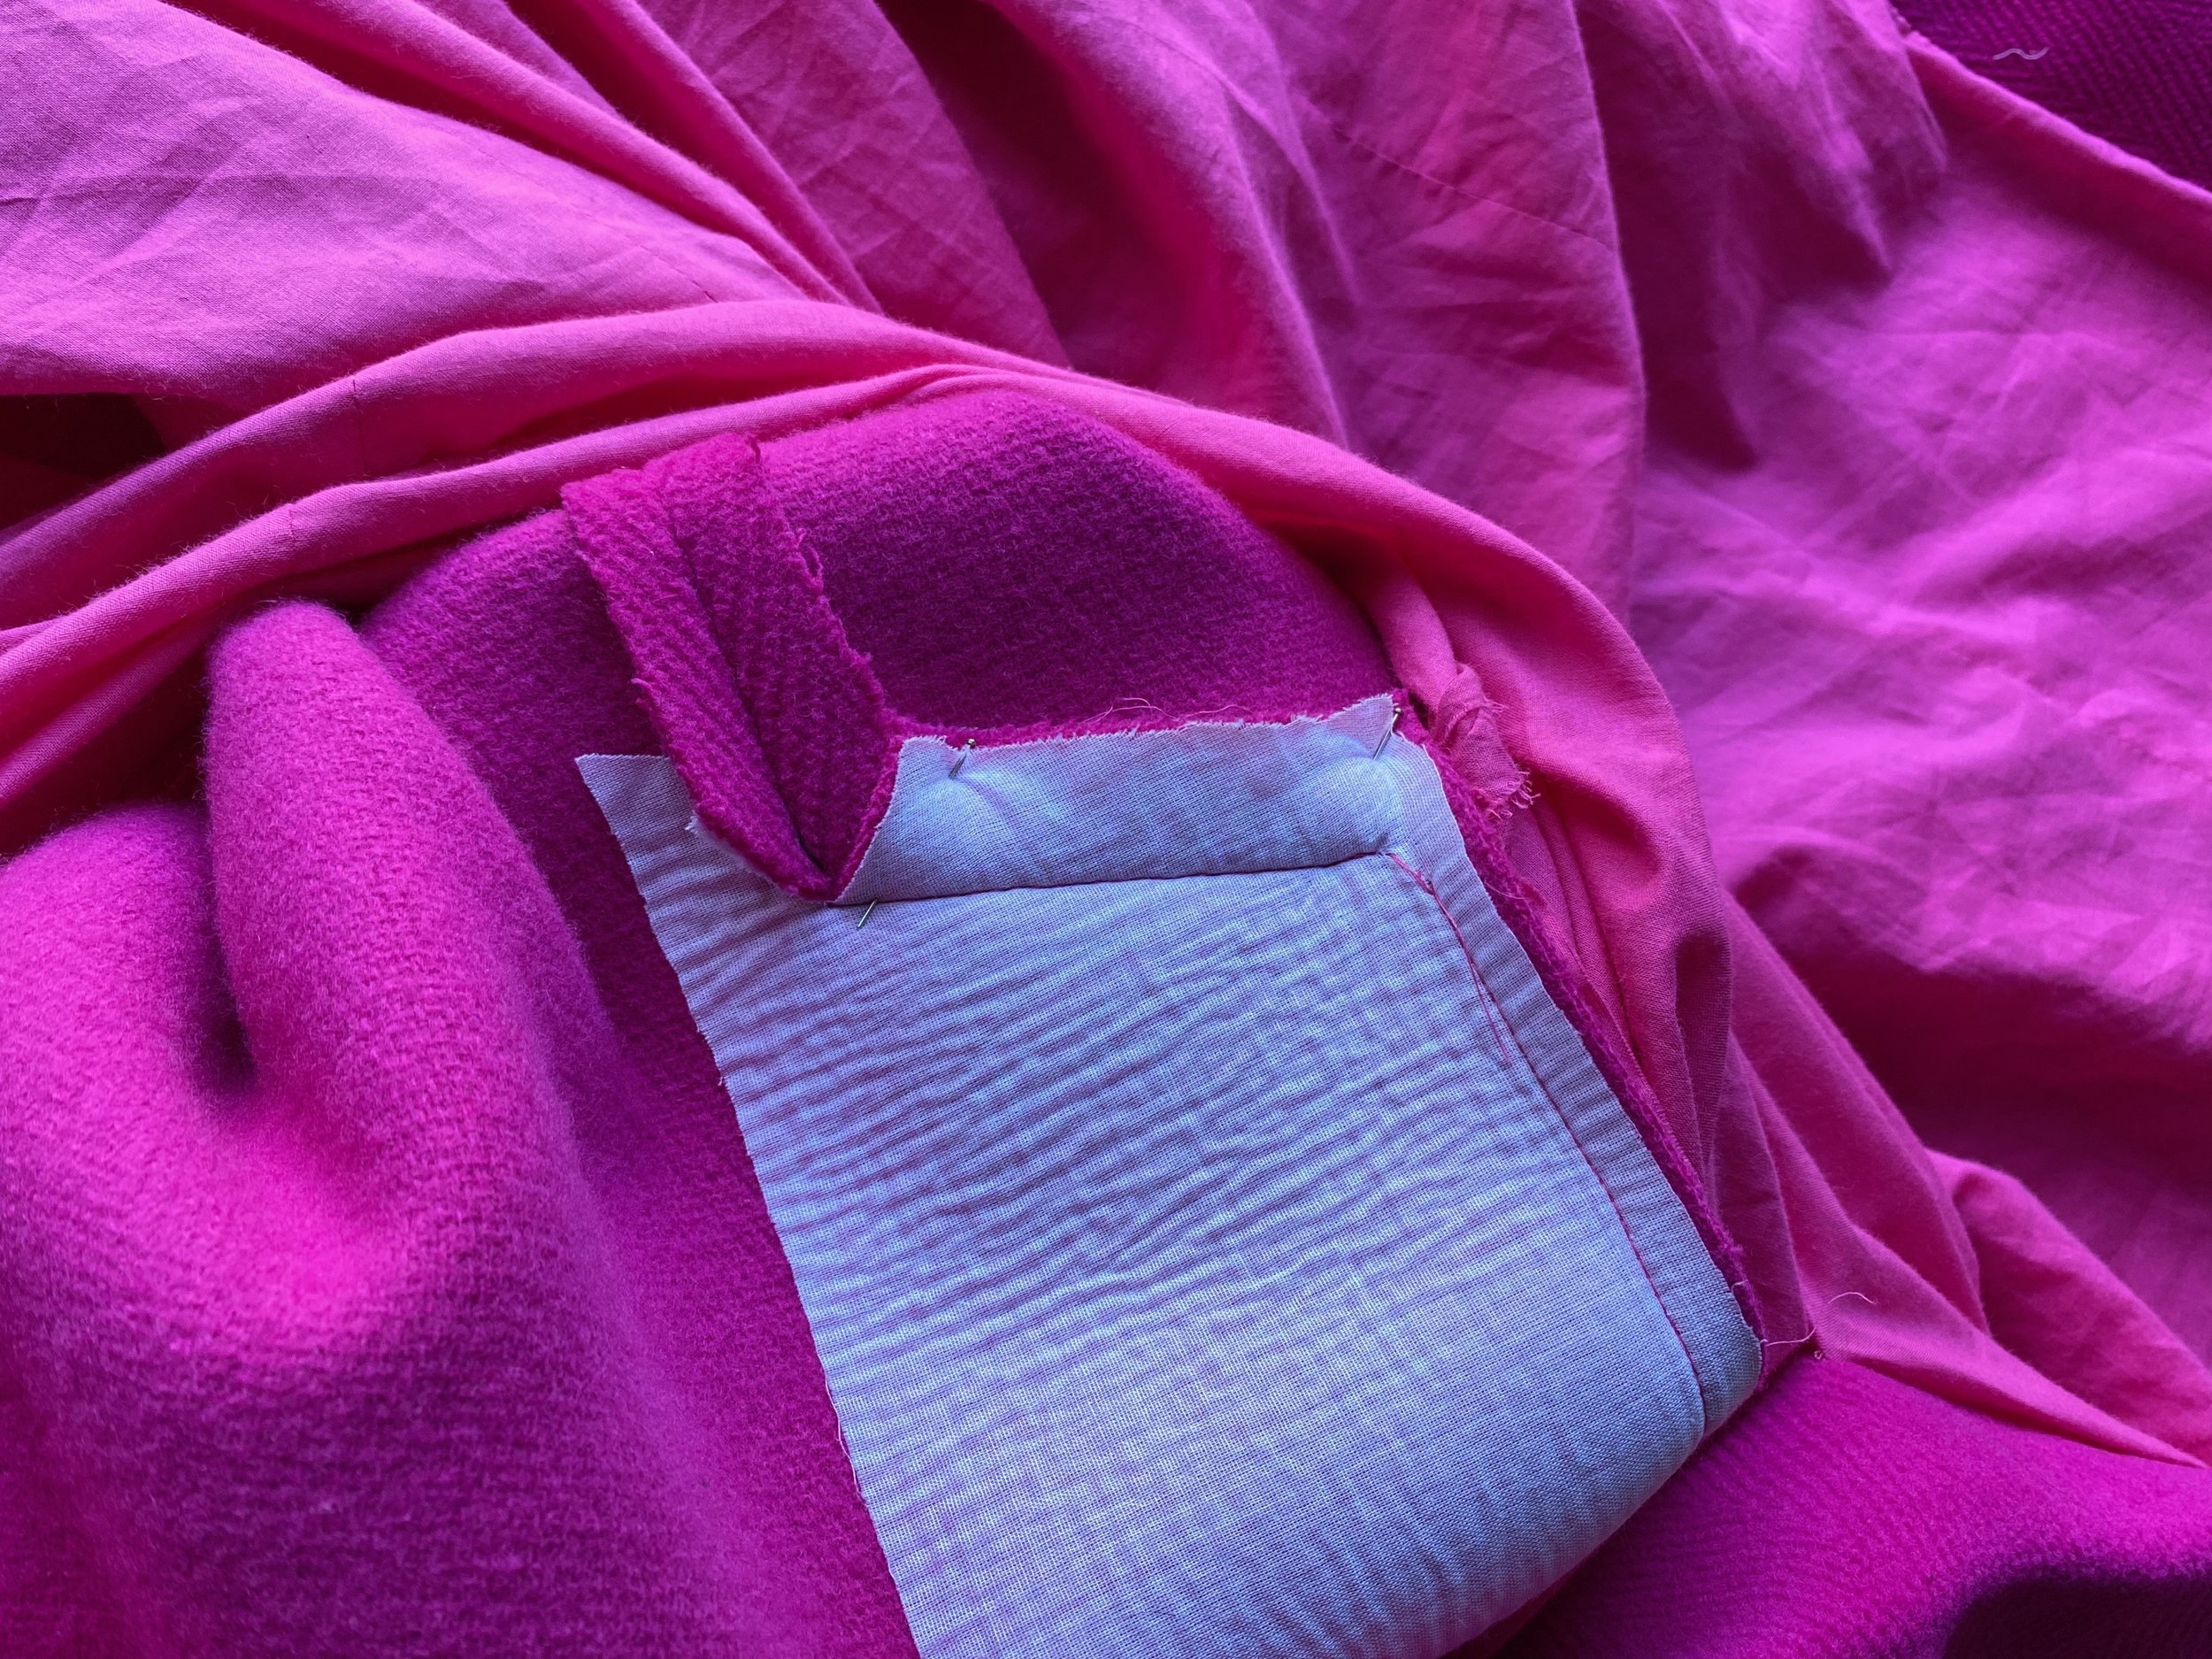
POCKETS
Booklet steps 2-6
Constructing your pockets should always be the first step! Especially important with a coat because of how heavy and bulky it gets the more you sew.
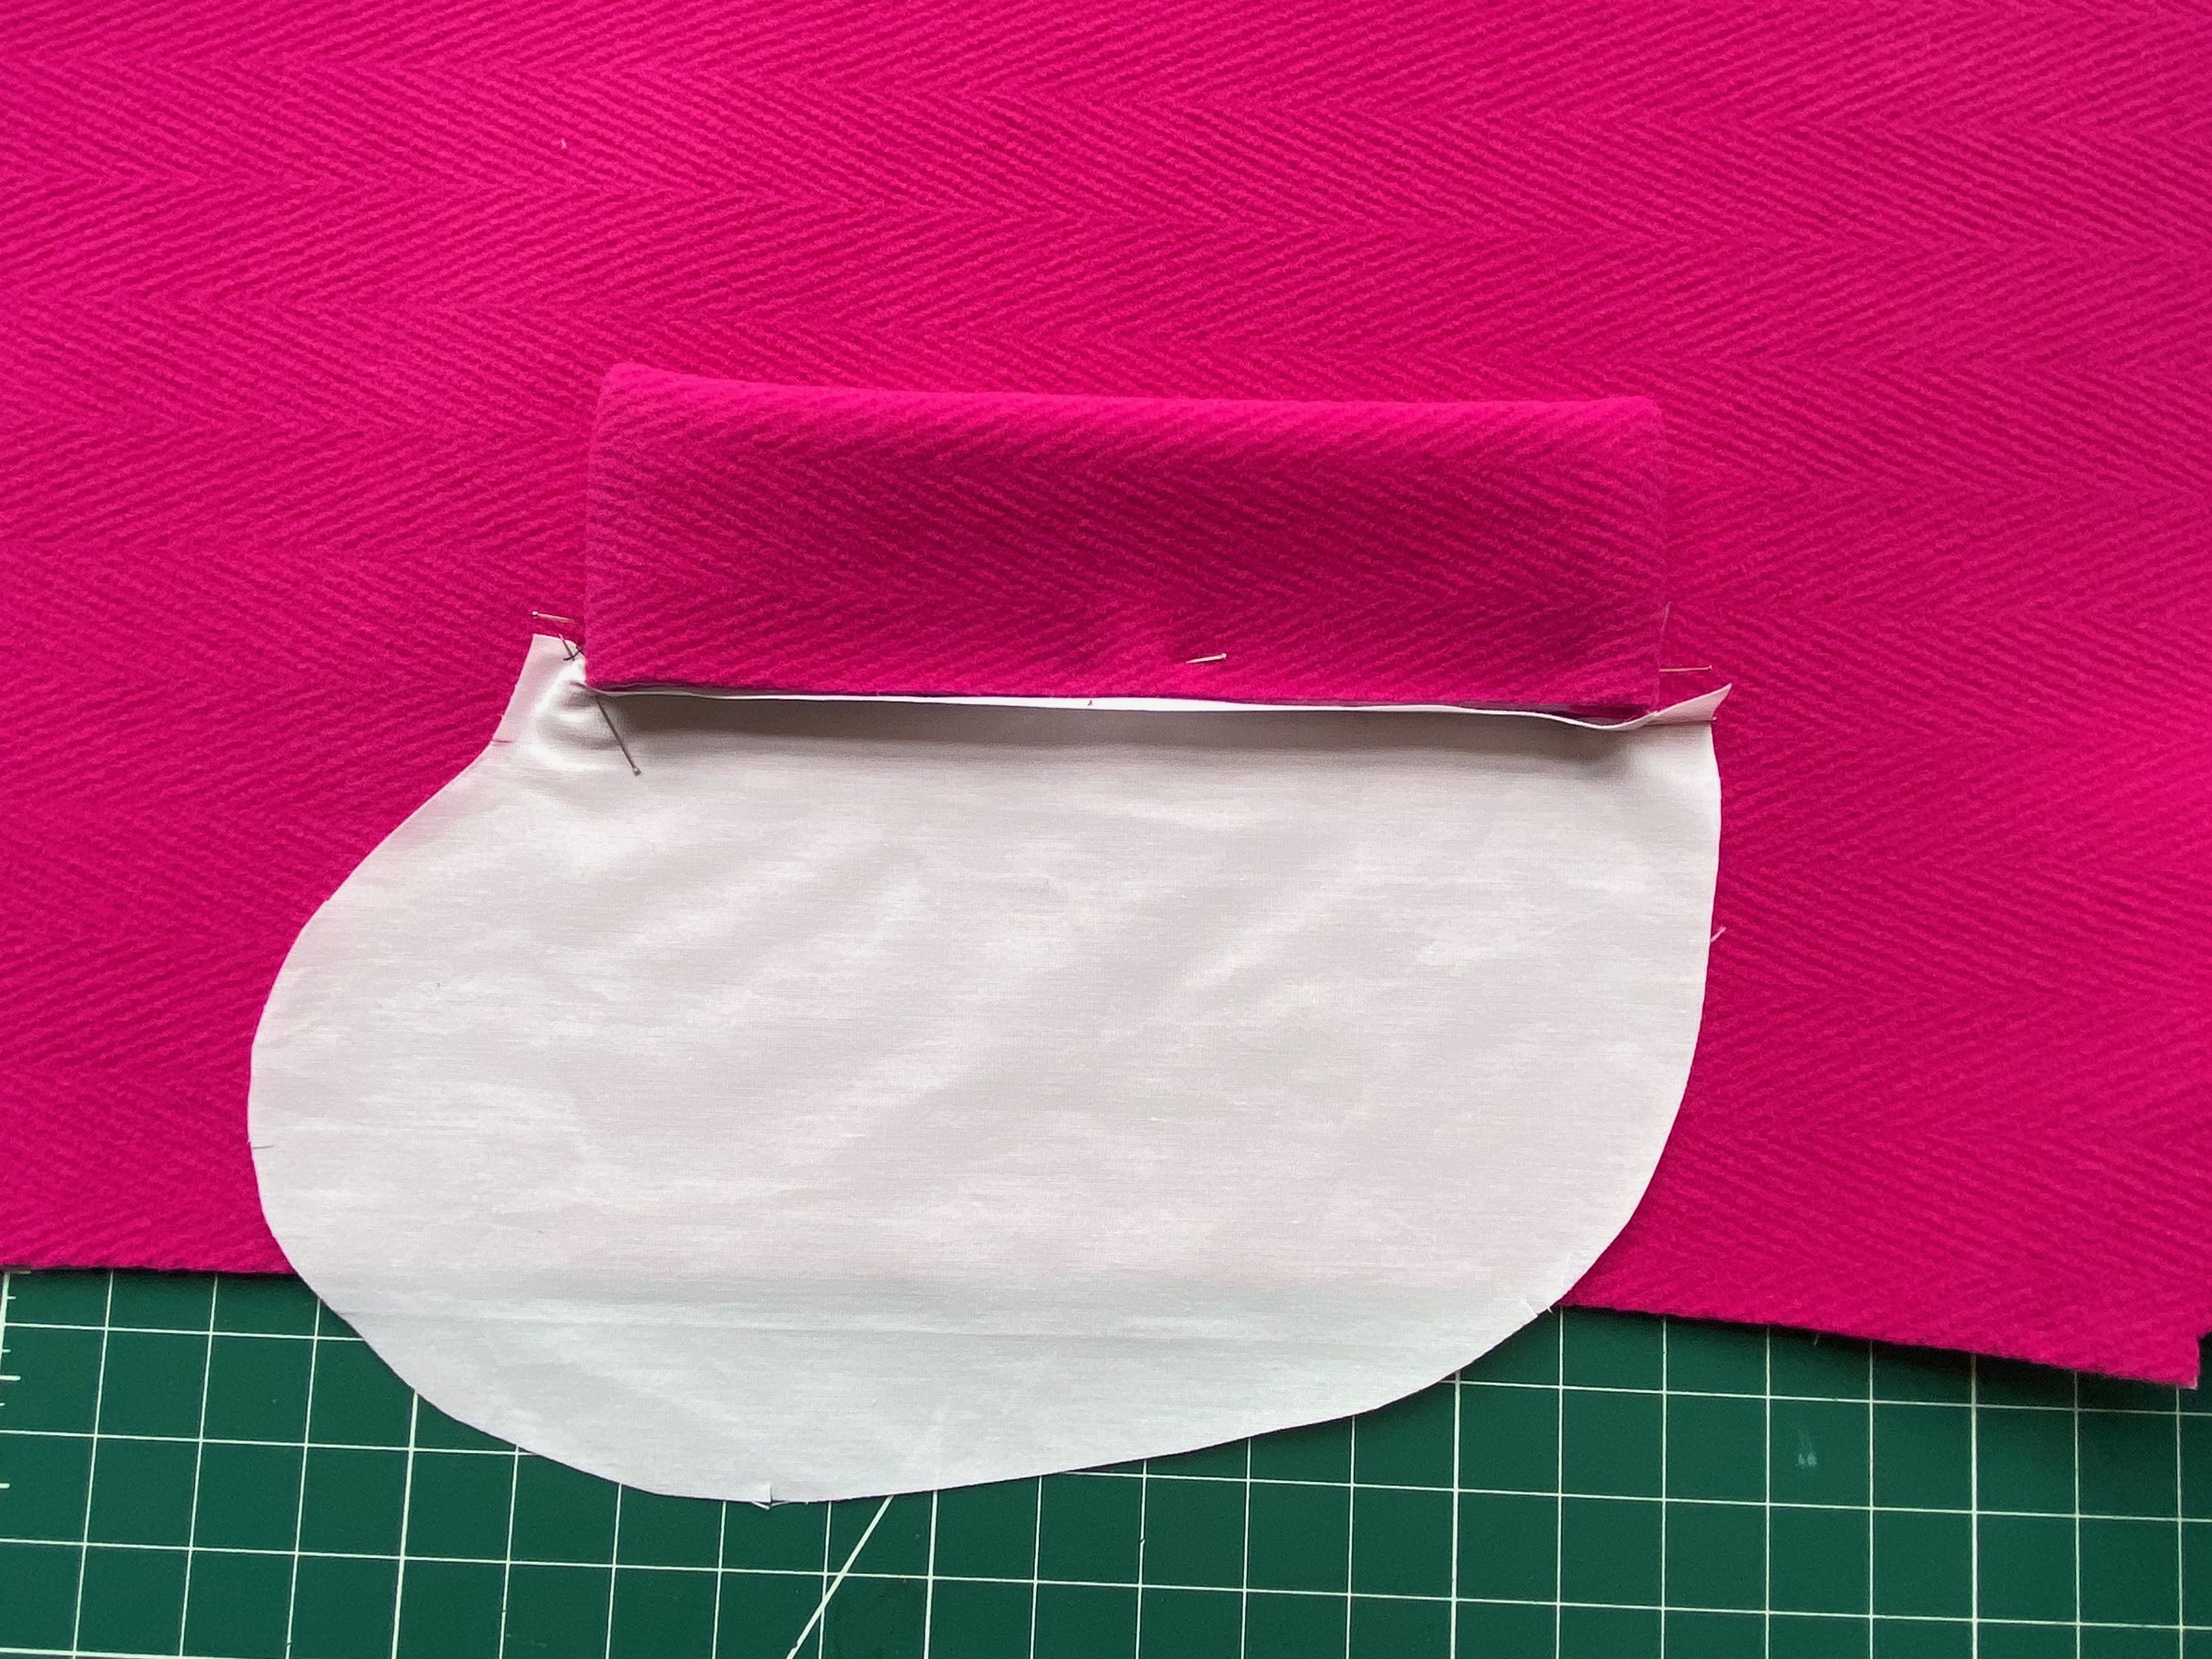
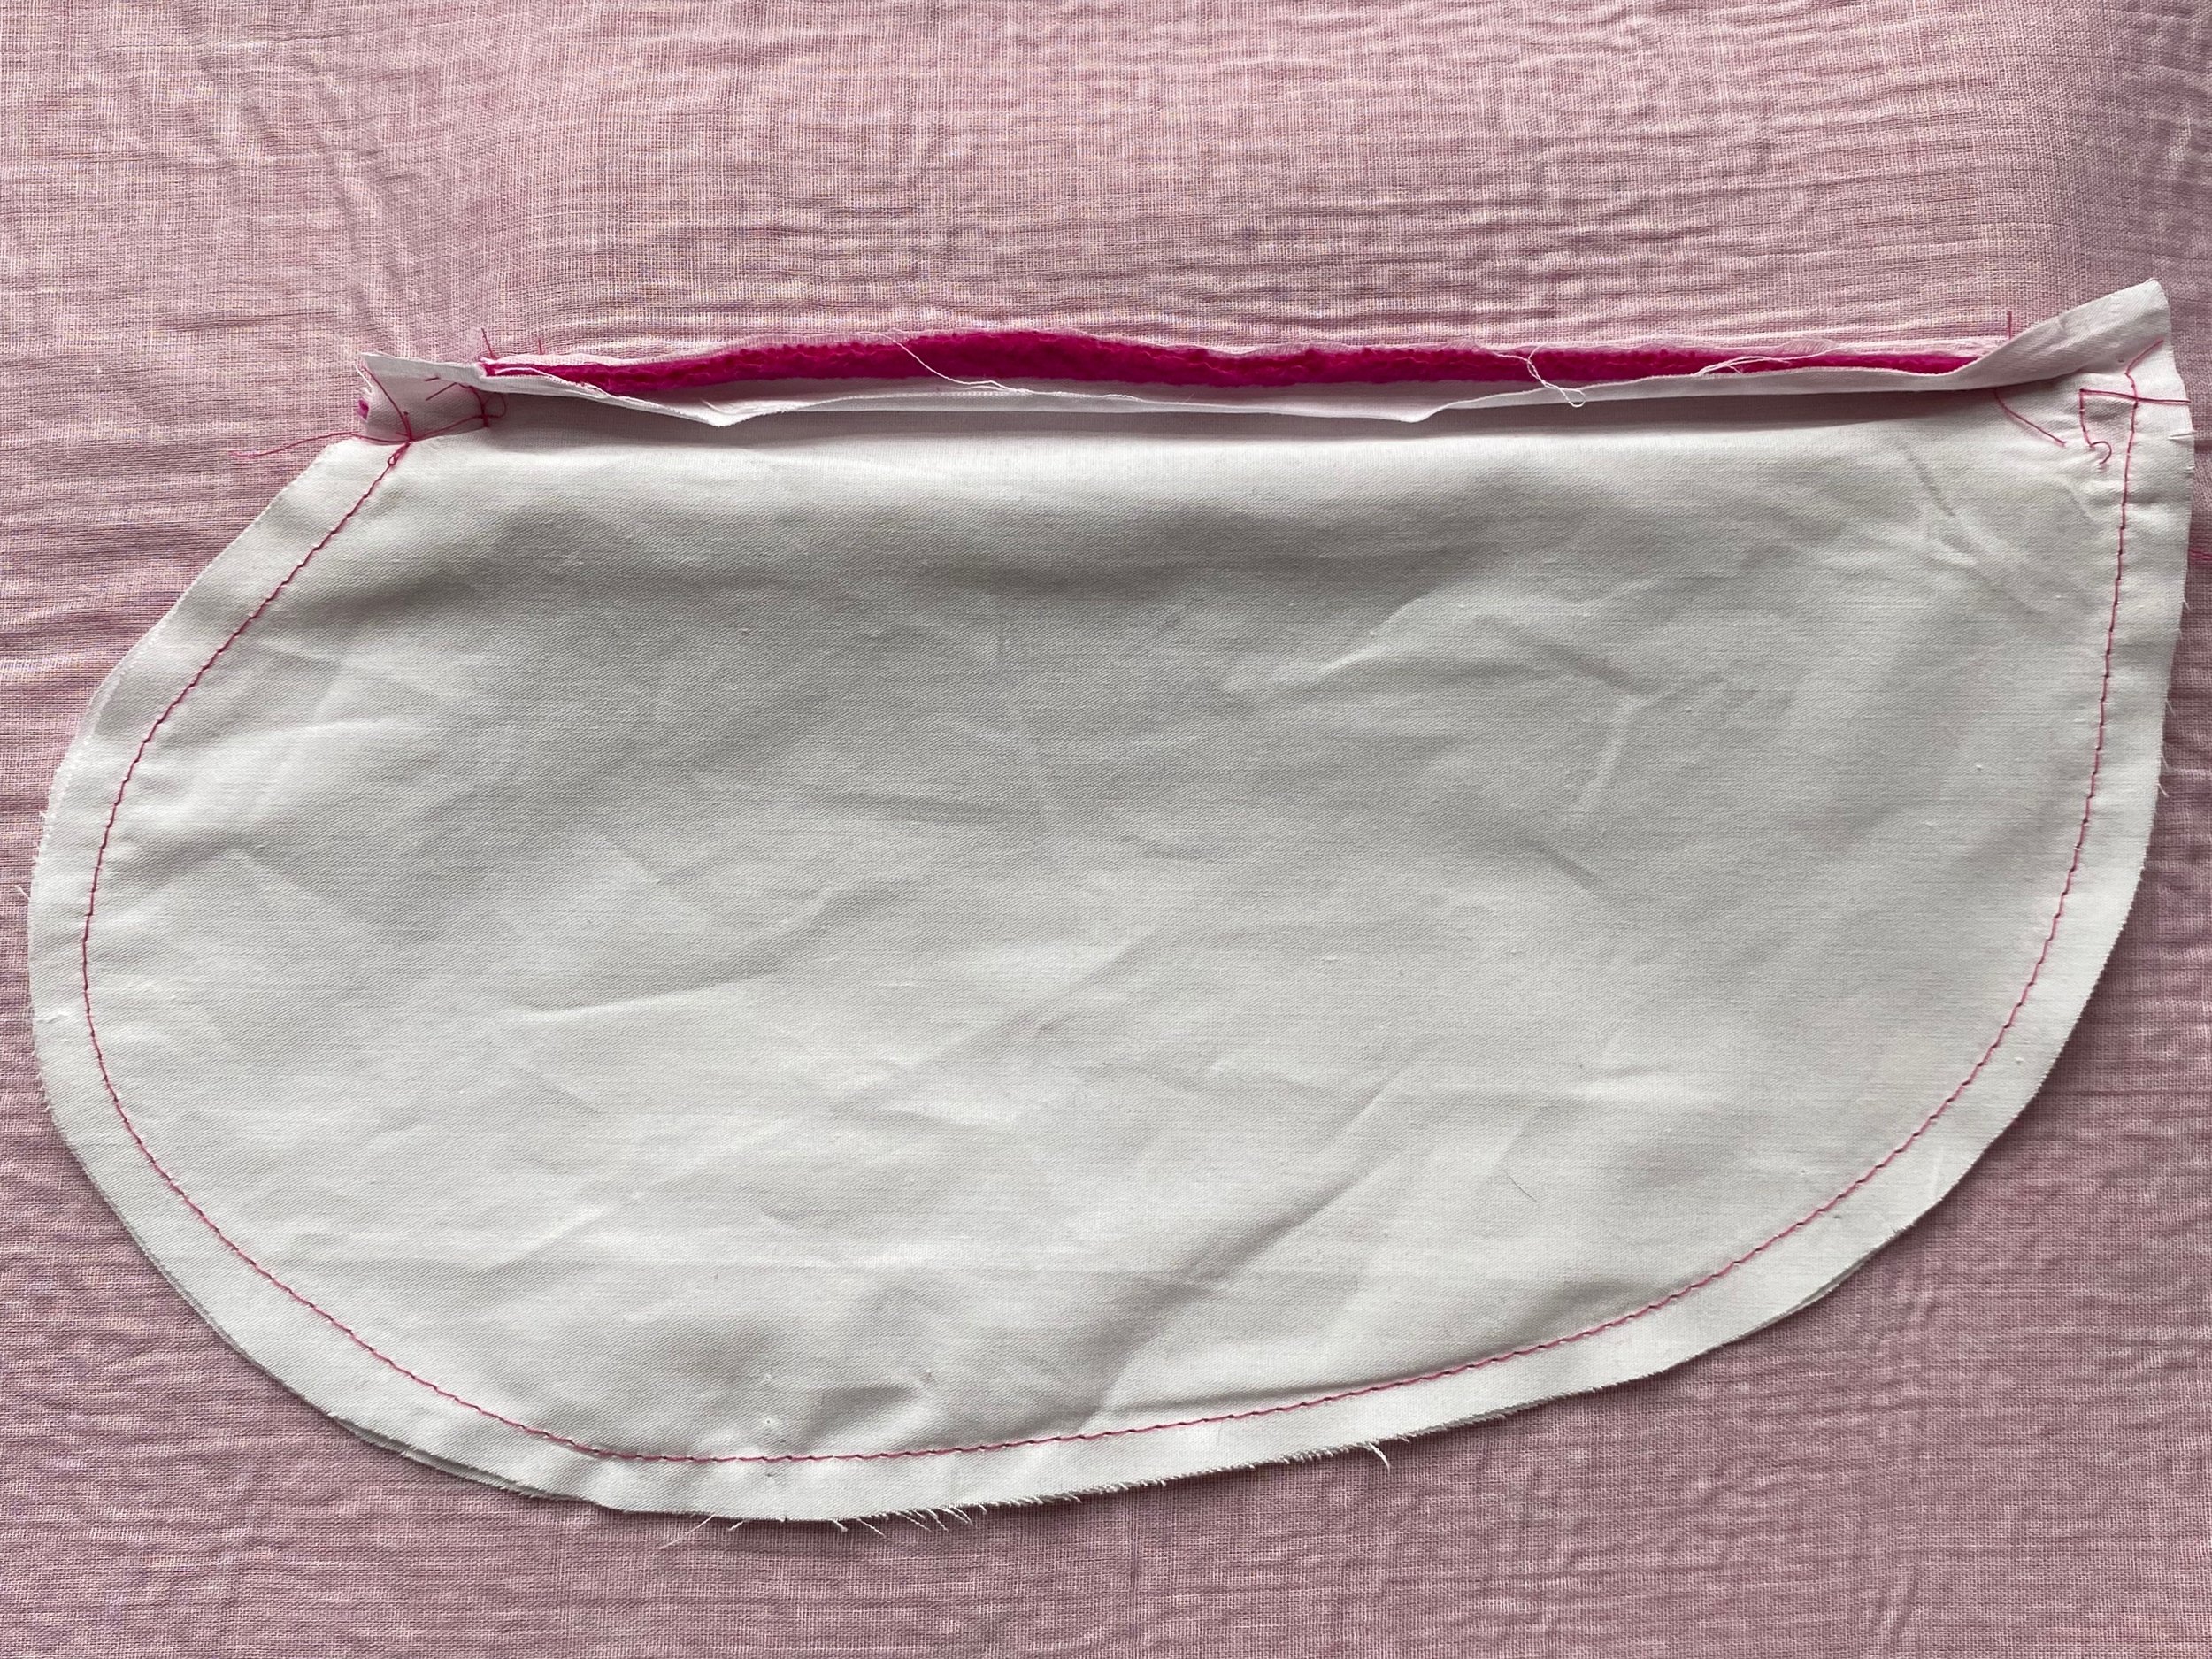
The Gallery of images below shows a visual of the steps I take you though in the booklet. I used cotton for my pocket bags and it doesn’t matter that they’re optic white because you won’t be seeing any of them.
As I had pinned both the Welt and the pocket bag to the front I used a half foot on my machine when I stitched the Bottom Pocket bag. Because of the thickness of the Welt the machine foot wouldn’t have gone over the welt. This also made sure the stitching was straight because the welt kept me sewing straight.
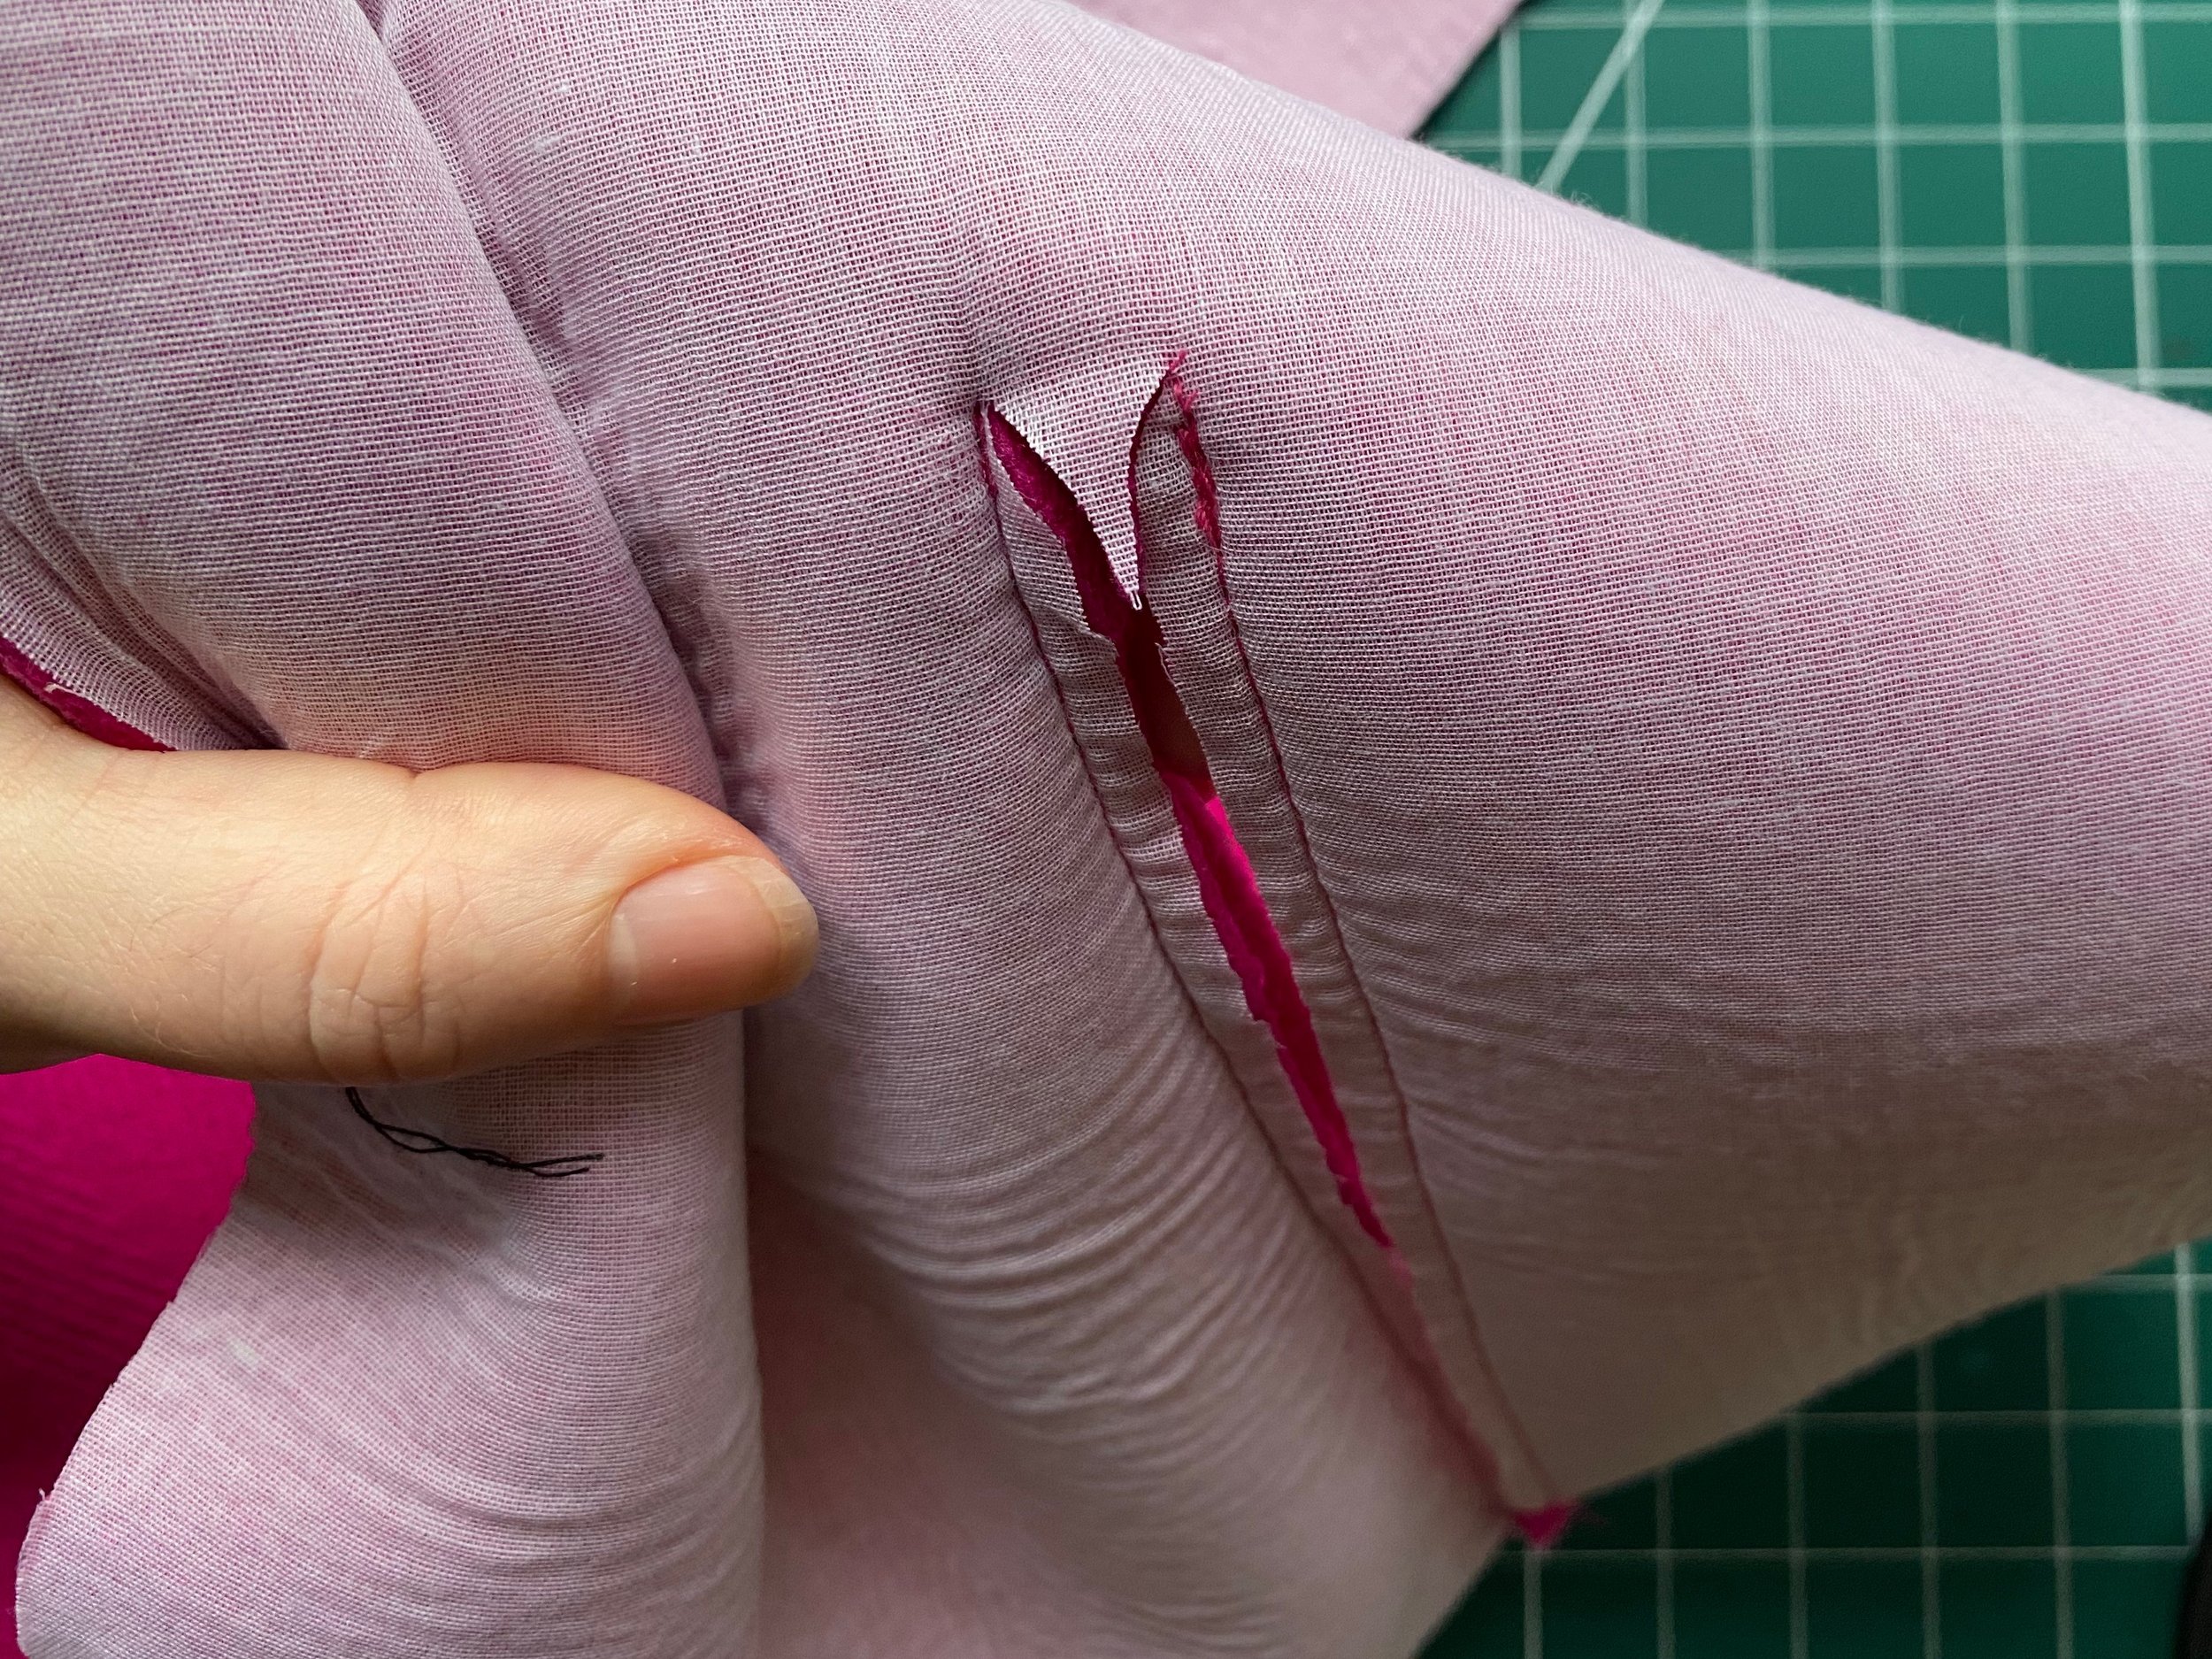
When I snipped in between the opening and into the corners I slightly curved the stitching to keep a bit more seam allowance toward the end of the pocket seams.
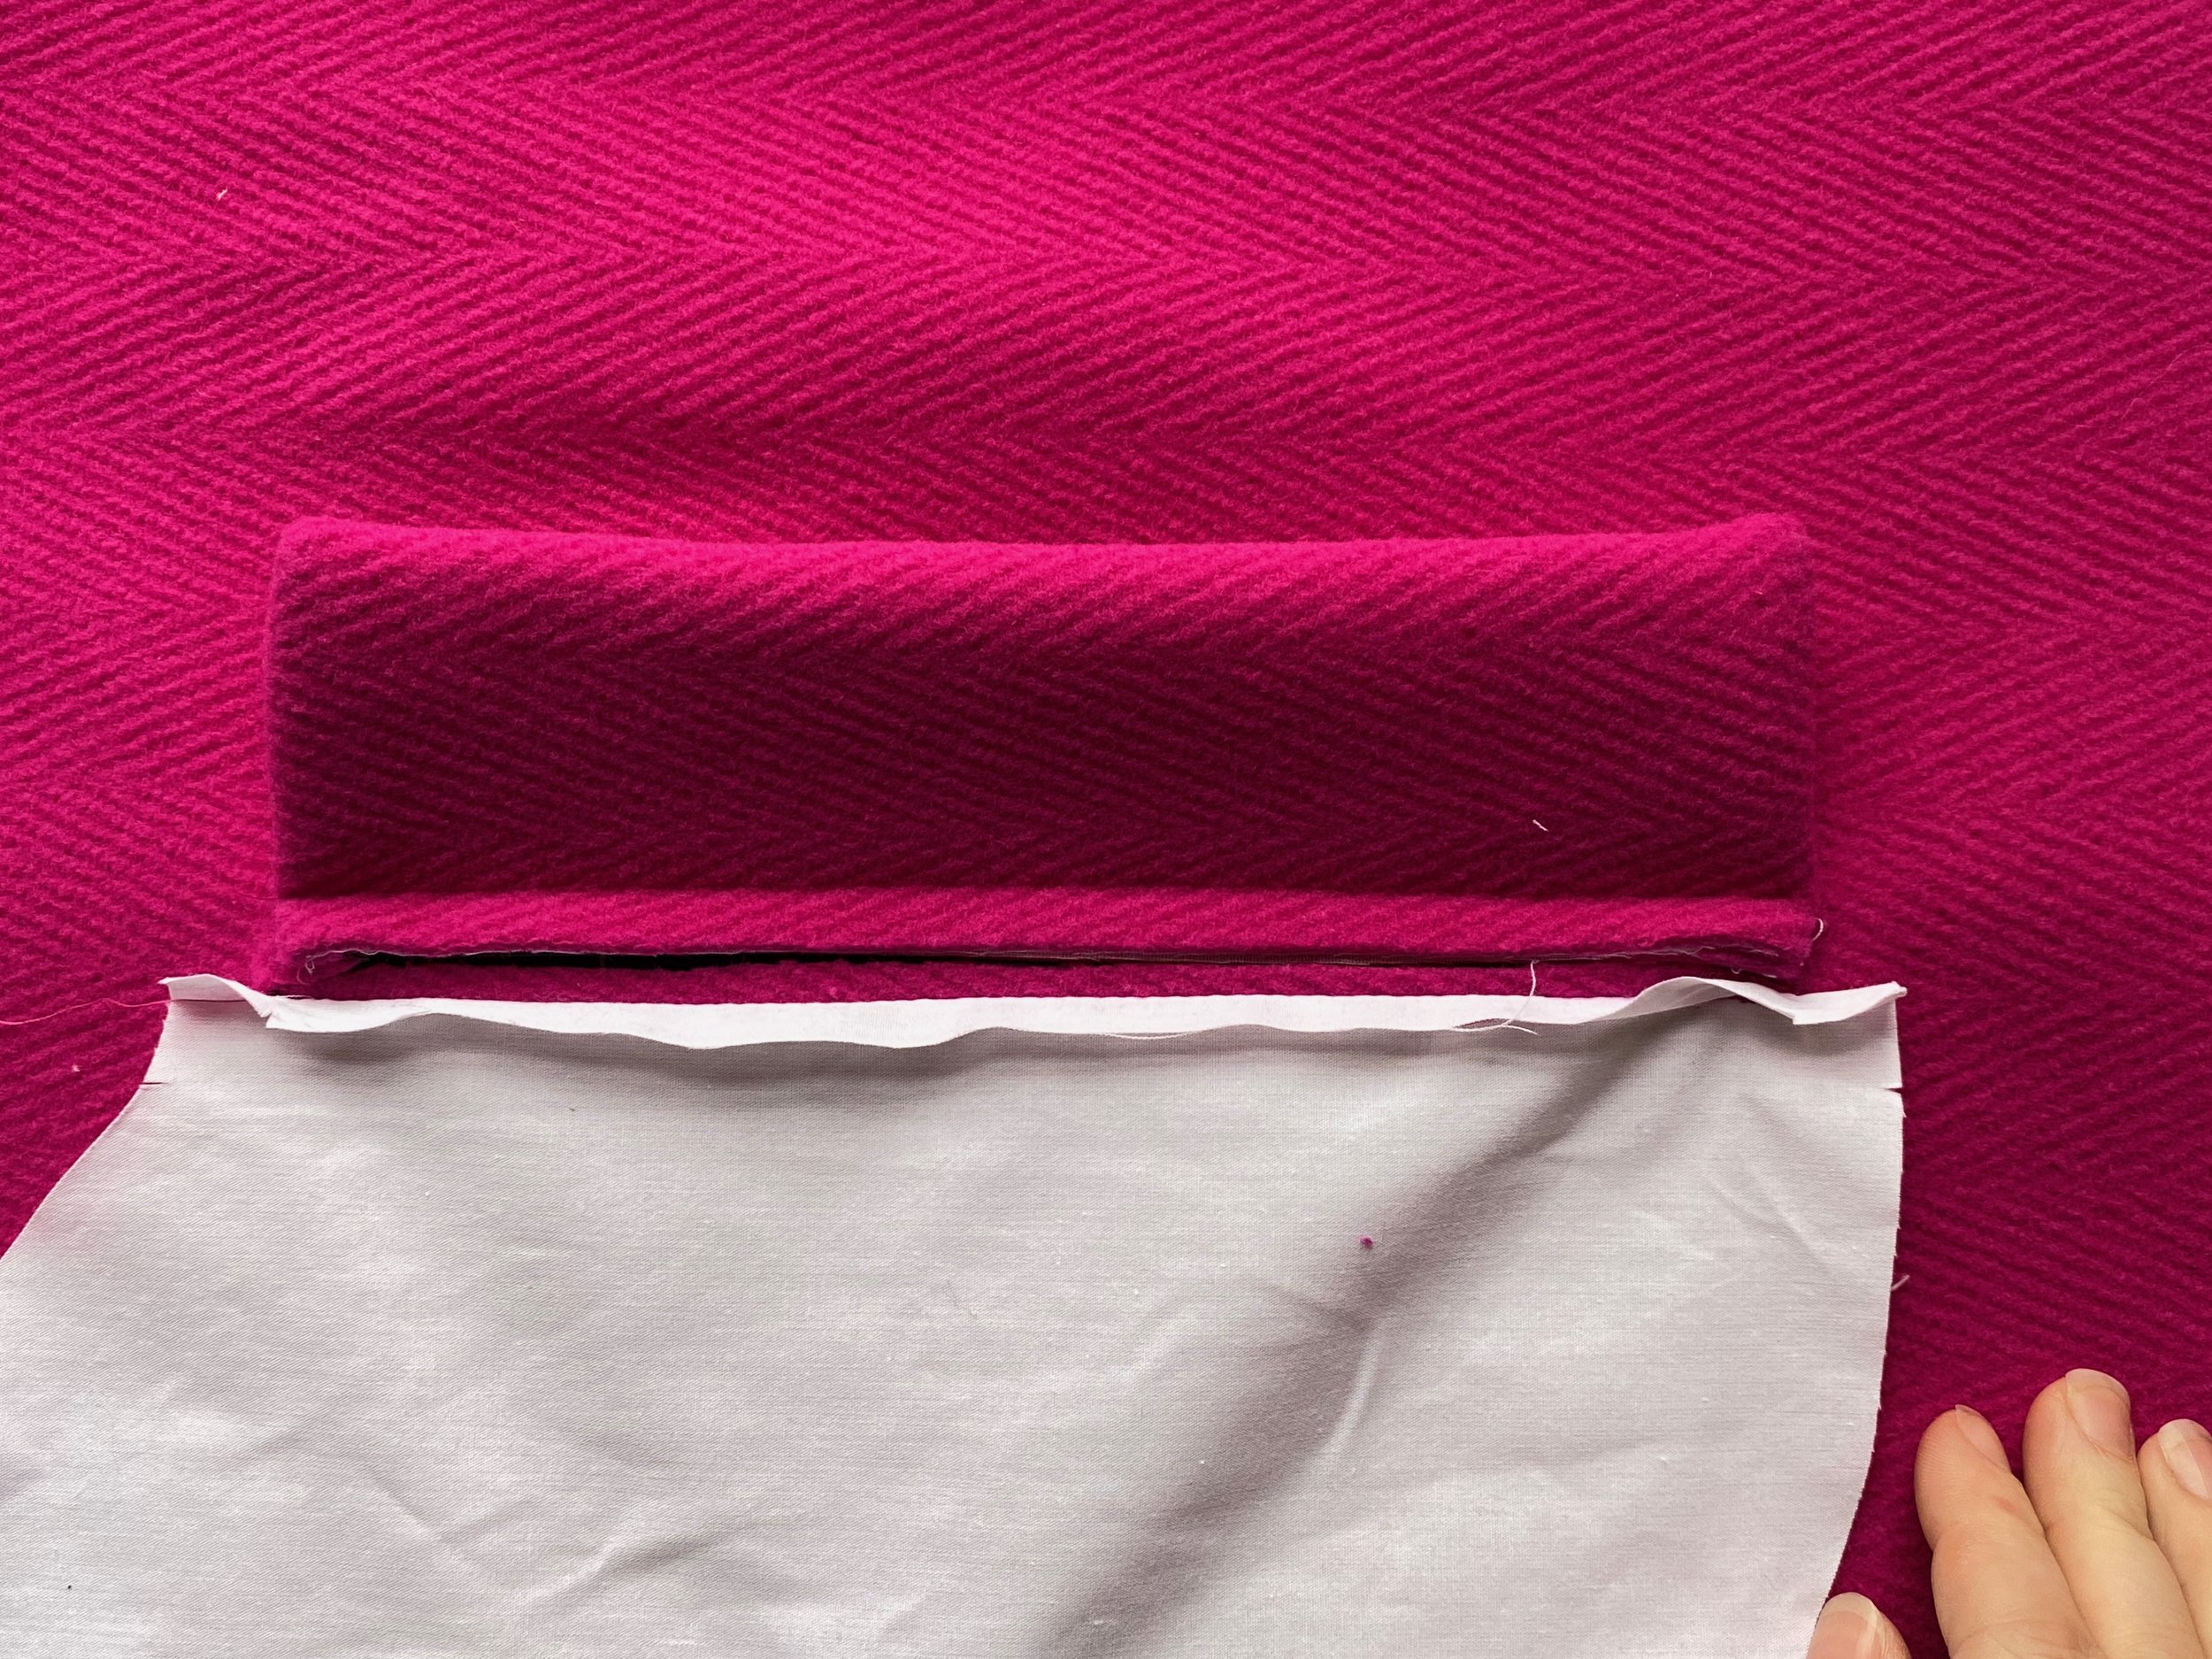
This is one of the areas, for very thick fabrics only, I would suggest taking a bit more seam allowance, so making the space between the welt and pocket bag wider. But not too much because the pocket bags won’t fit together inside. You can see on the internal photos that the seam allowance is very small and it was hard to press as flat as I like it.
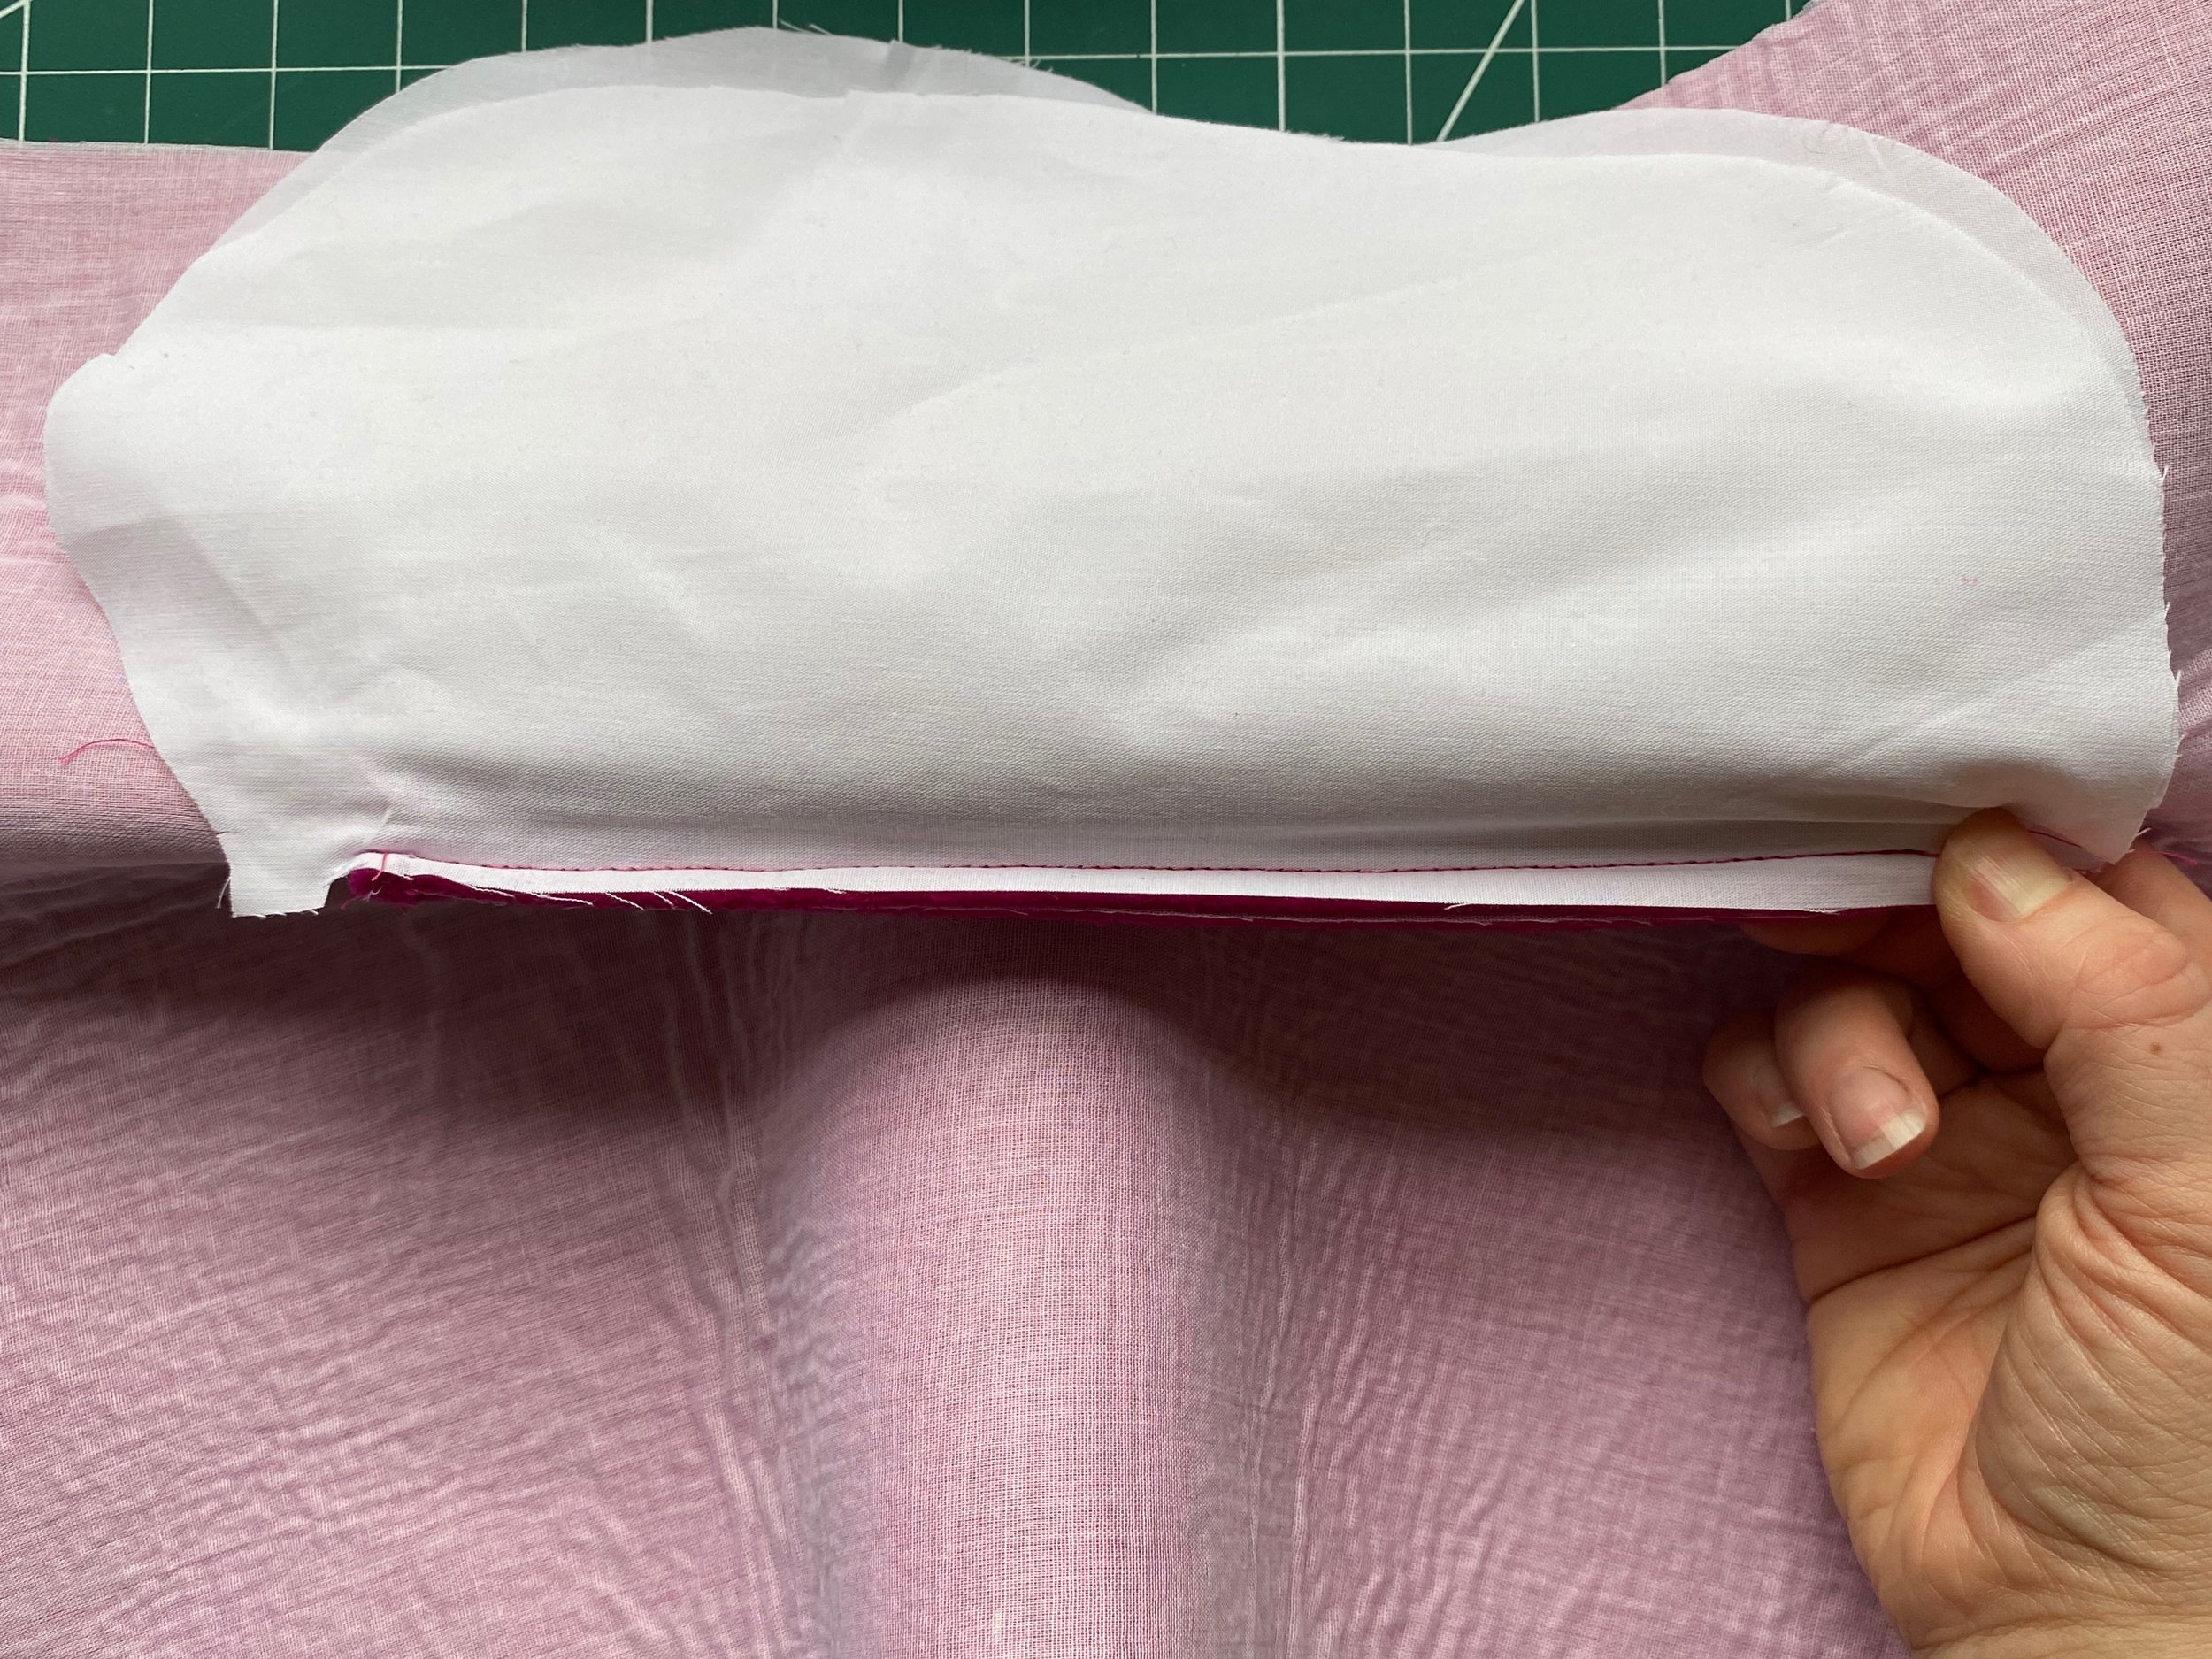
After these images the top and bottom edge of the Welt is stitched to the Front to finish the pocket.
SLEEVES
Booklet steps 10-13
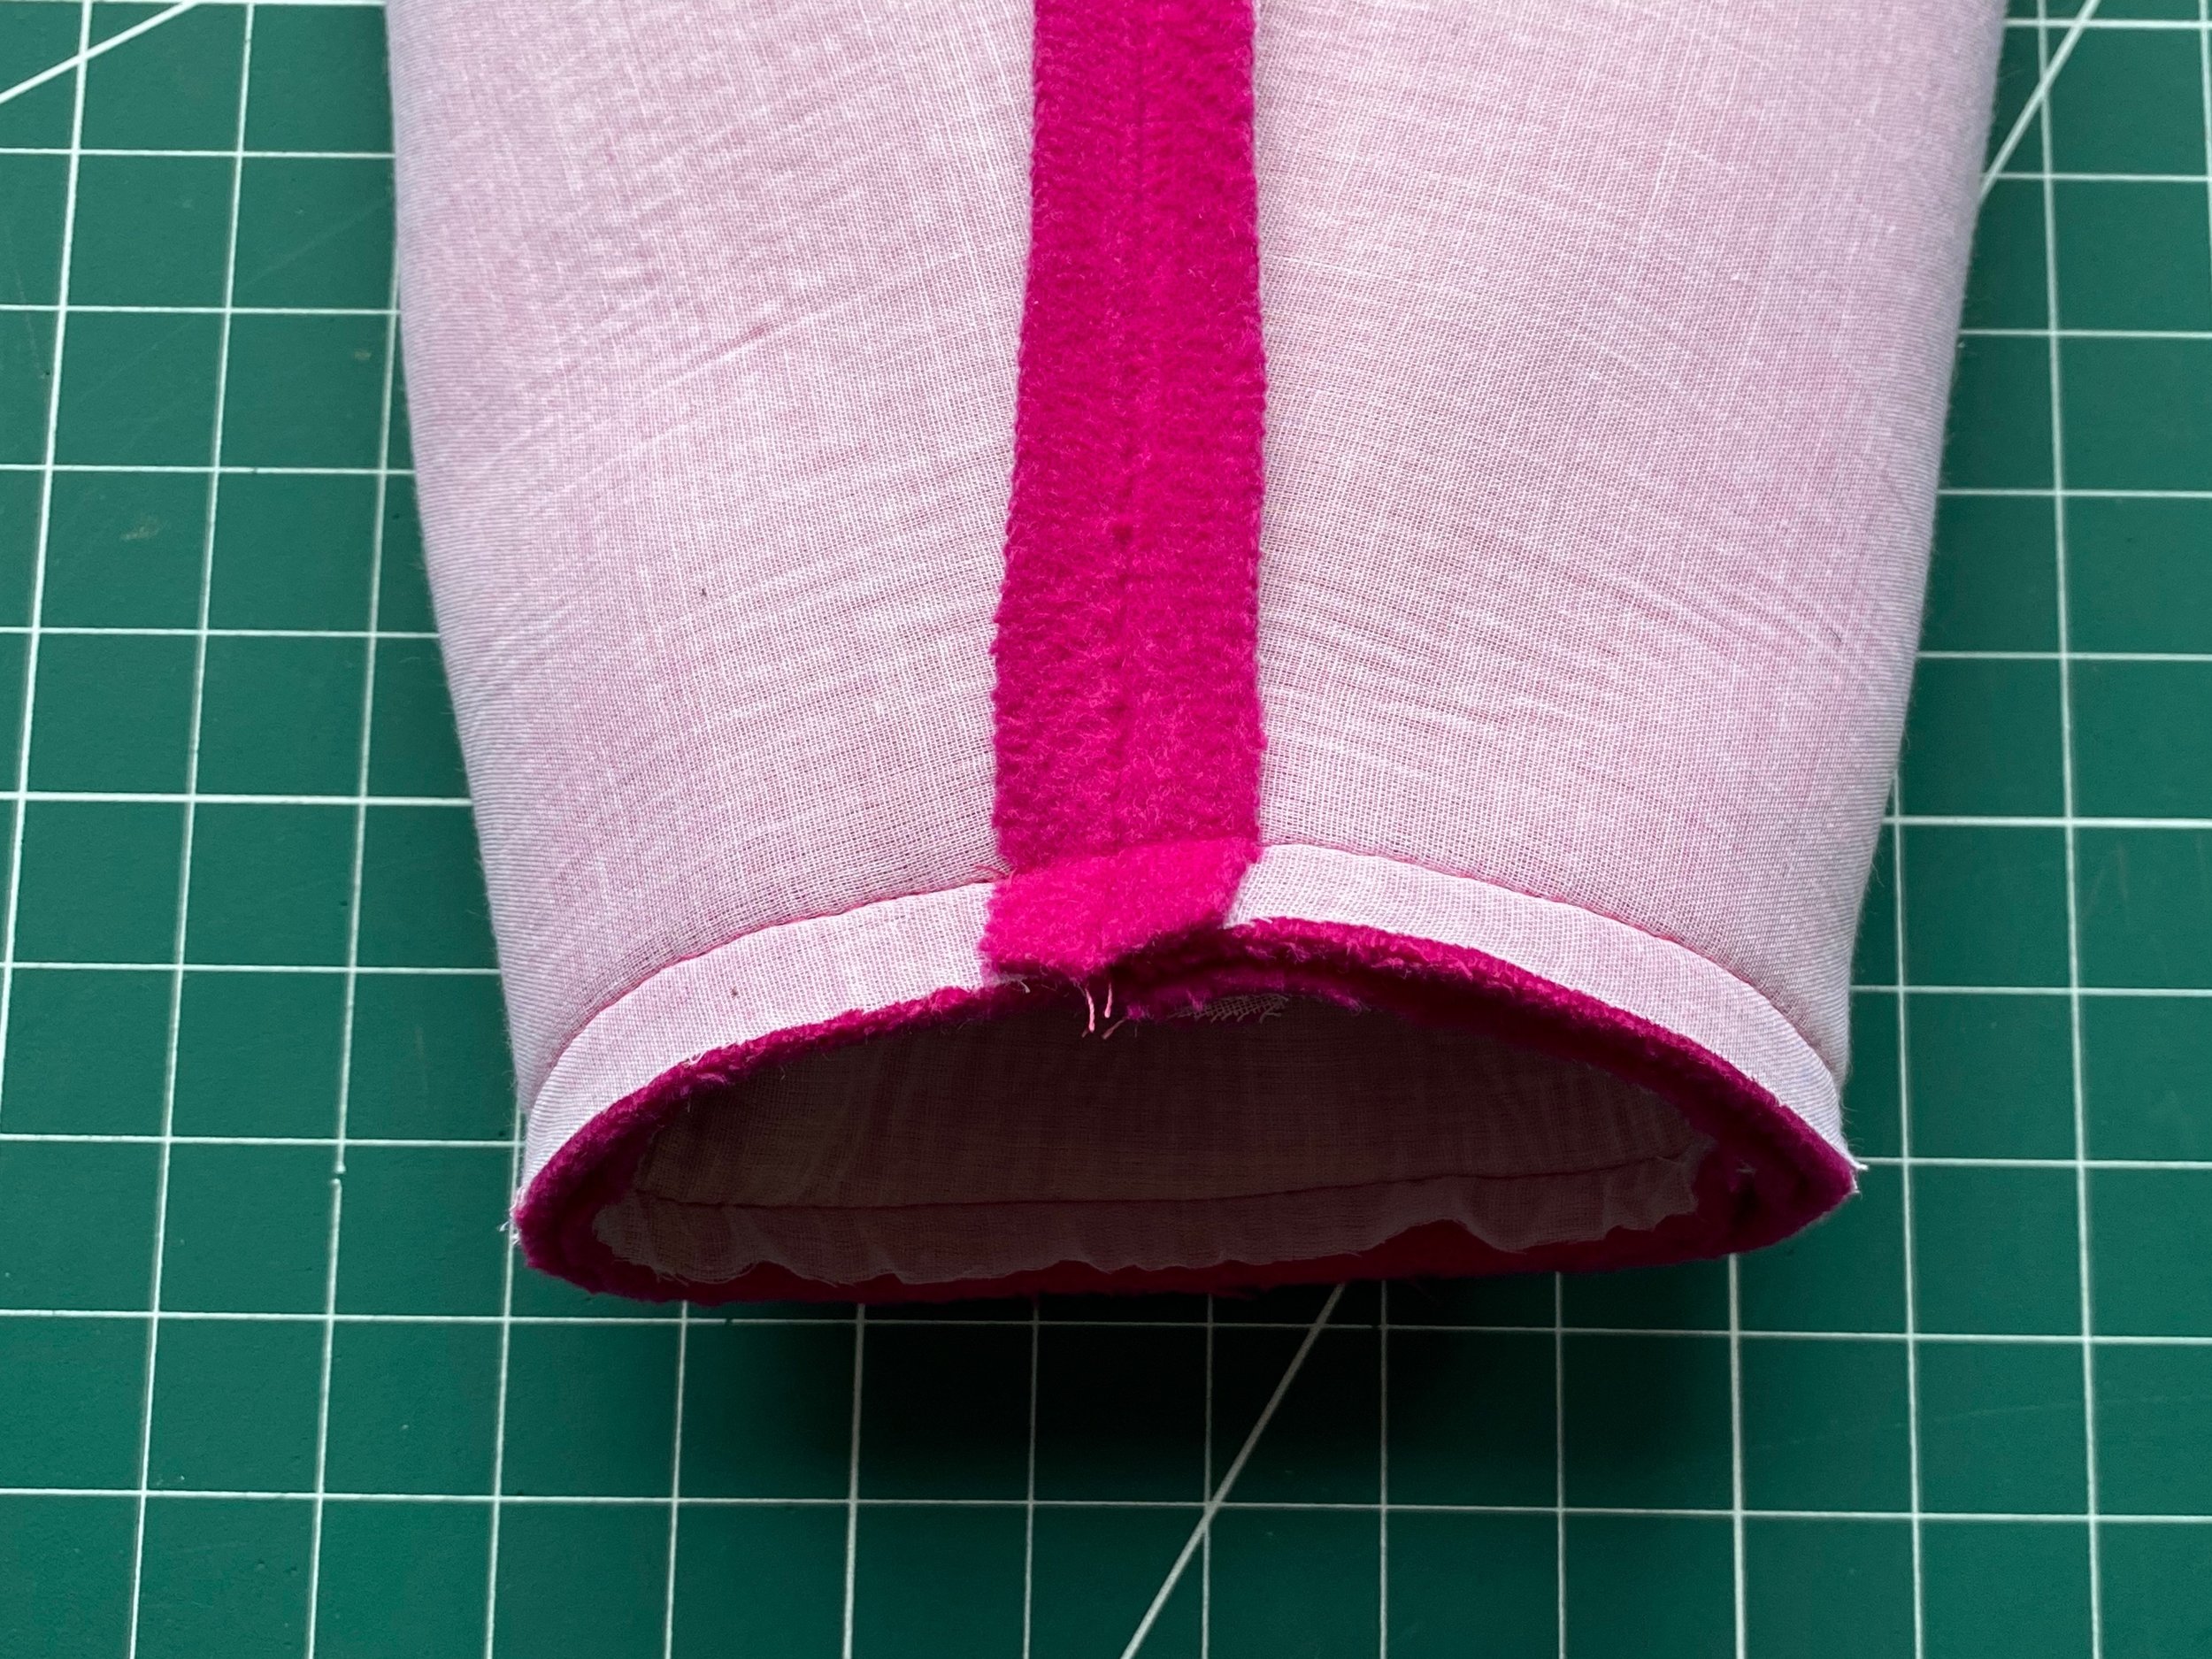
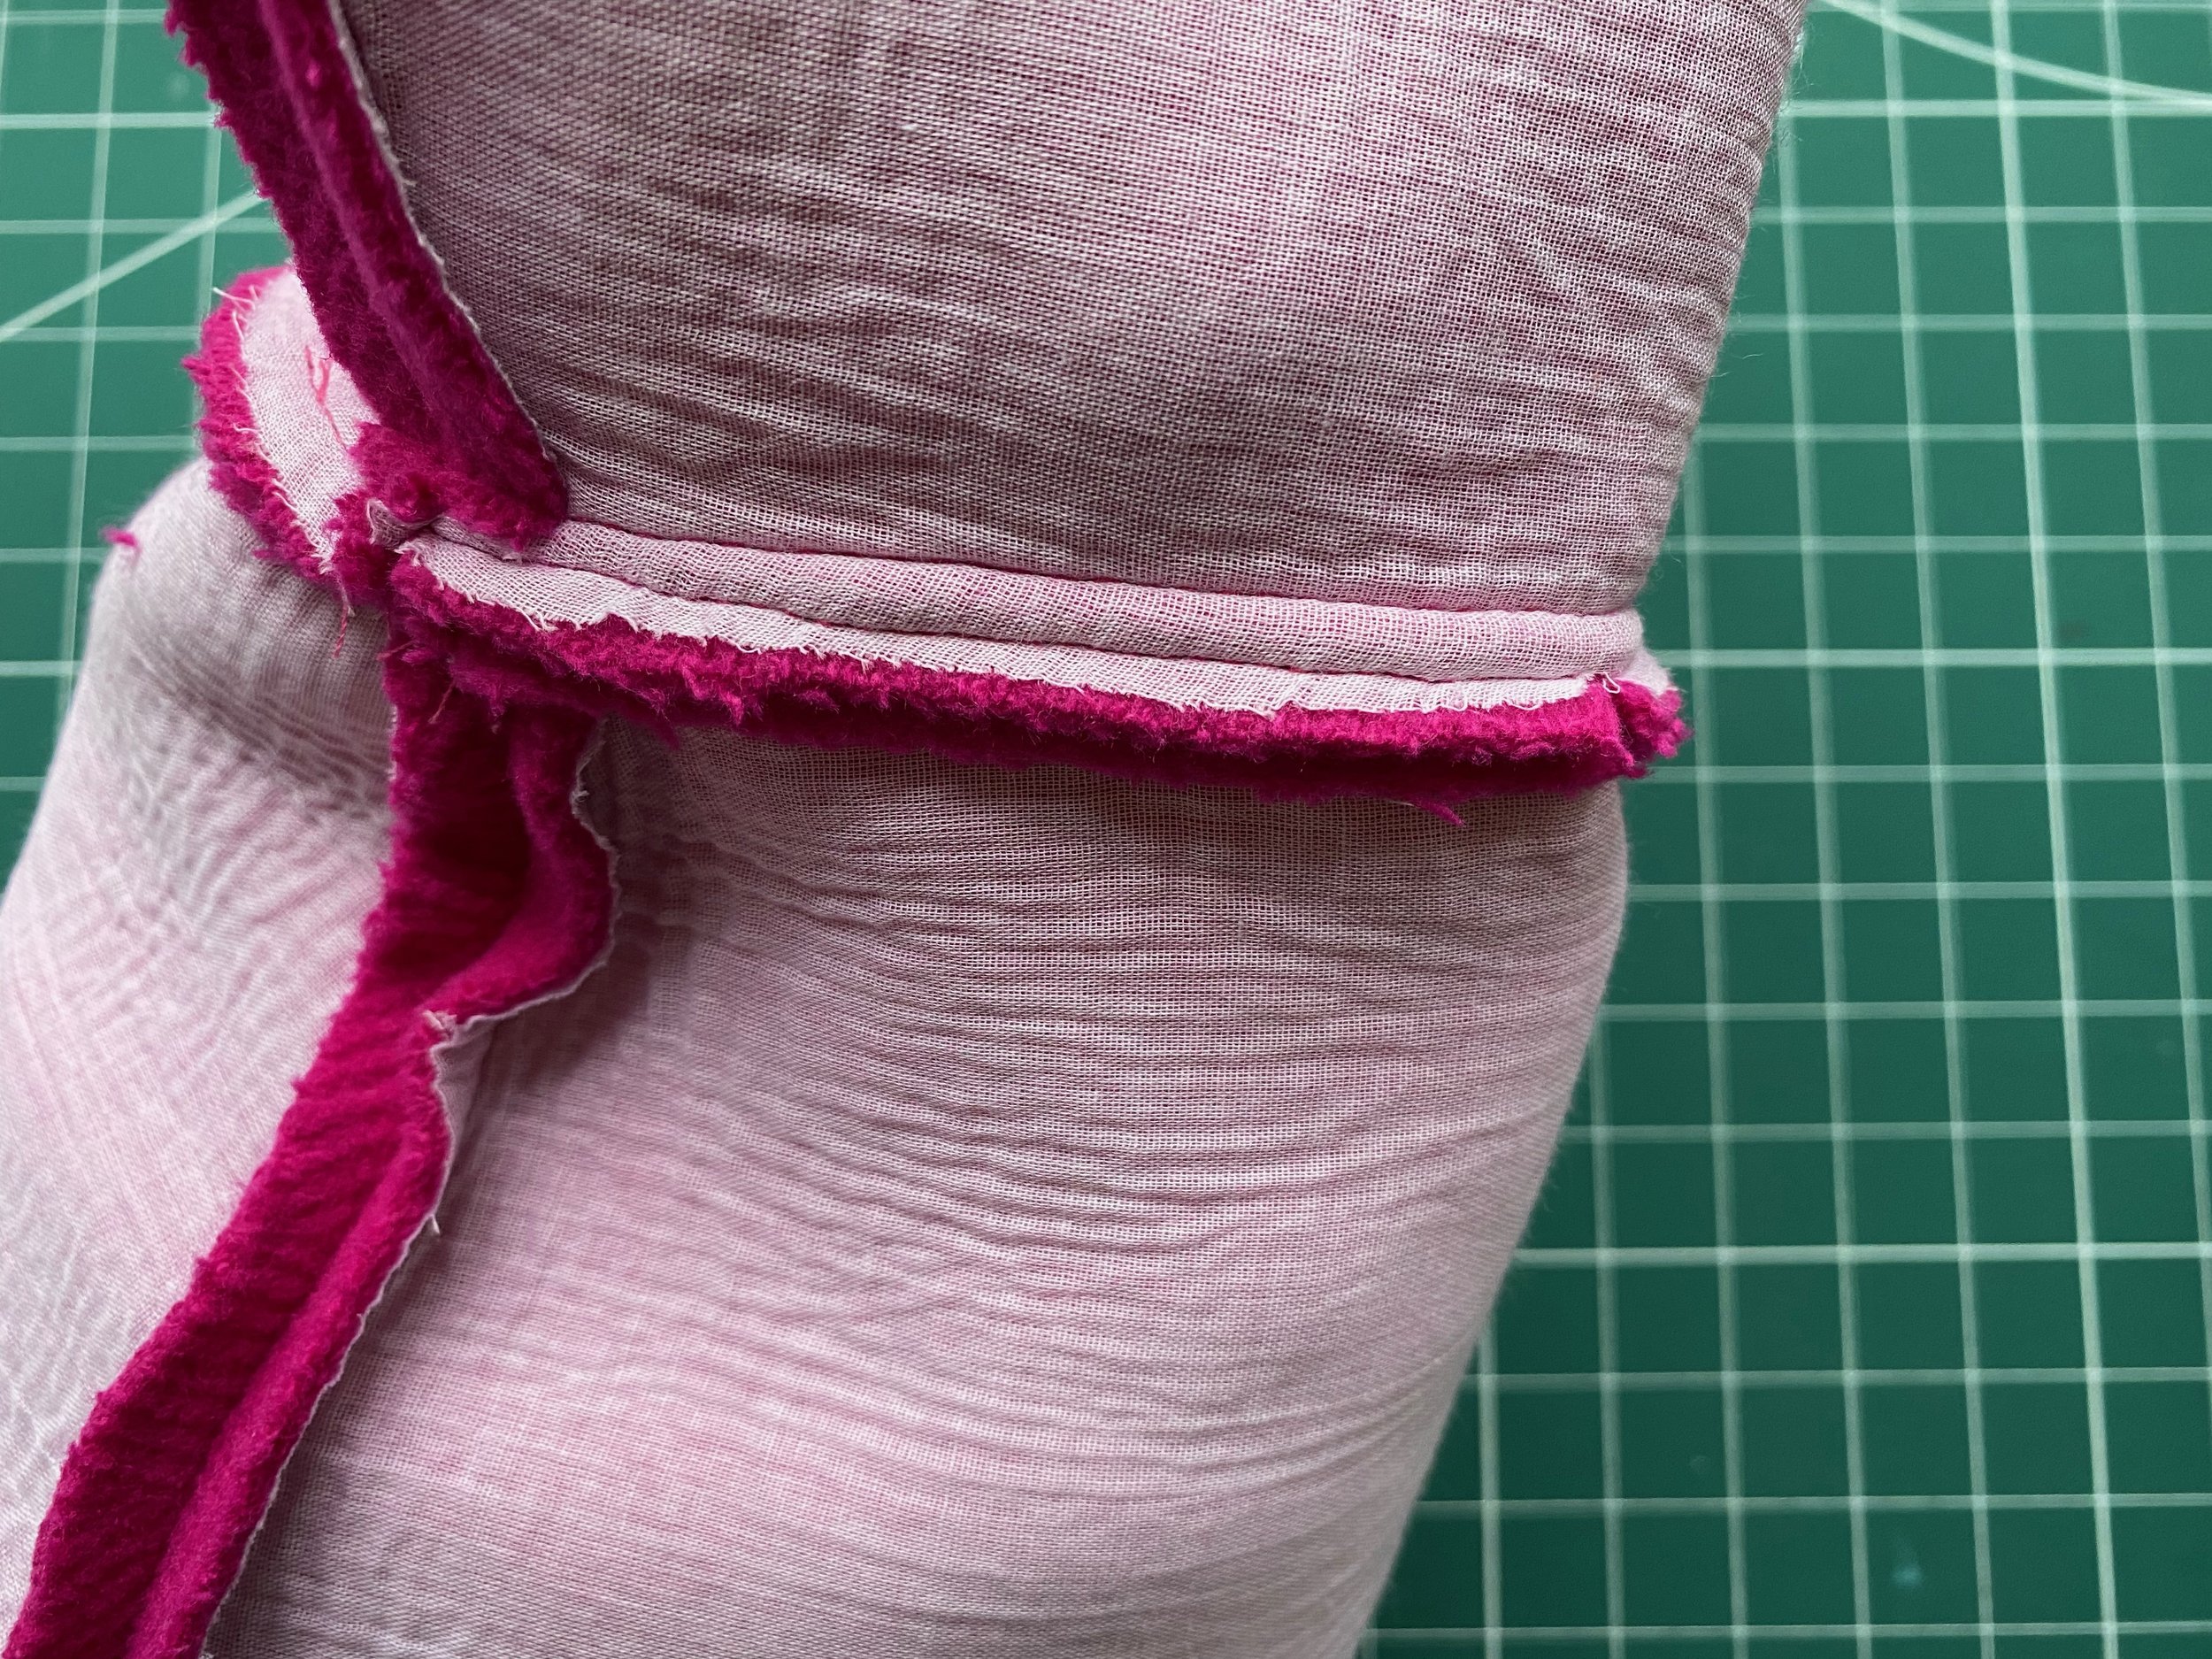
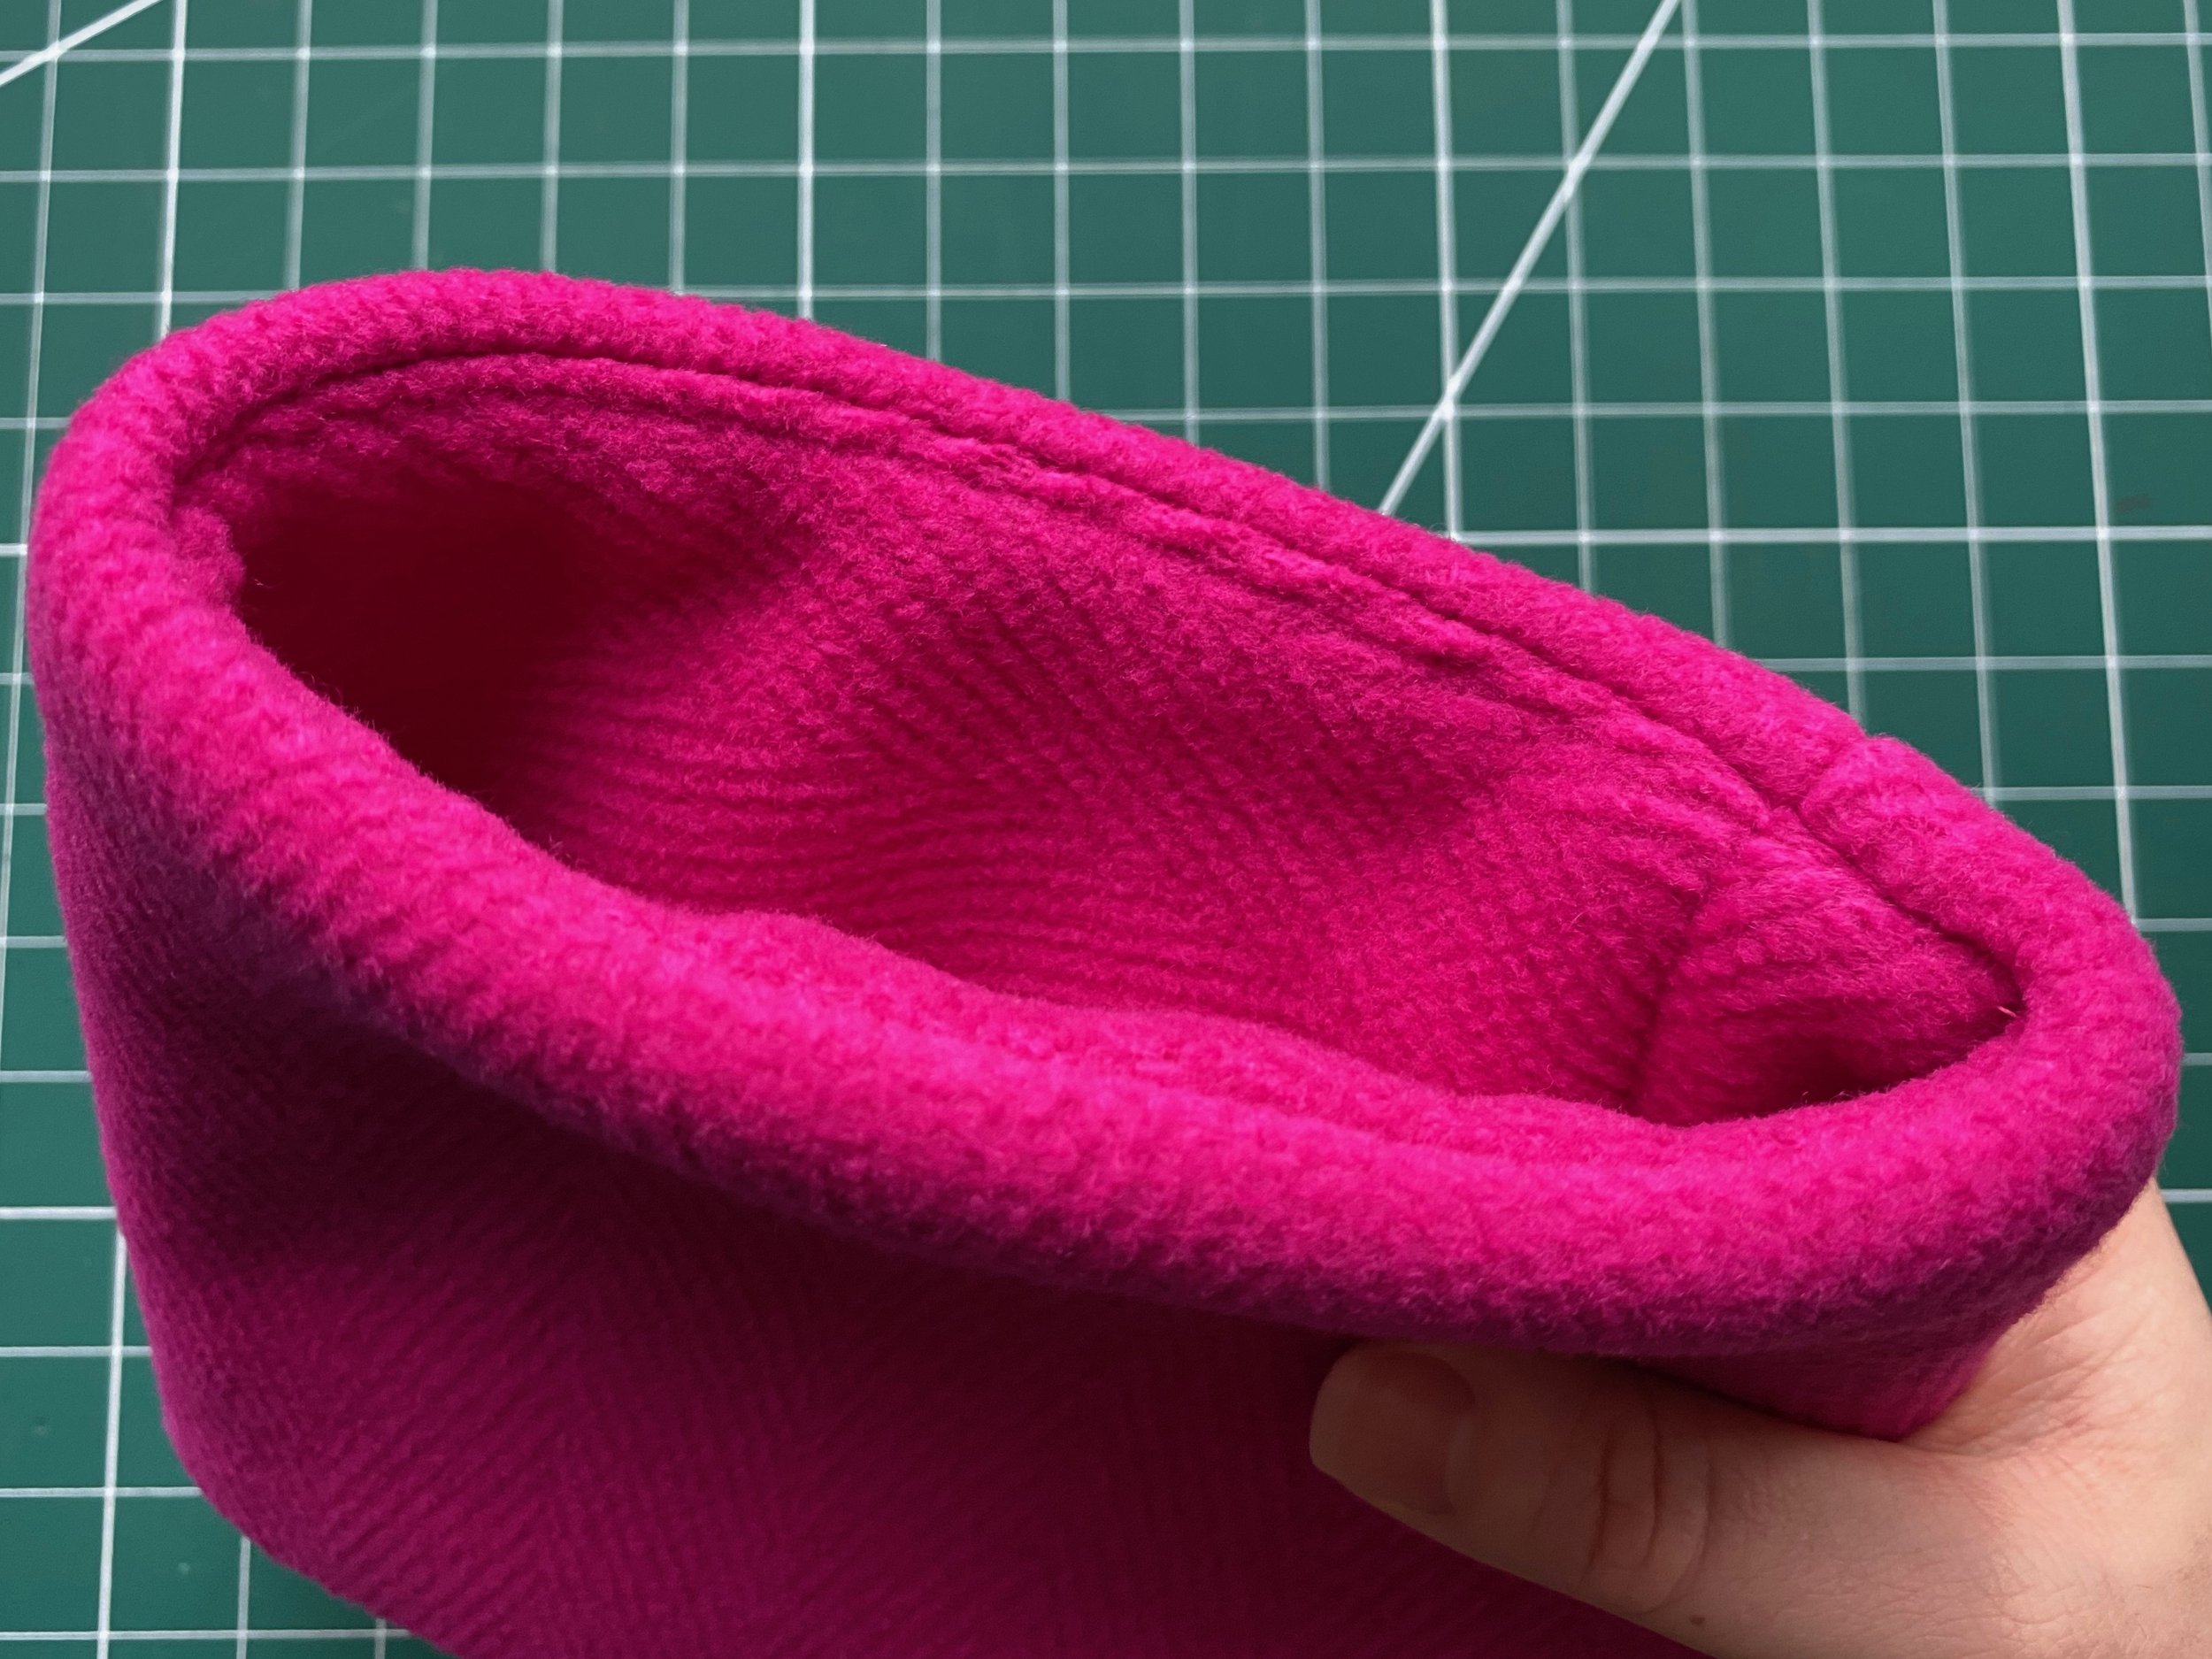
Under-stitching the cuff opening is really important. This forces your seams to roll inside the cuff so you cant see the seam allowance on the outside. I did my under stitch further away from the seam than usual because of the thickness of the fabric..
I block fused my sleeve because i wanted to make sure i had a good structure.
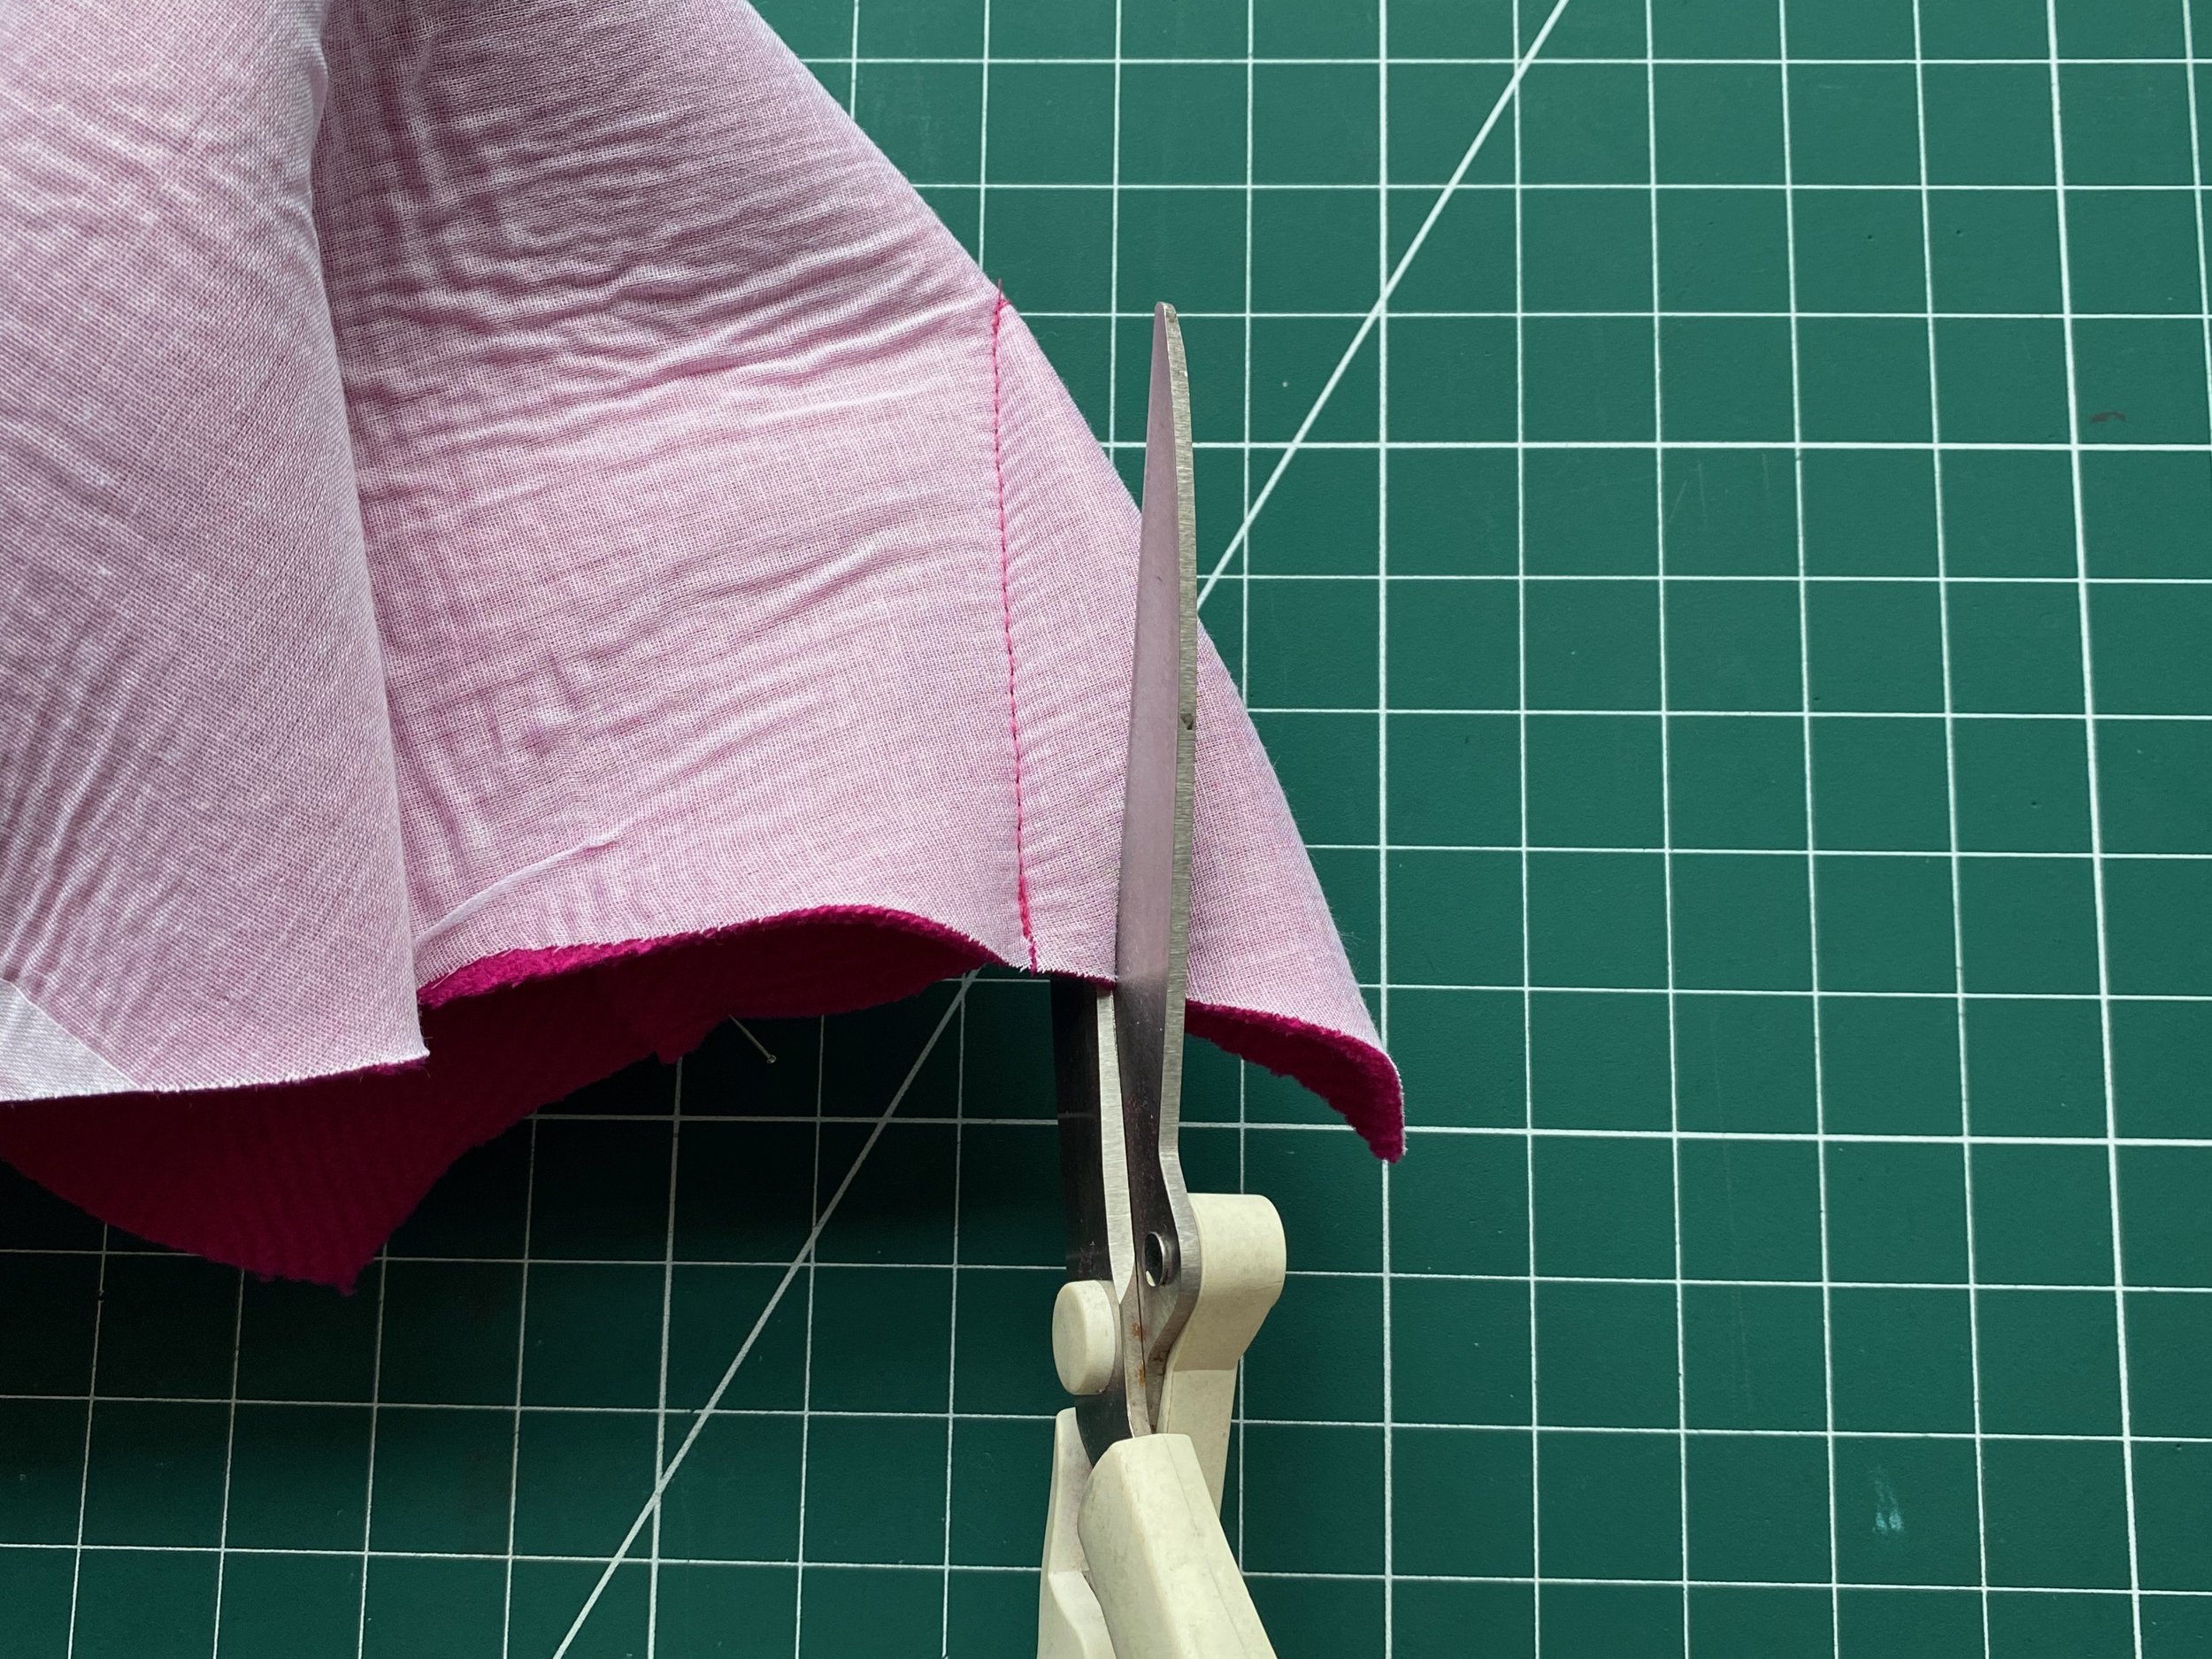
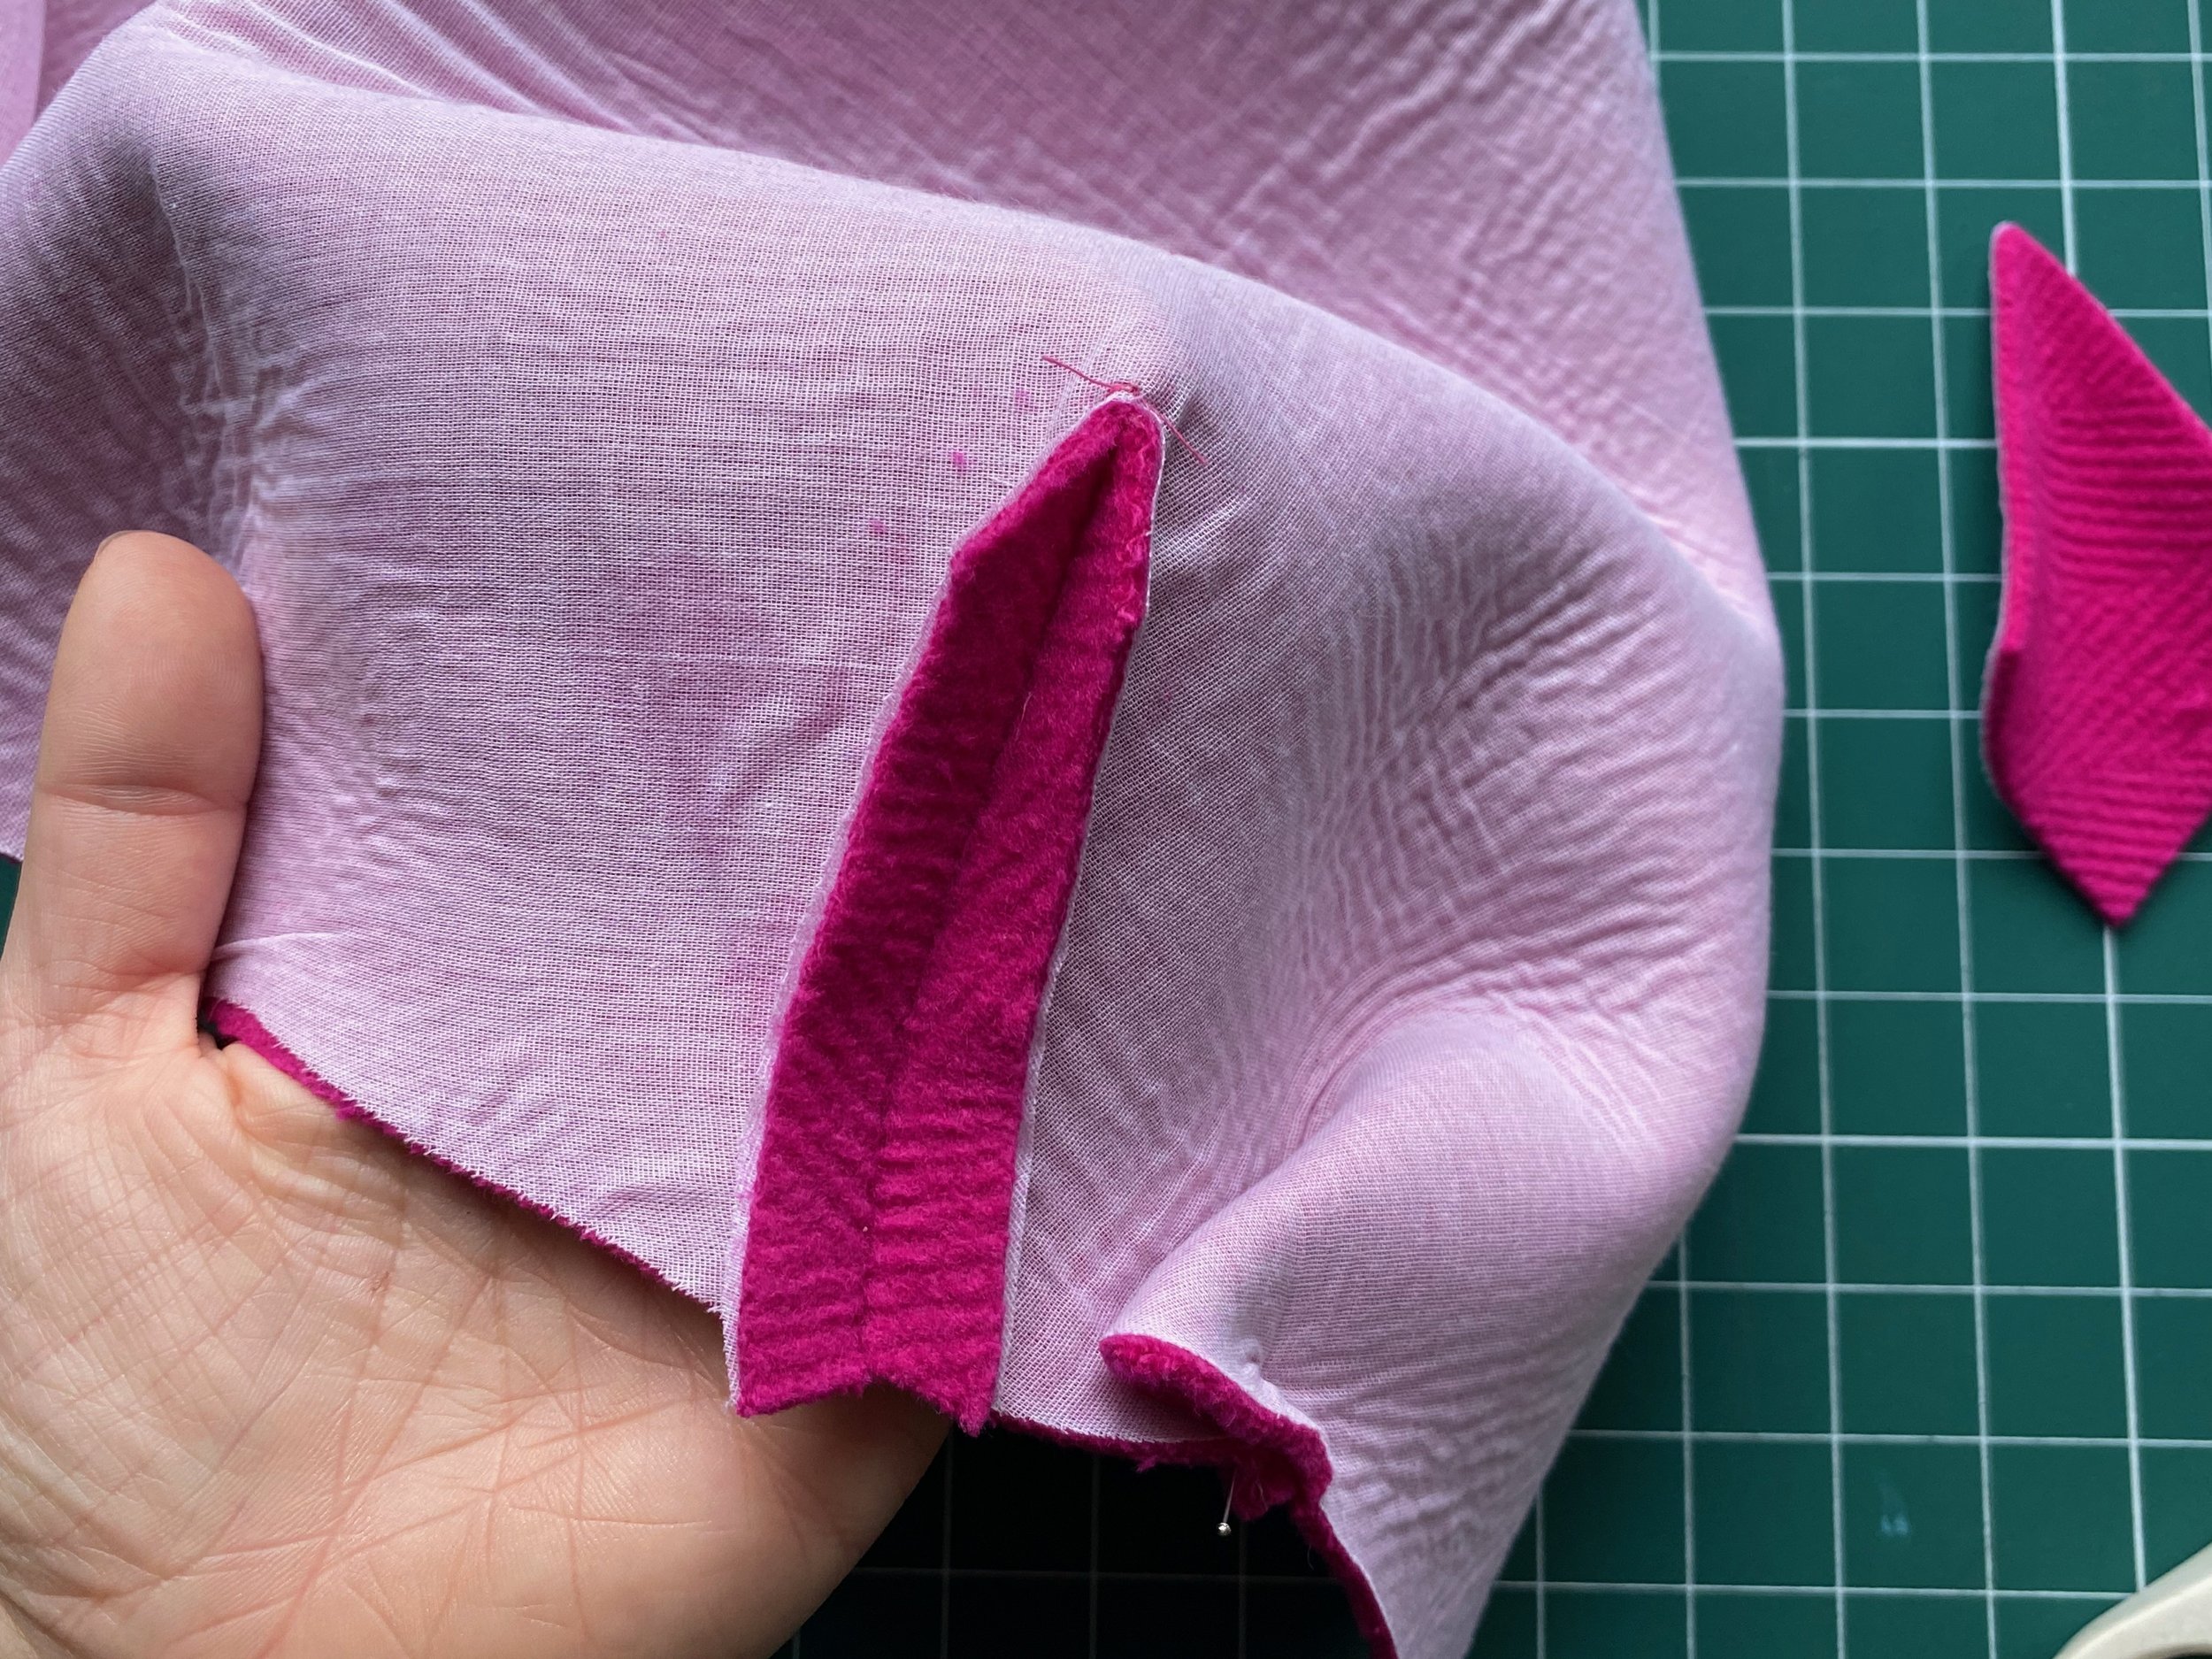
Images also show how I constructed my back sleeve dart. I cut away the centre leaving a seam allowance, snipped into the end of the dart and the pressed it open.
When closing the tucks make sure you’re being accurate. pinch at the notch and fold over to match to the next notch.
Mounting the tucks in place is really important. The lower finished edge needs to match up so the tucks are flowing and positioned accurately, this edge of the sleeve is now held in place so the tucks don’t open or move when sewing the cuff on.
I find it easier to position the cuffs inside an inside-out sleeve to sew the two together. Otherwise, the bulky volume of the sleeve squished into the cuff, and having to move the cuff facing out of the way is awkward.
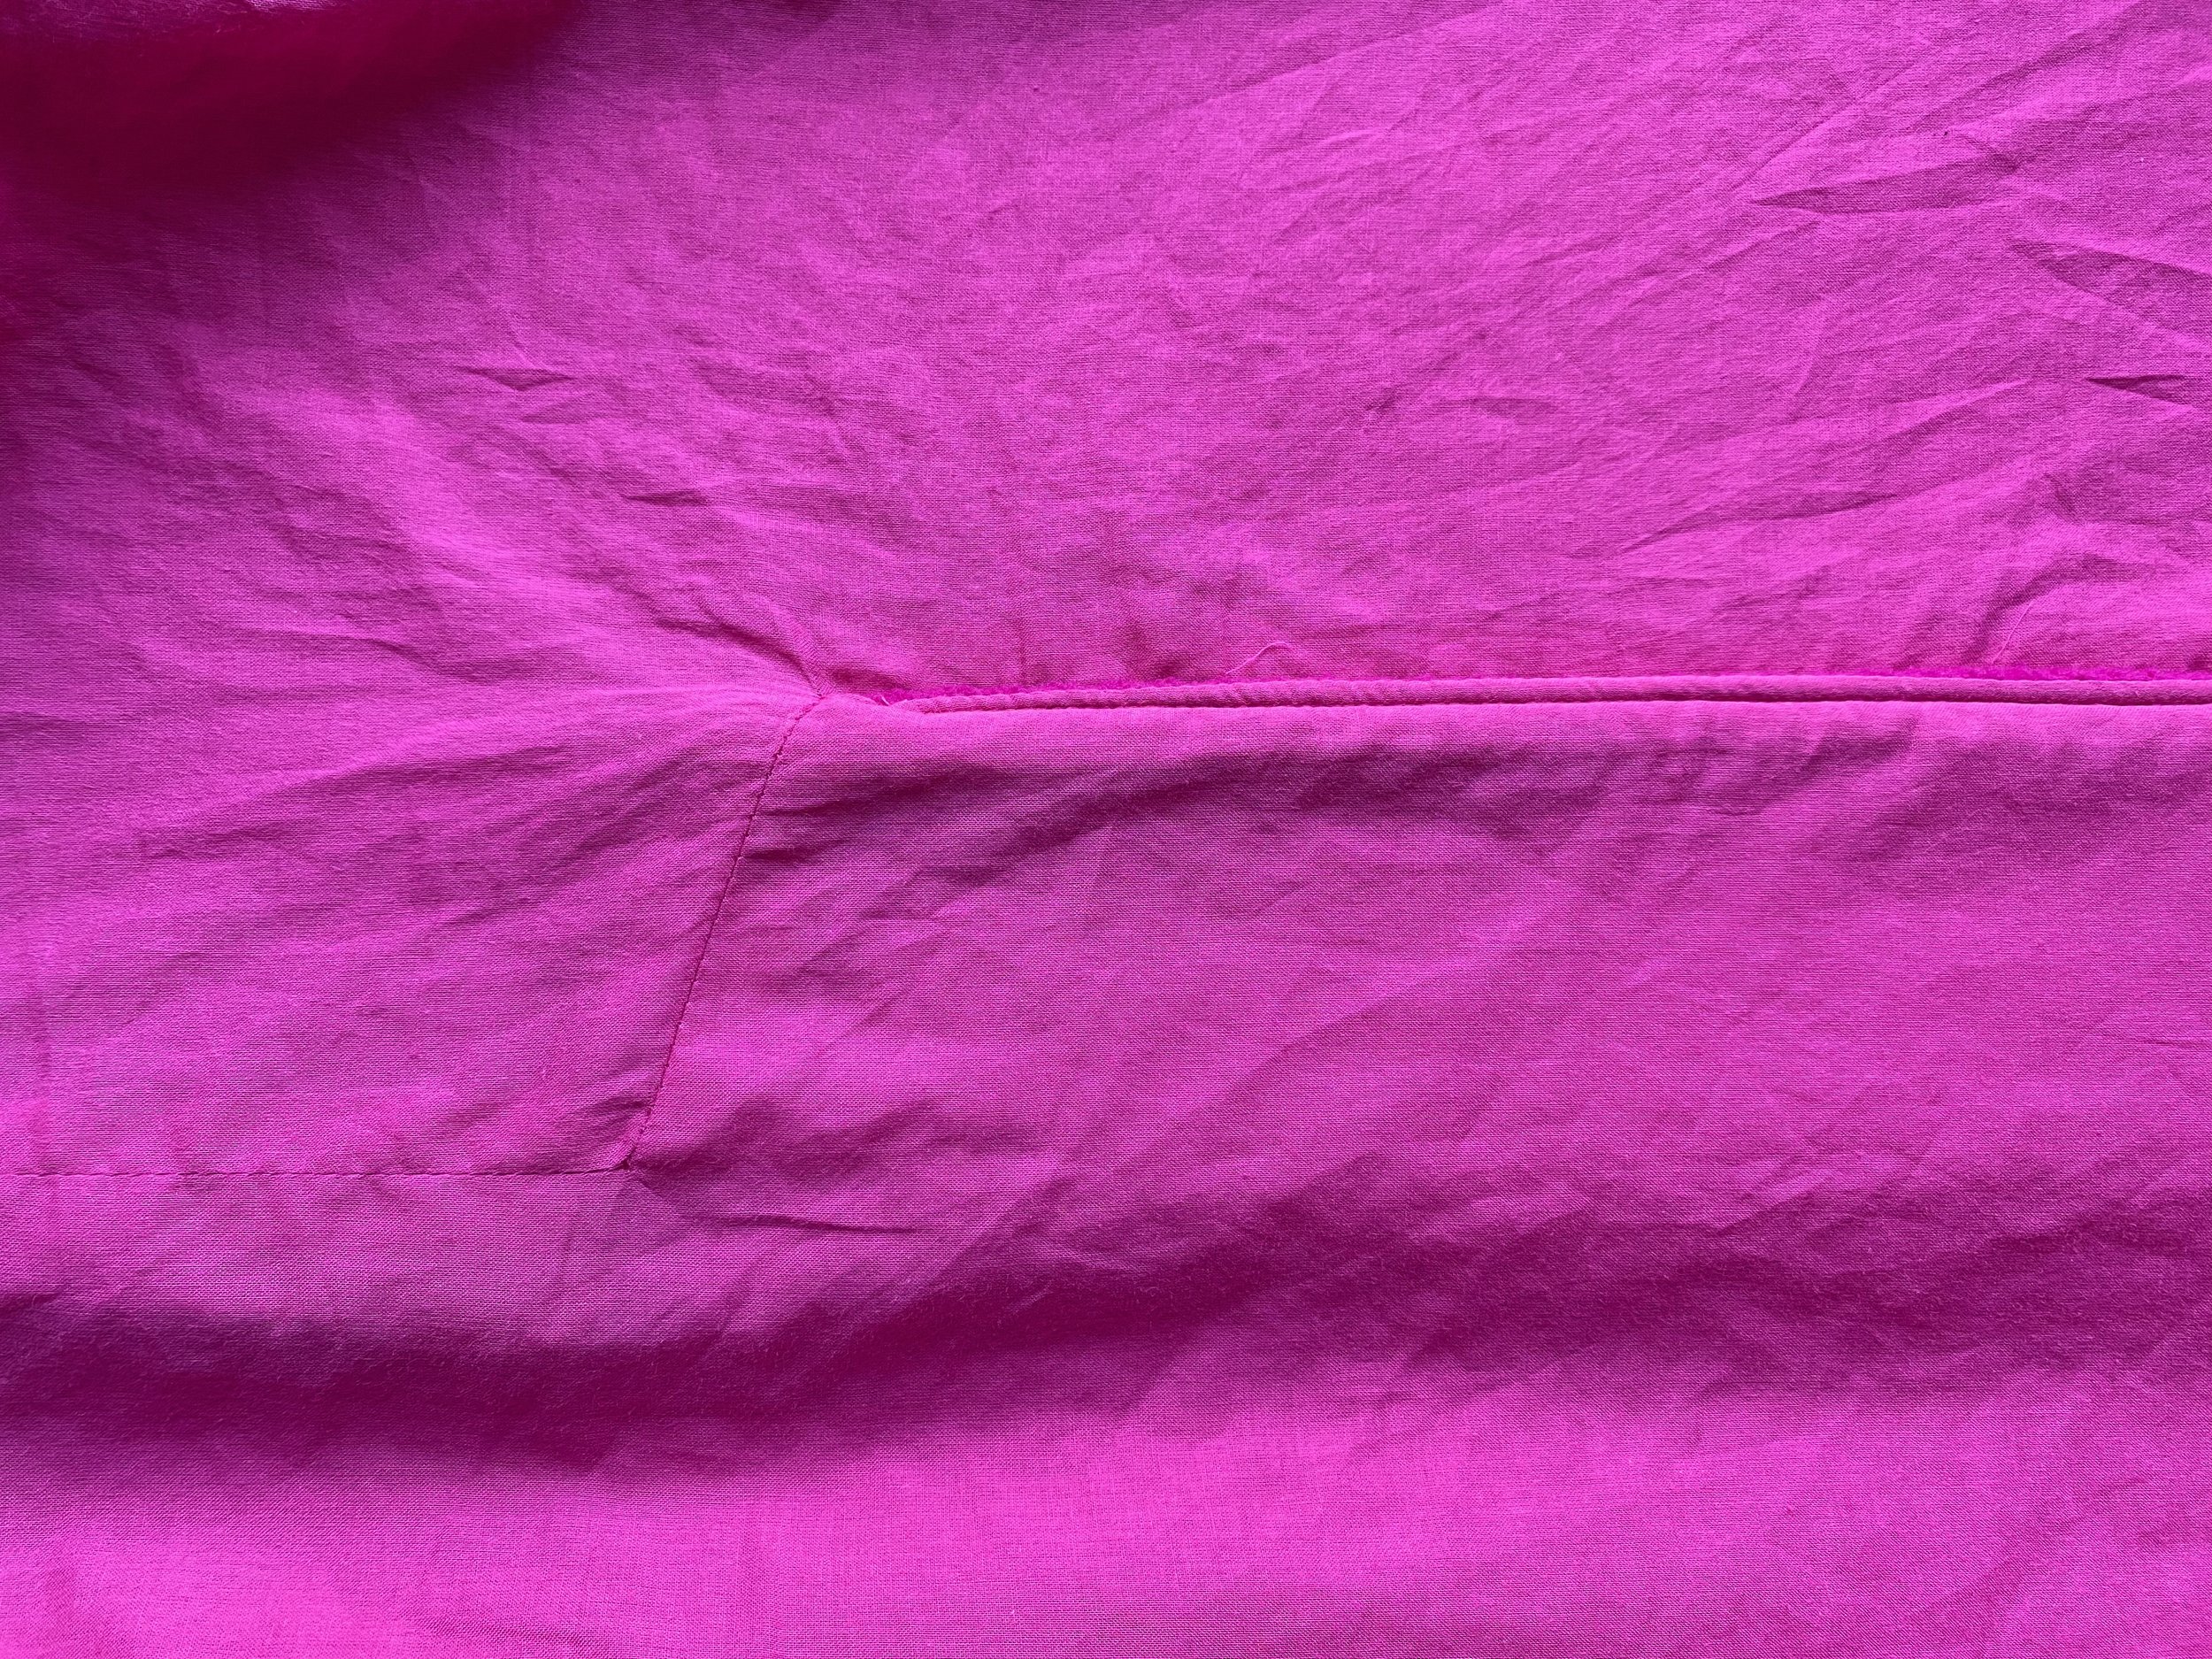
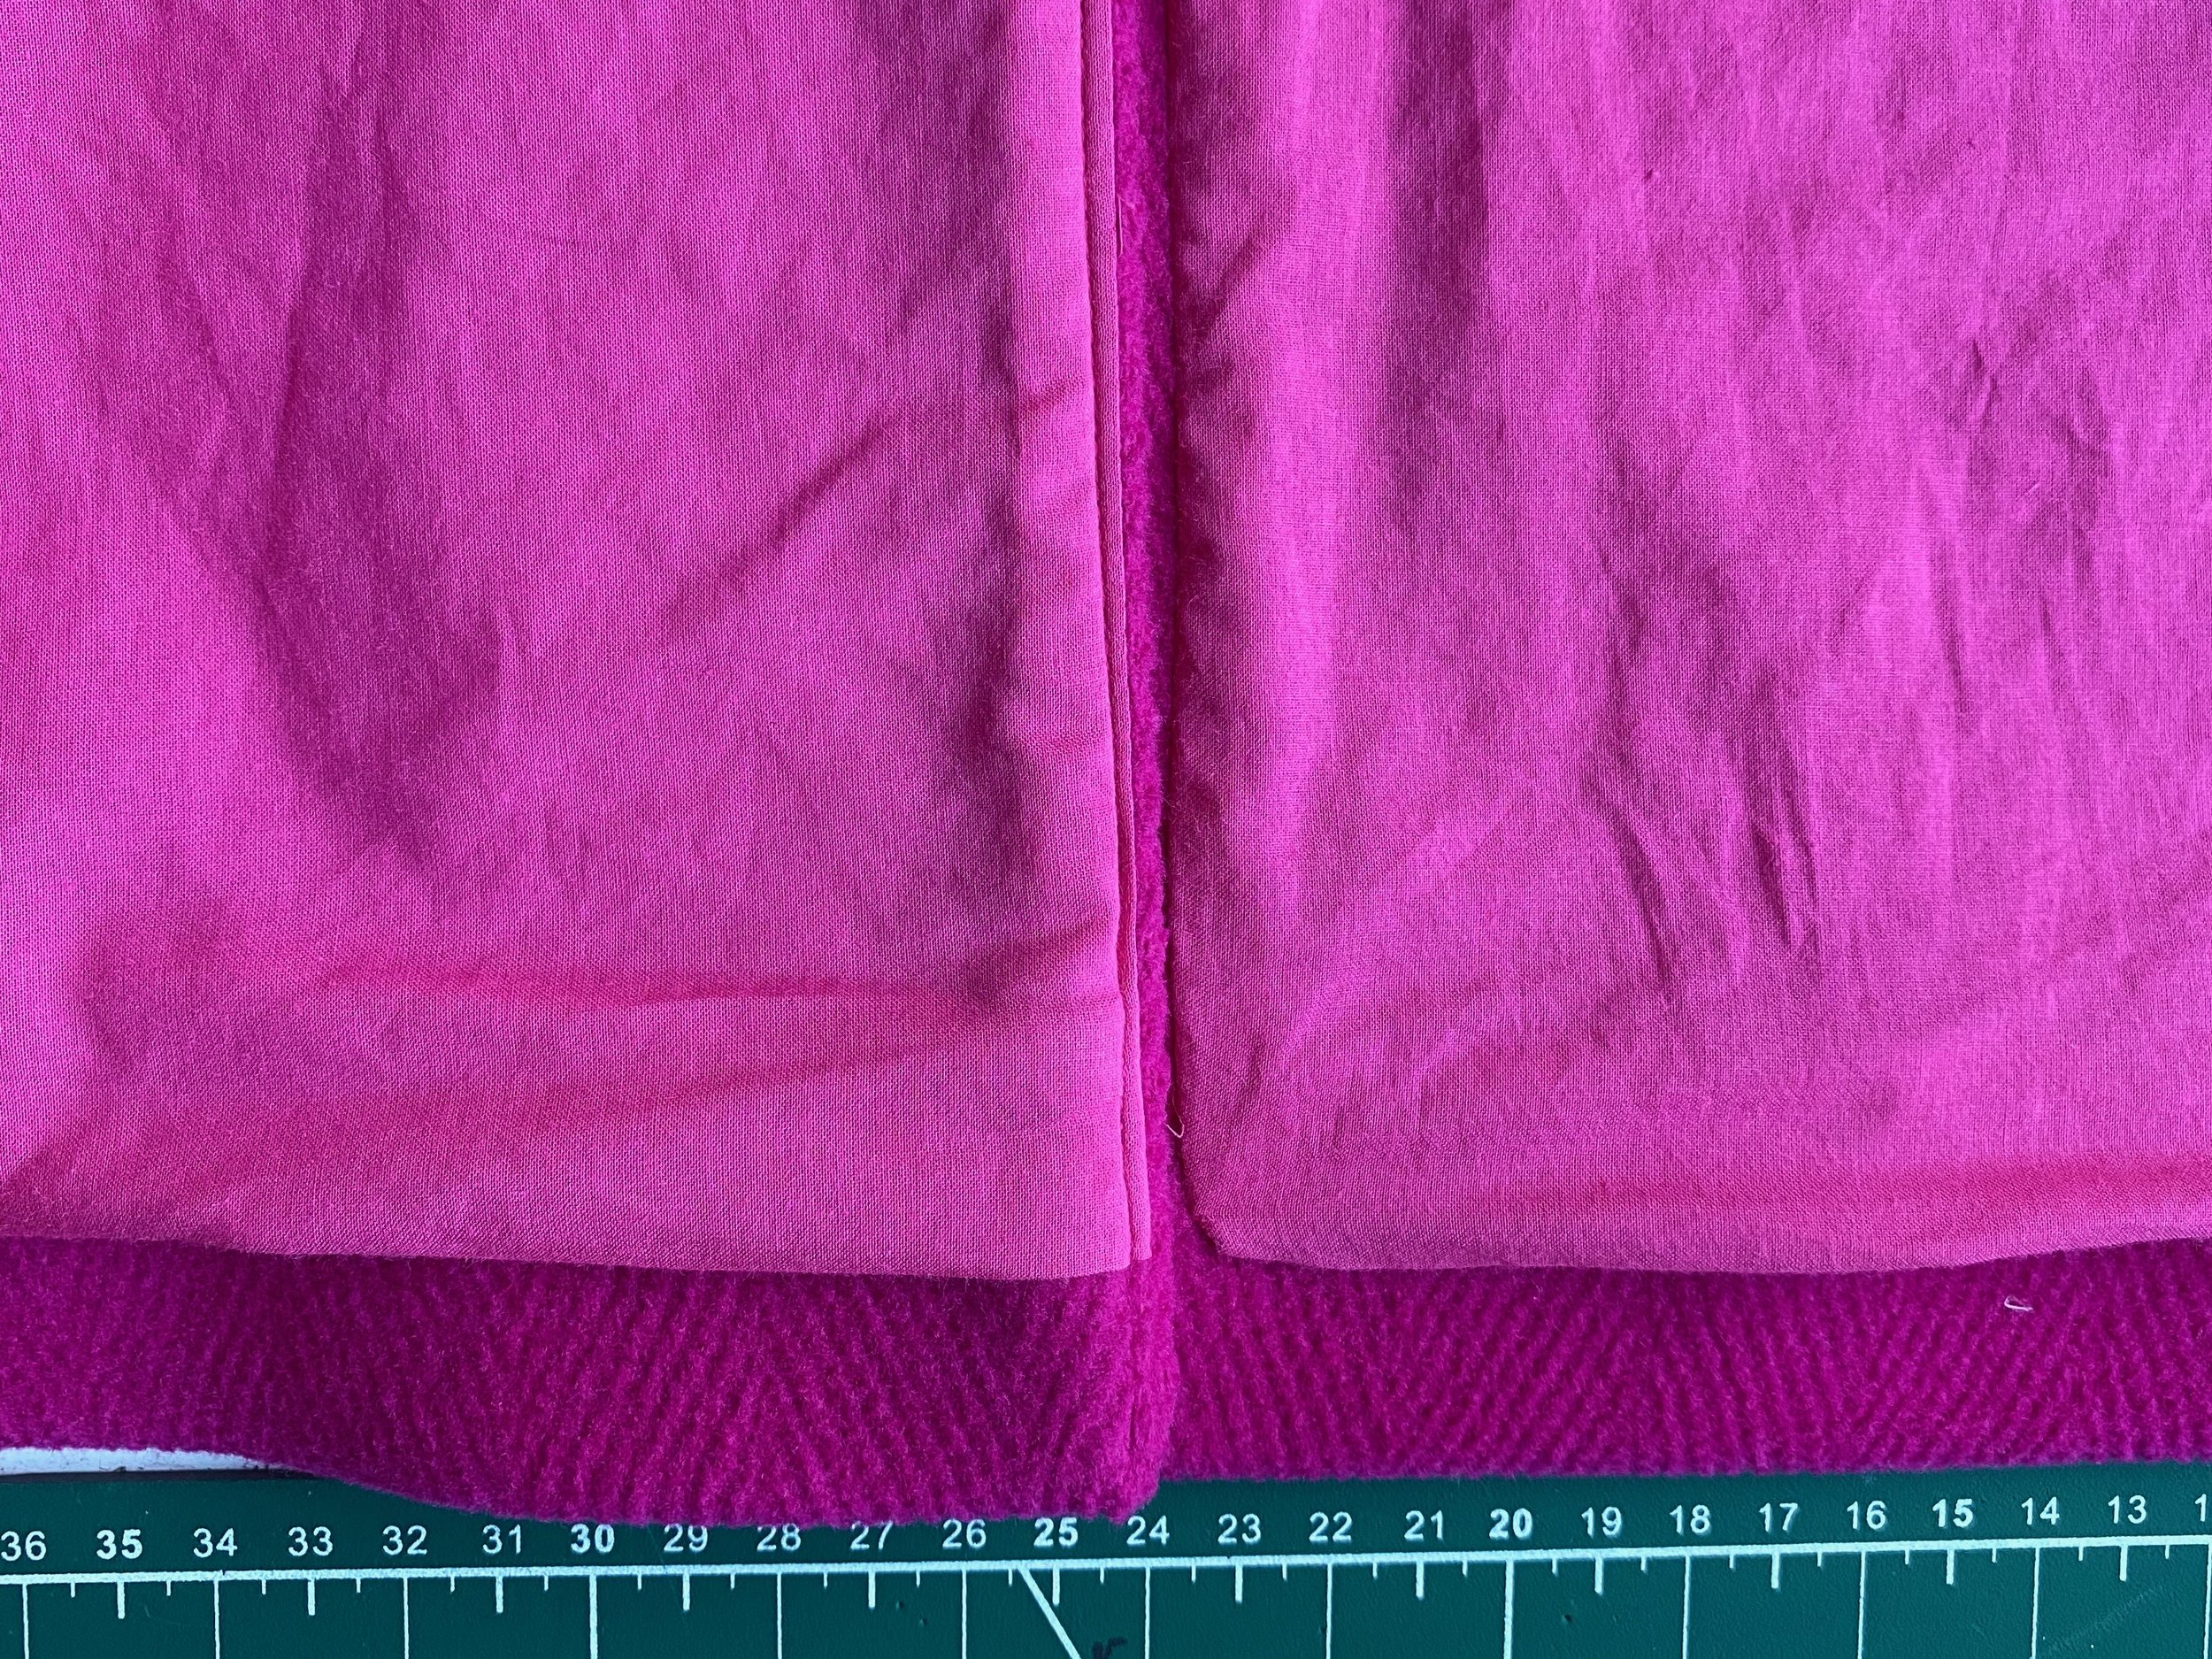
BACK VENT
Booklet step 7.
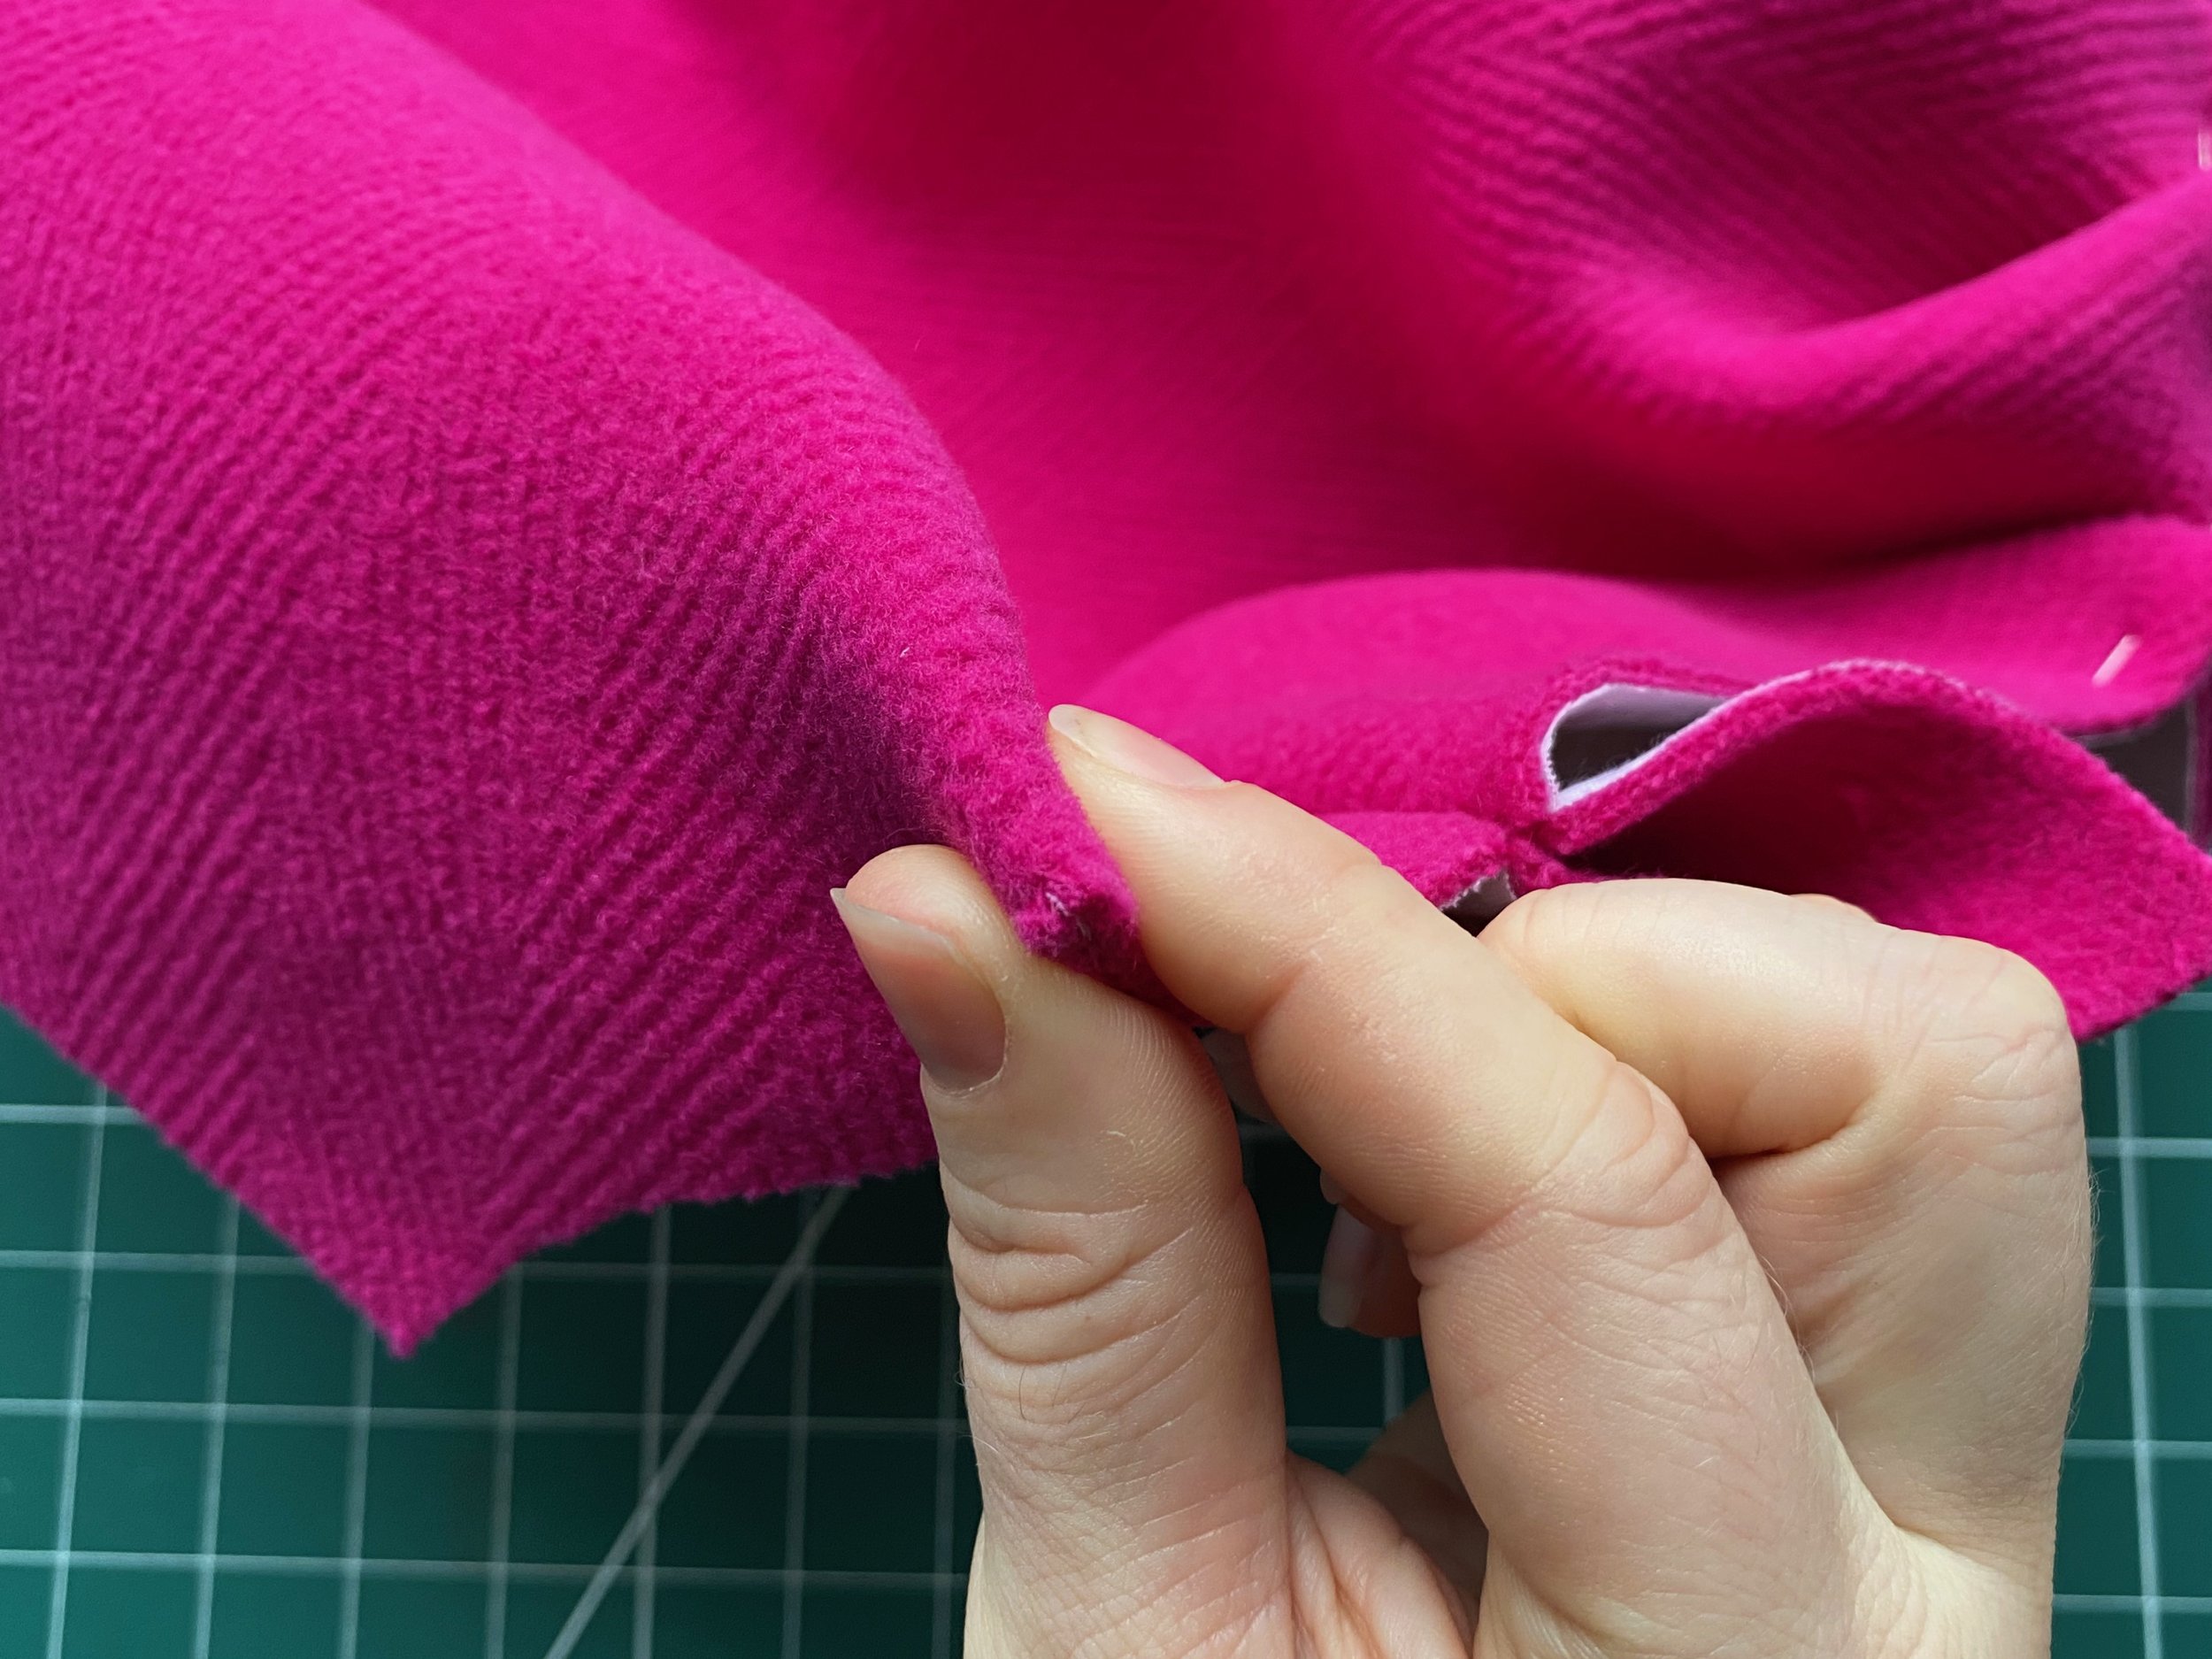
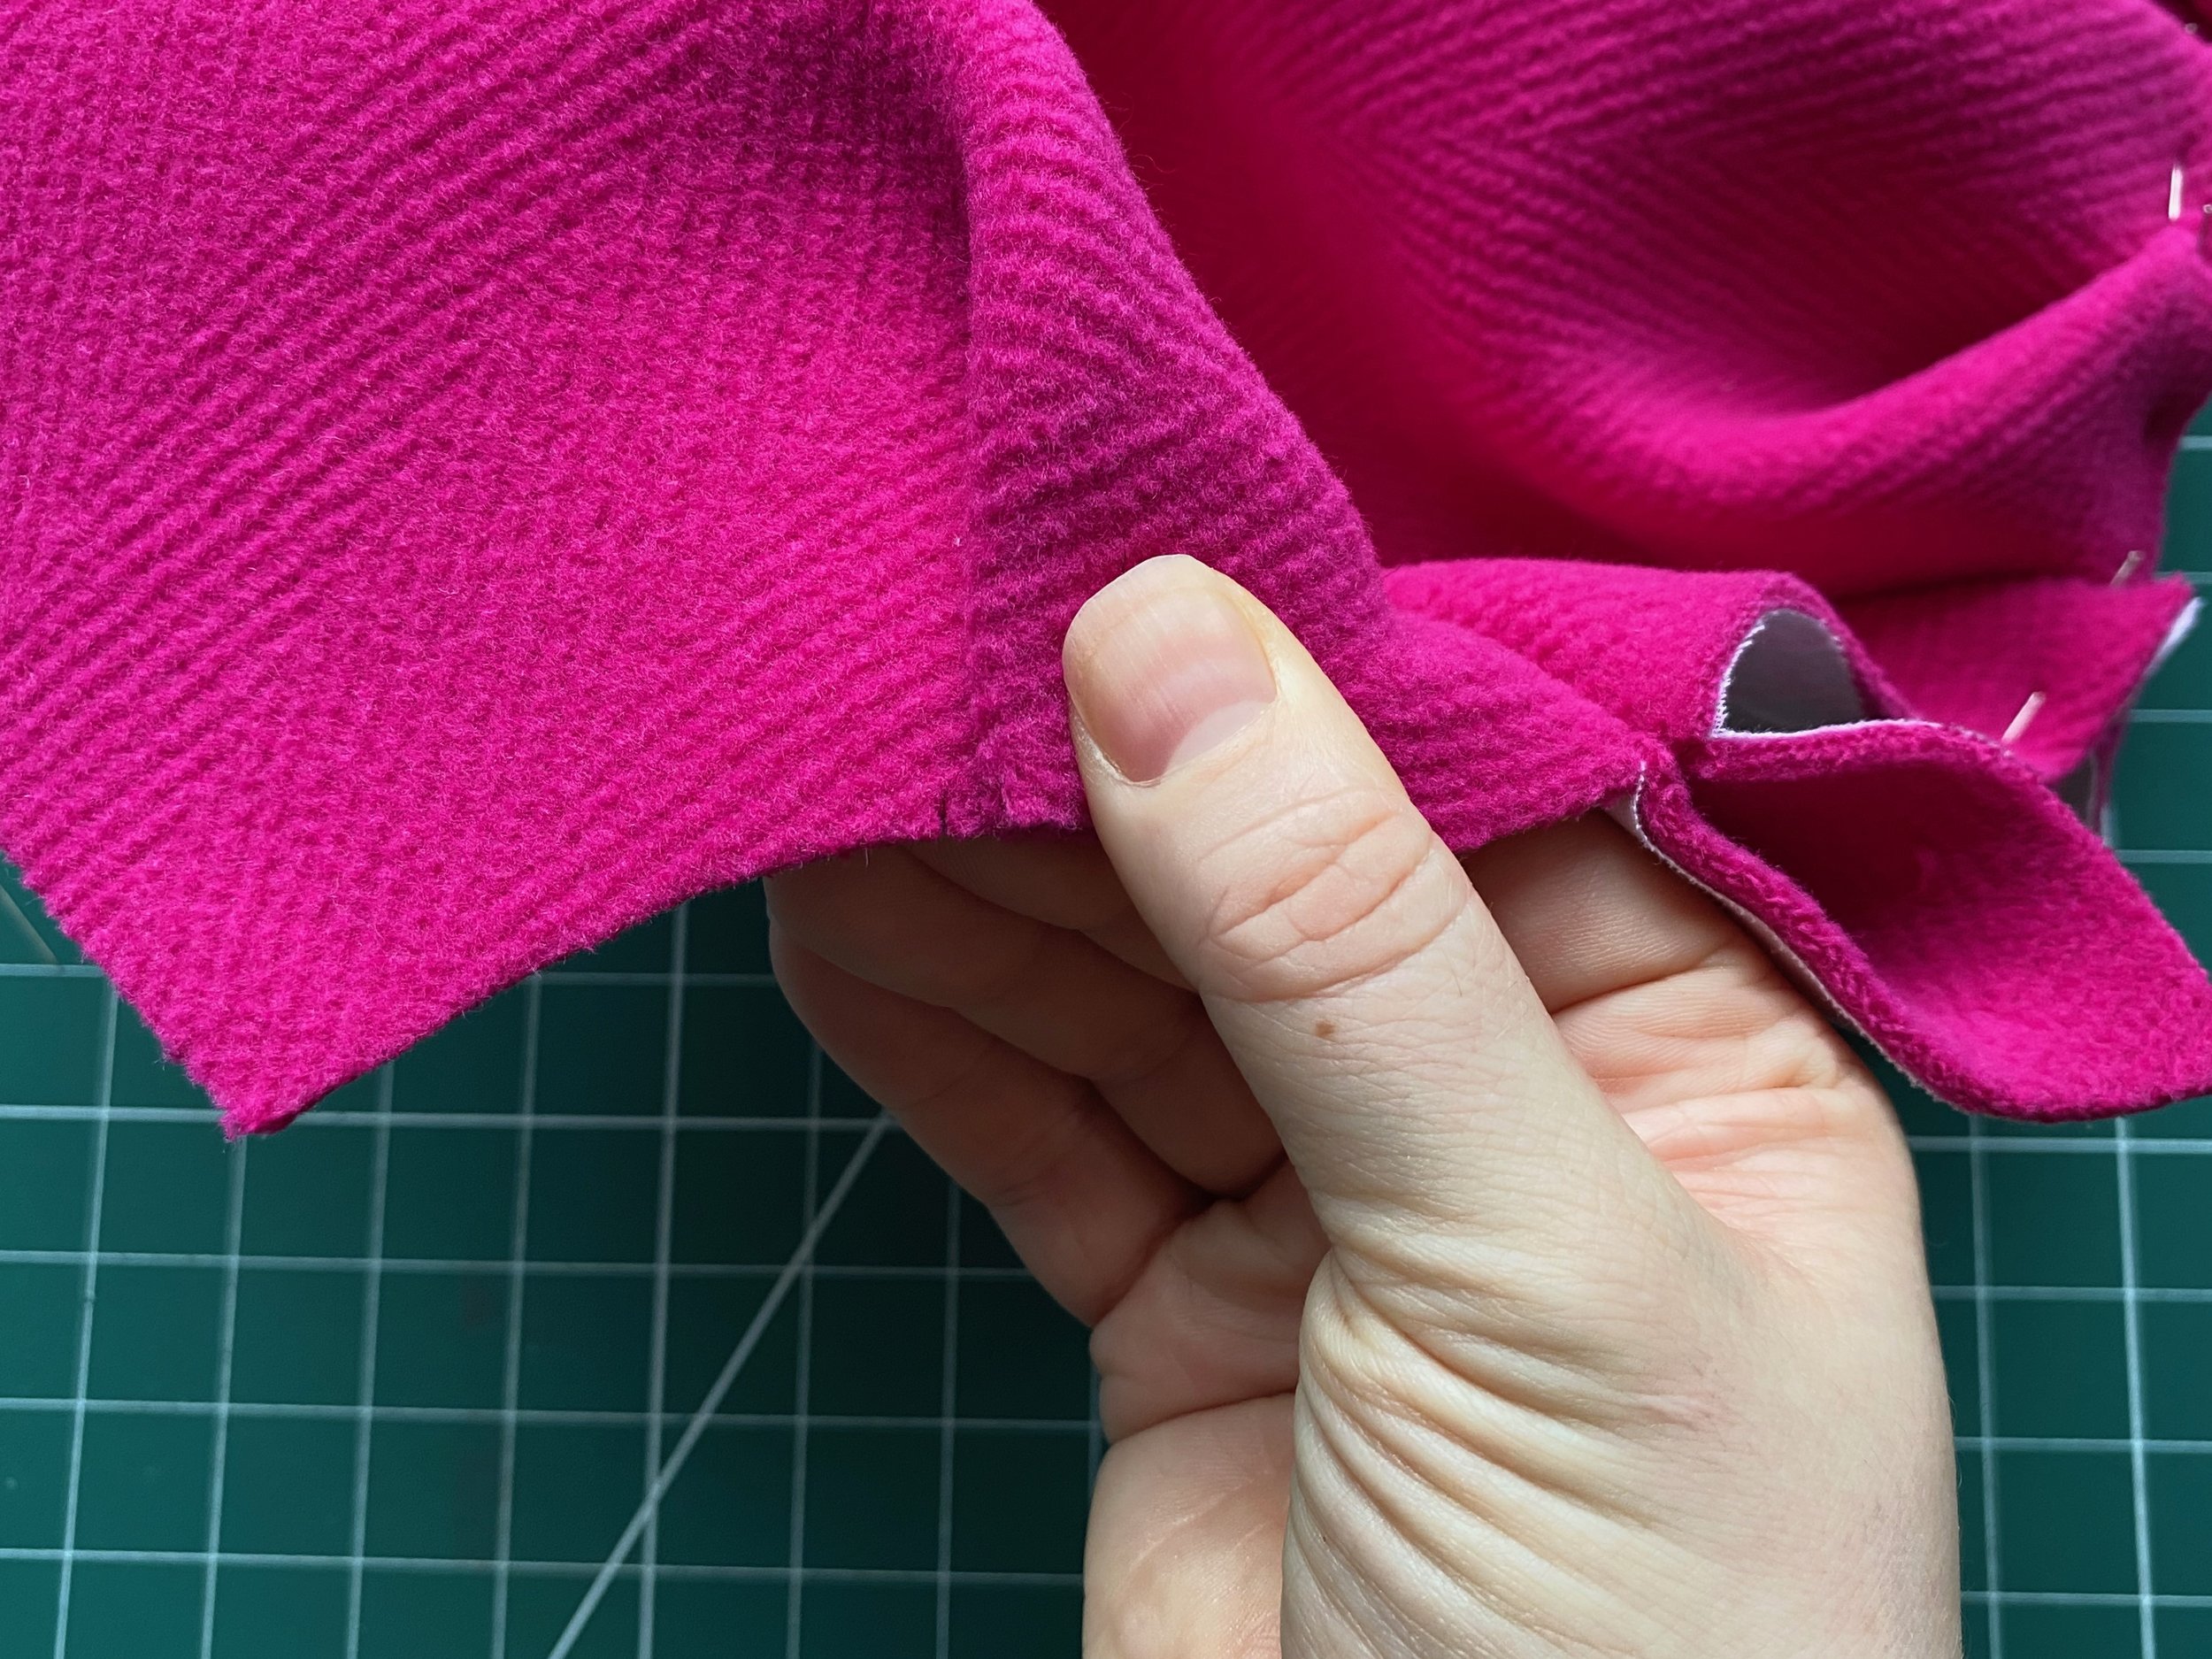
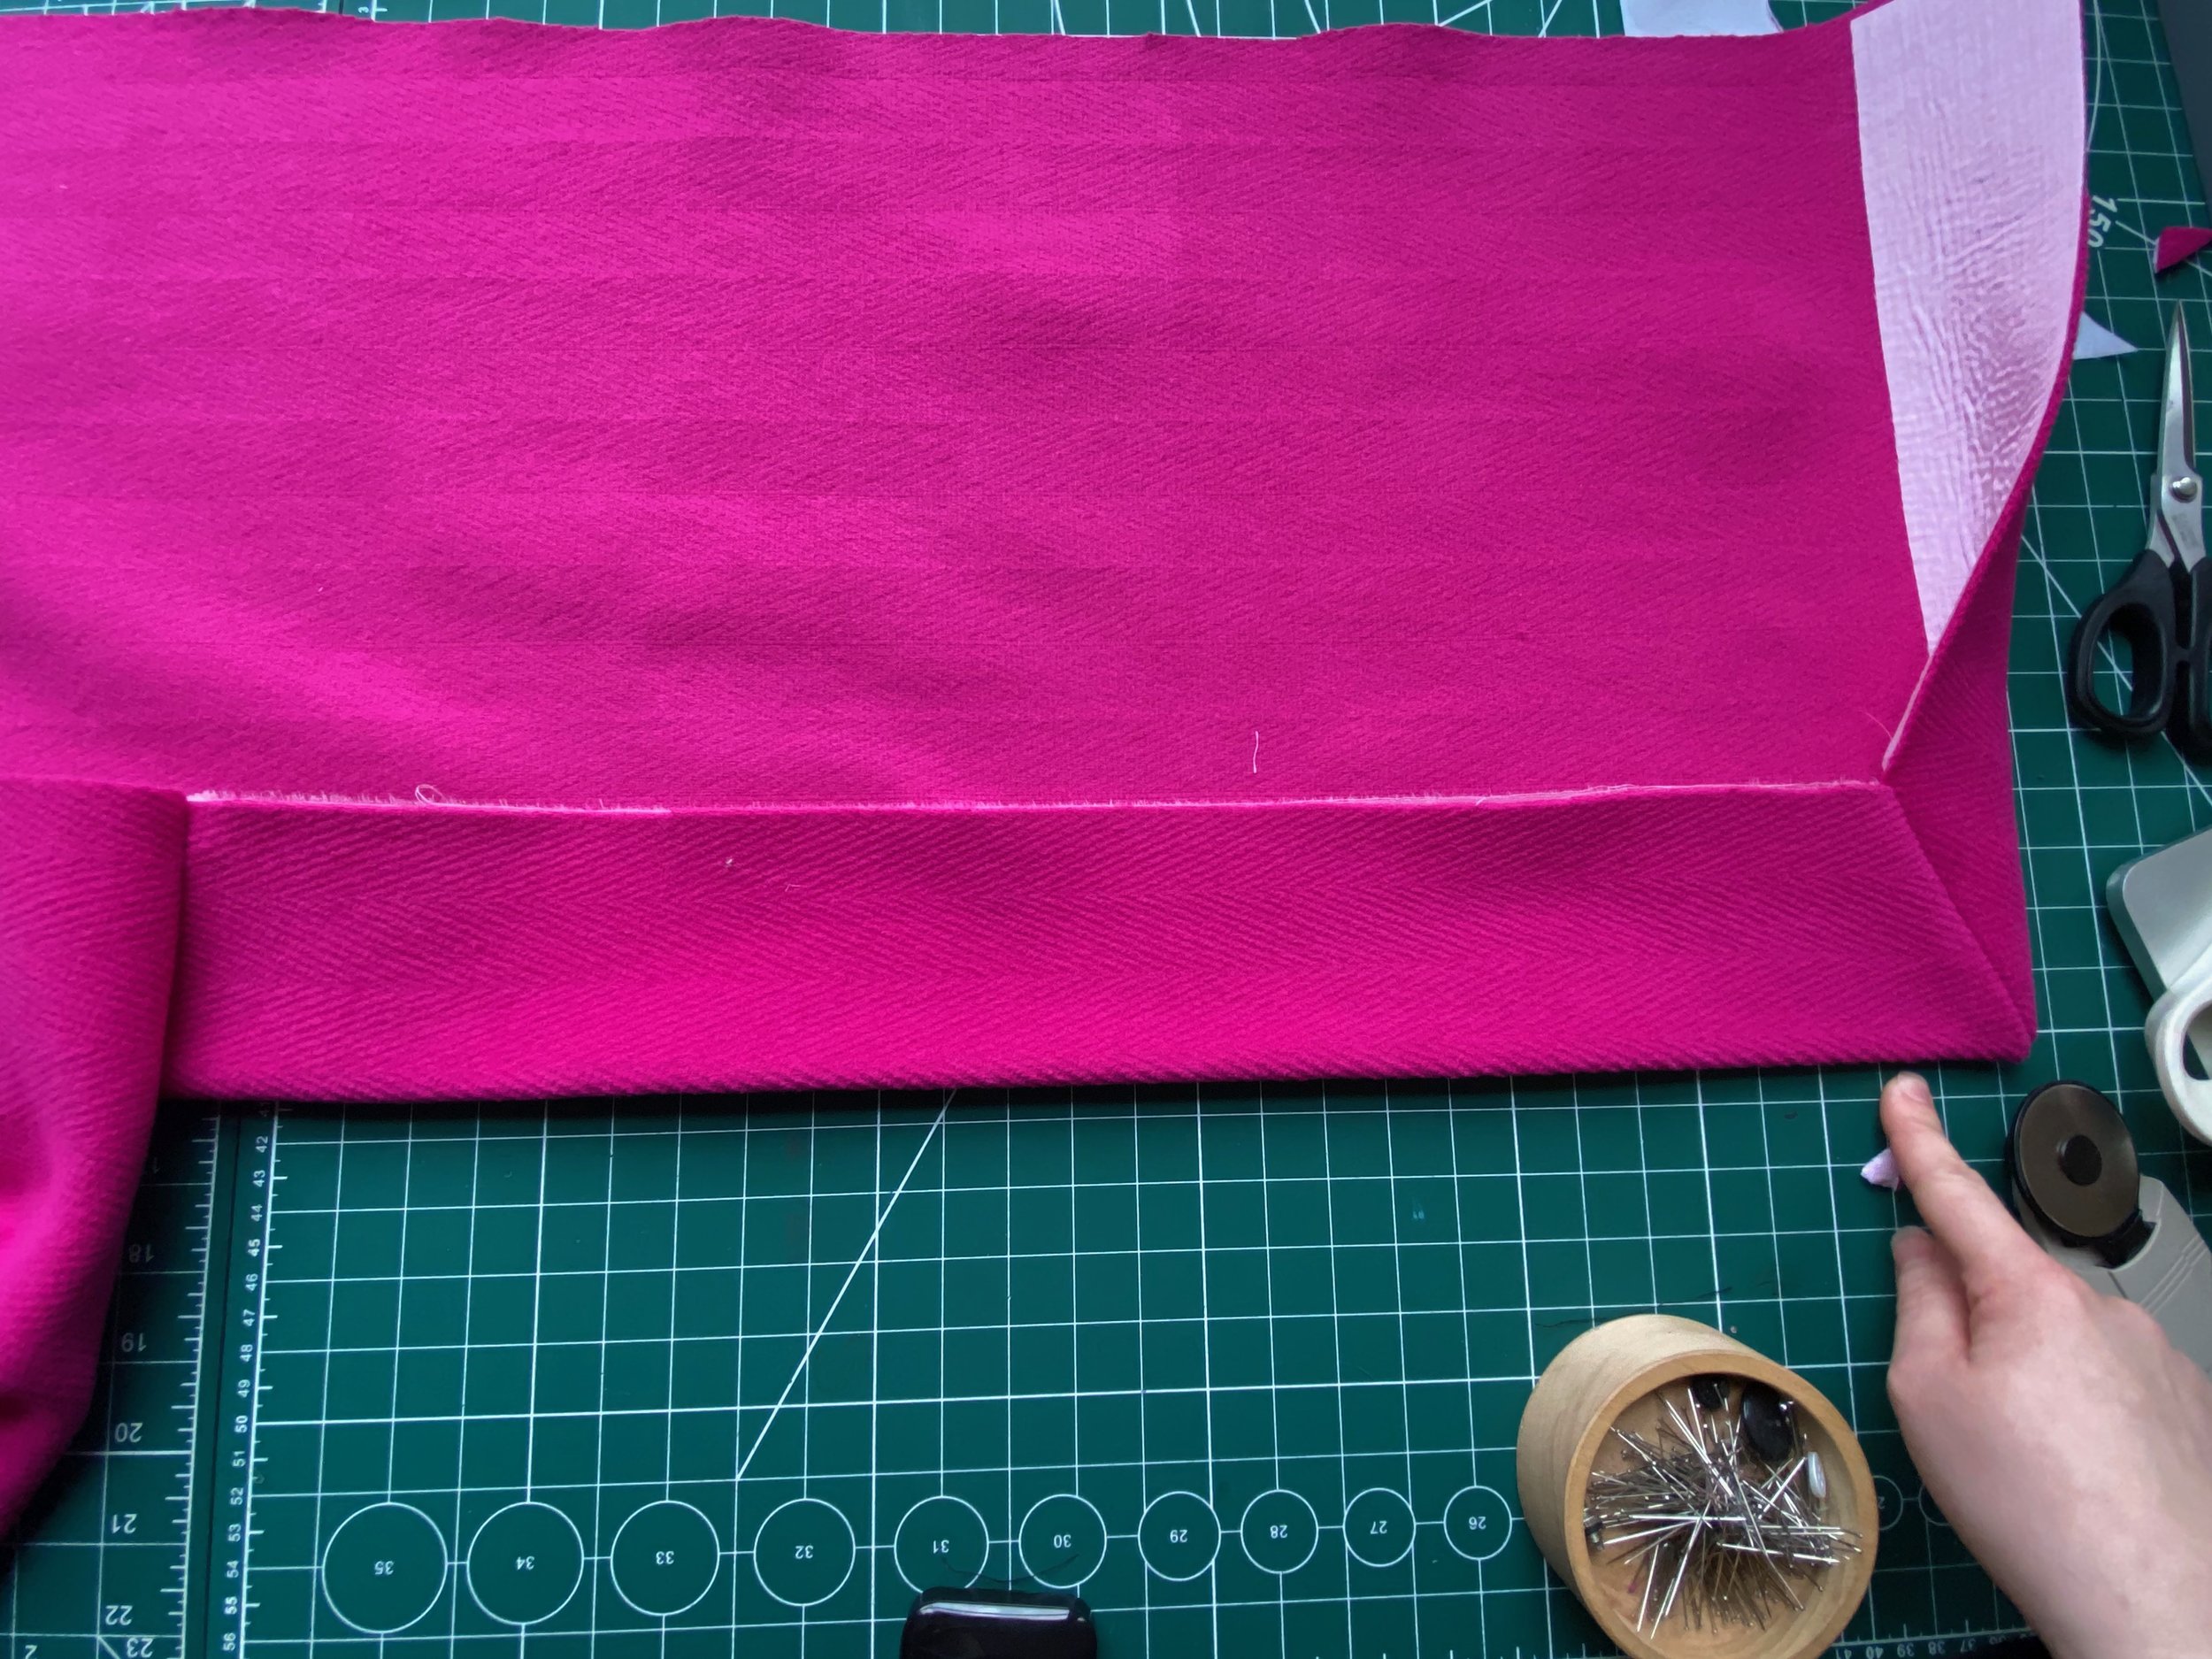
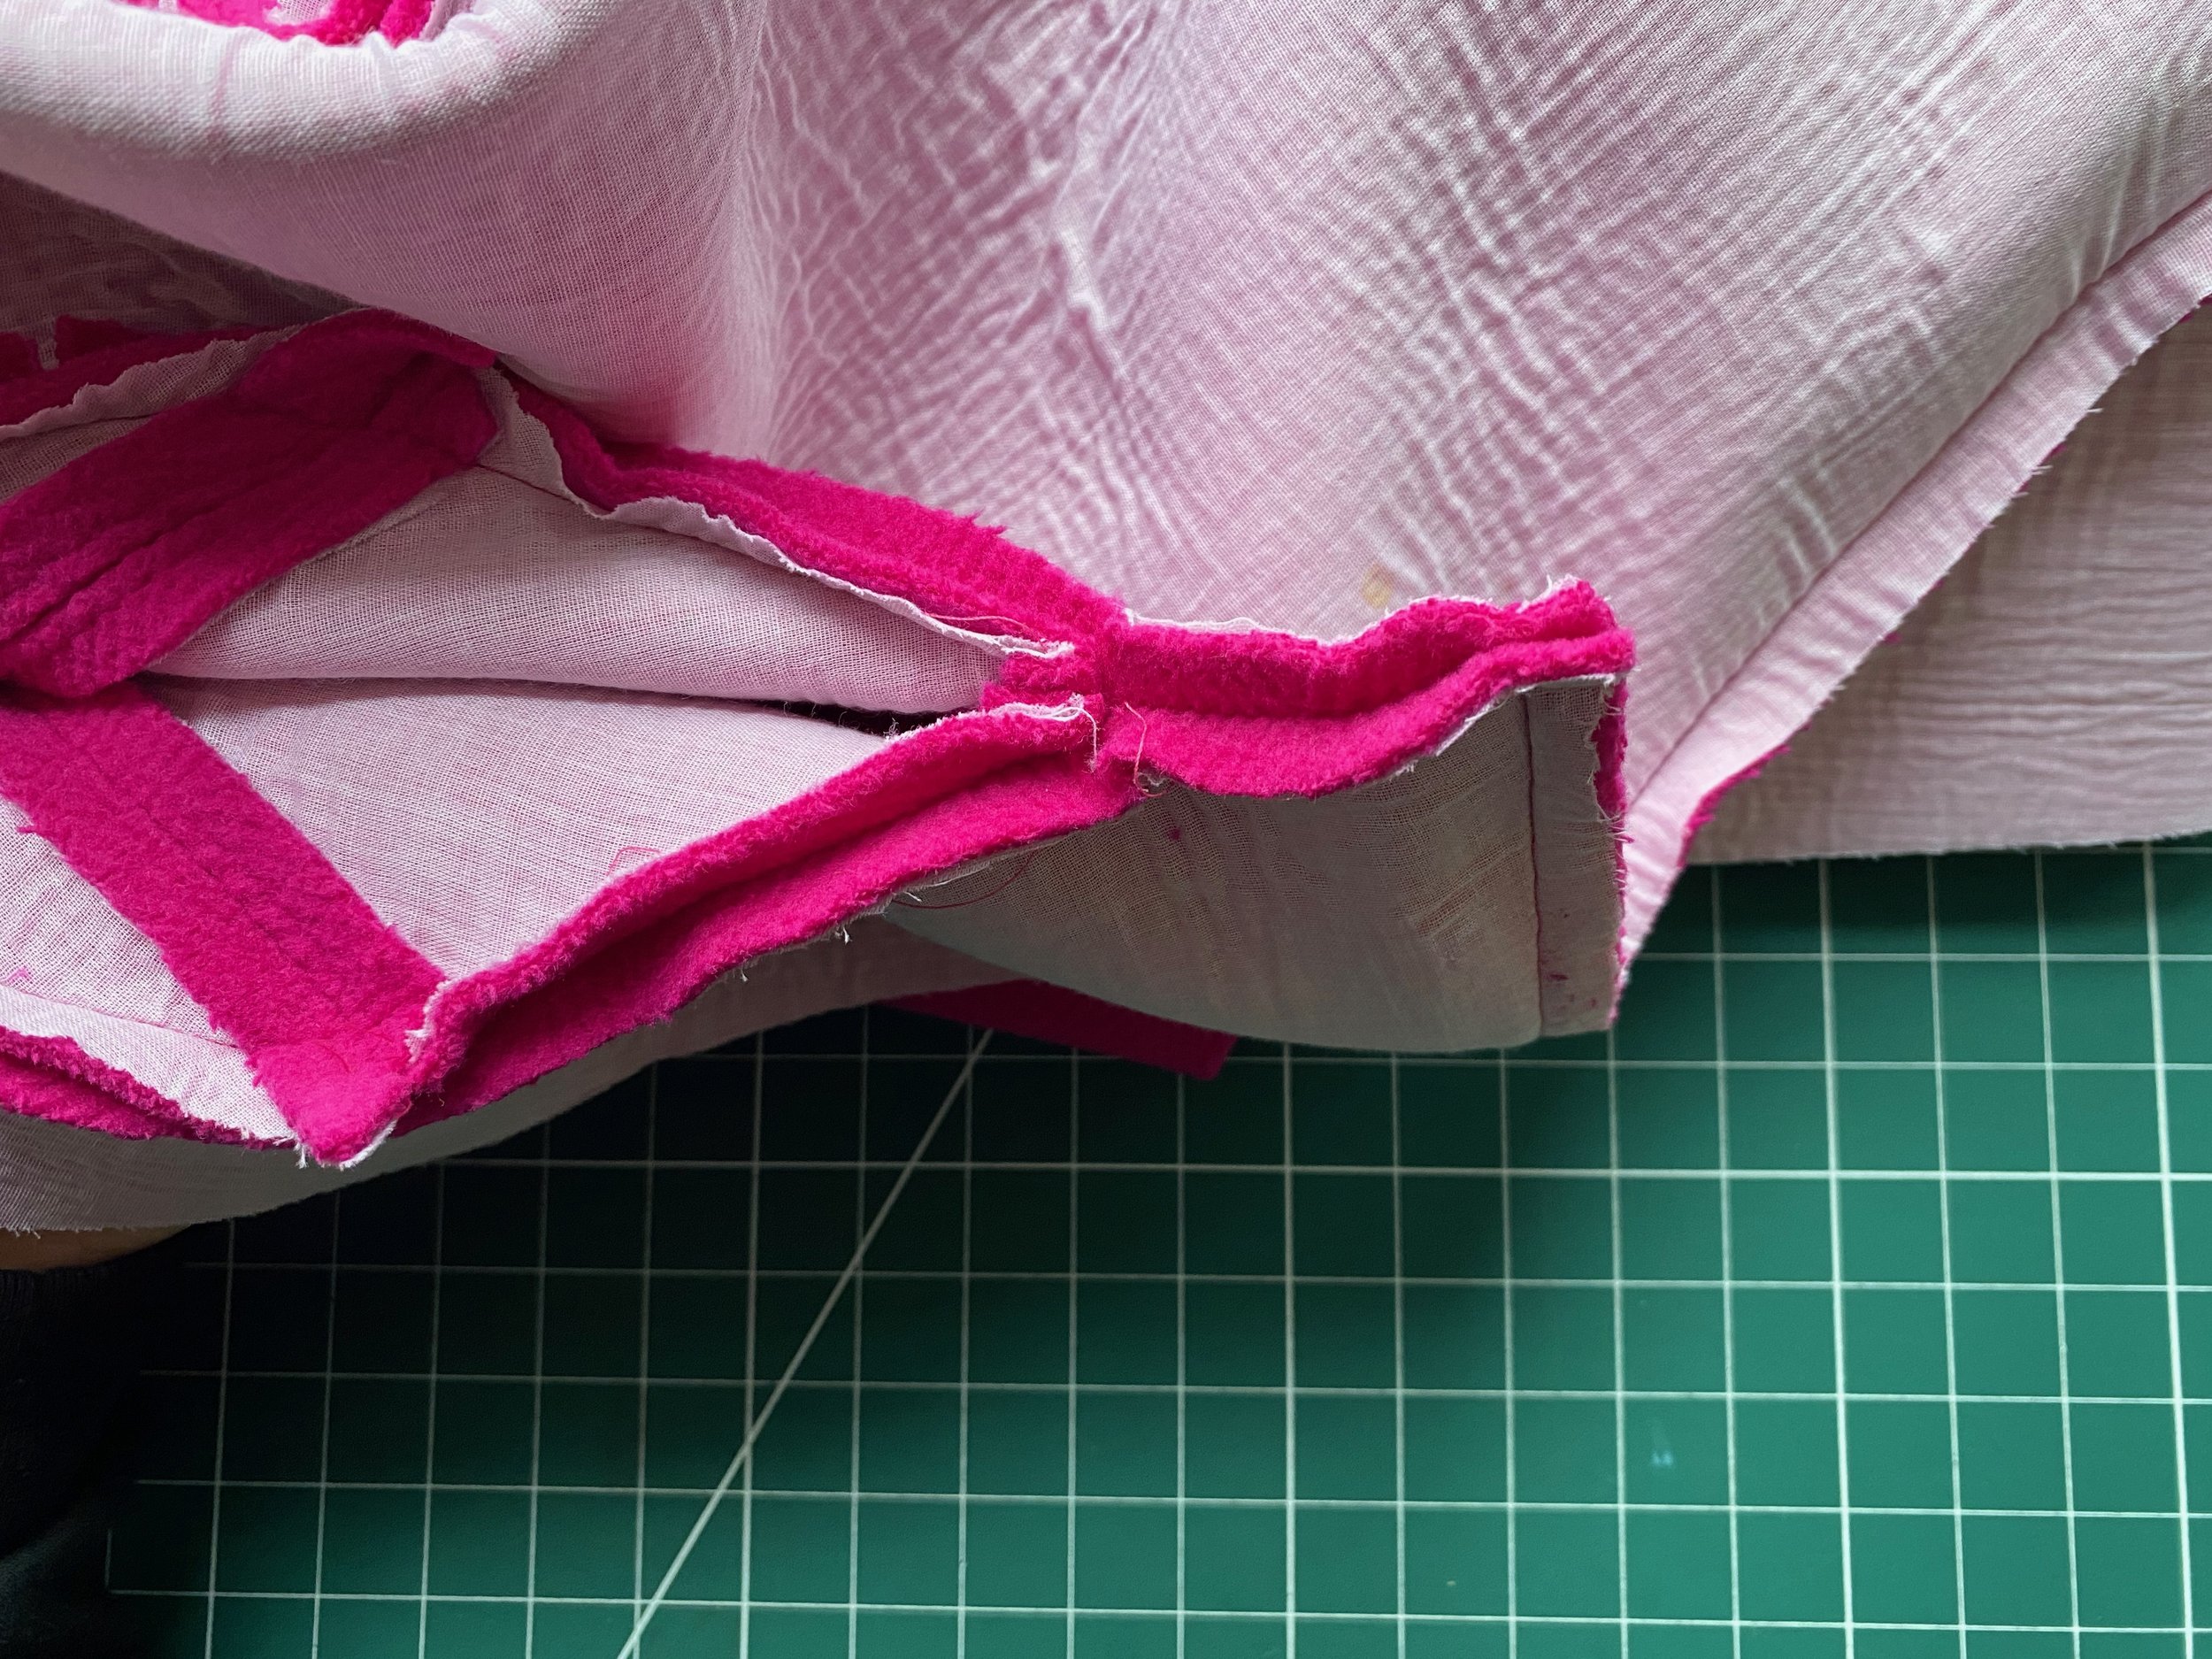
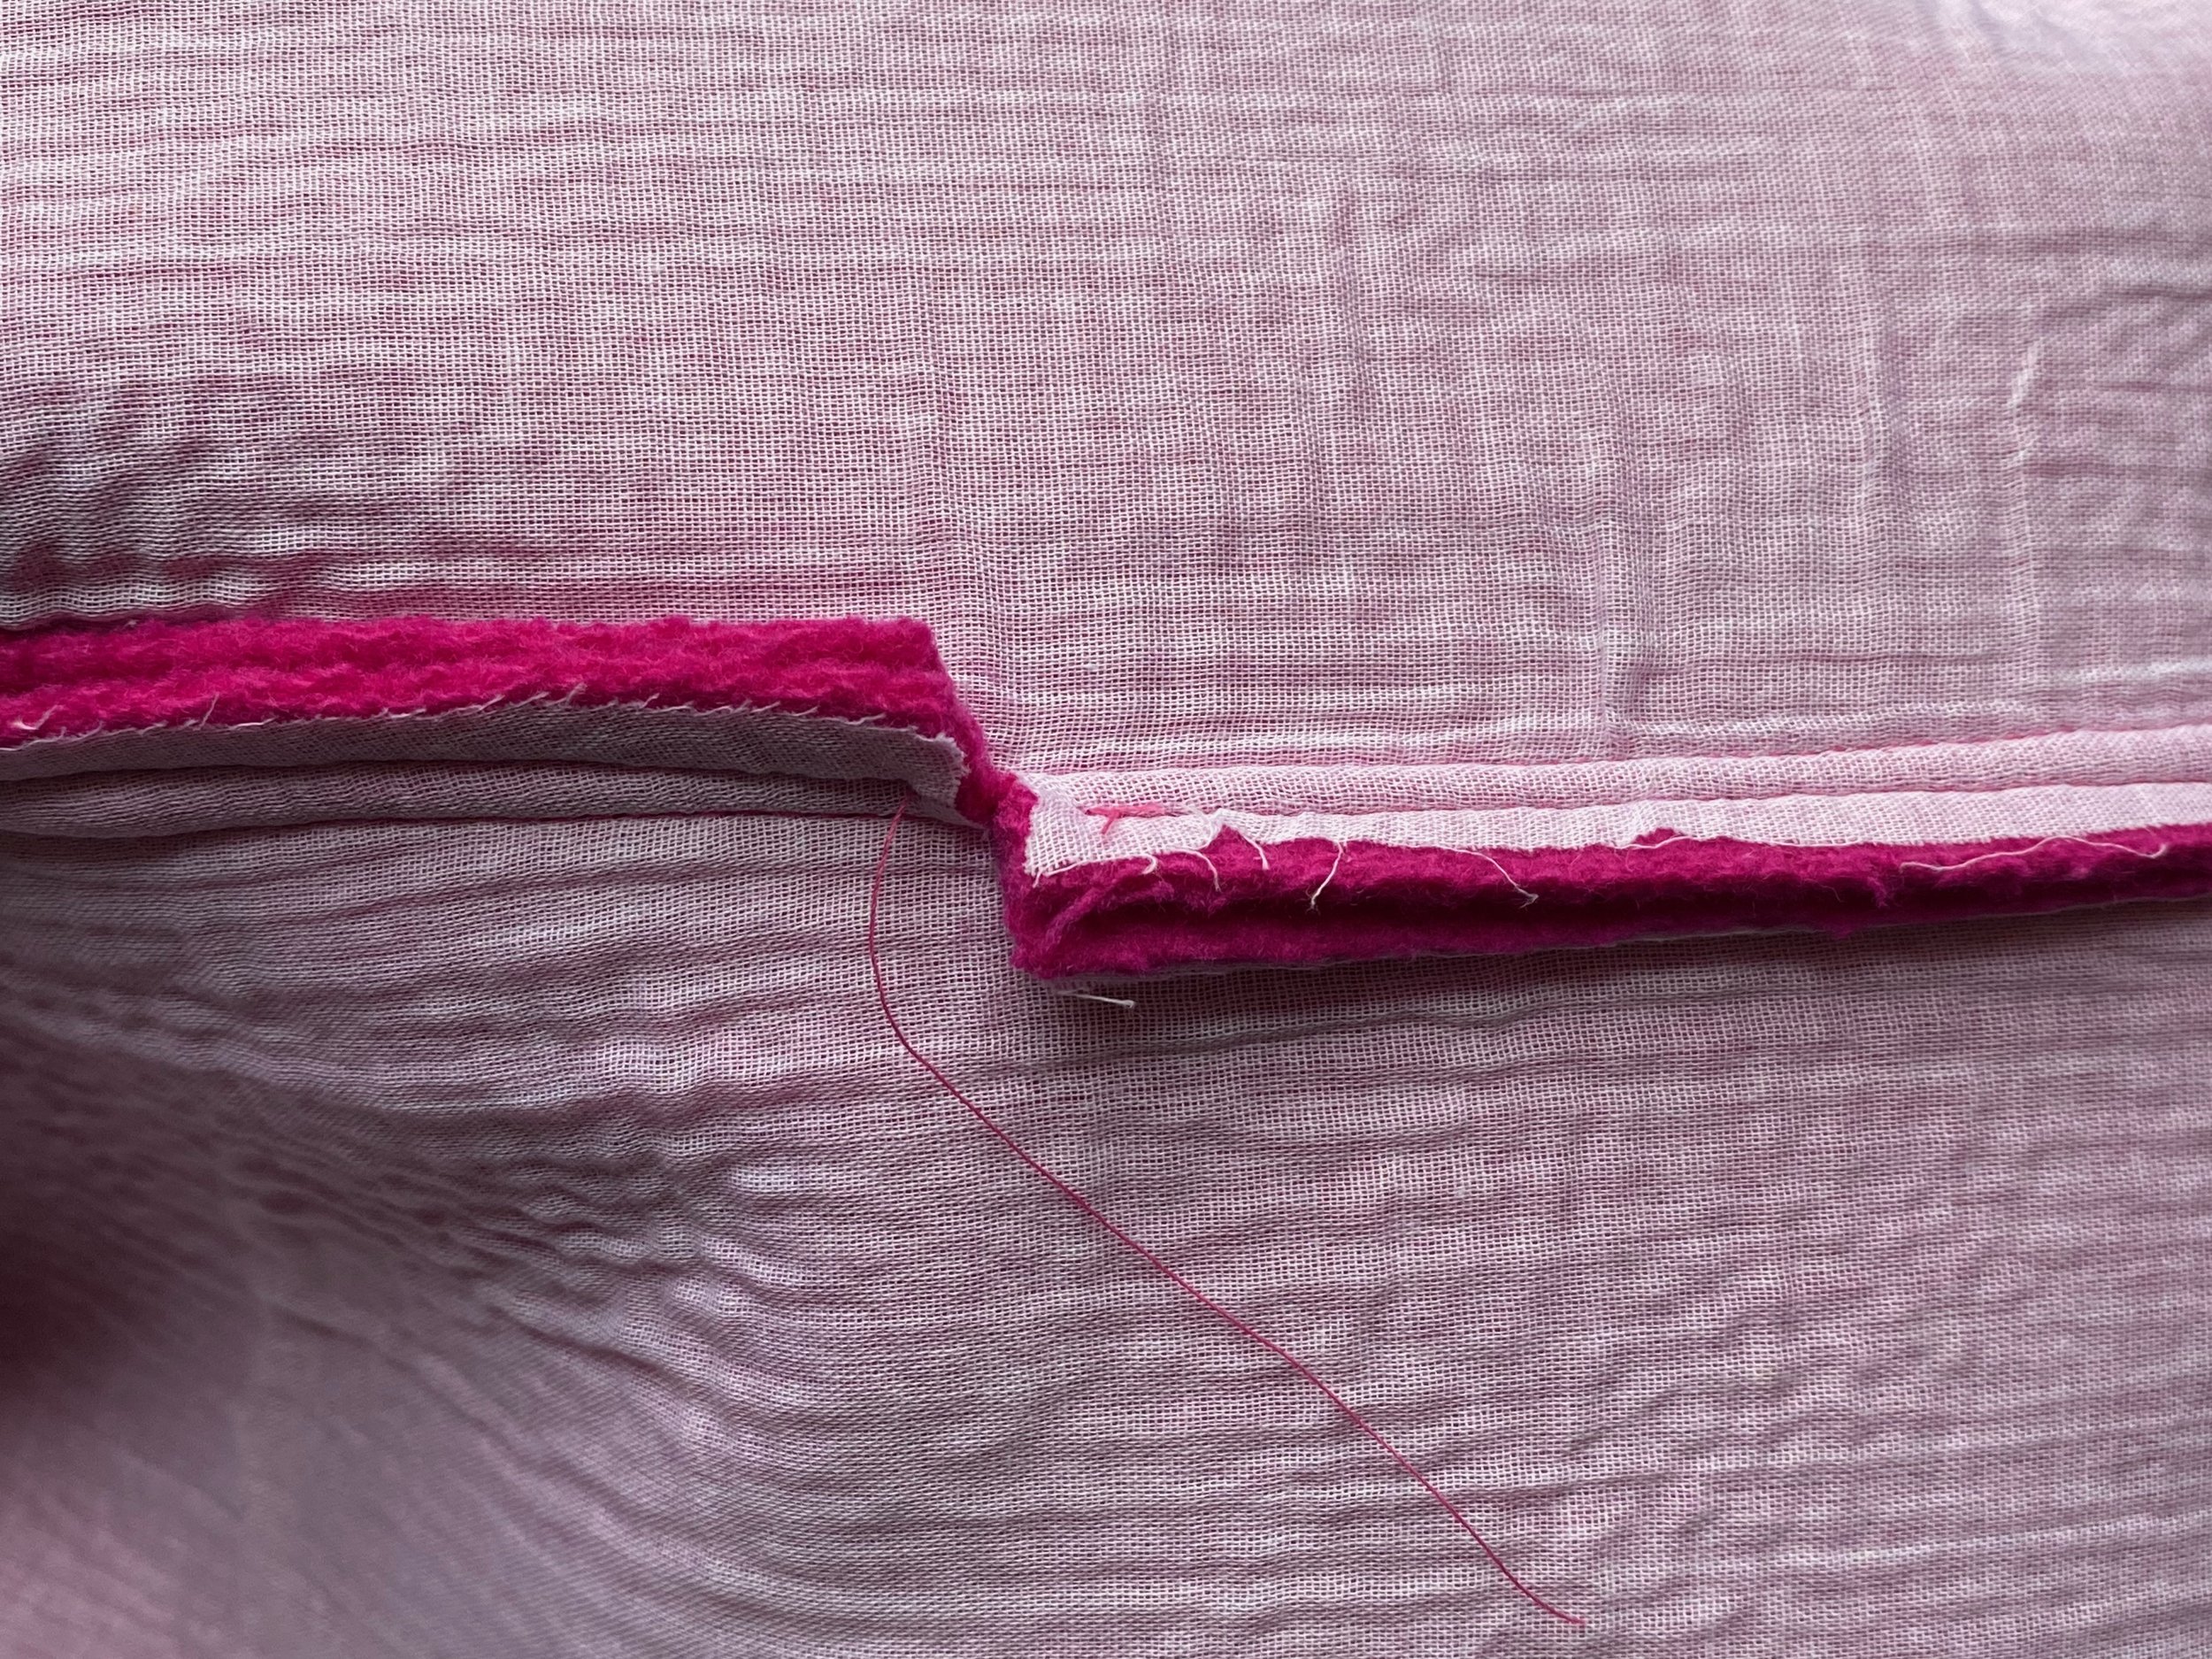
The first image shows the 1cm at the end of the vent that needed to be left free. This is crucial for closing your lining later on.
The mitred corner on the back left hem is also shown here. Its so satisfying when its sewn, snipped and pressed nicely!
Snip into the end of the right back seam allowance to the corner. You can see here that the seam allowances wants to sit in the opposite direction to the vent.

SETTING IN THE SLEEVE
Booklet step 14.
I know some sewists can find sewing in a sleeve really difficult. I don’t understand this, lol, so I’m here to help you!
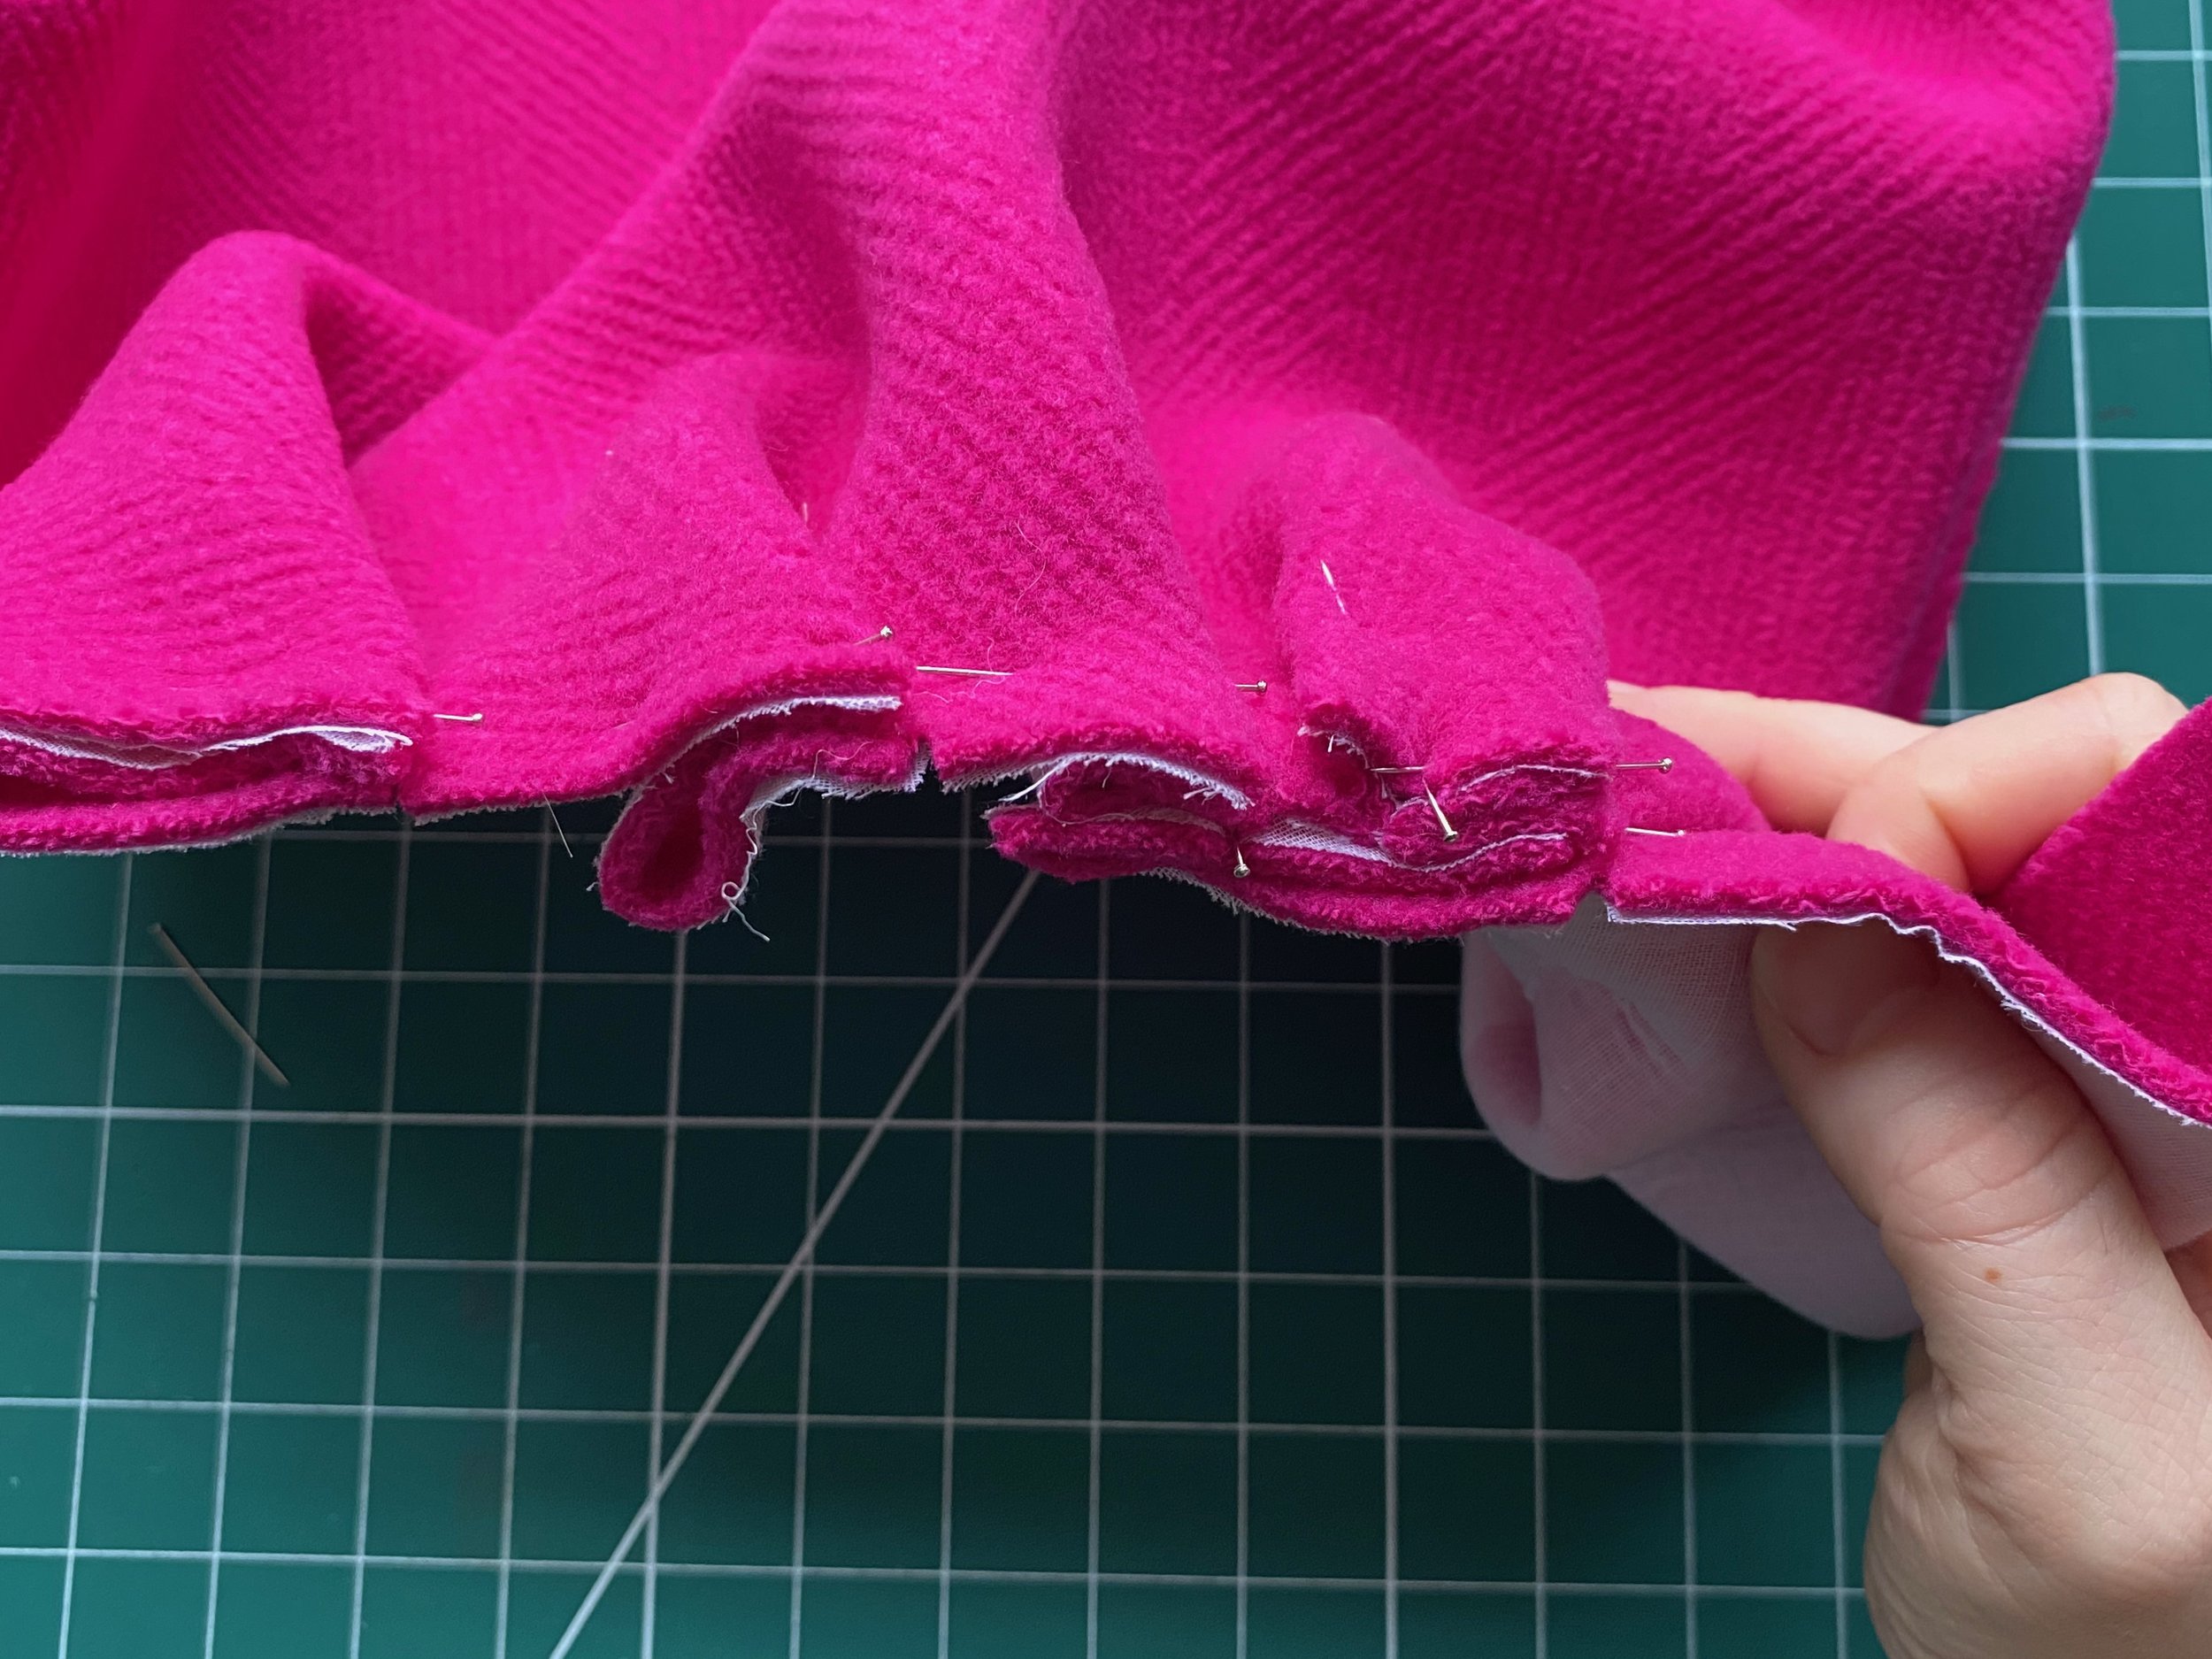
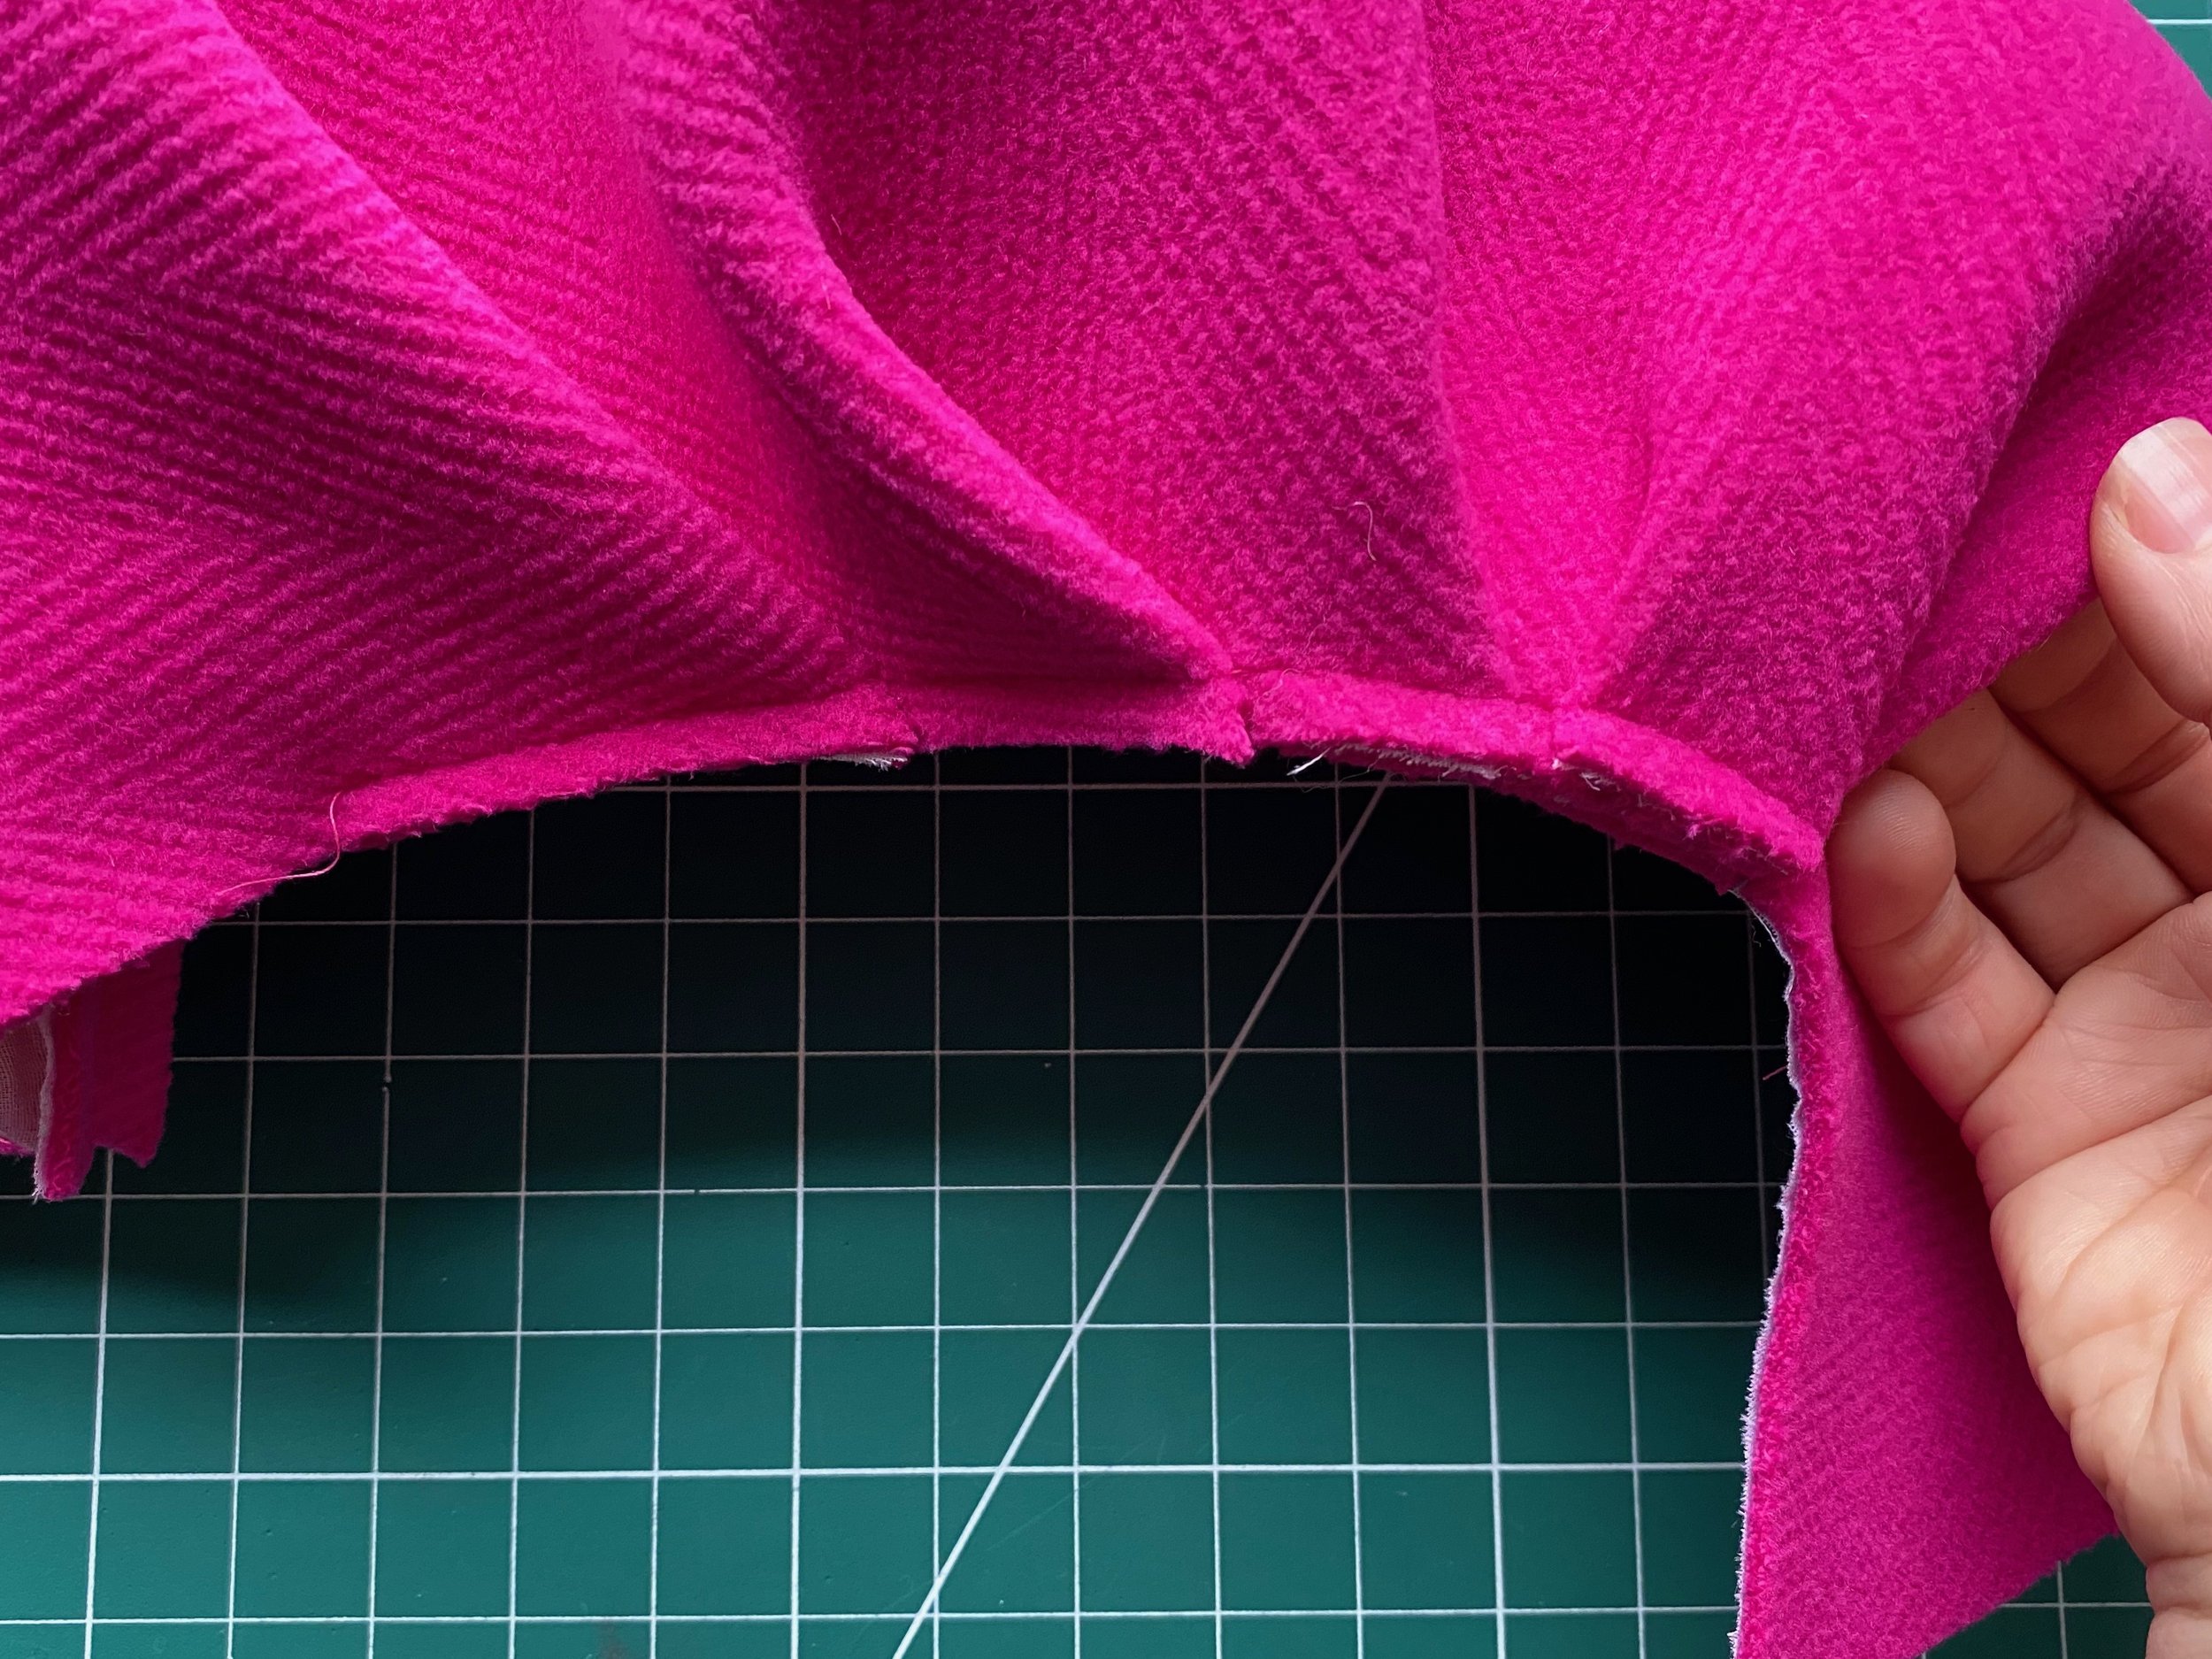
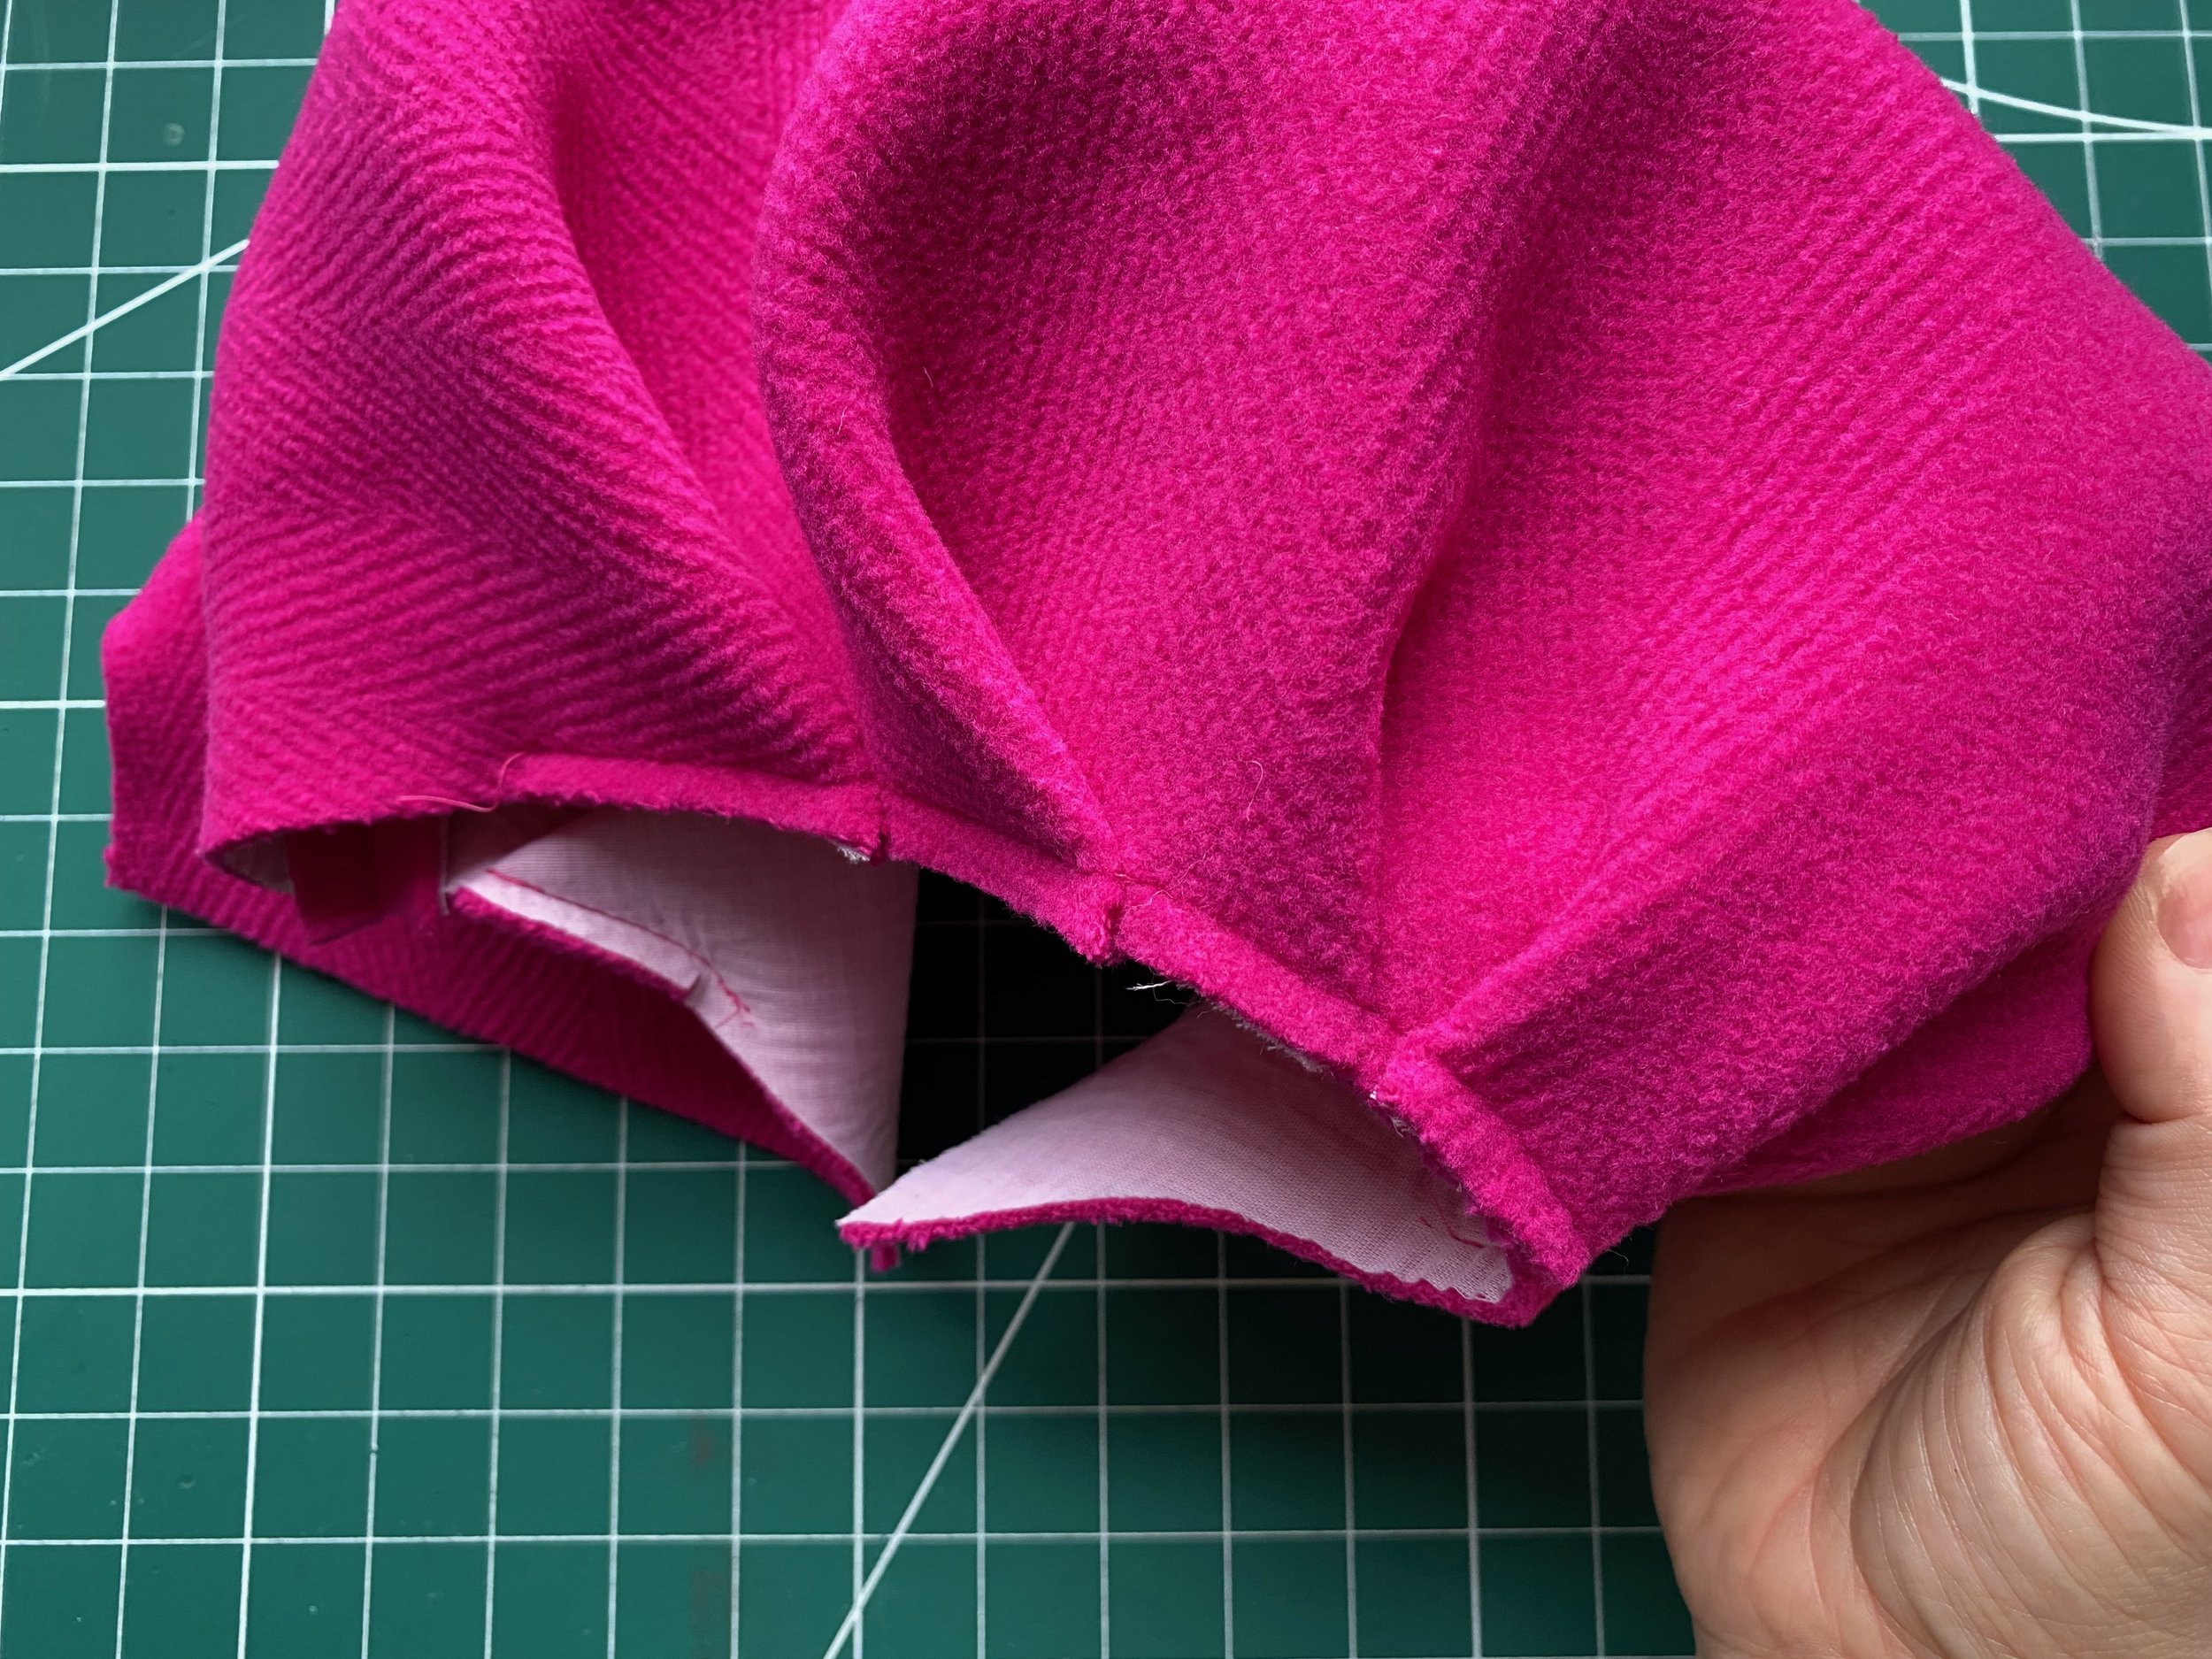
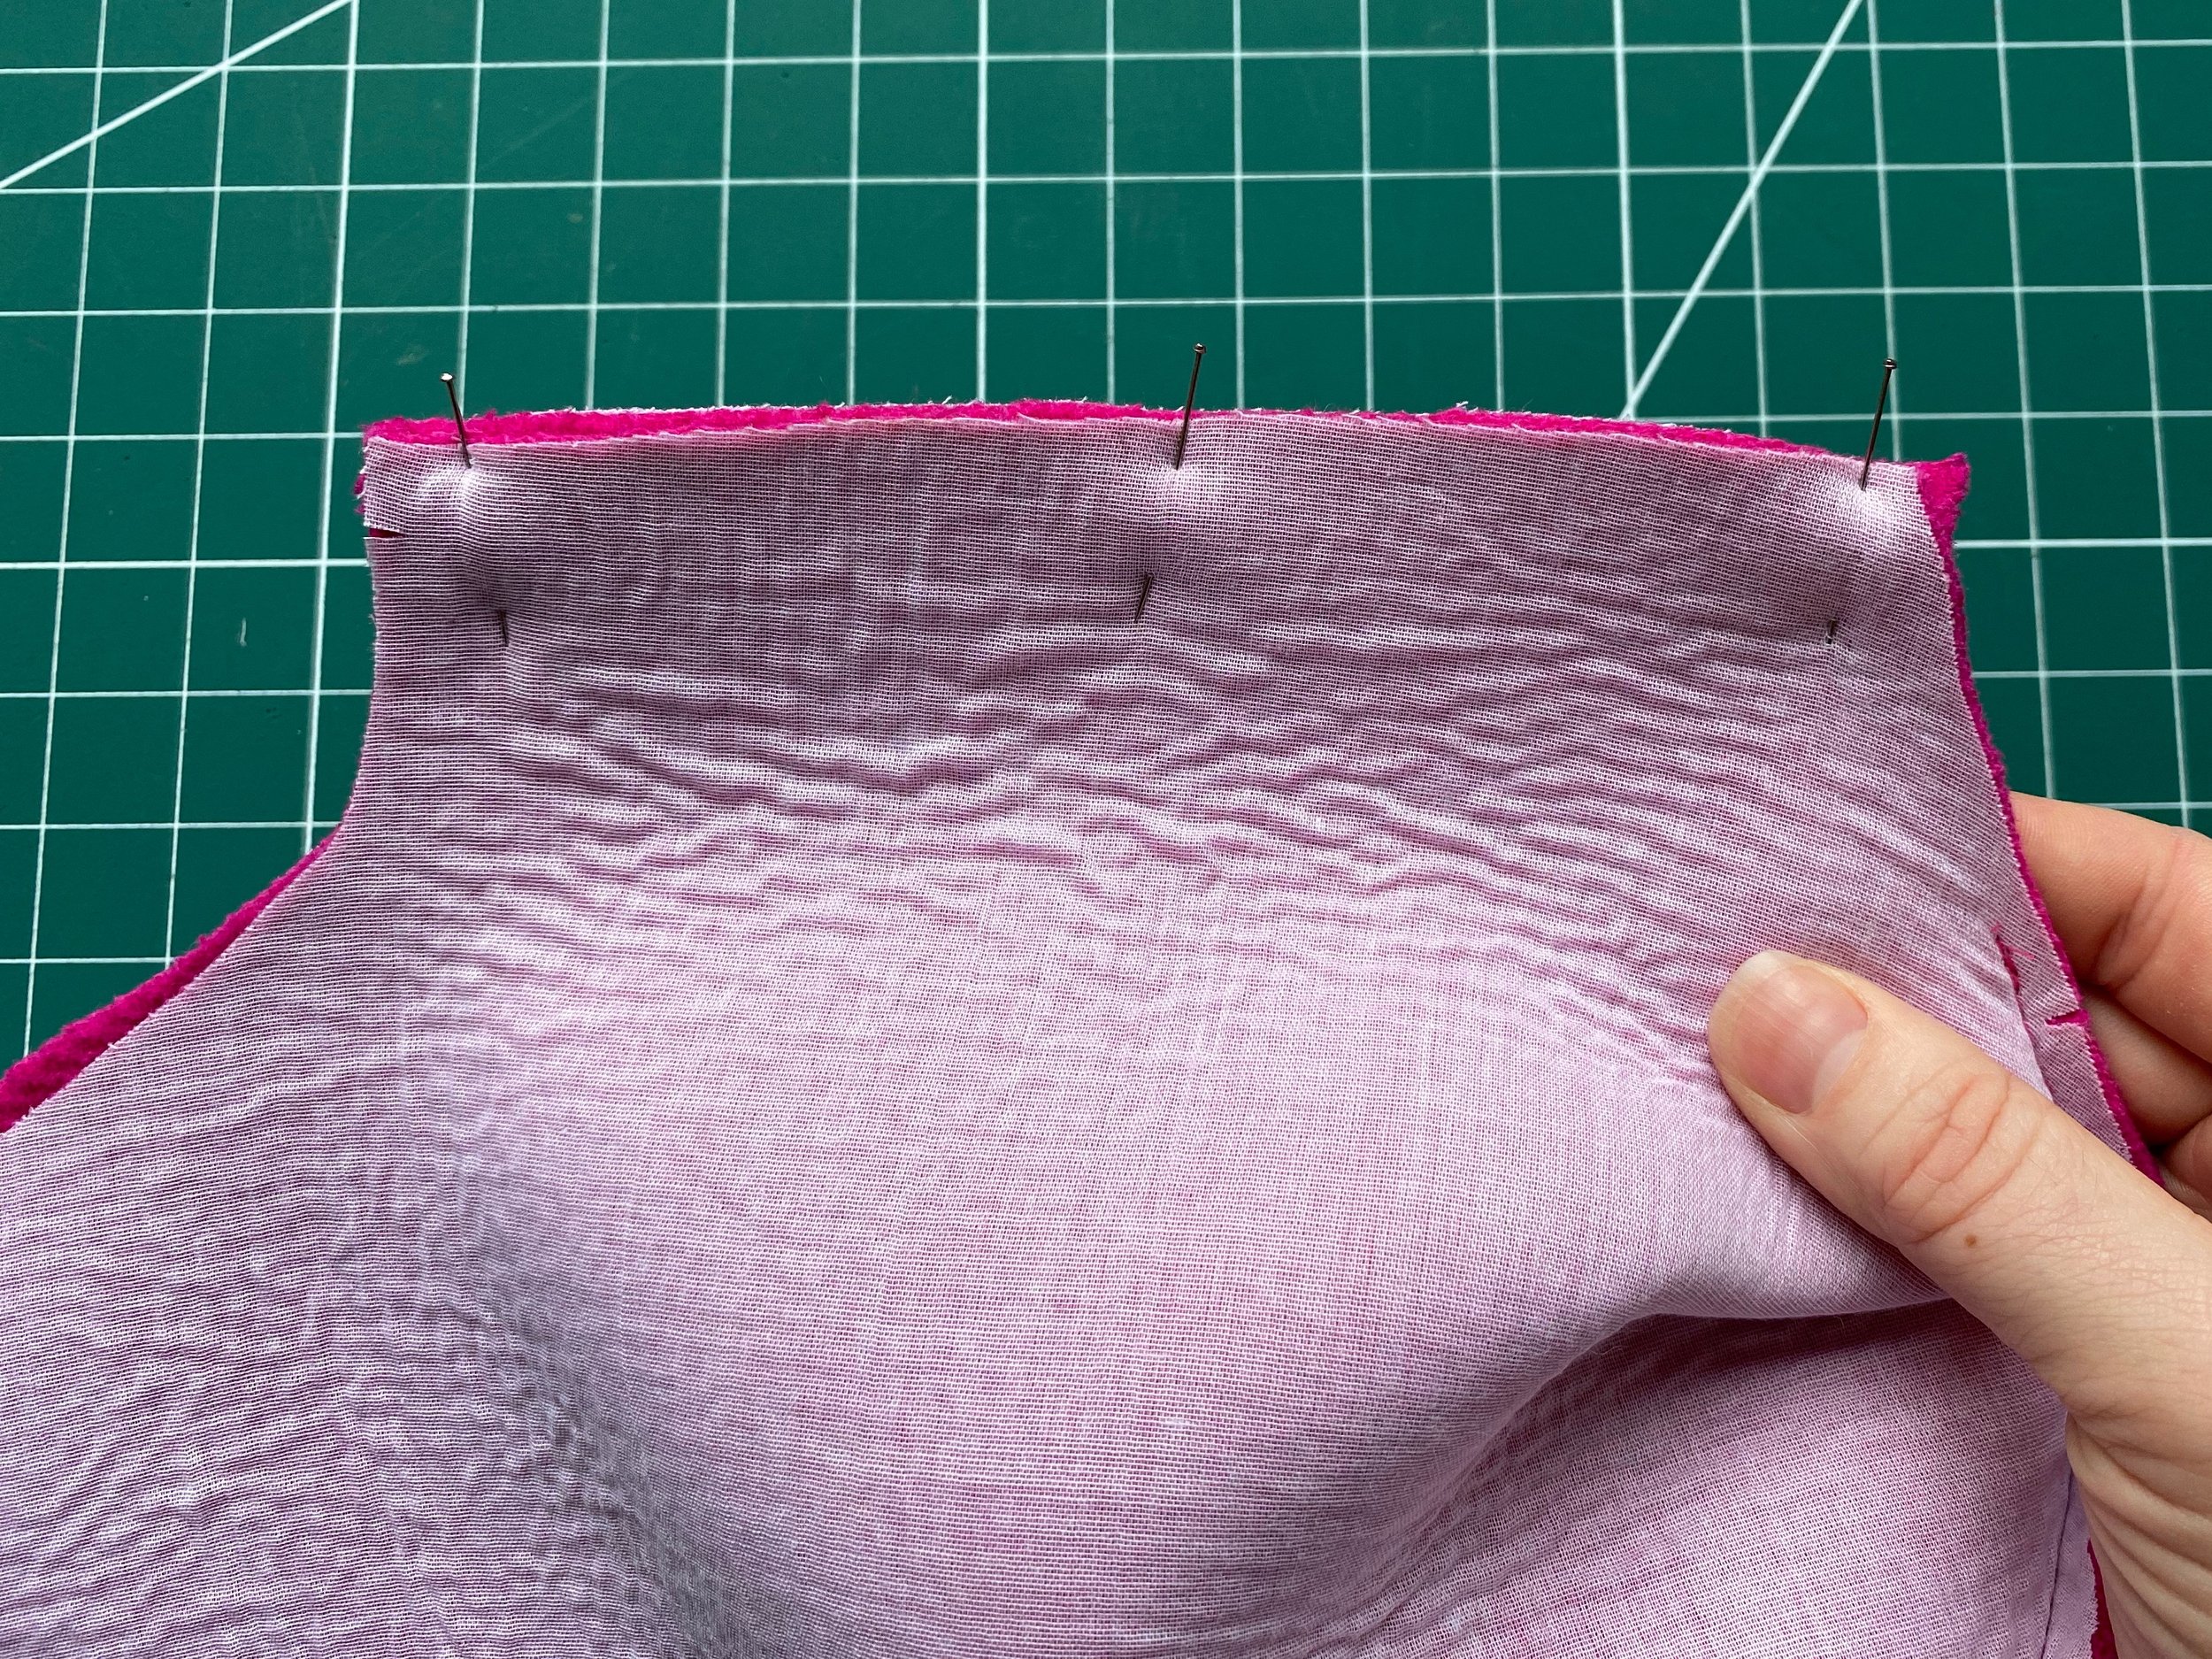
As the booklet says- Pin the Sleeve at the underarm seam to the first notch on the back at the lower armhole to hold the sleeve in place. Now turn the body of the coat inside out so the armhole seams are visible. Continue to match and pin the notches.
There is no ease in this sleevehead so it really is as simple as that.
COLLAR
Booklet steps 15-17.
The actual collar construction isn’t tricky, but sewing it to the neckline can be. The end 1cm being left free is essential for attaching to the neckline as you need to sew these edges separately.
On light jackets all layers of a neckline can be sewn in one, this method is not ideal for a coat of this weight.

So you have the outer layer of the coat now and you can work on the lining.
LINING
Booklet steps 18 to end.
For my lining fabric I chose a cotton lawn for the body and a shiny acetate for the sleeve. I do wish i could have found a heavier weight cotton than a lawn for the body but this was the best colour match I could find as the weight kind compliments the outer. But I have to say a lining is a functioning layer of a garment so I do need to be careful as I wear the coat that the lining section isn’t put under any pressure from the weight of the outer as it will rip.
The shiny acetate for the sleeve is necessary so my arm can slide in and out without any friction.

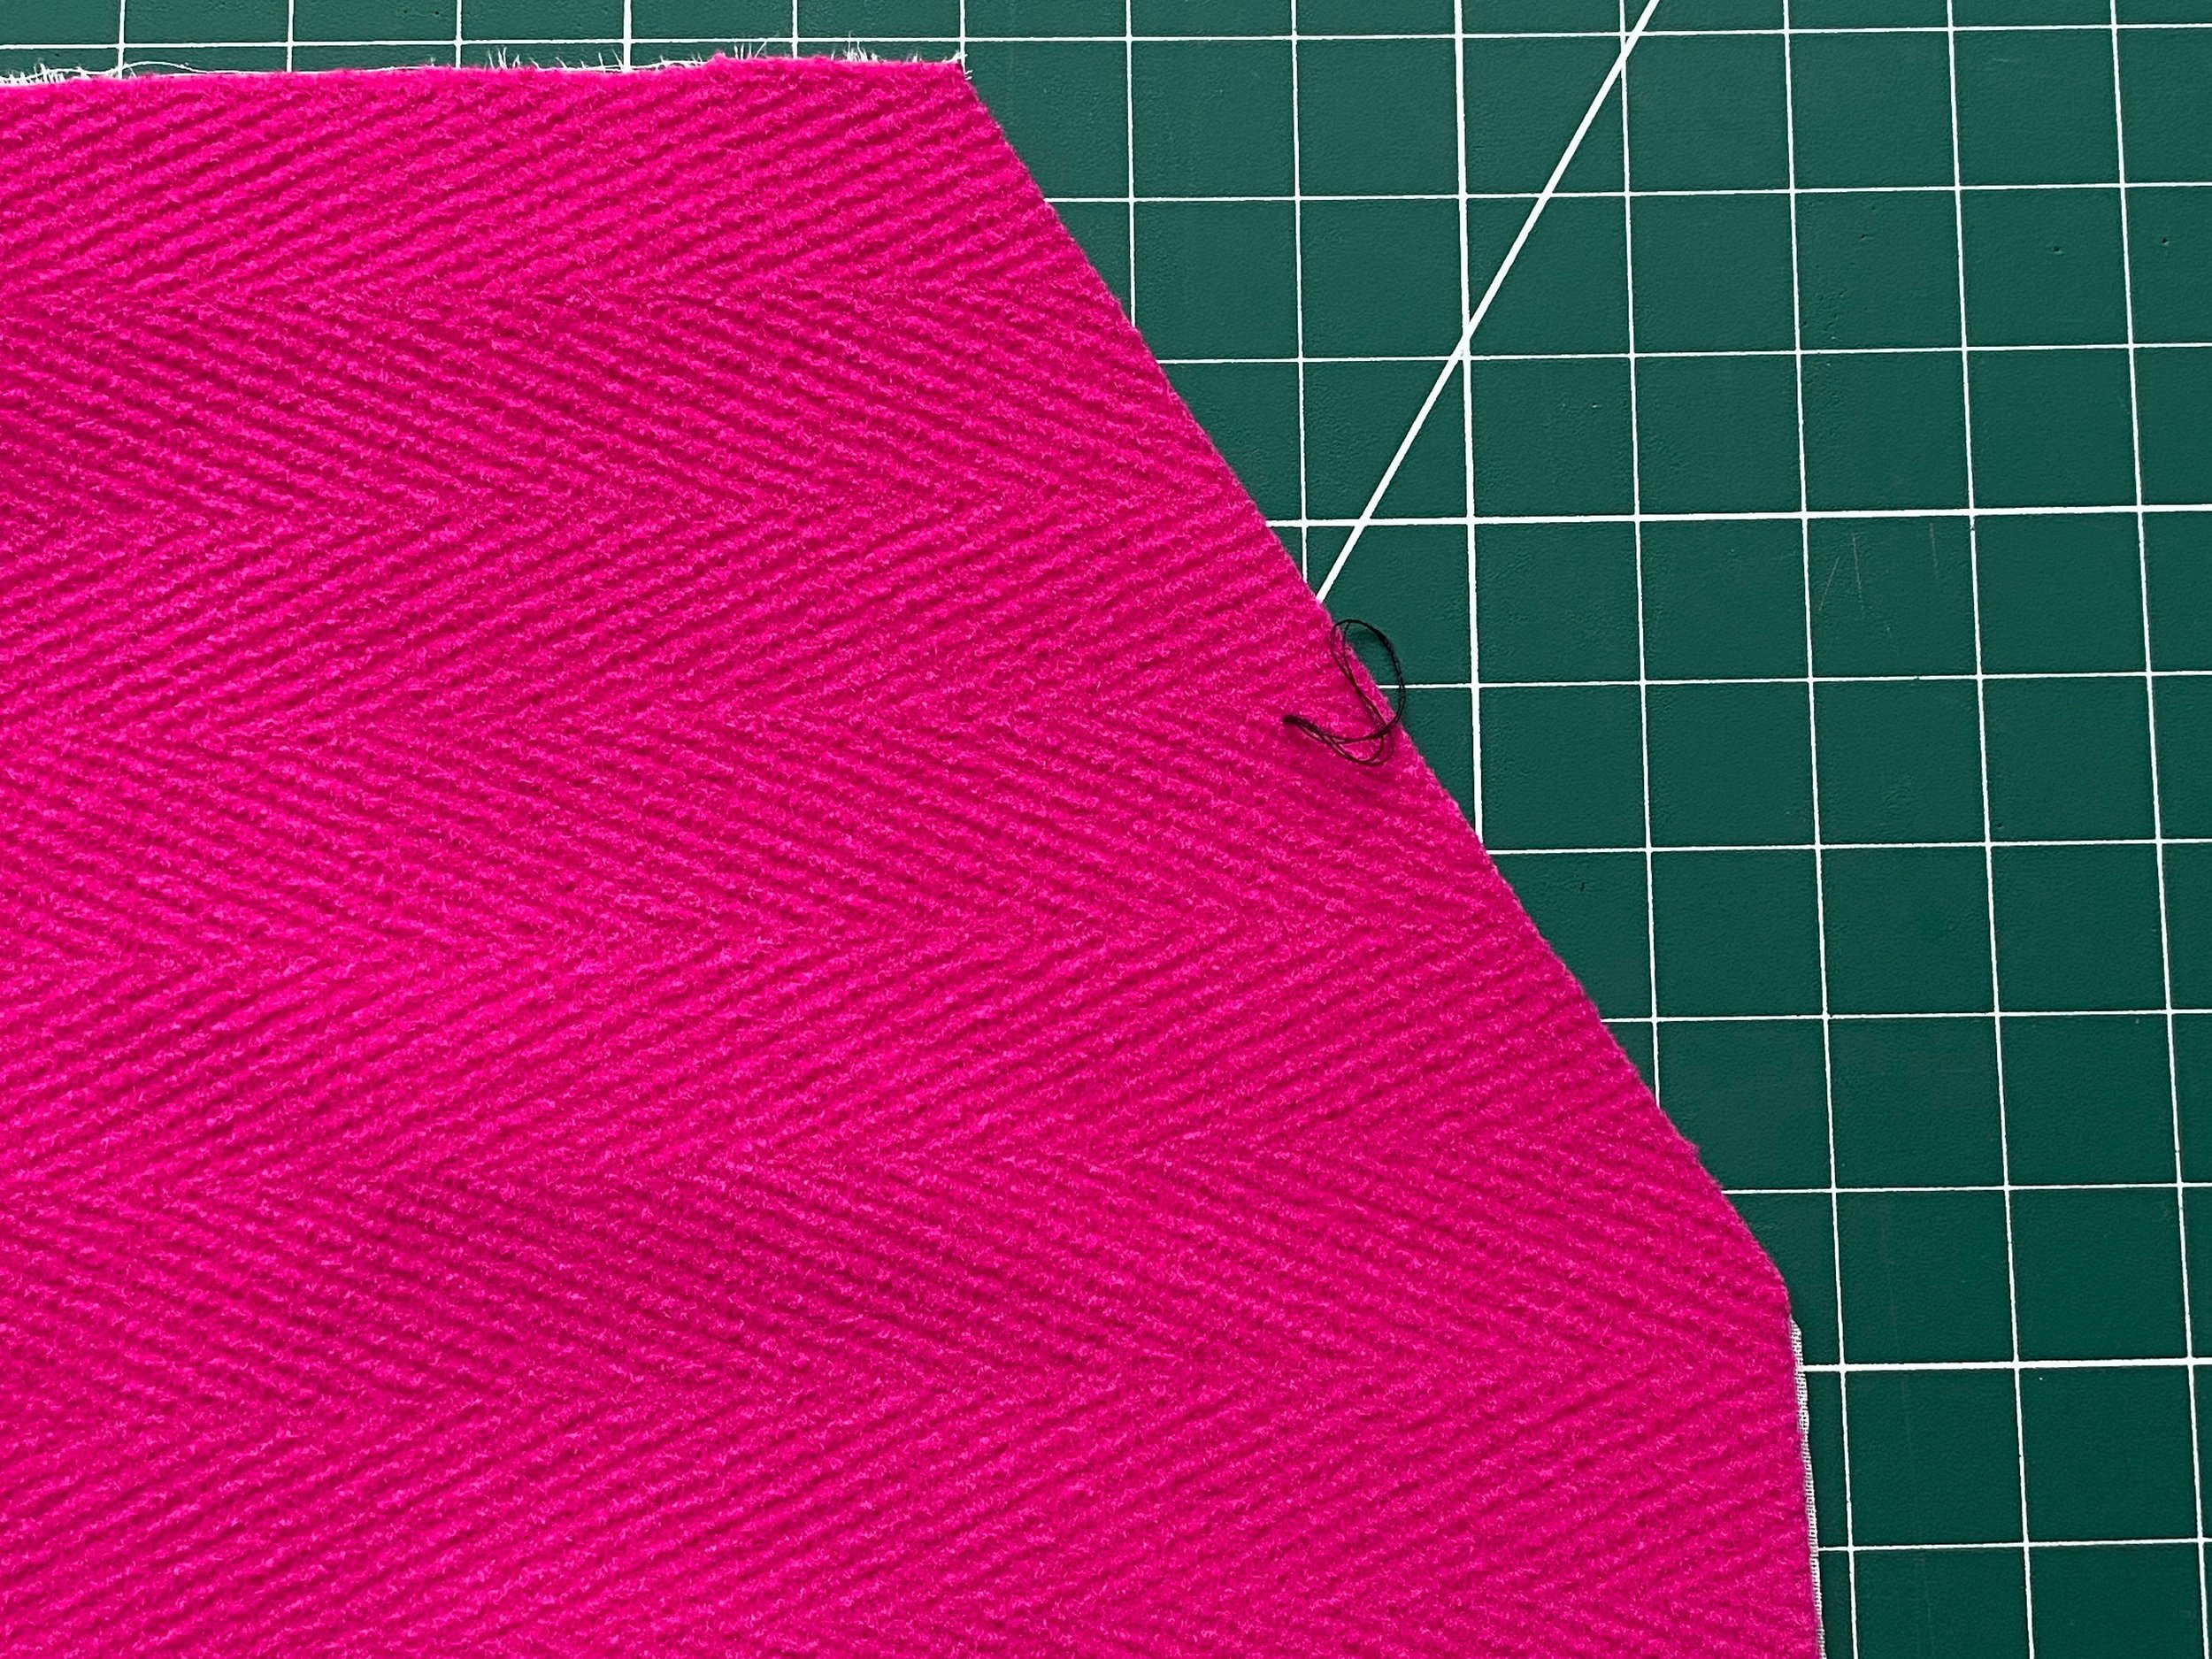
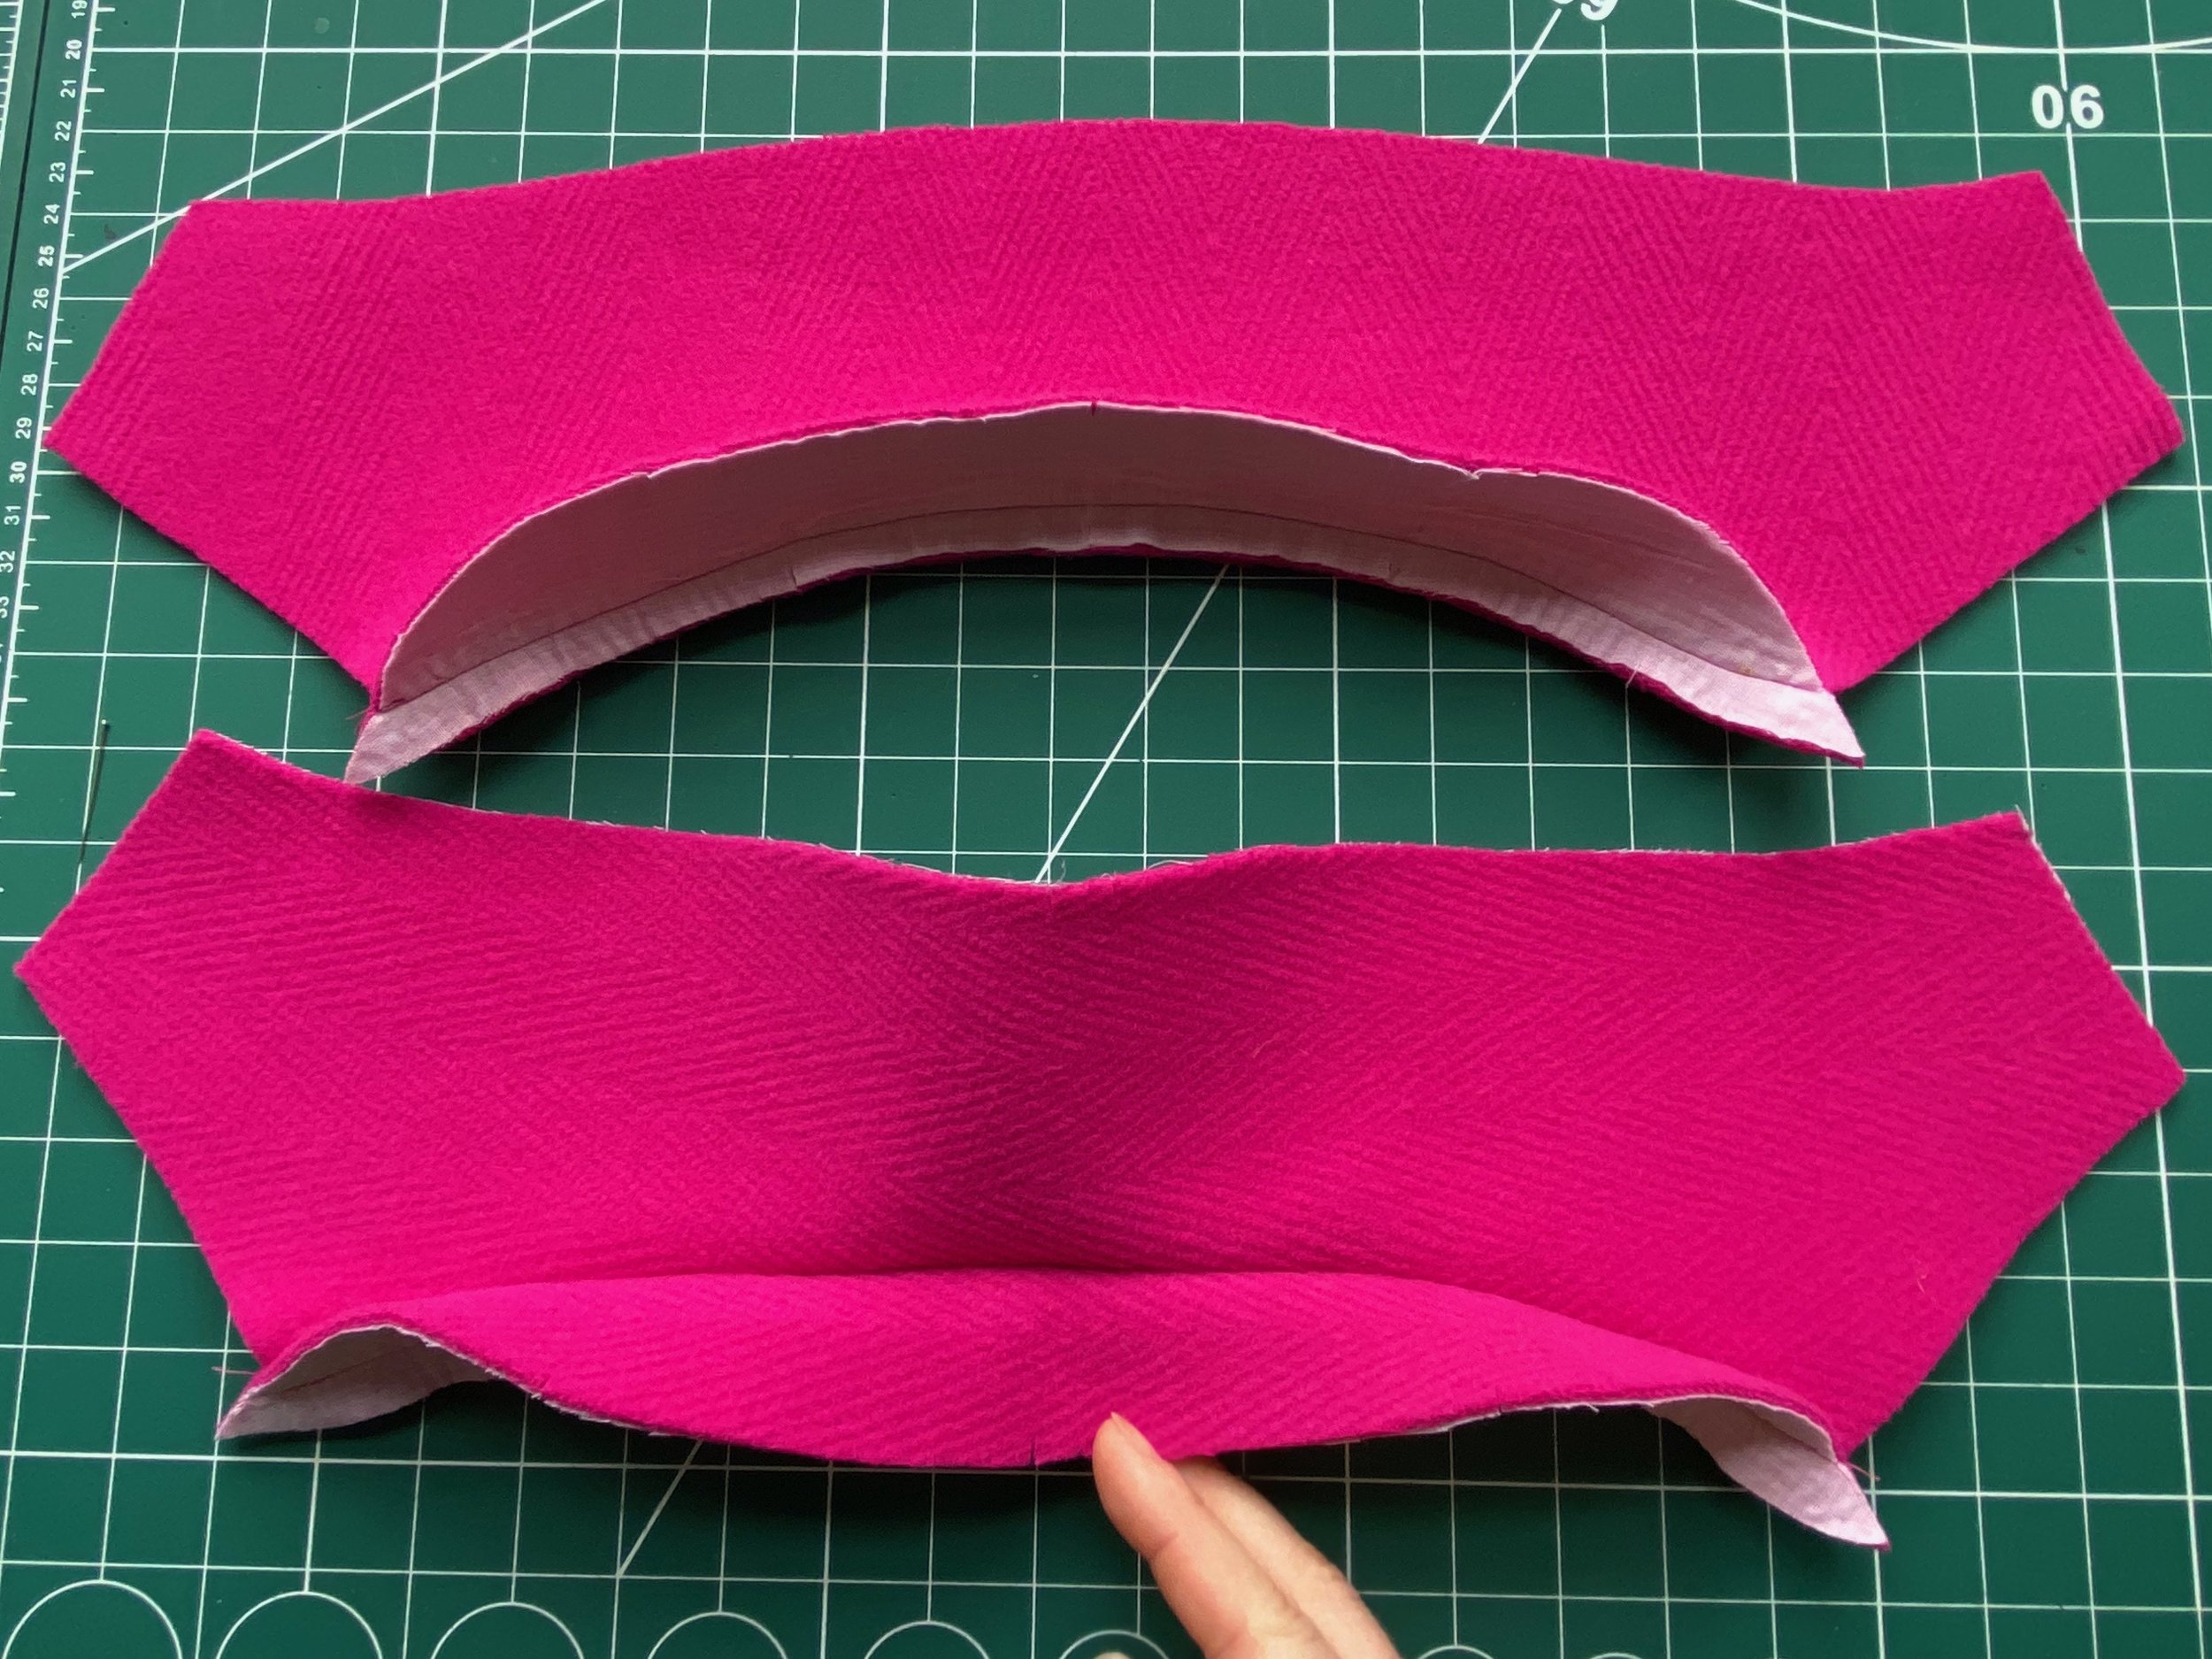
FRONT EDGE & NECKLINE
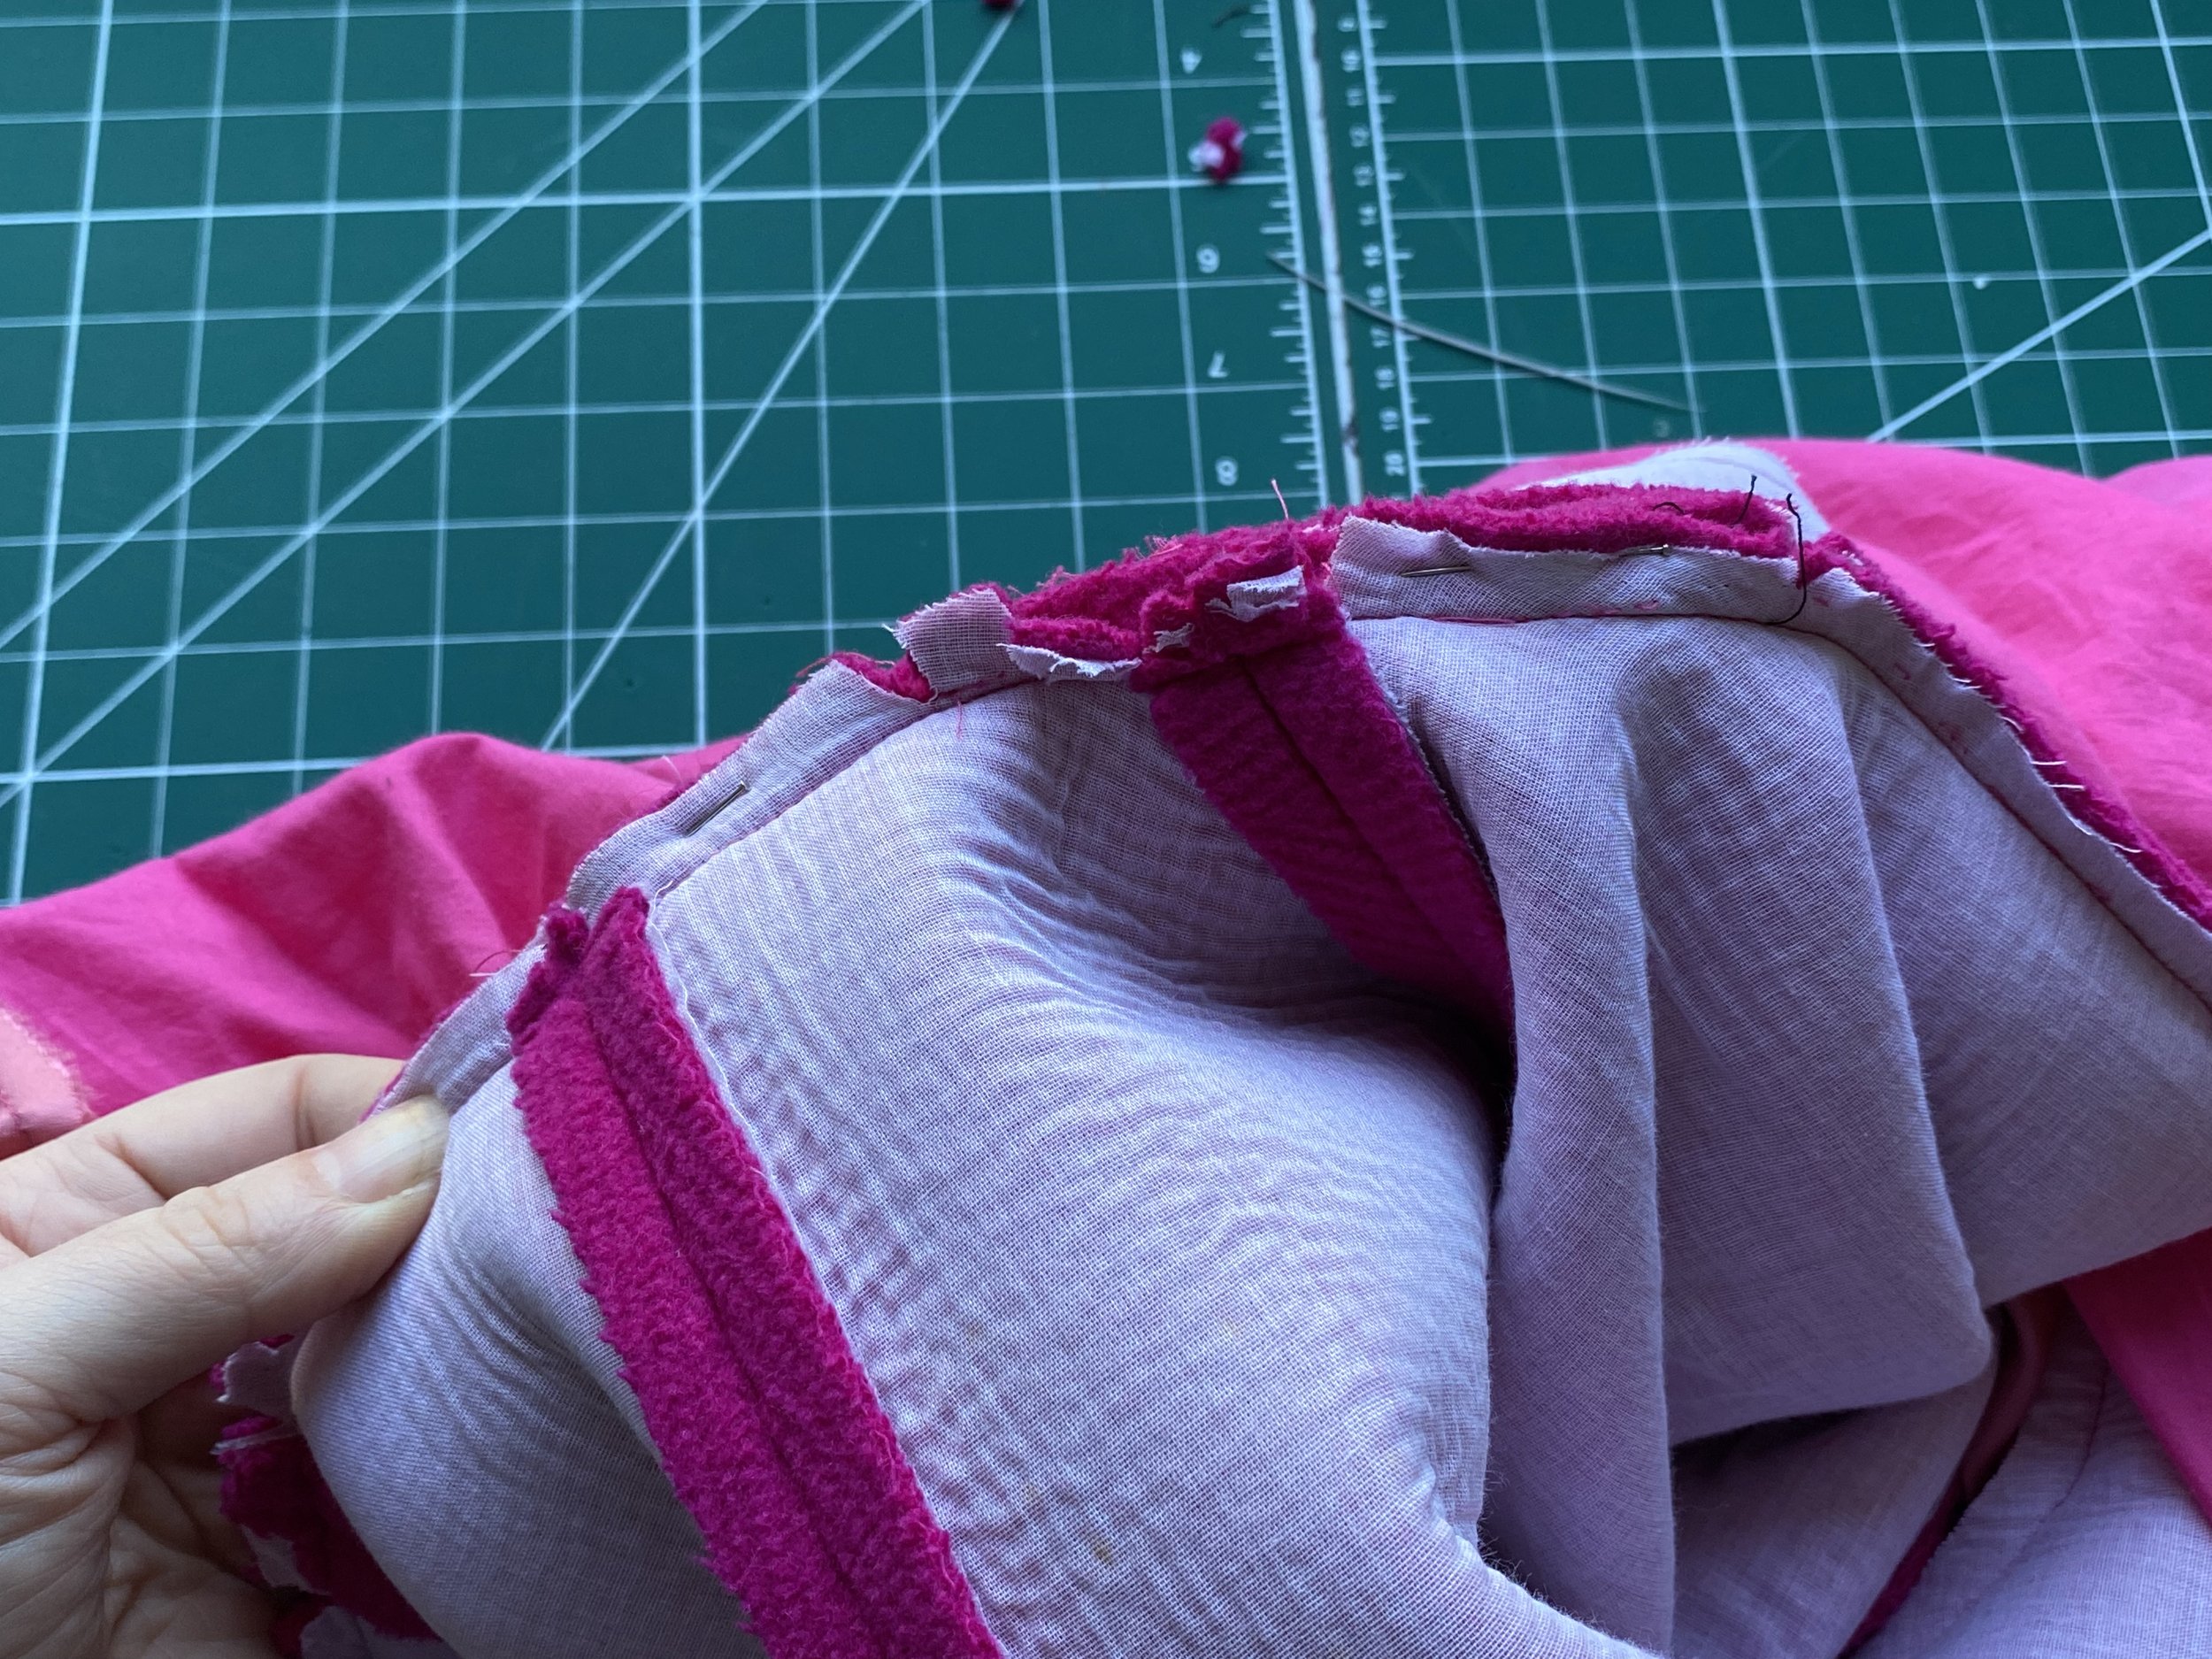
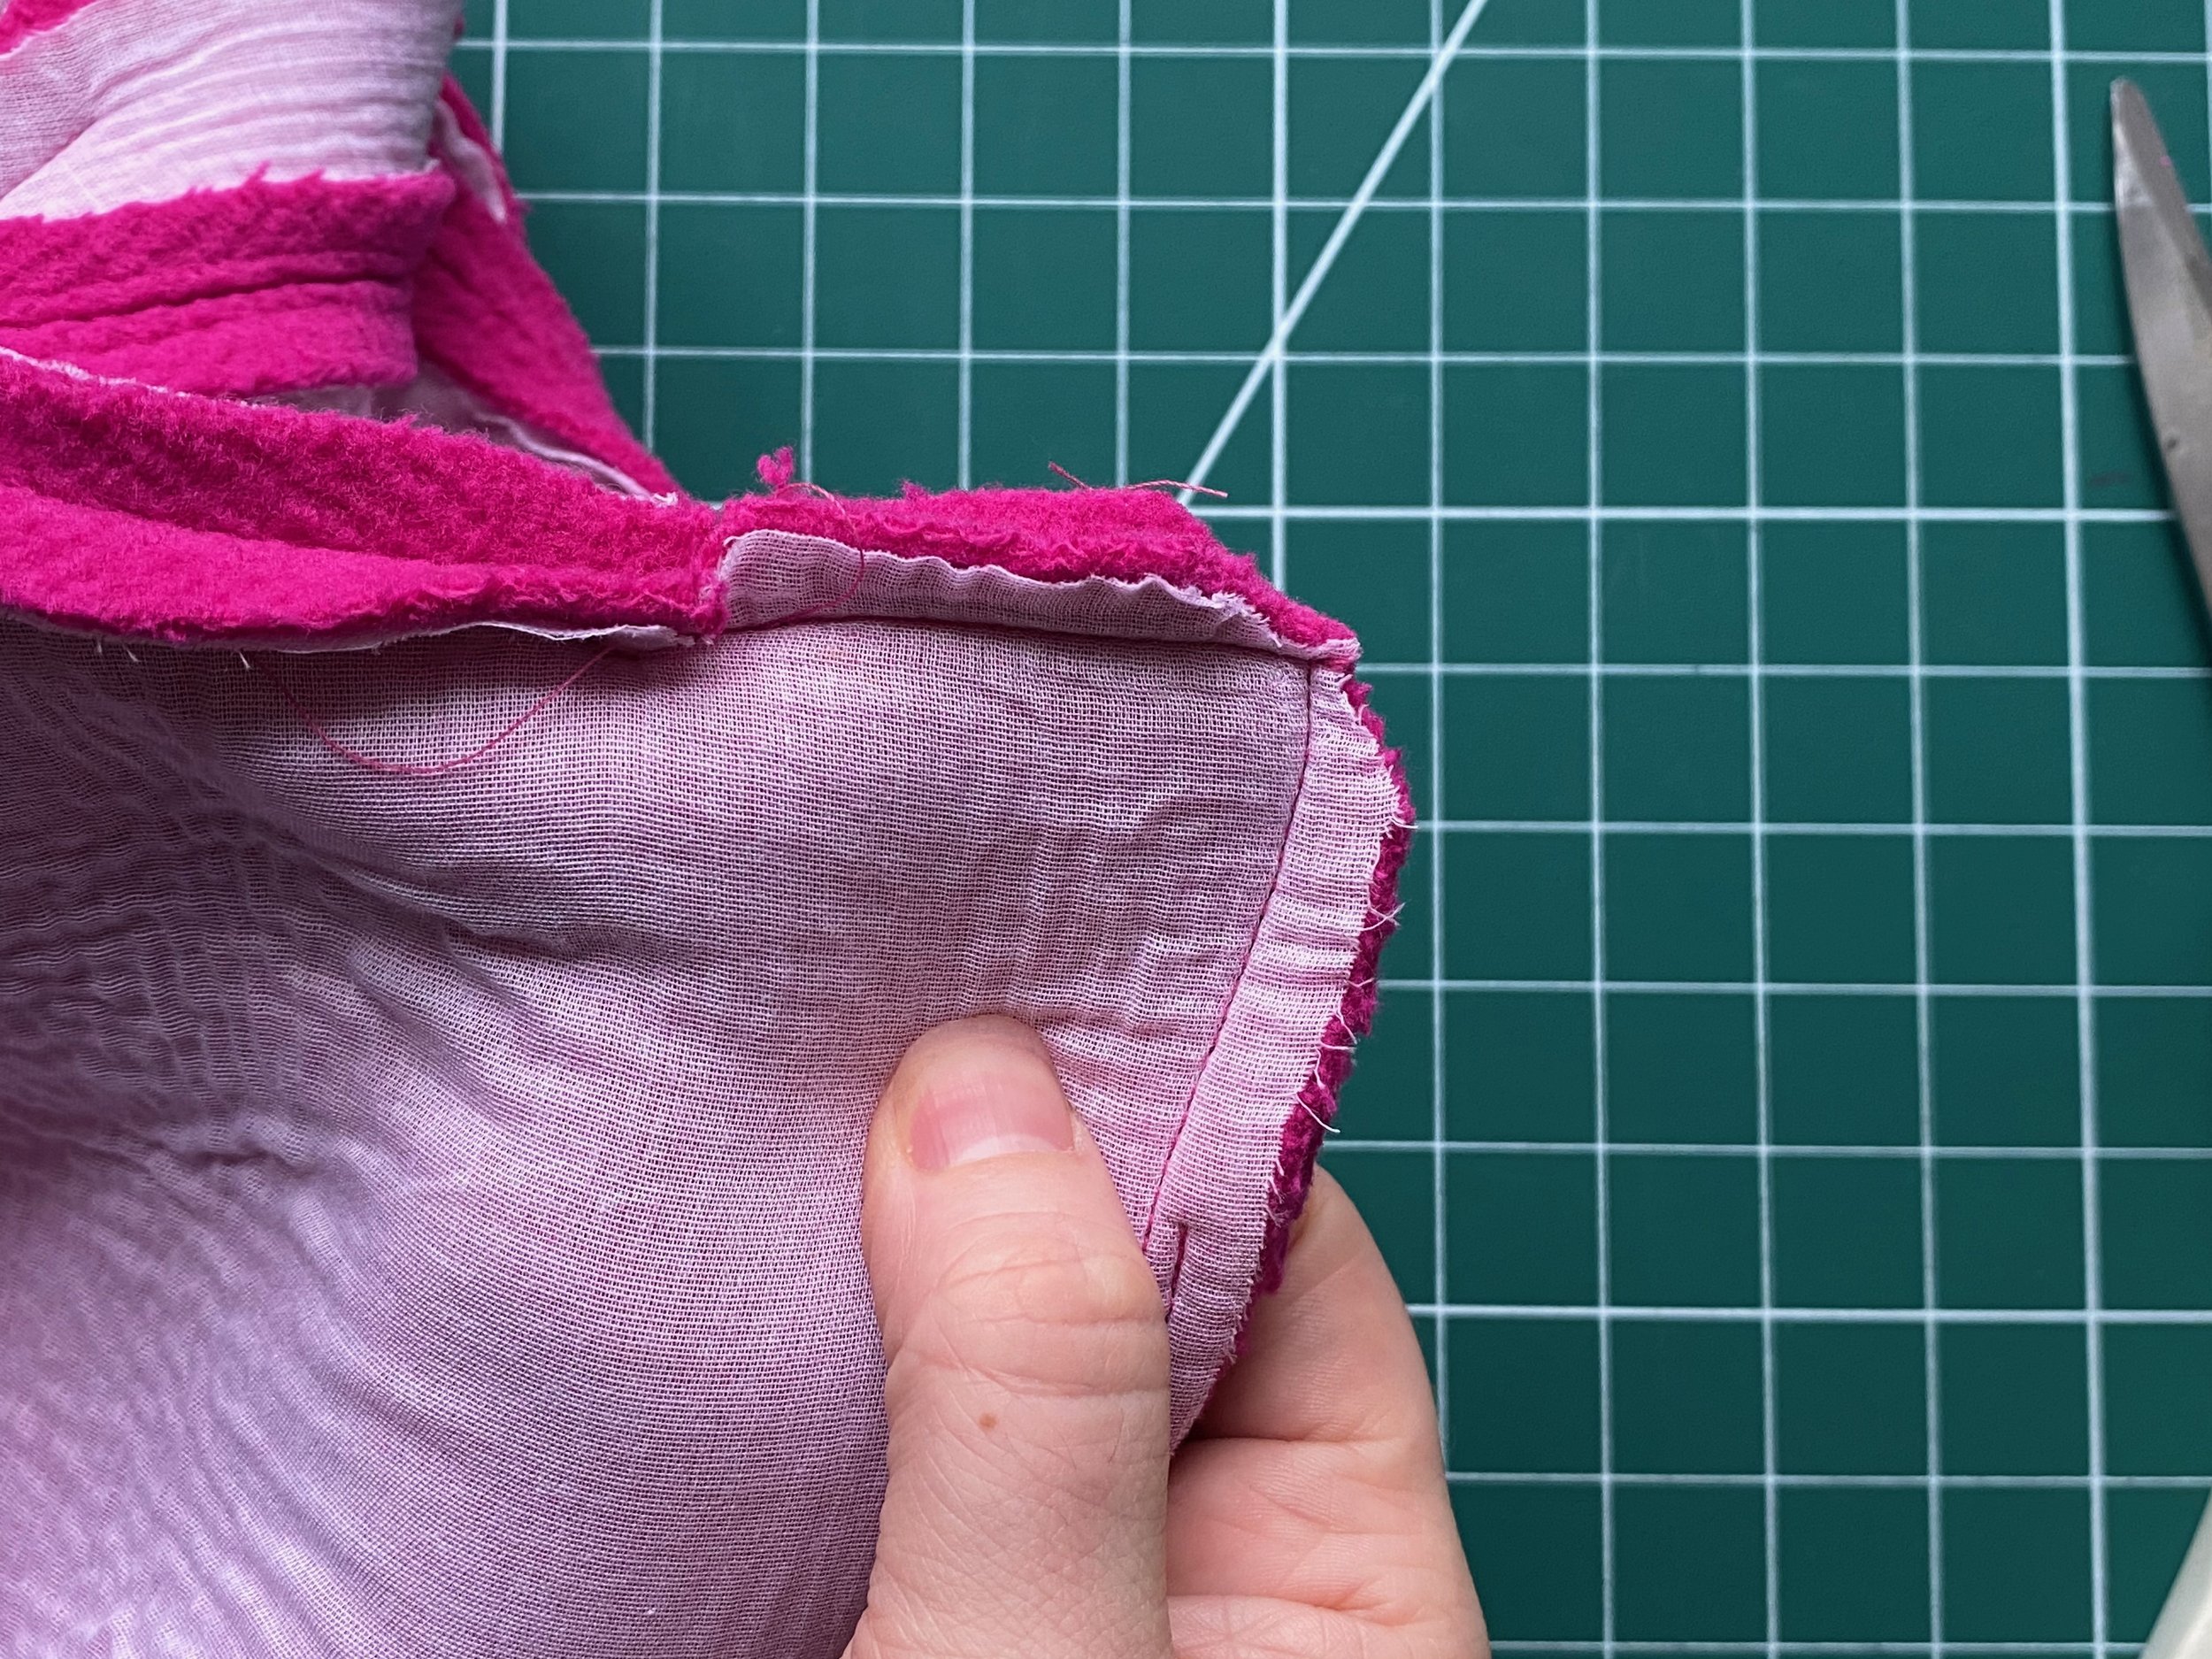
First photos show sewing the Facing/Lining neckline to the top collar neckline, and bagging out the lapel. With the notch indicating the level end/collar notch.
3rd image is the front, bagged out edge with the breaking snipped into for the under stitching to switch to the relevant side.
Mount the necklines together and snip away loads of bulk. Because of the thickness of my fabric I will be hand sewing the necklines together.
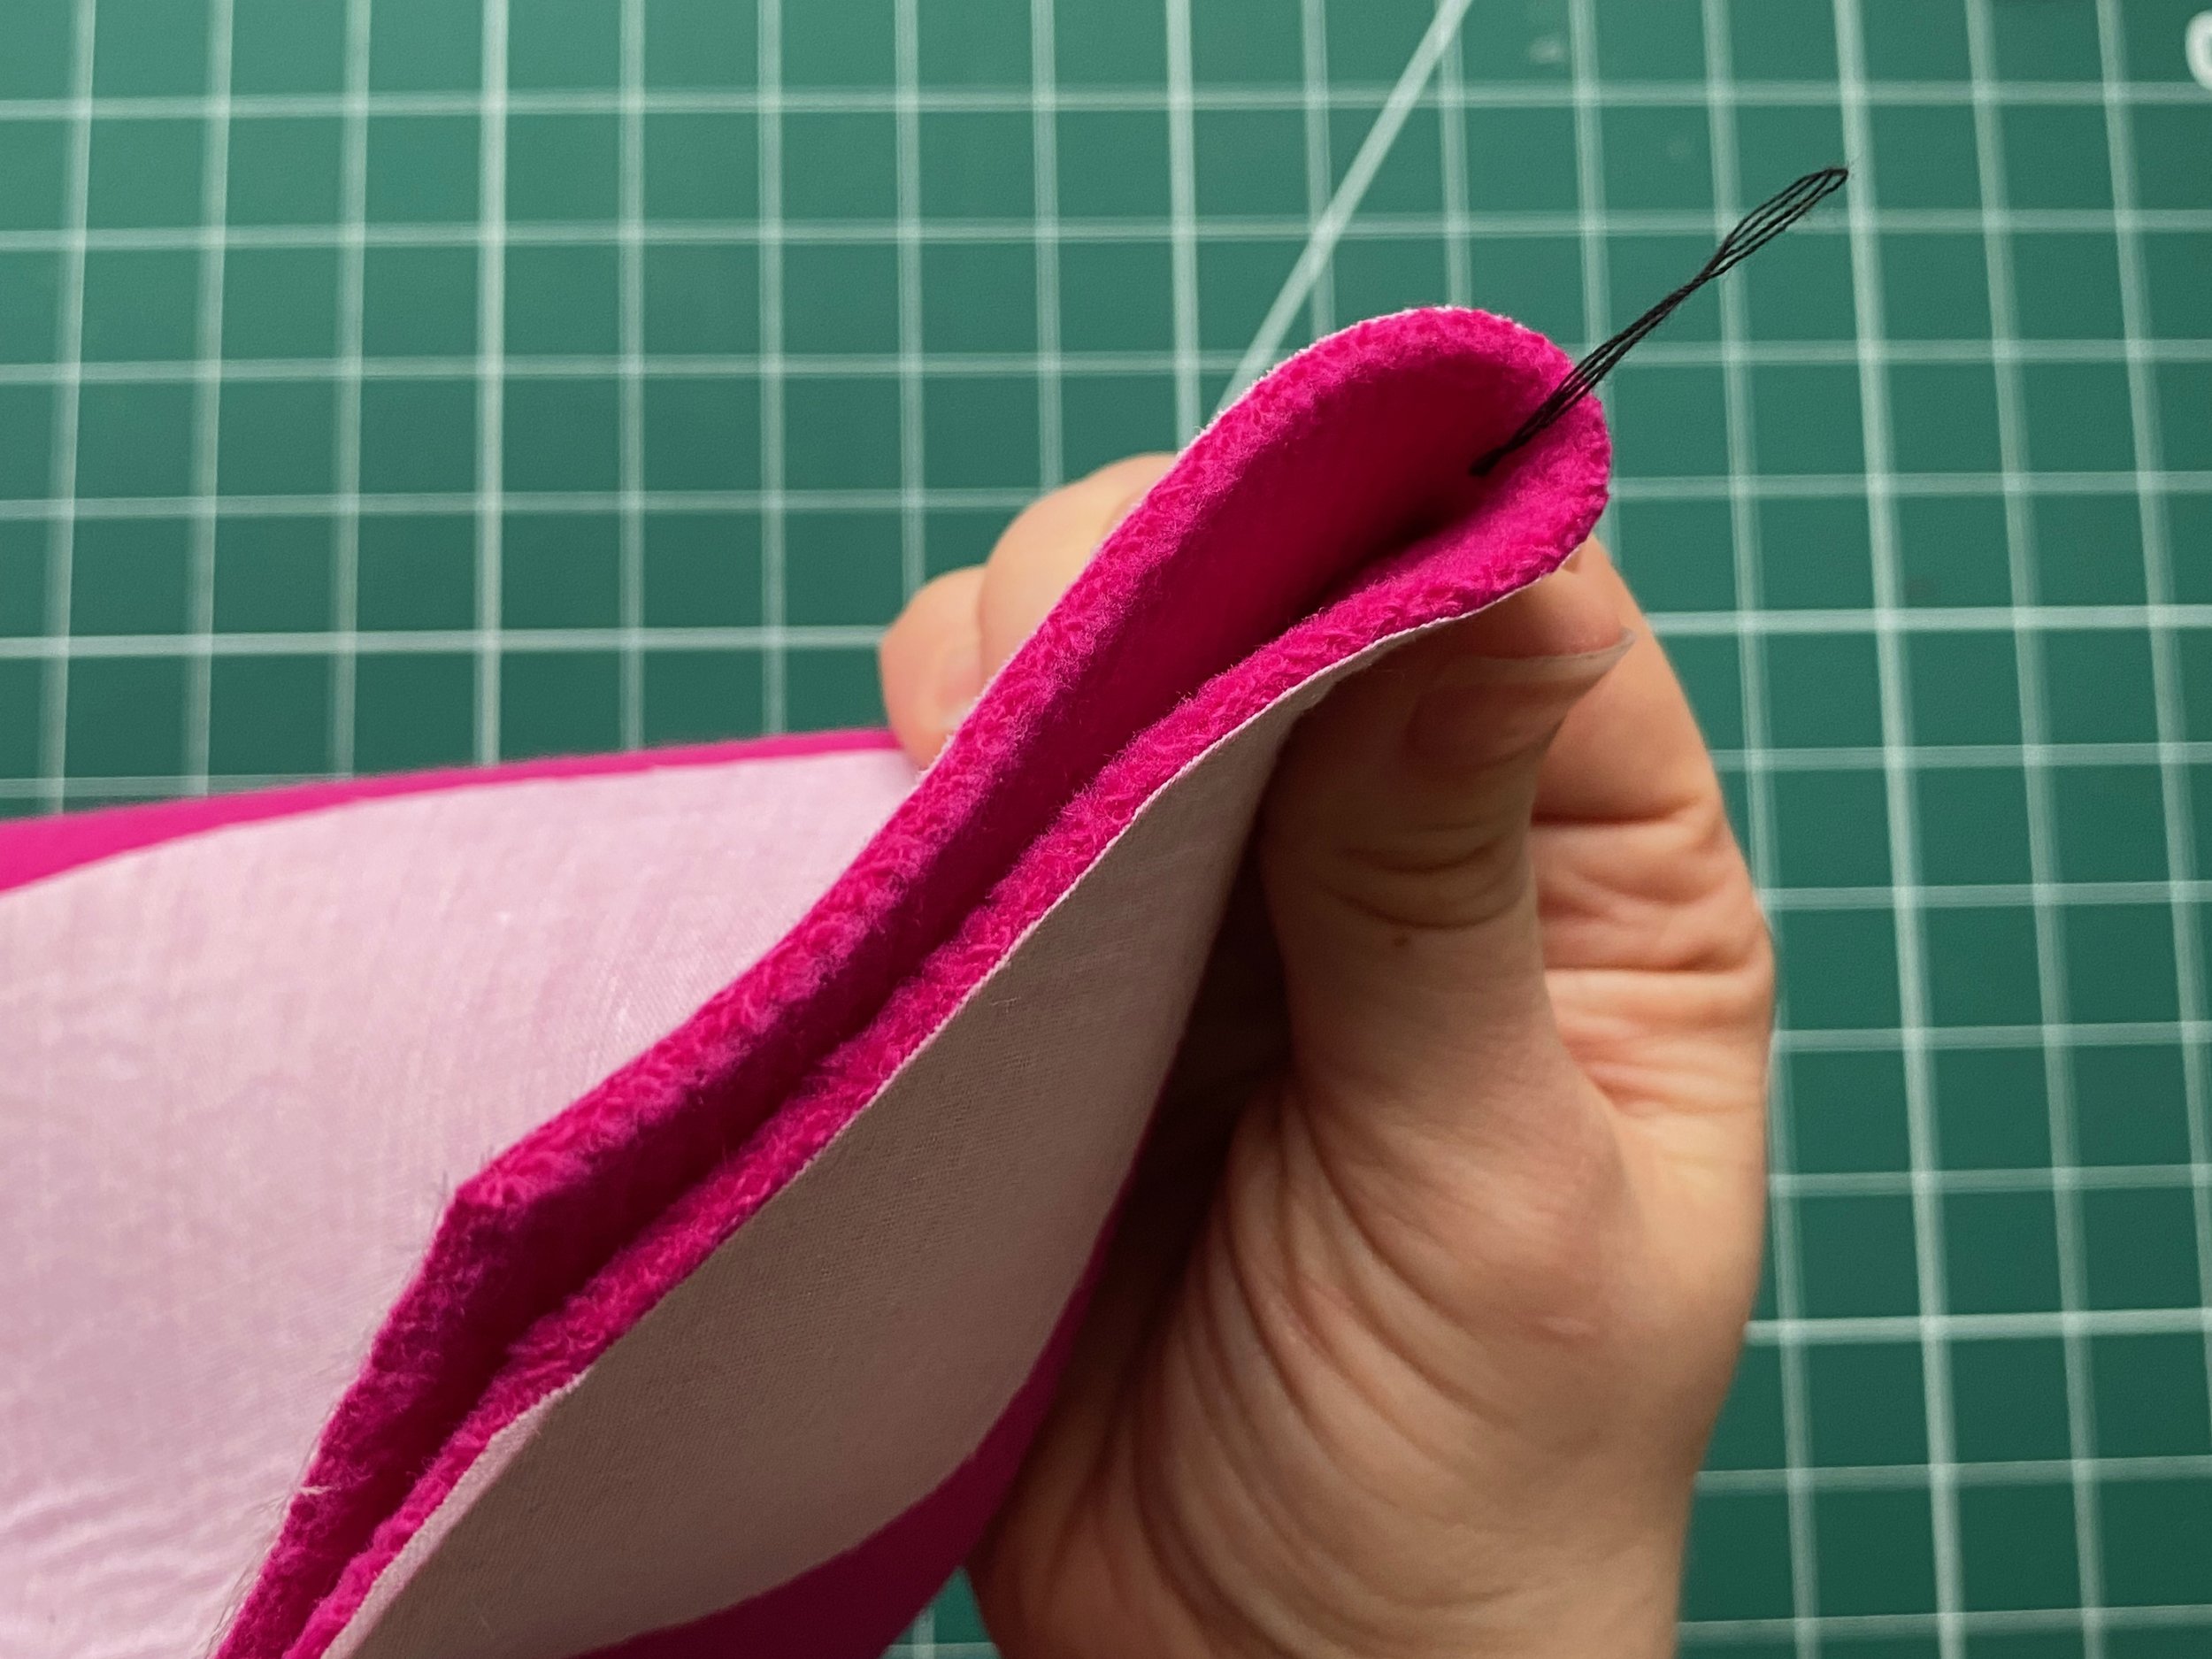
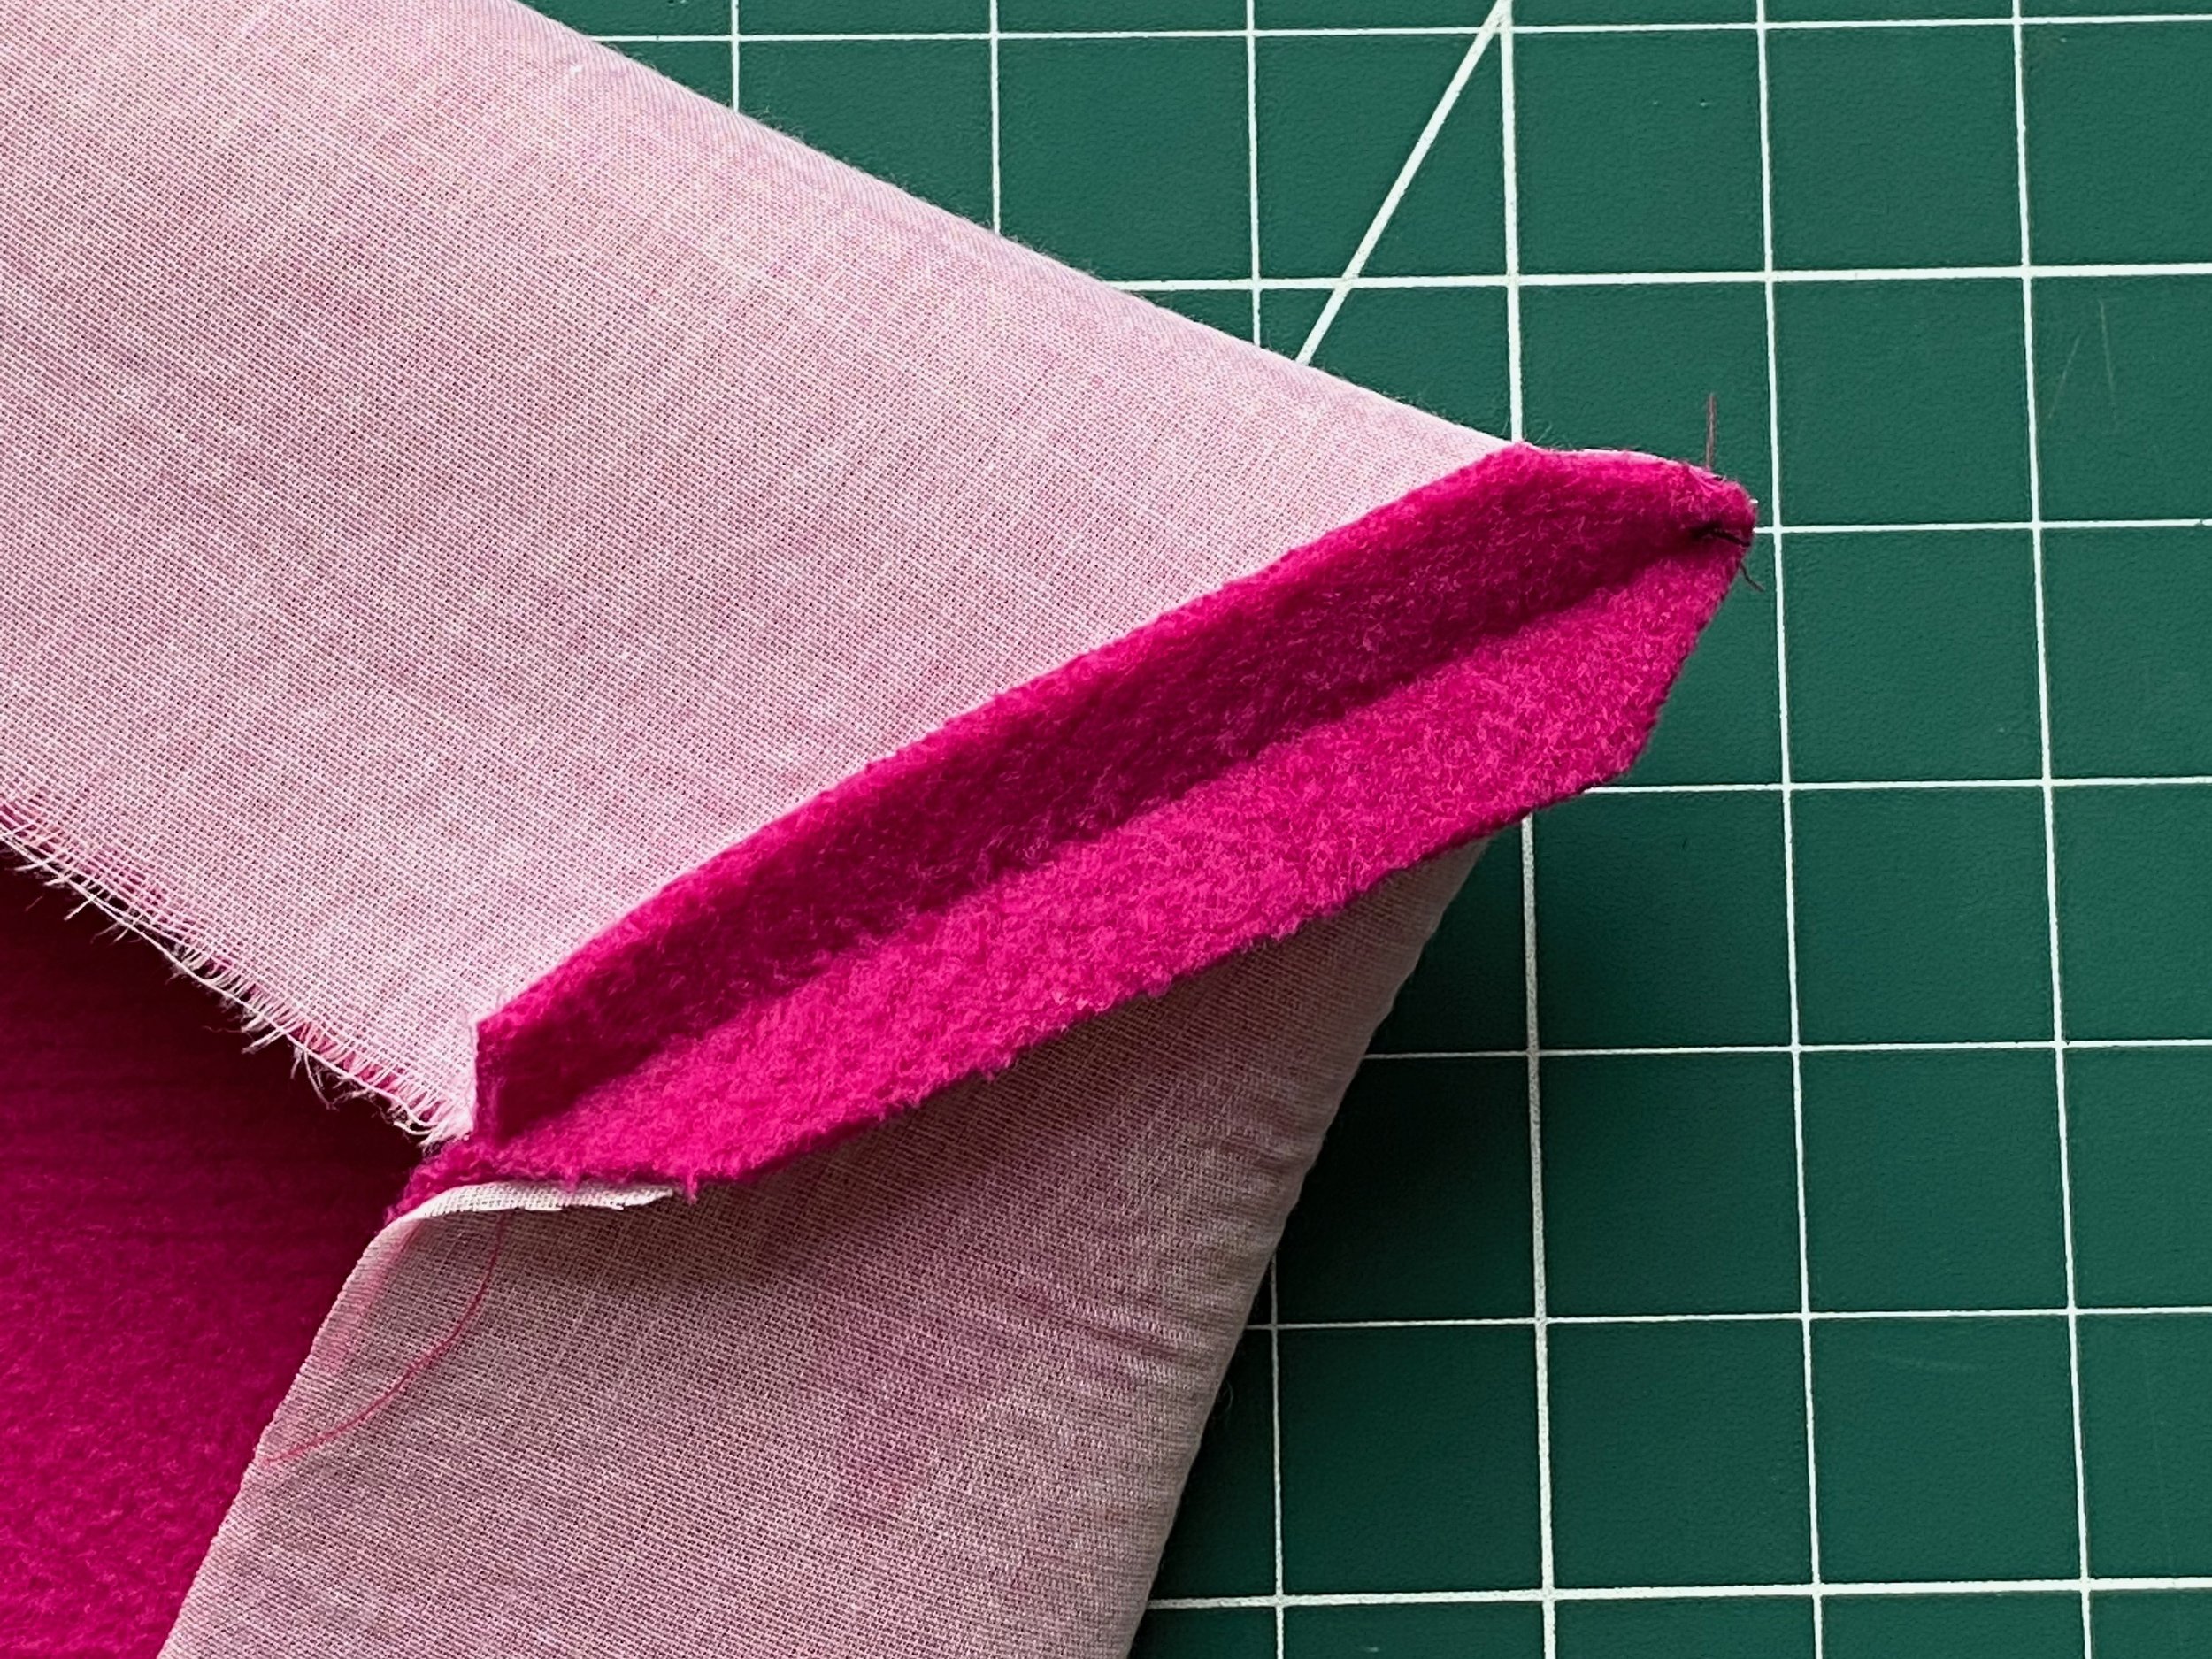
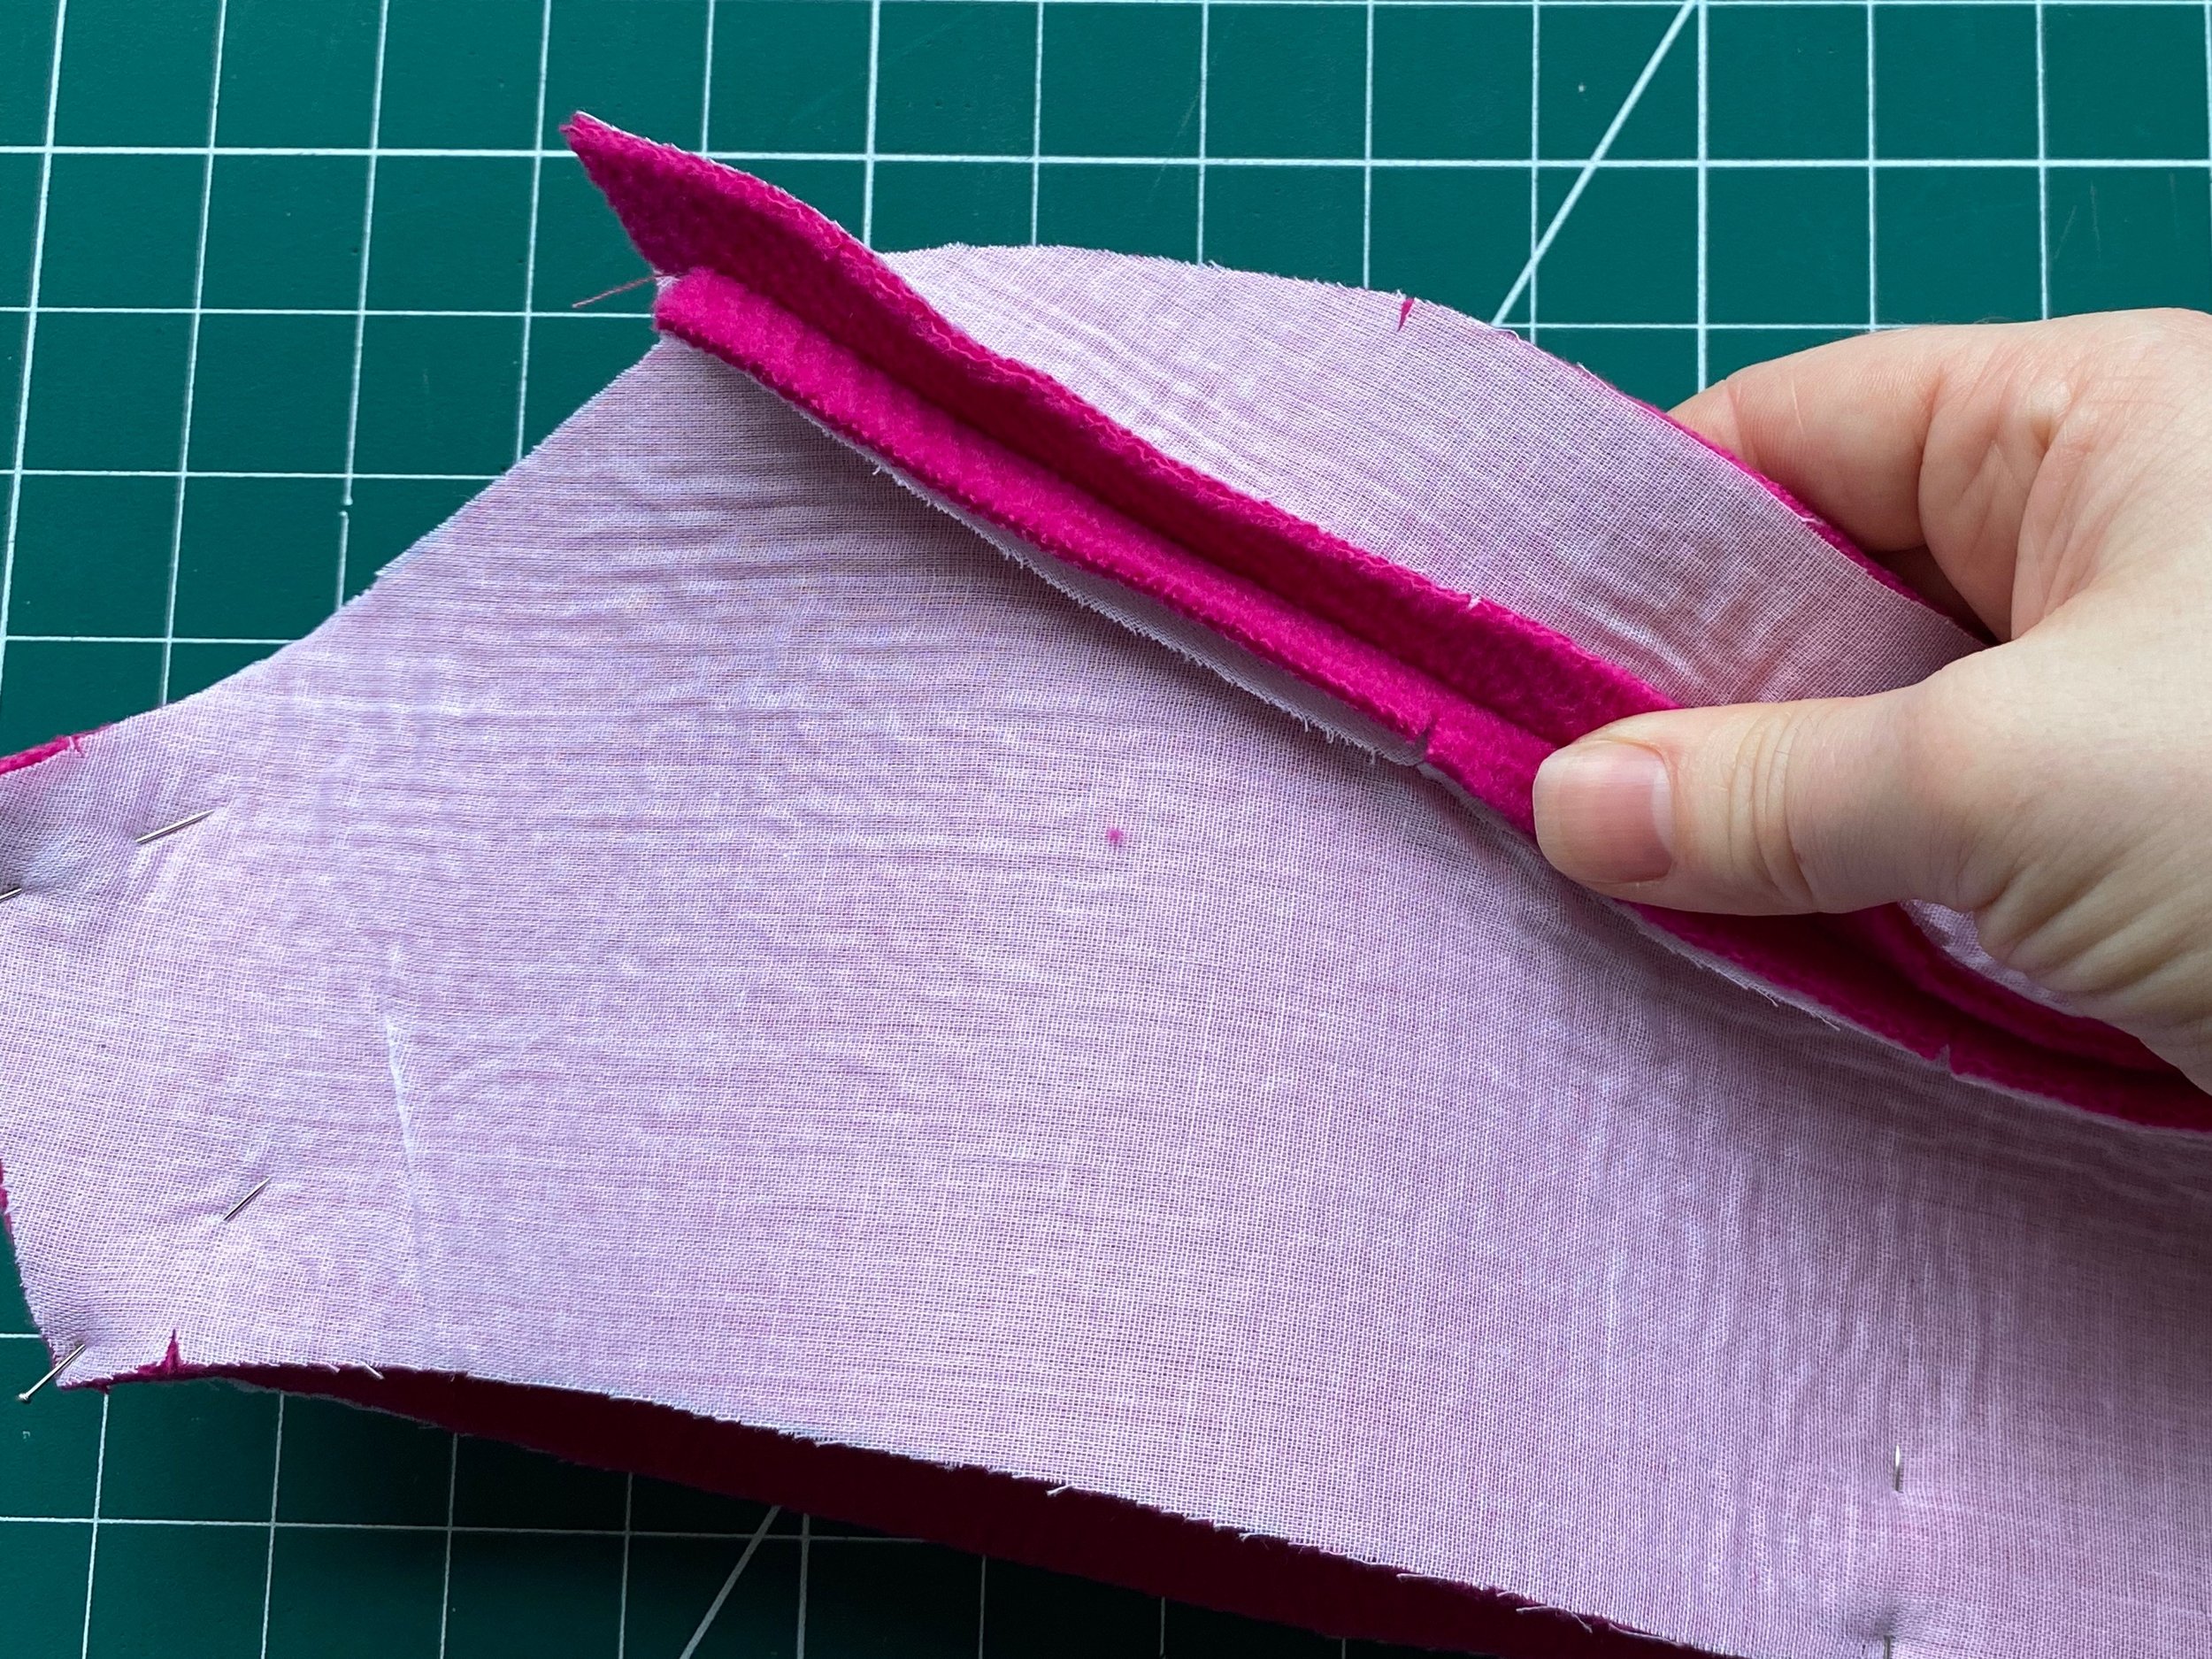
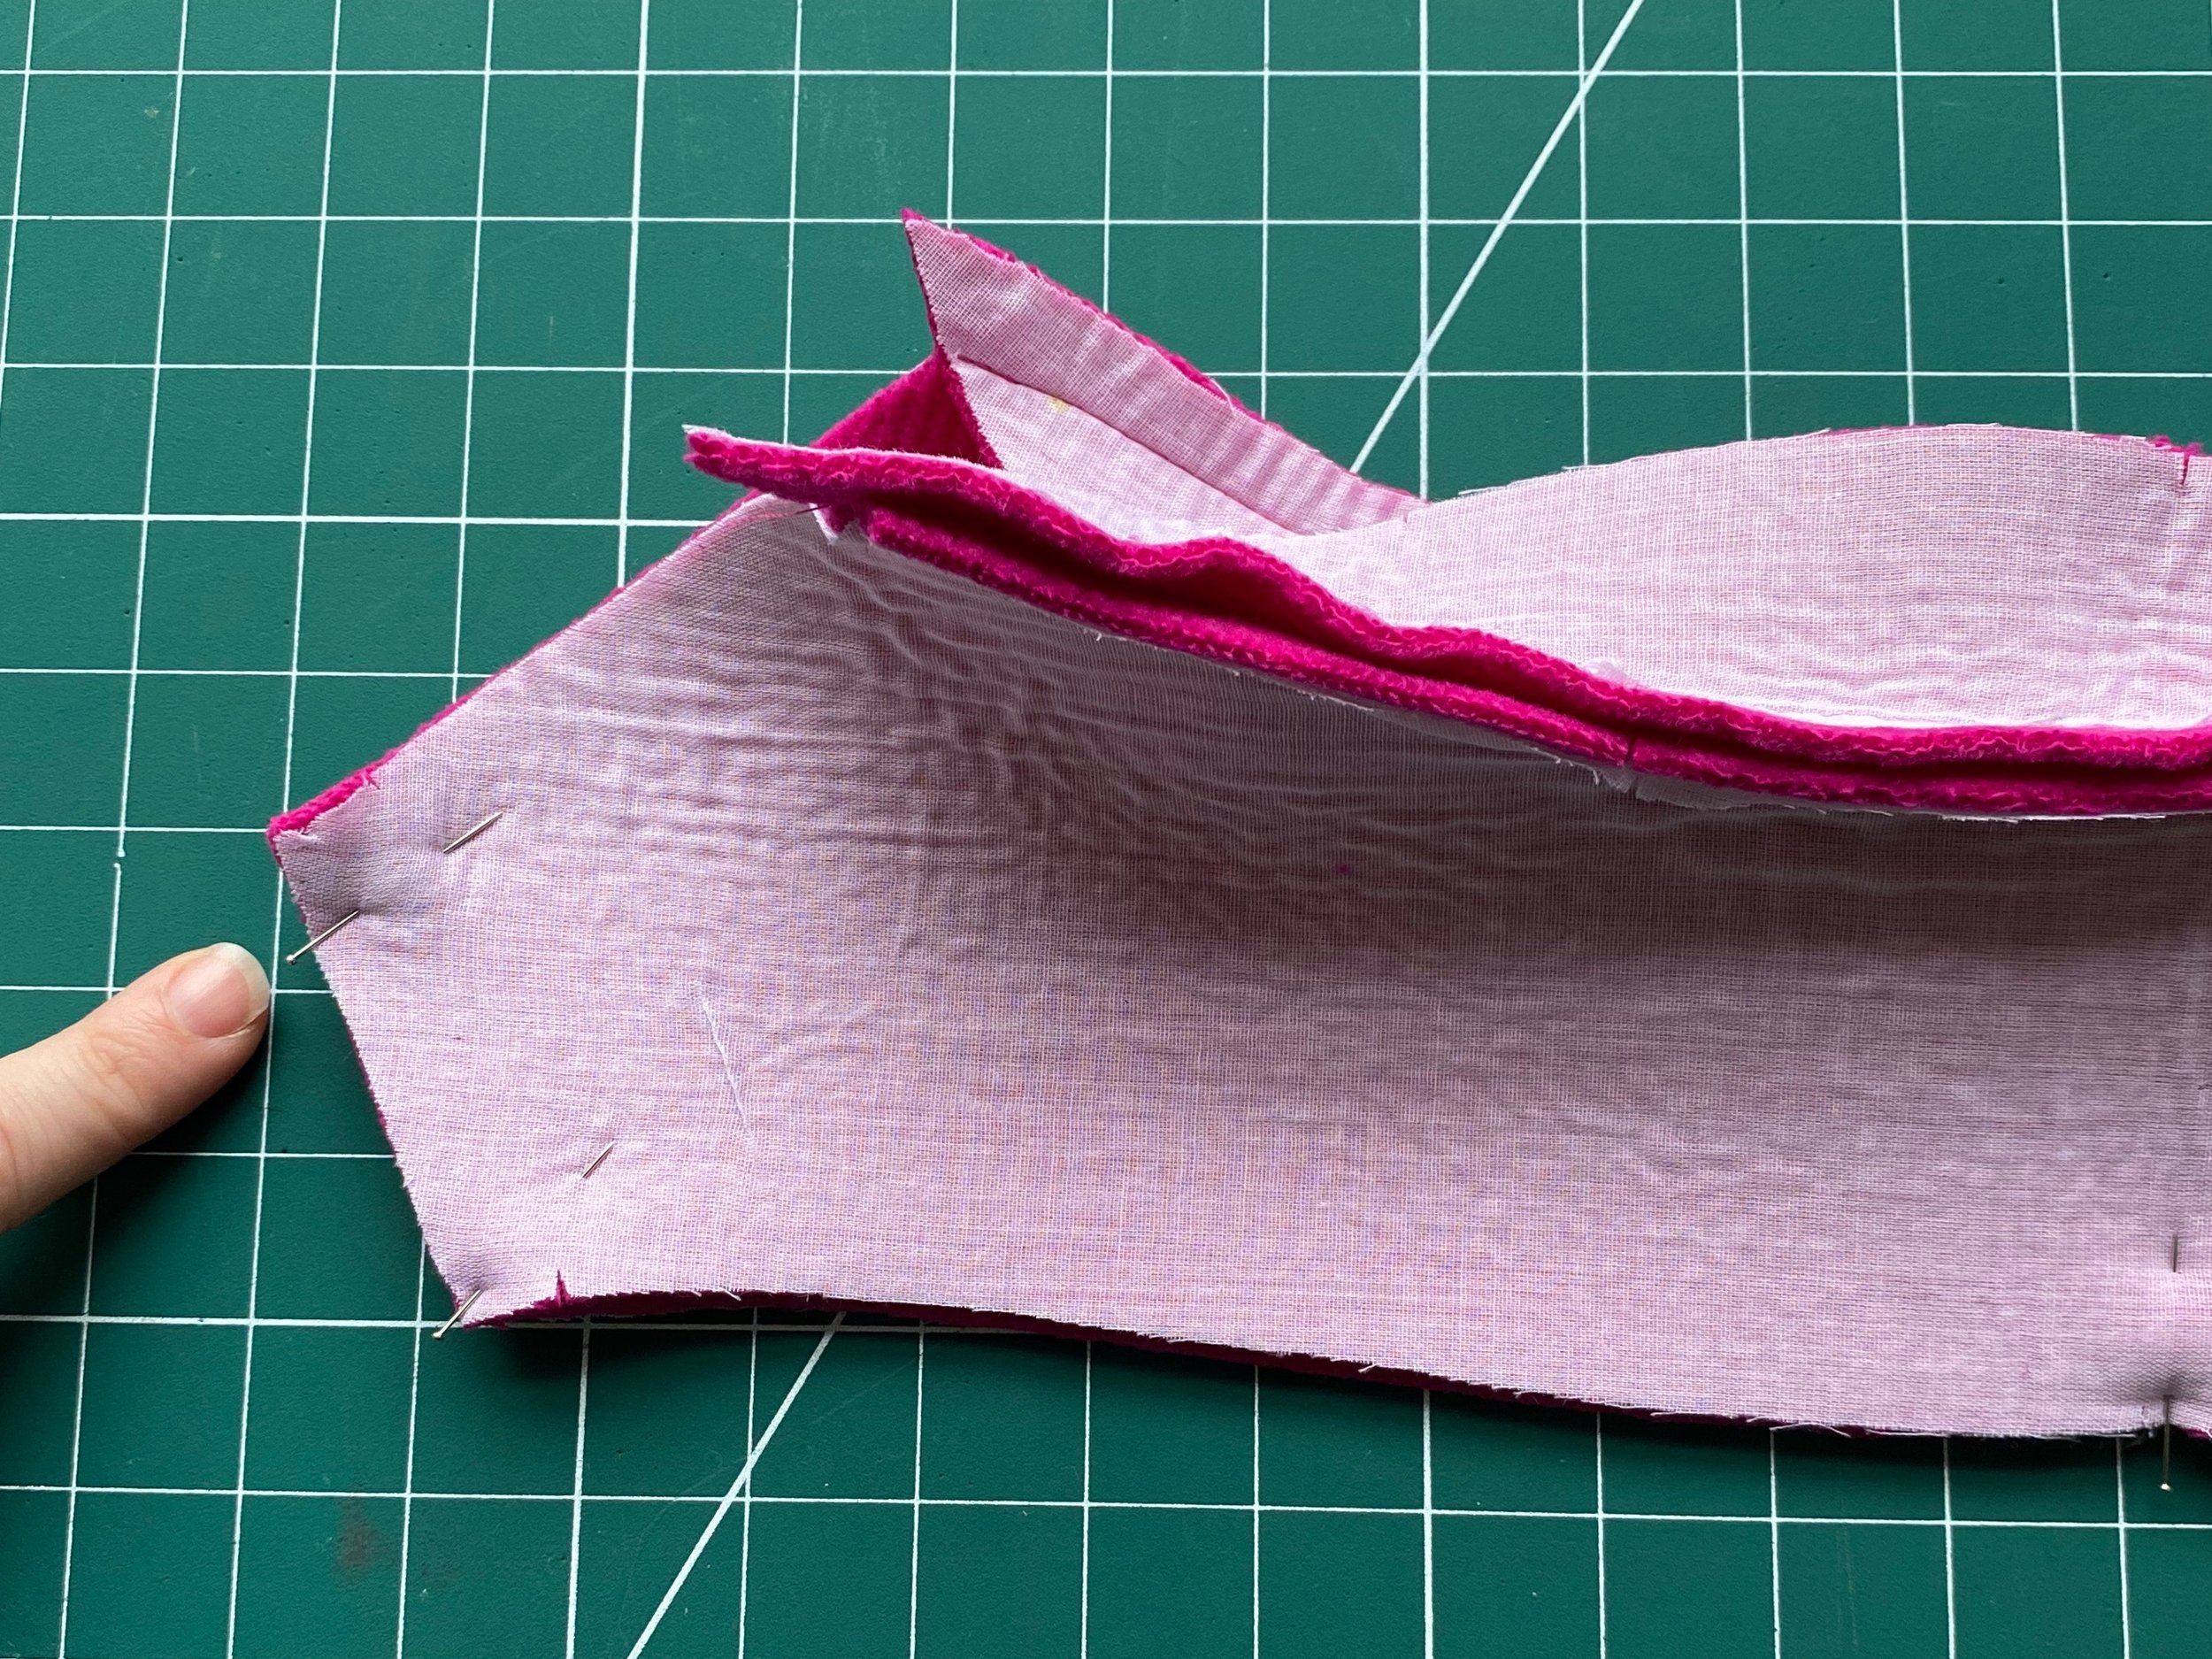
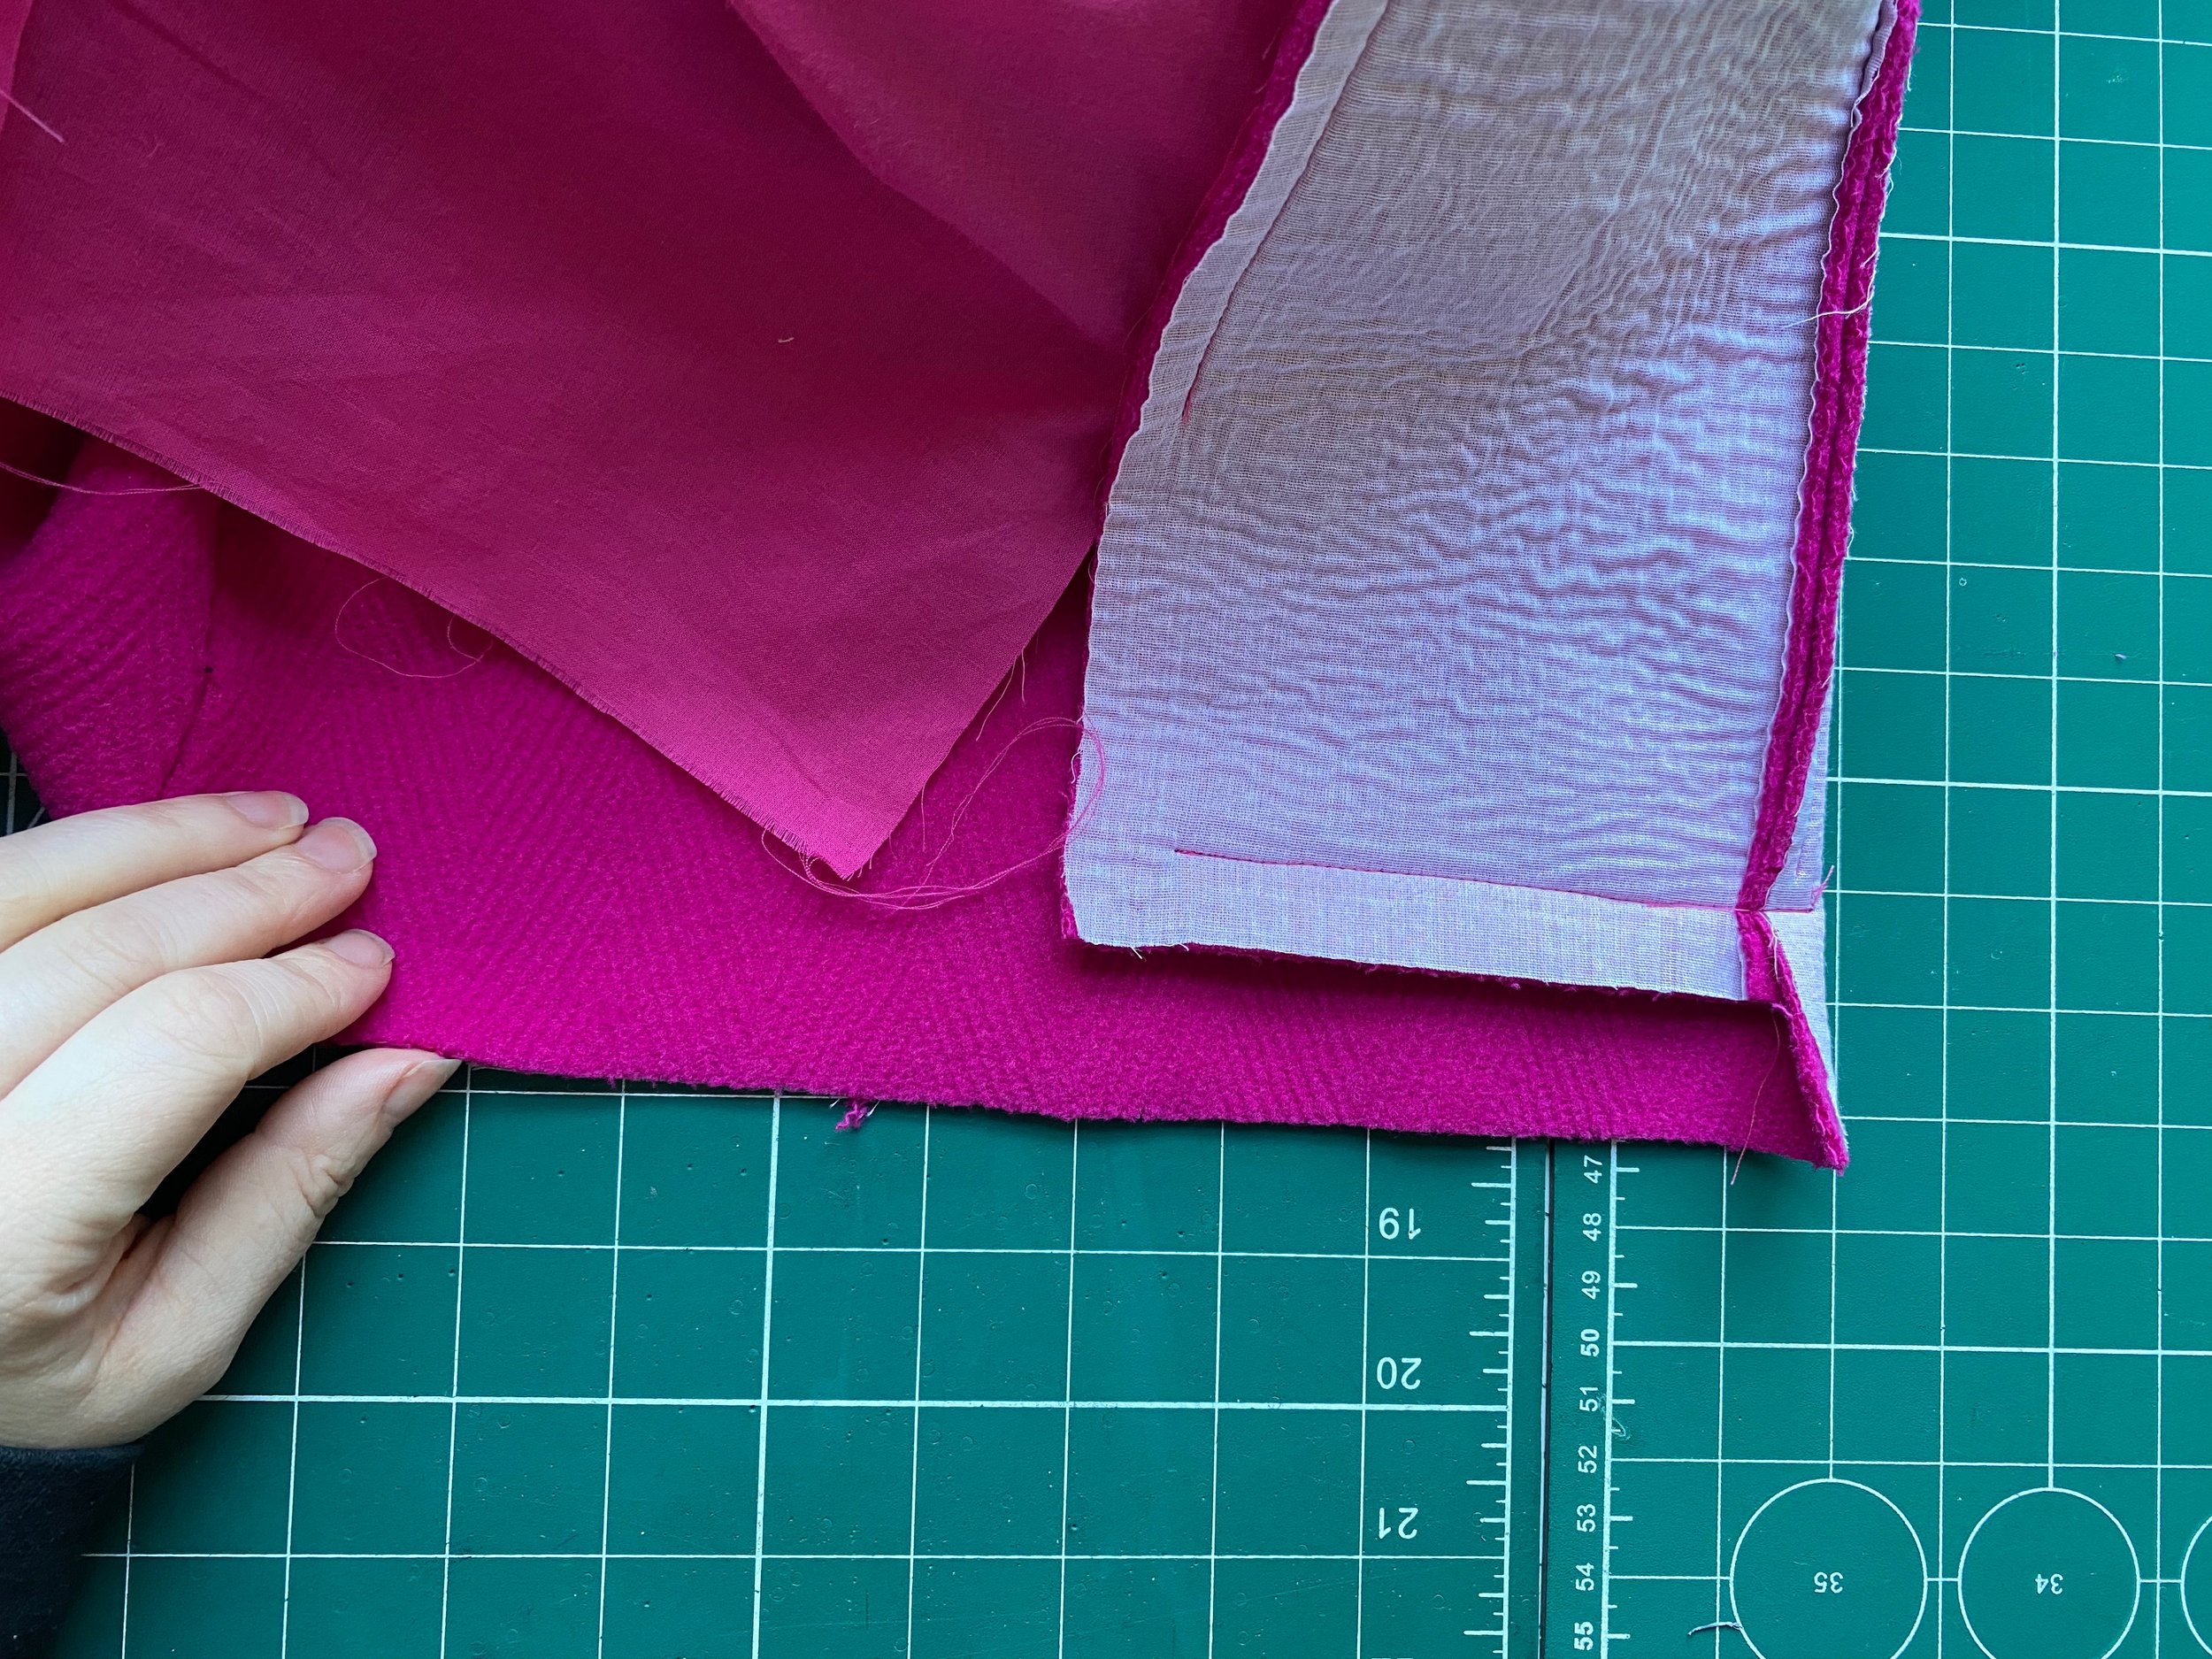
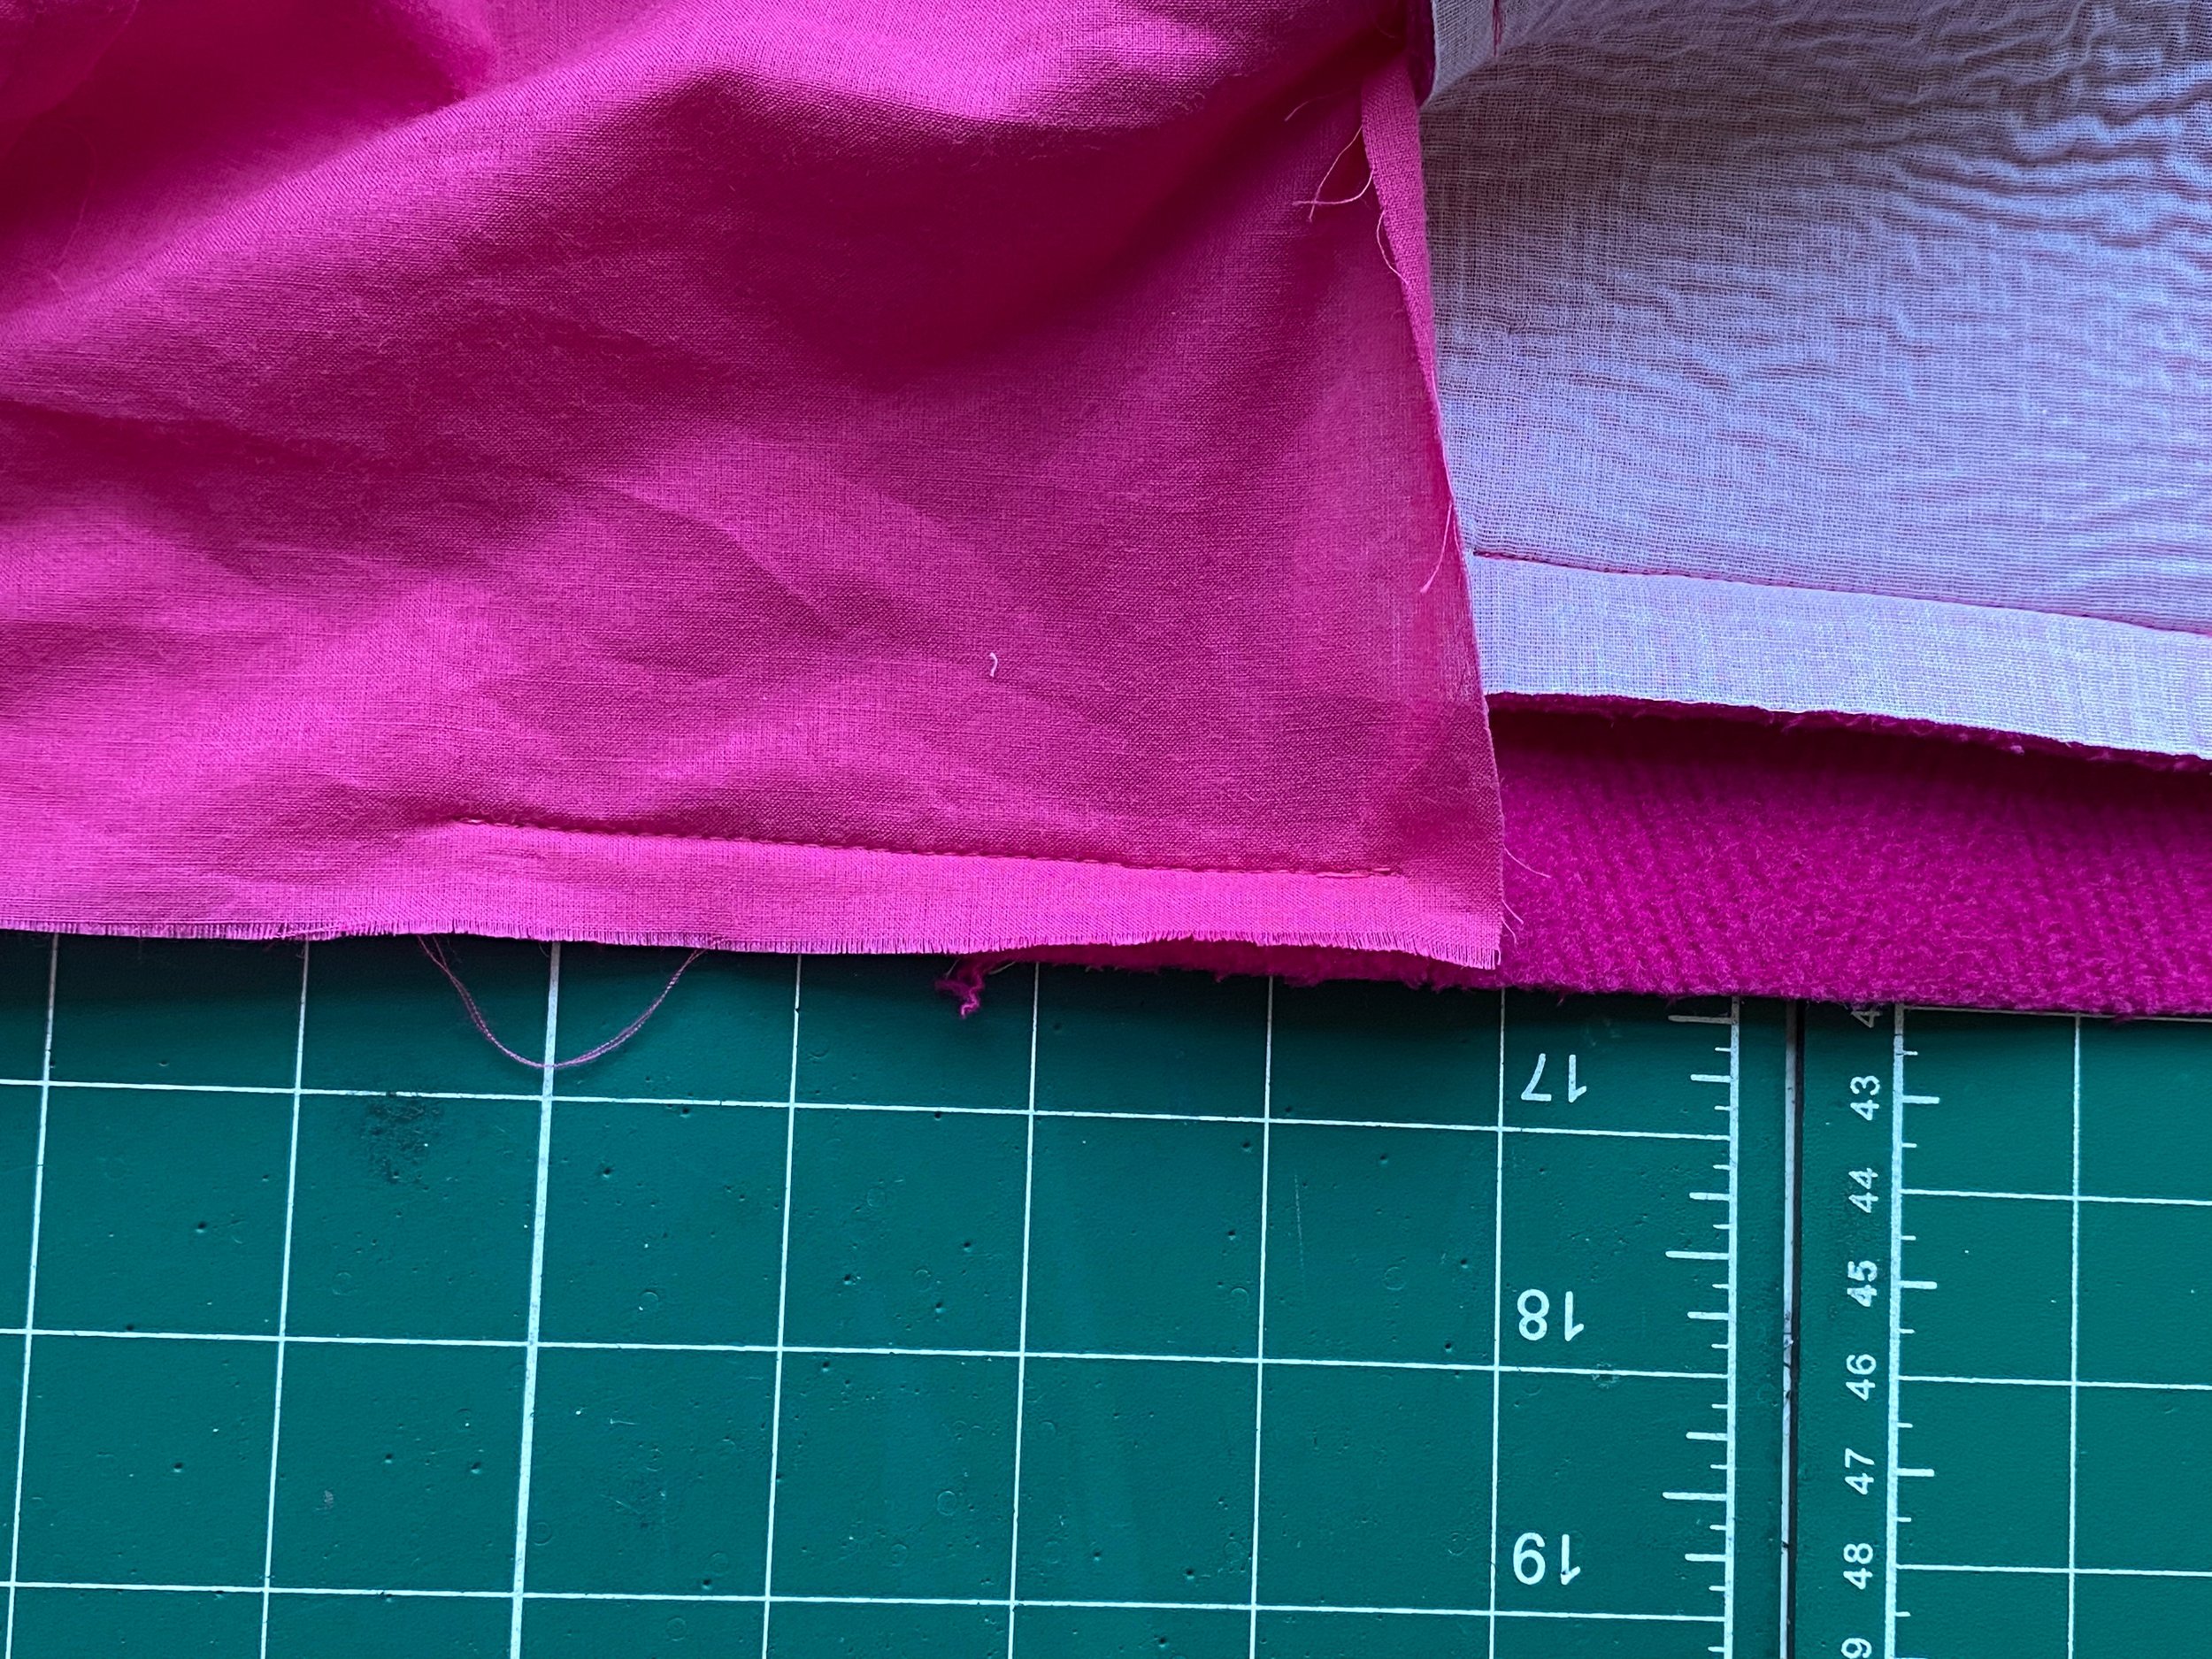
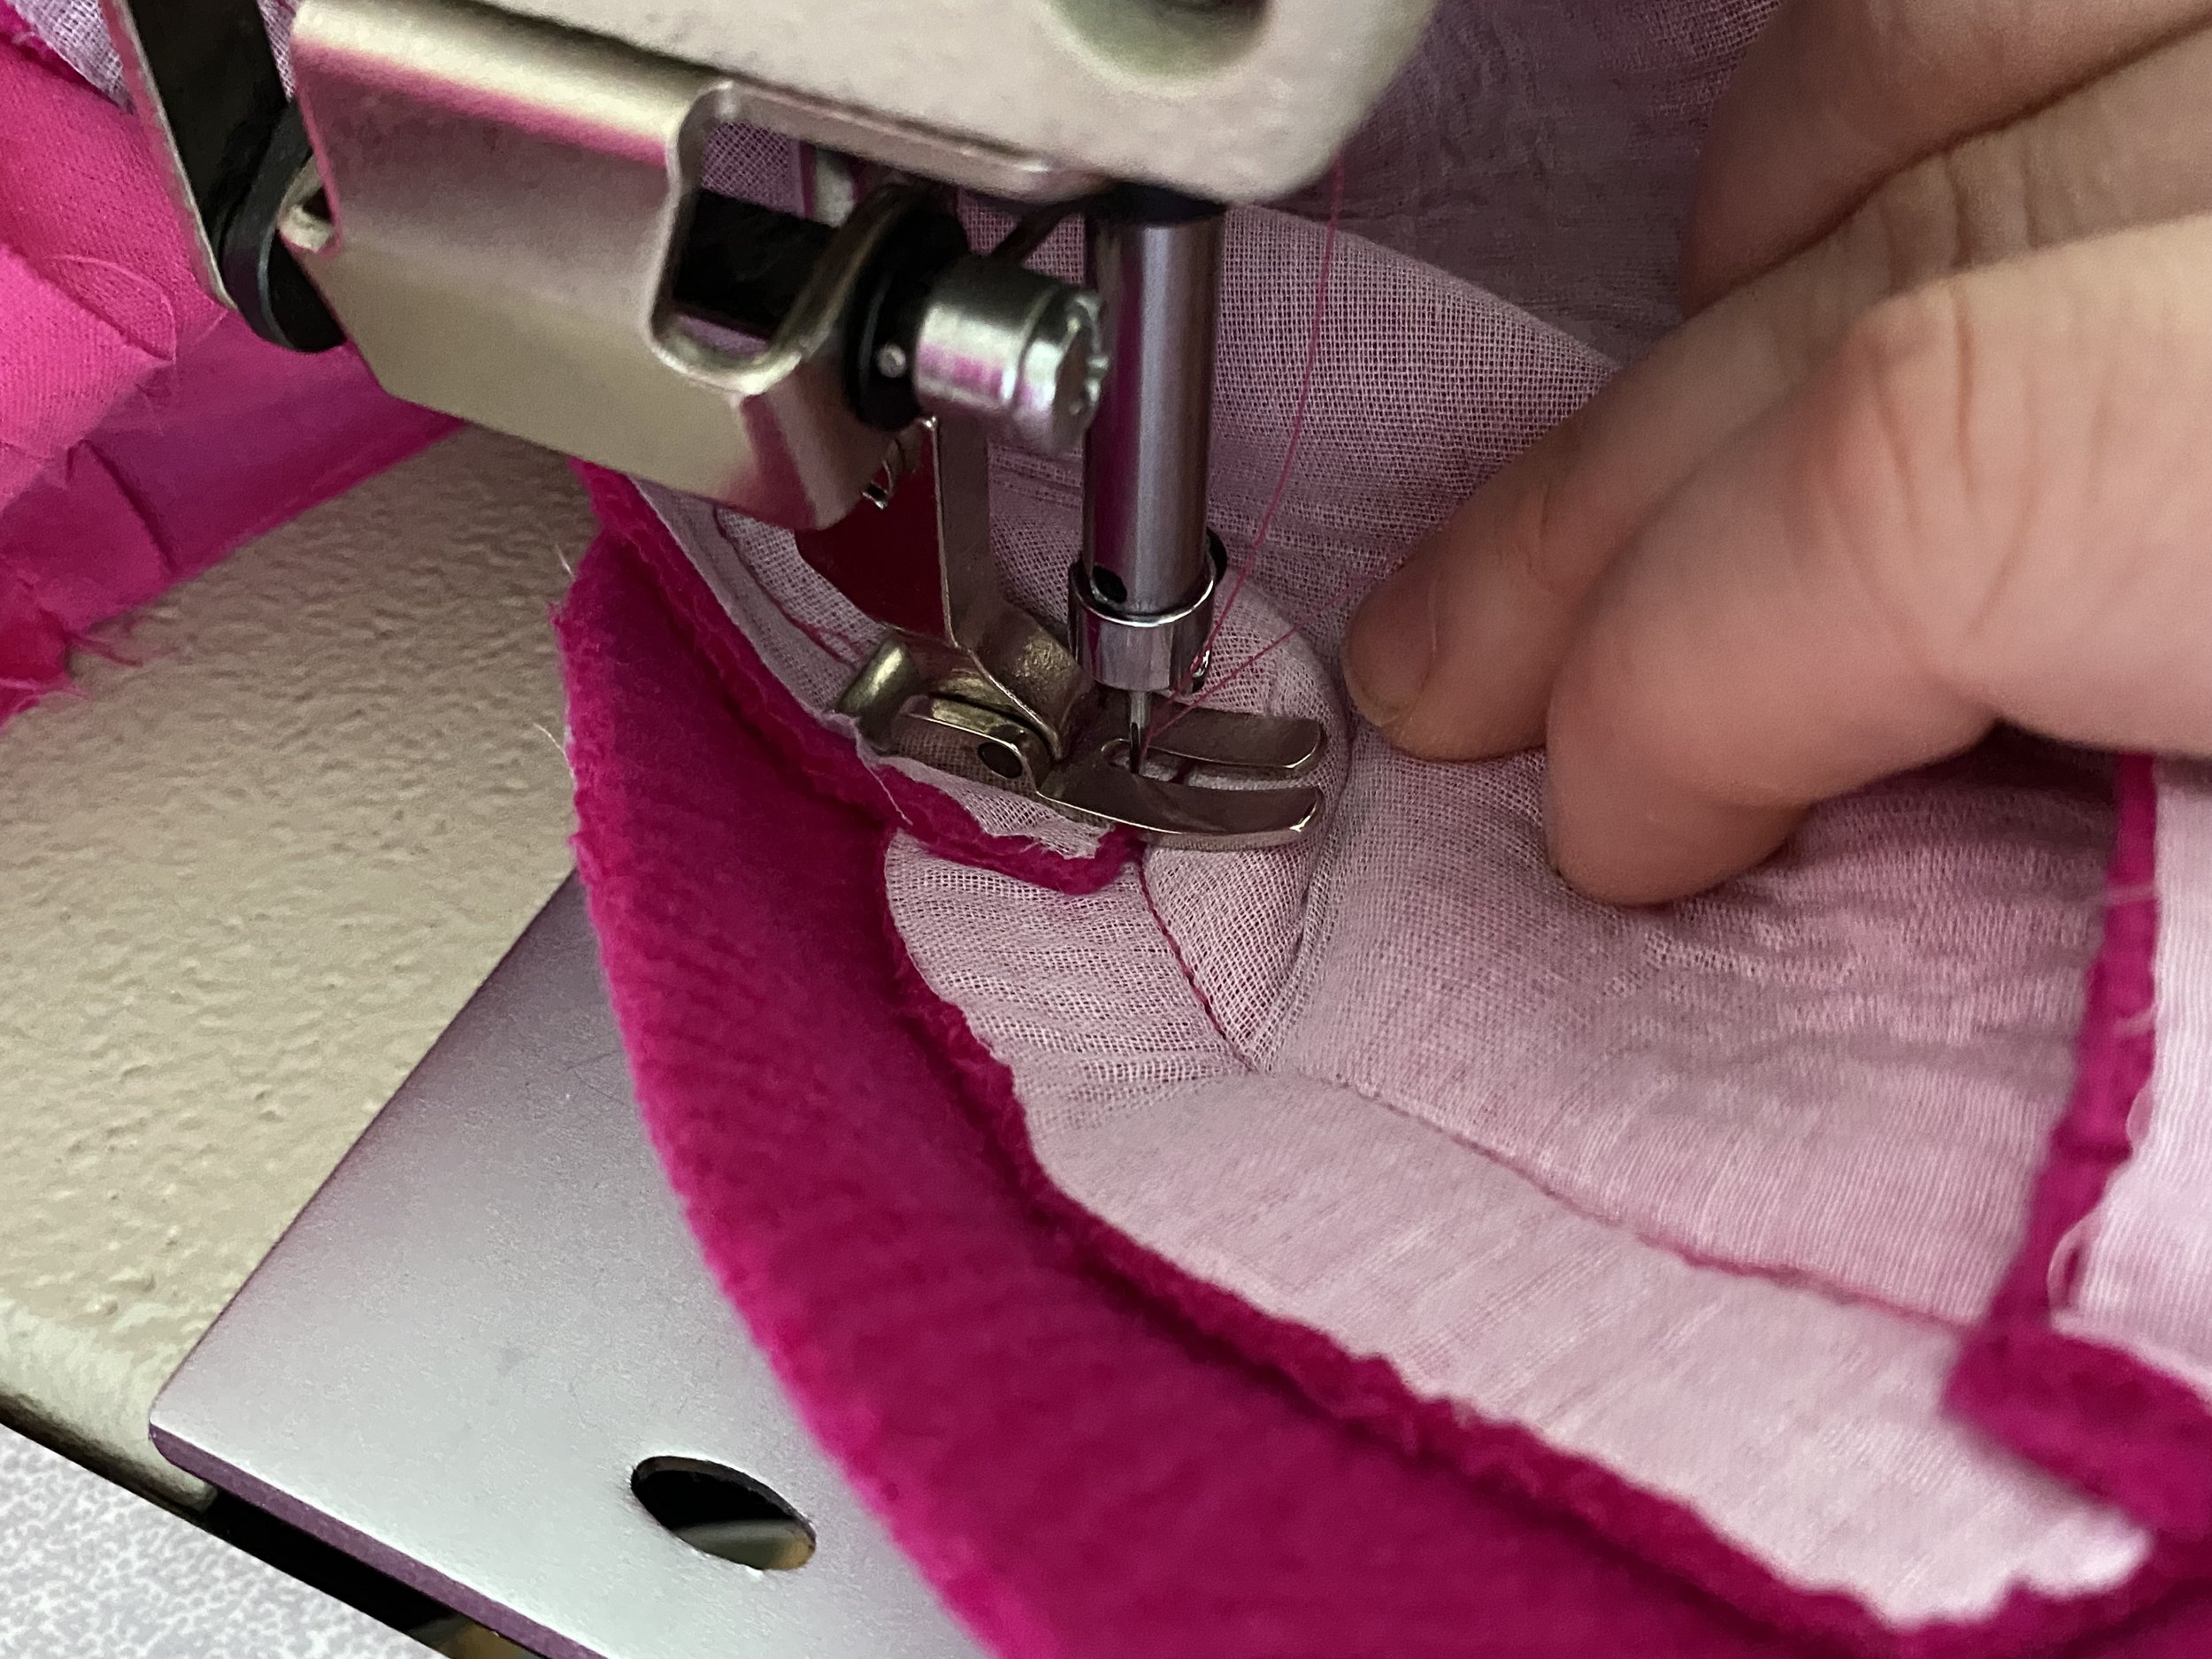
FRONT HEM
My tips for you when sewing this area are to lay the front flat so you can pin the hems together.
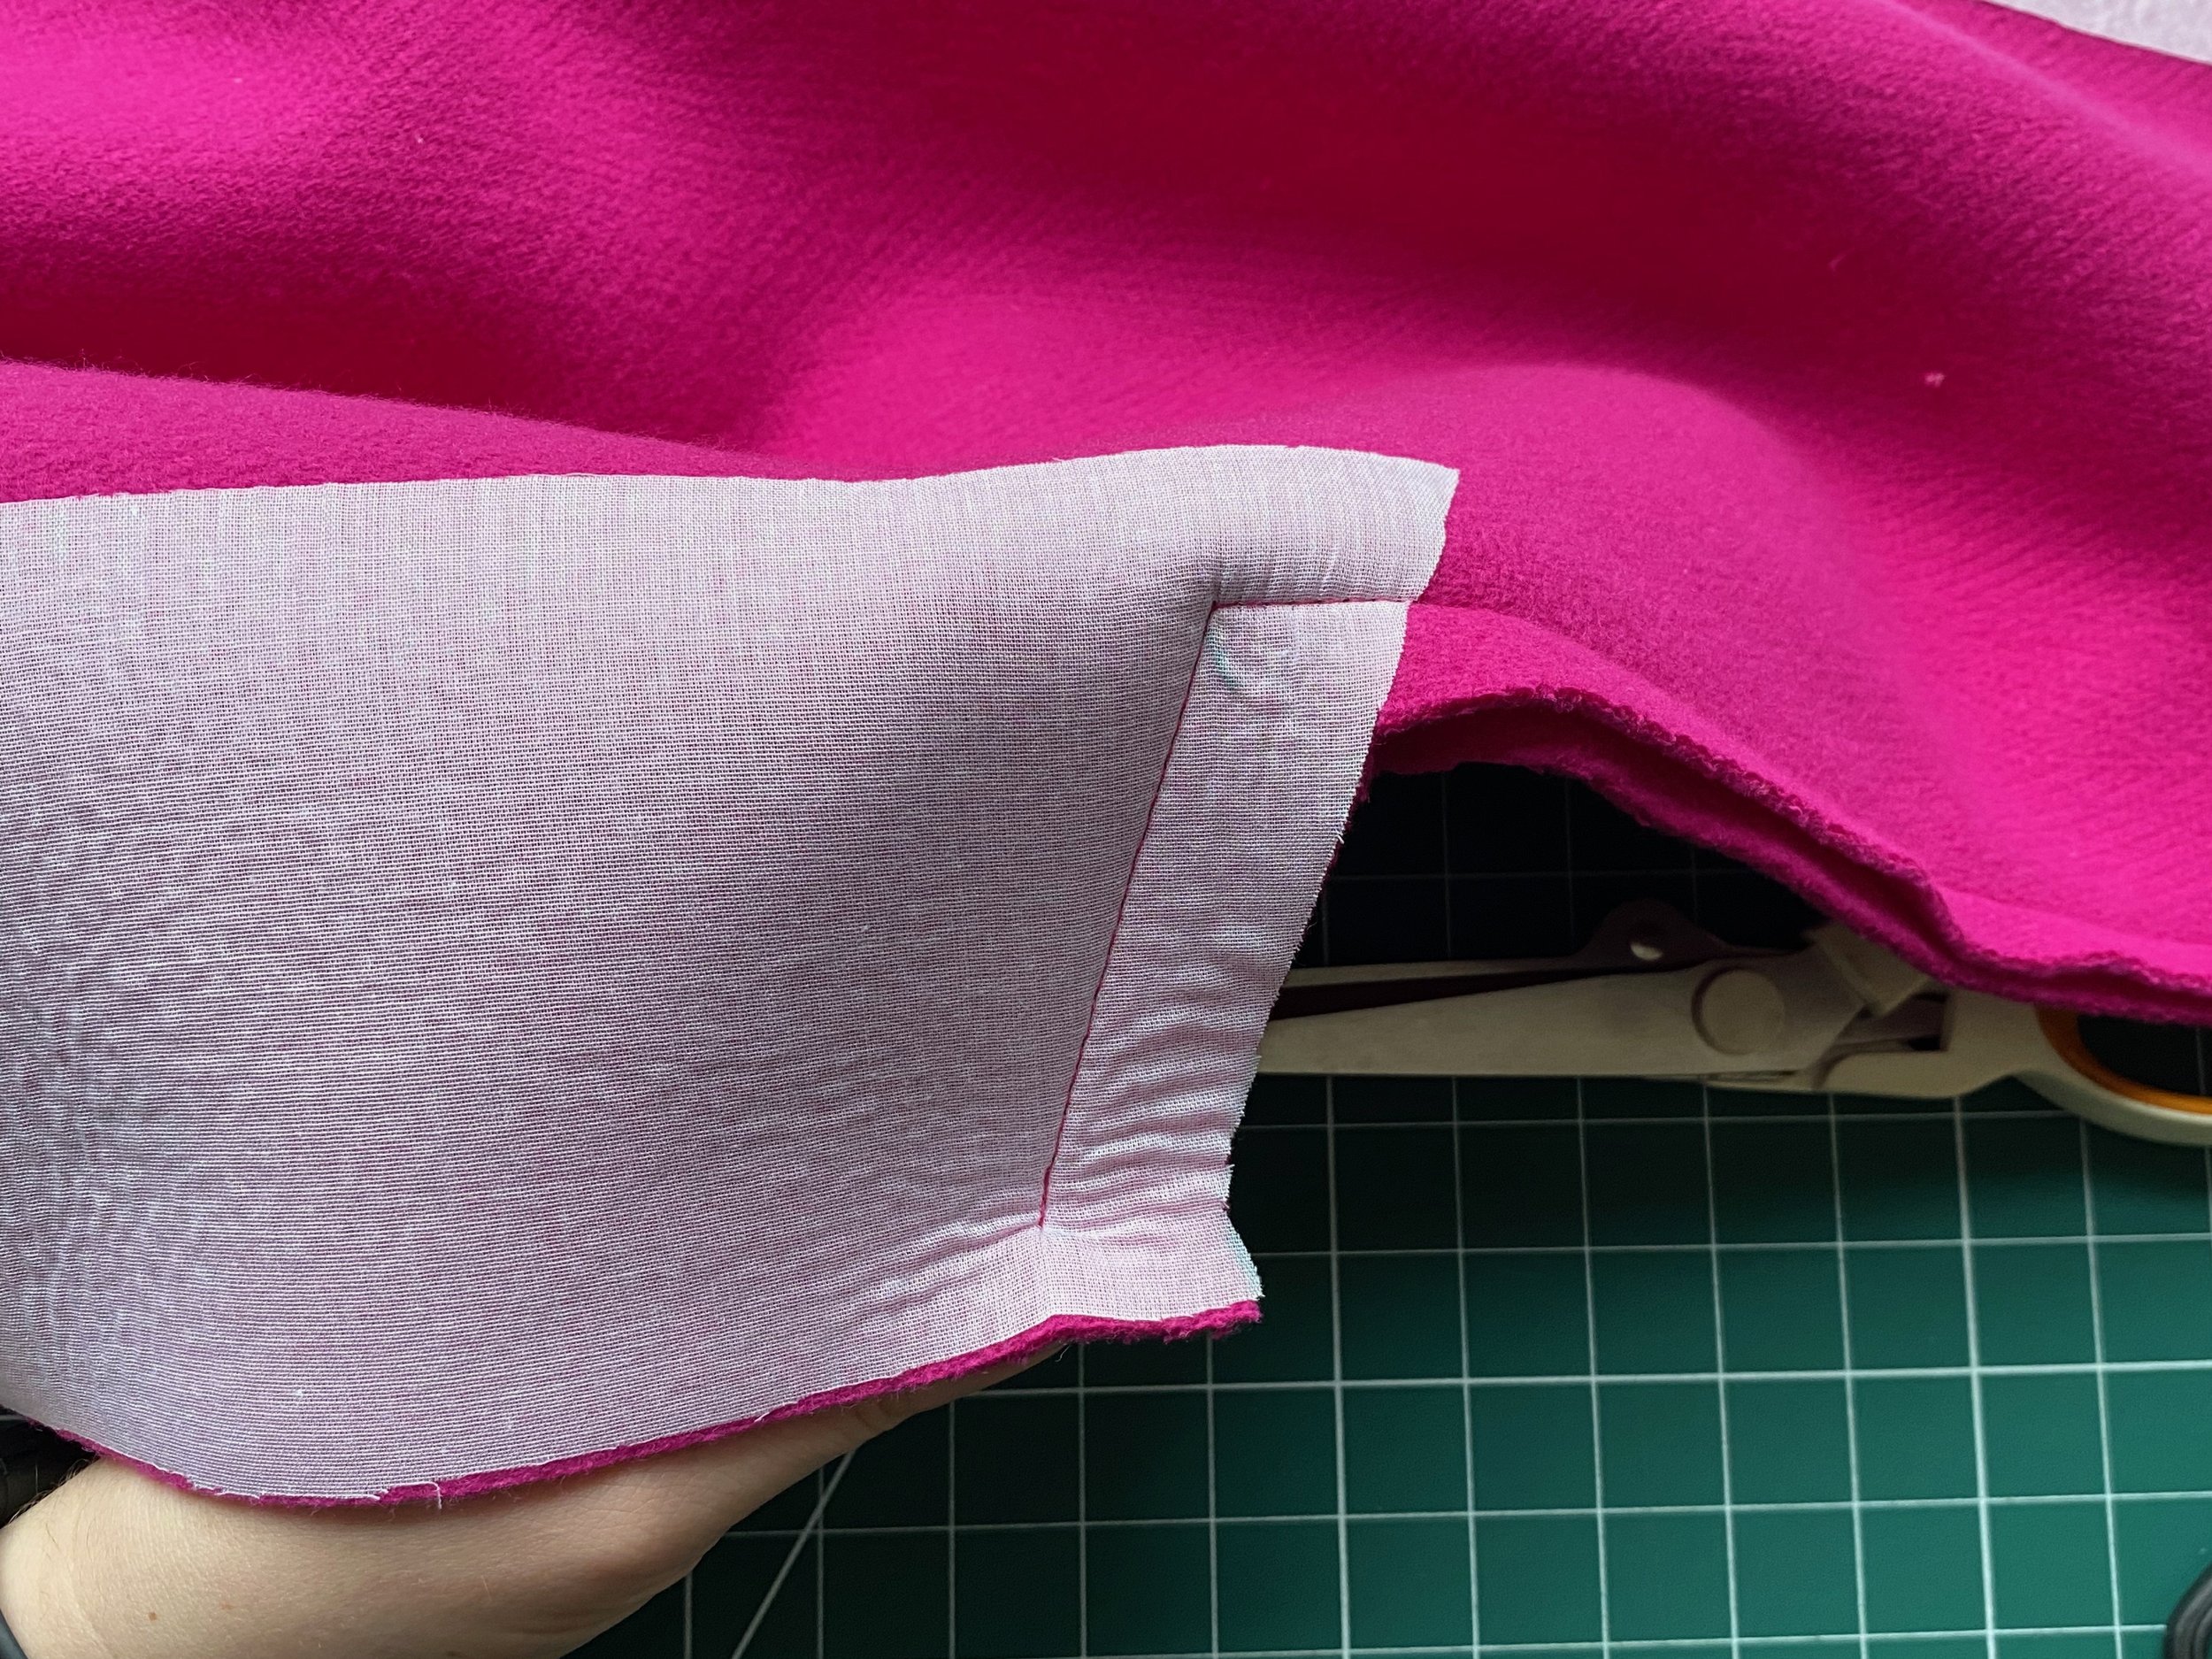
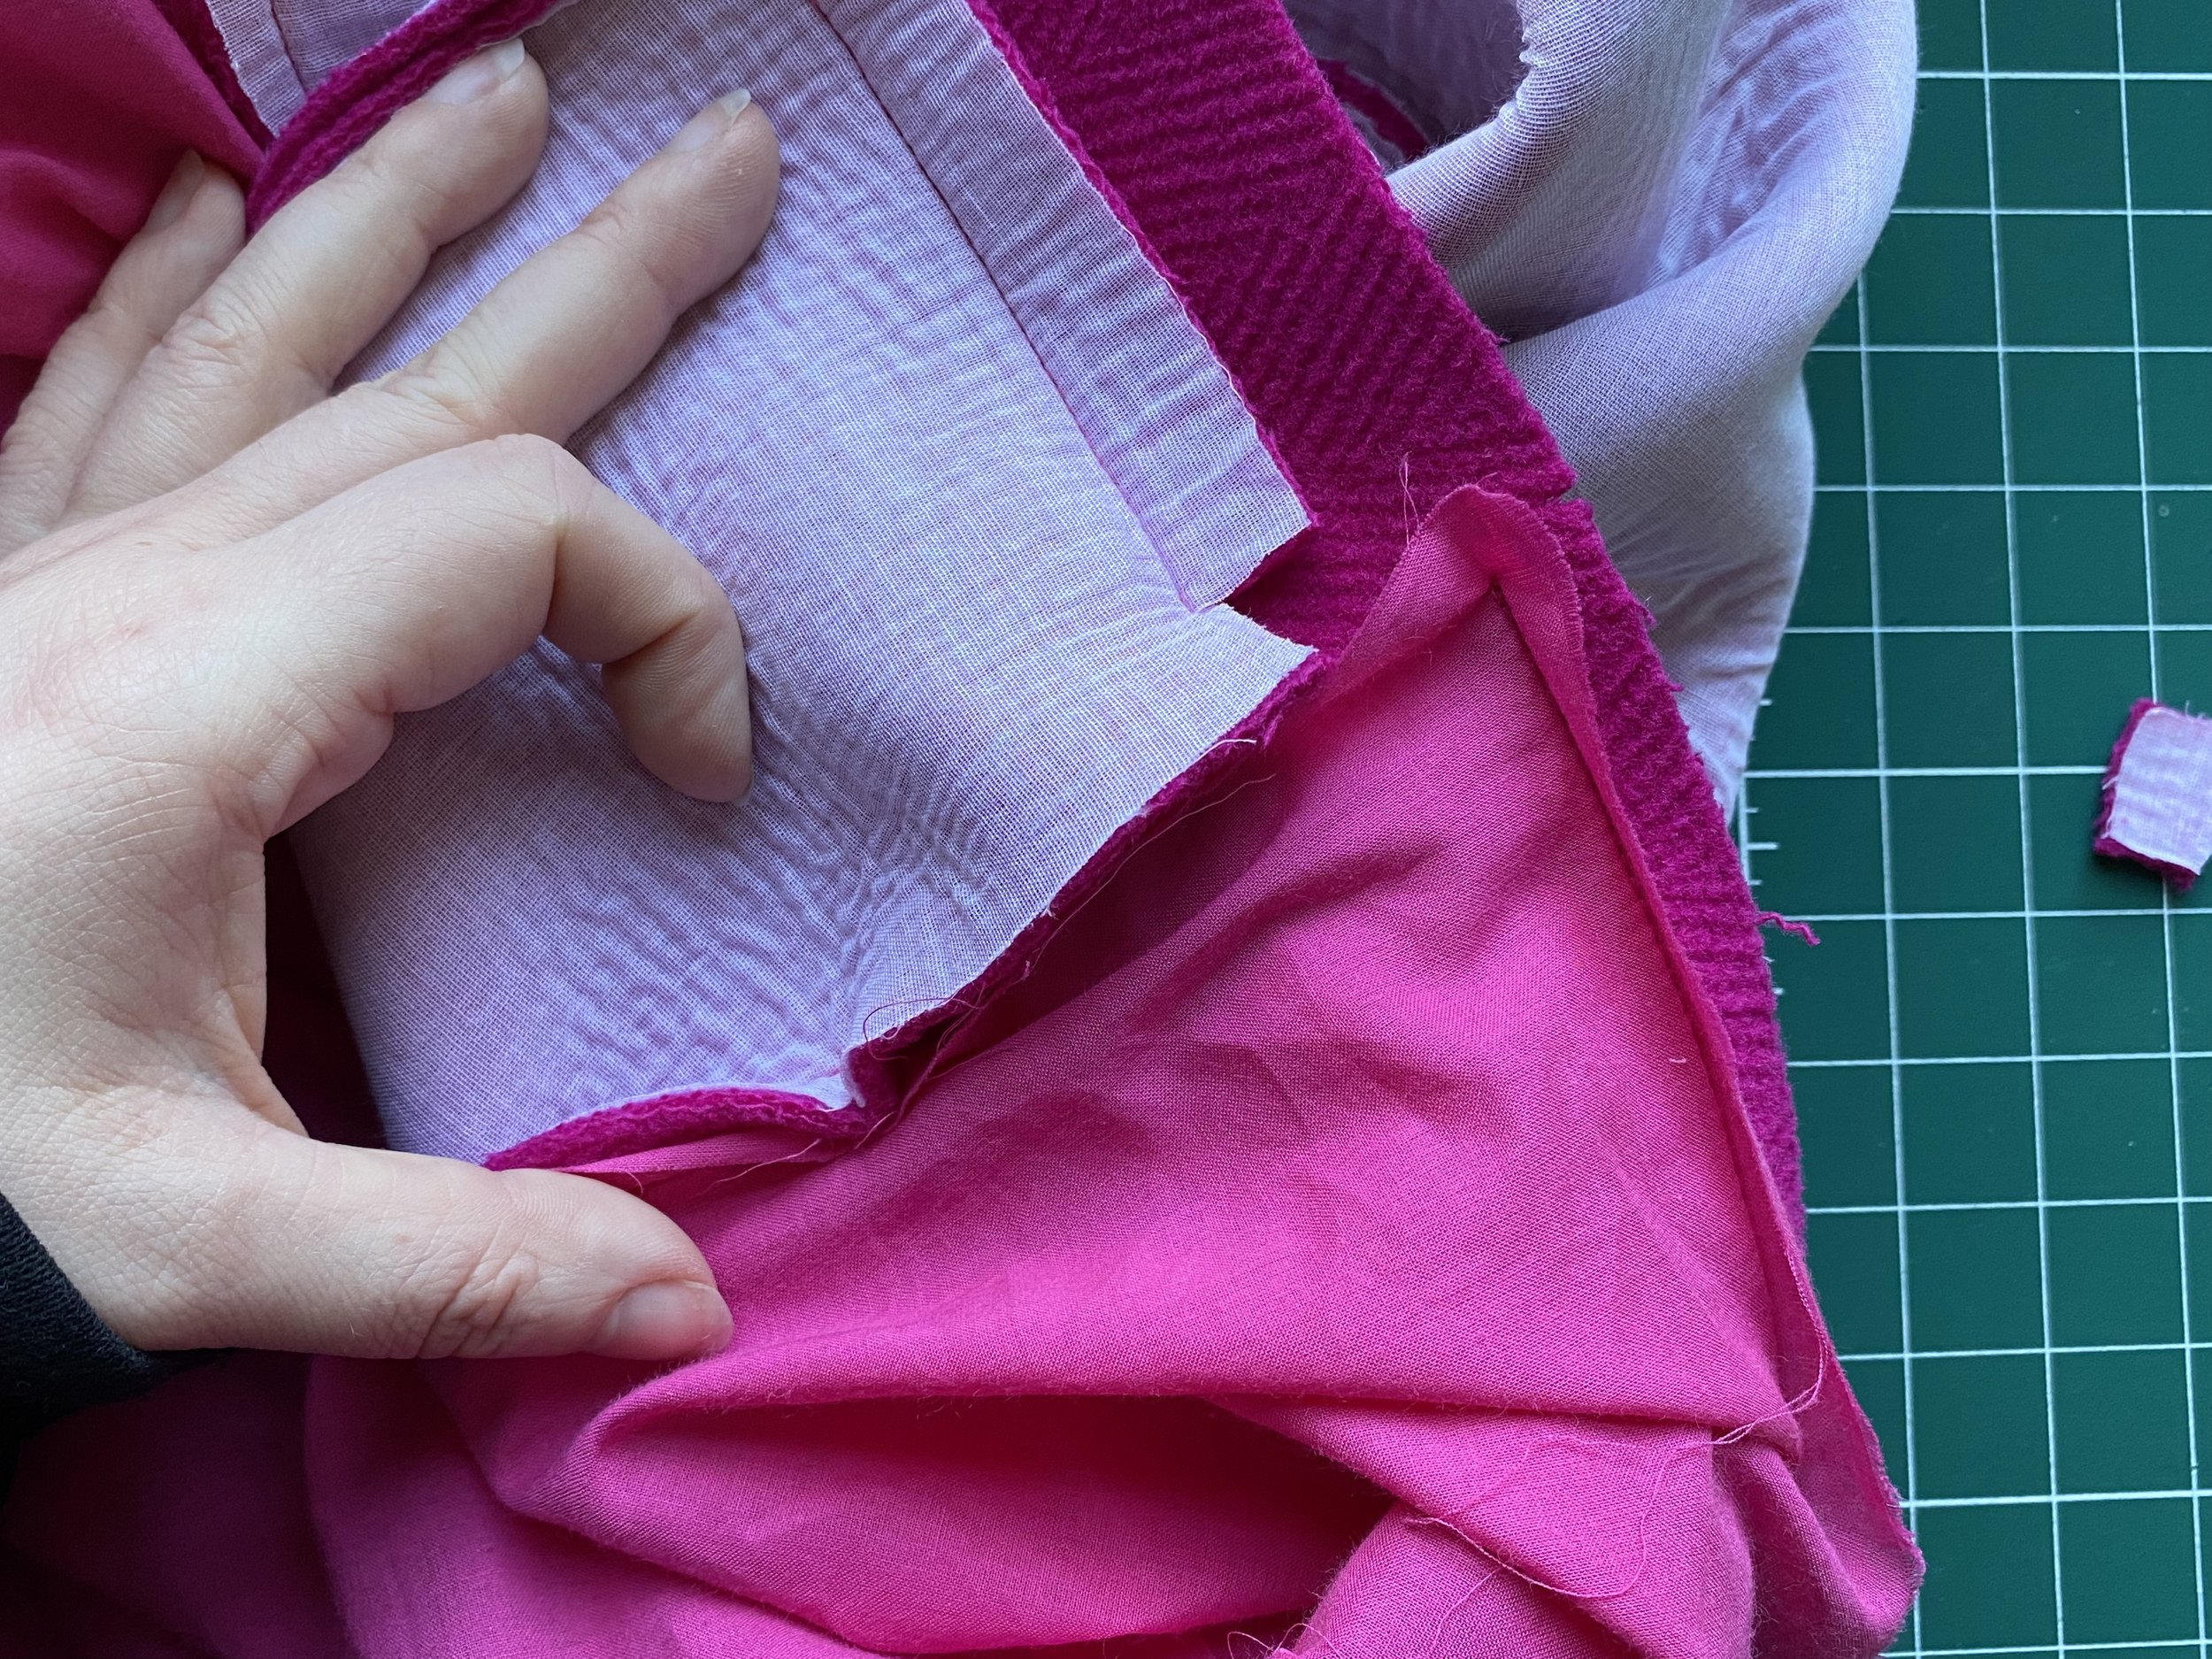
The second photo shows the way I snip away the excess seam allowance to reduce the bulk when your turn out to the right way.
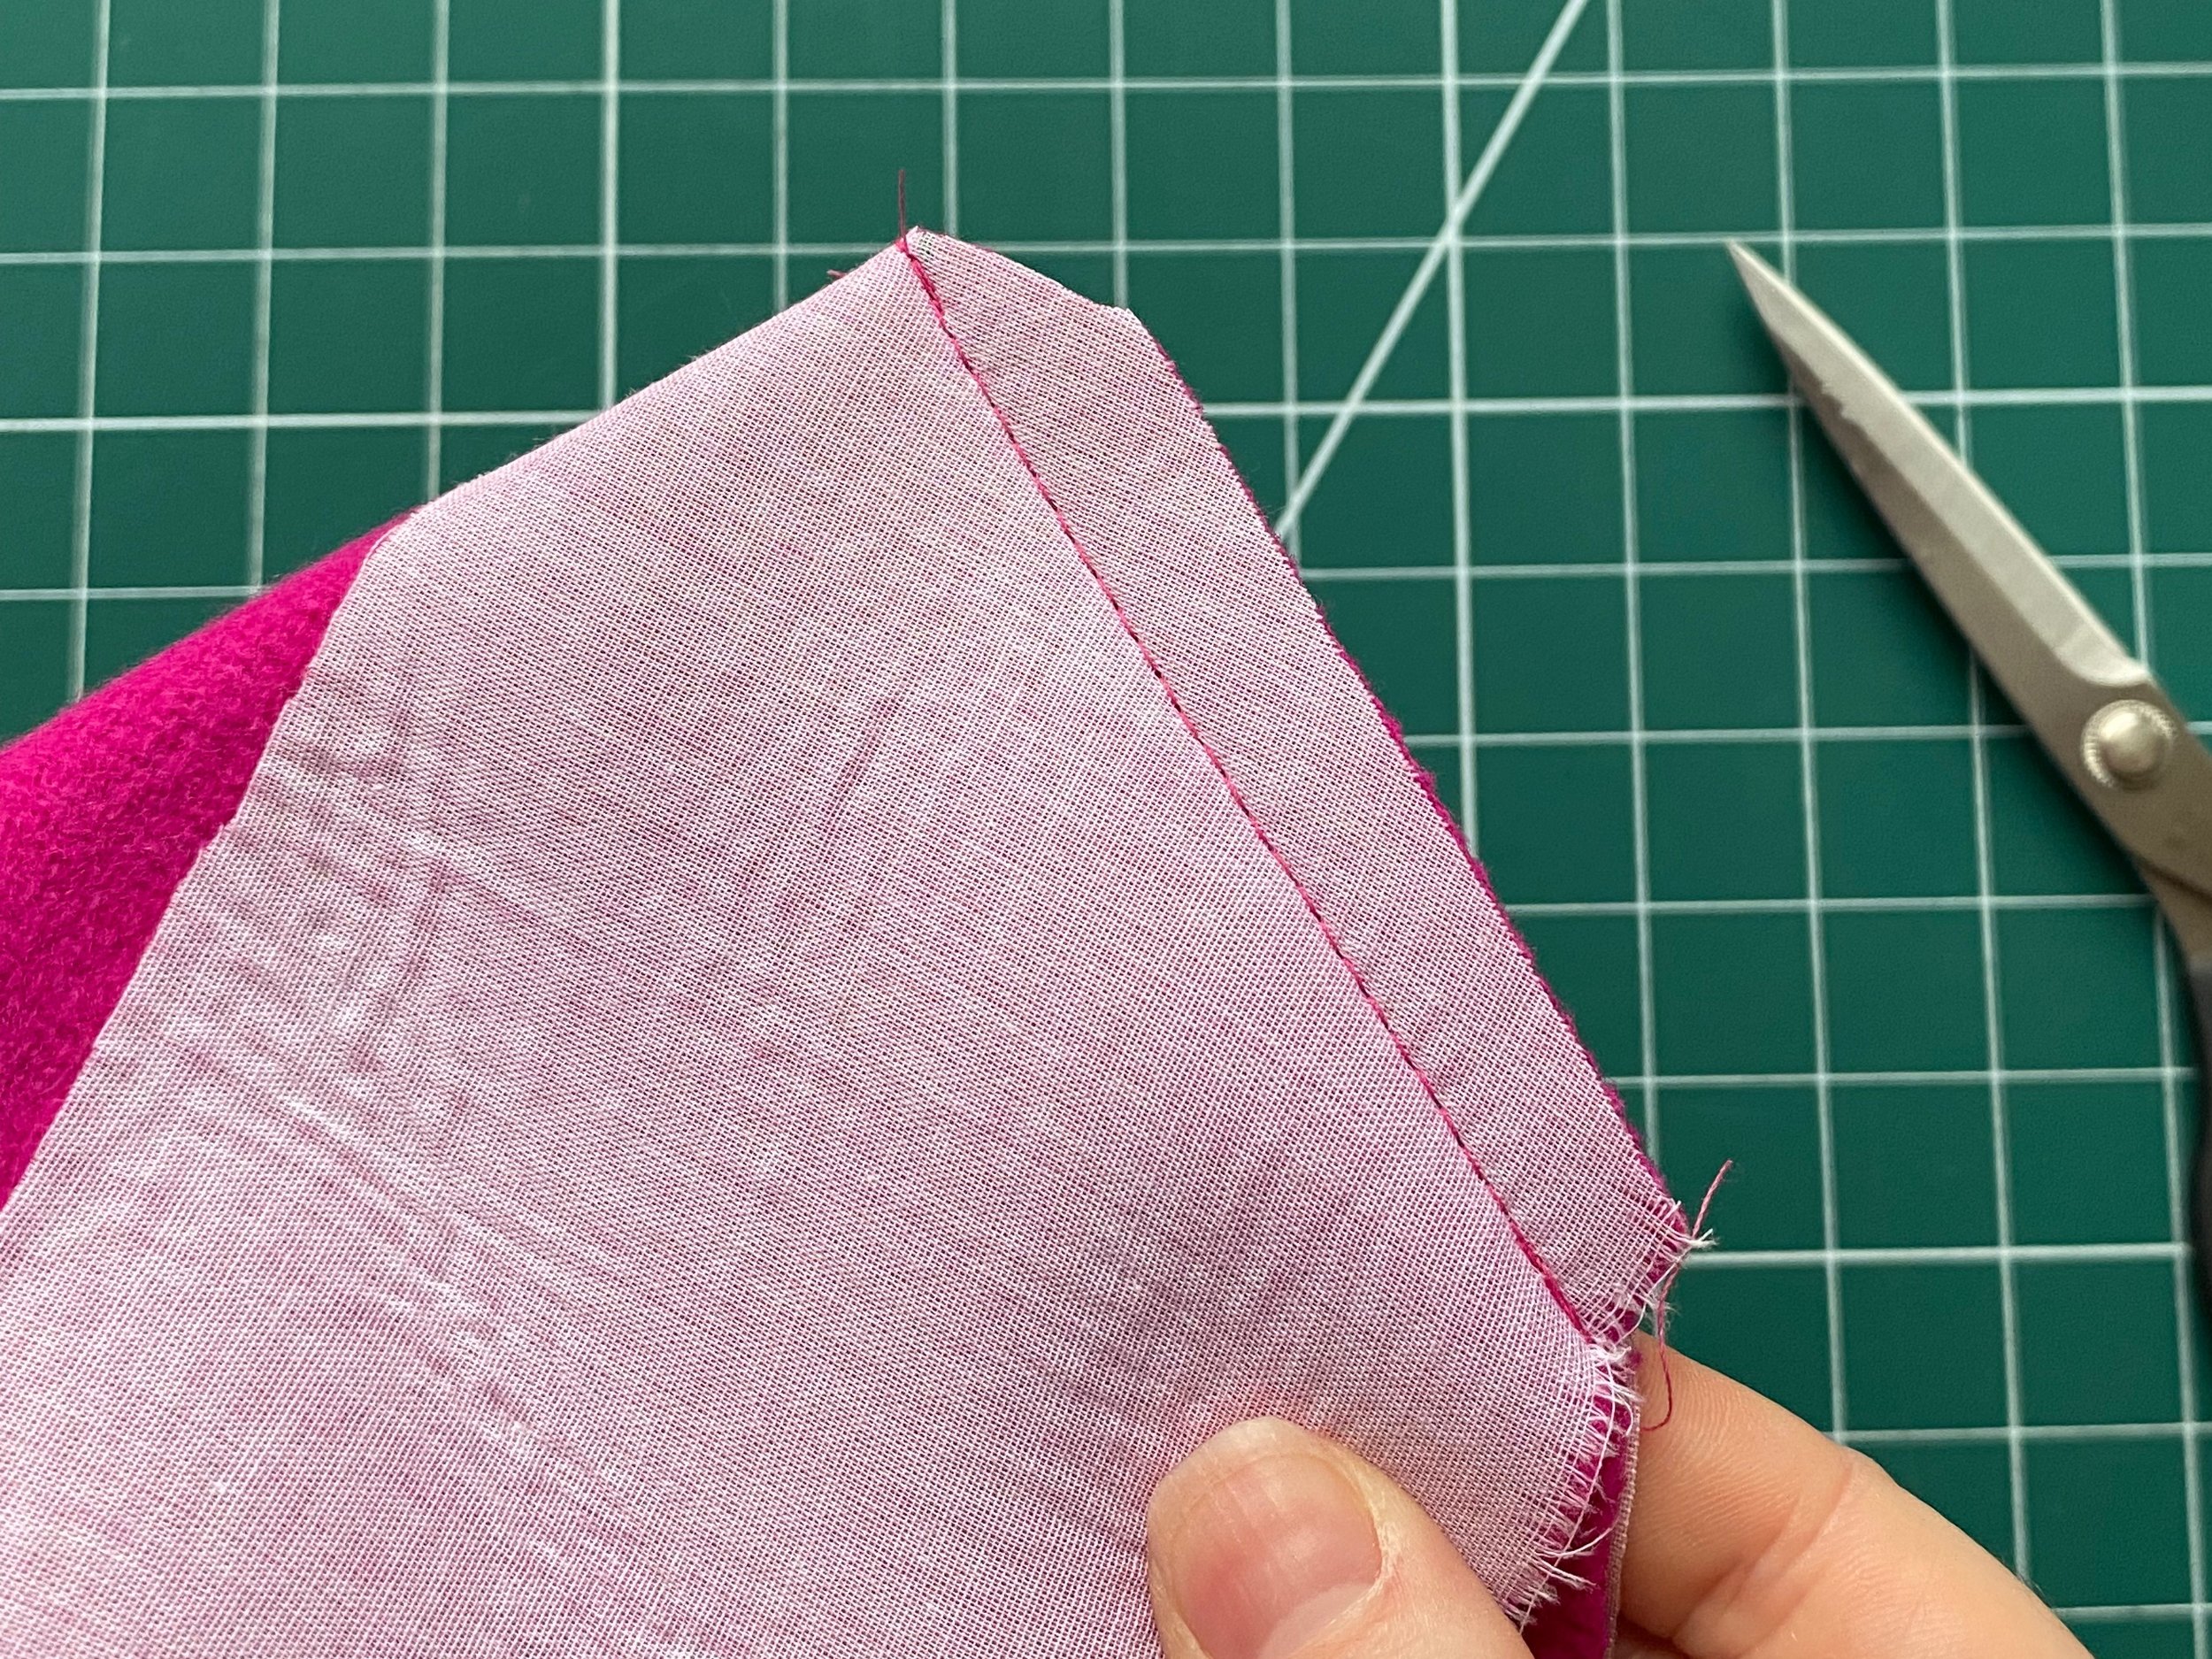
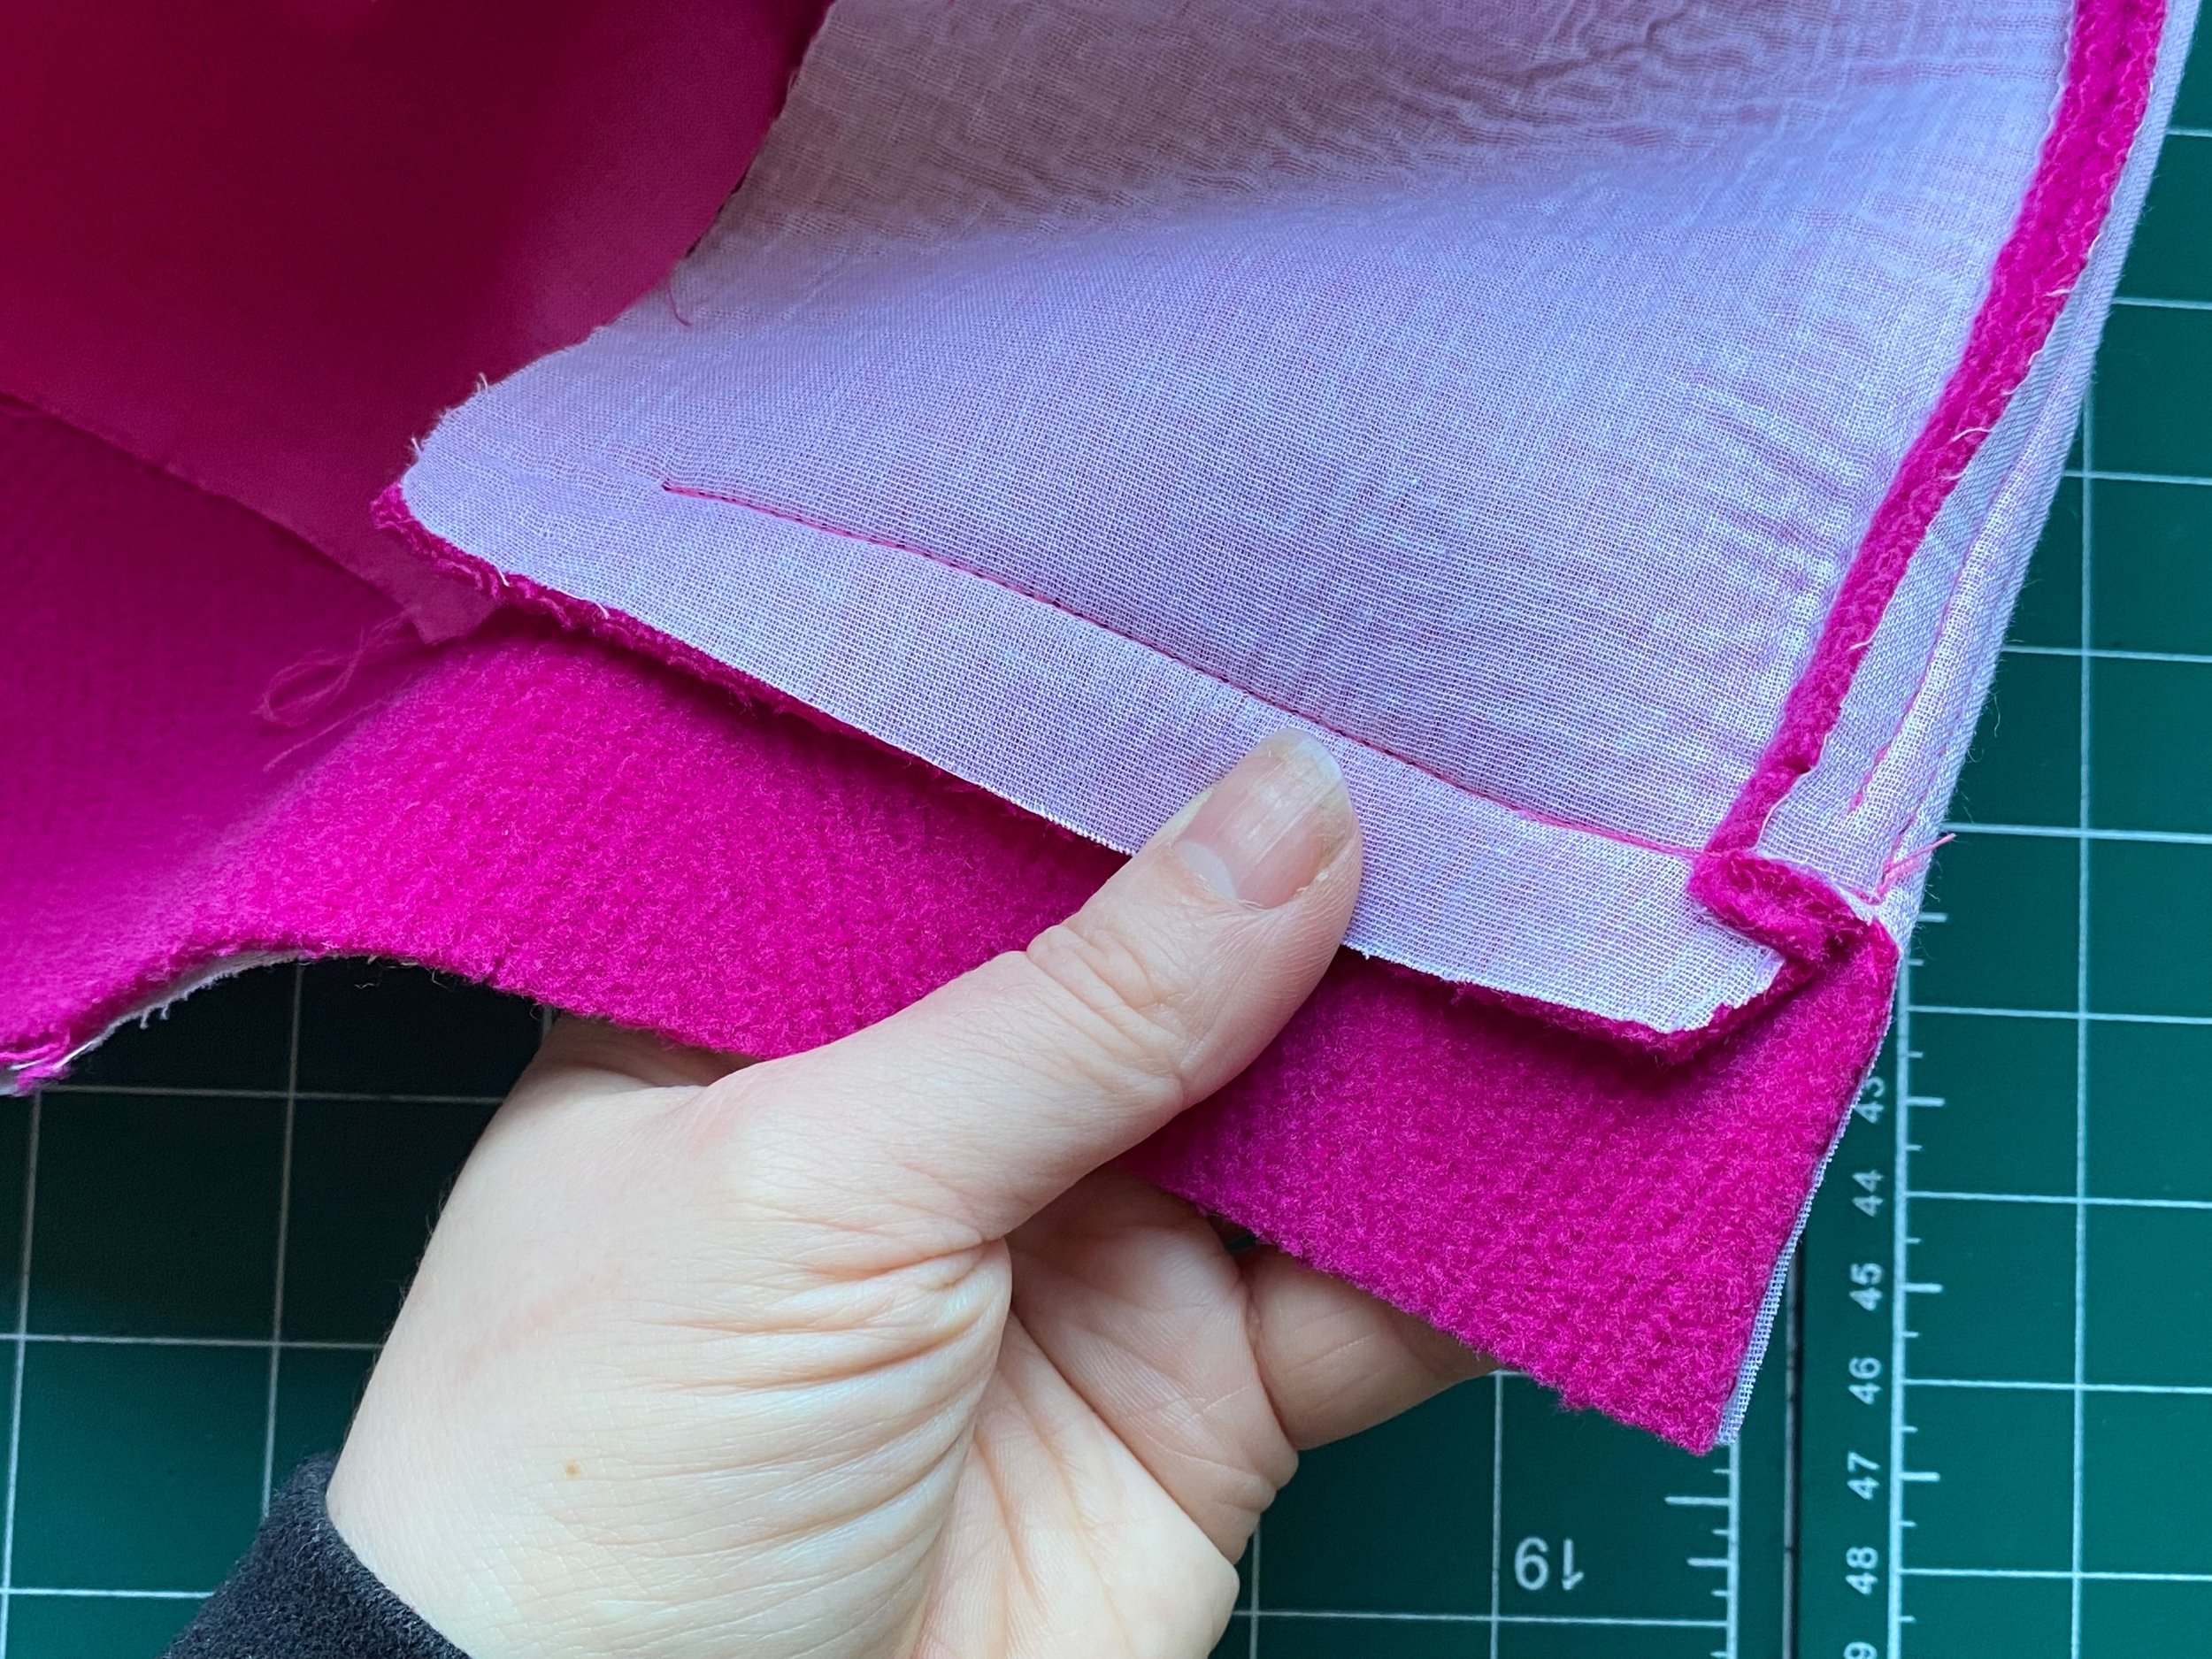
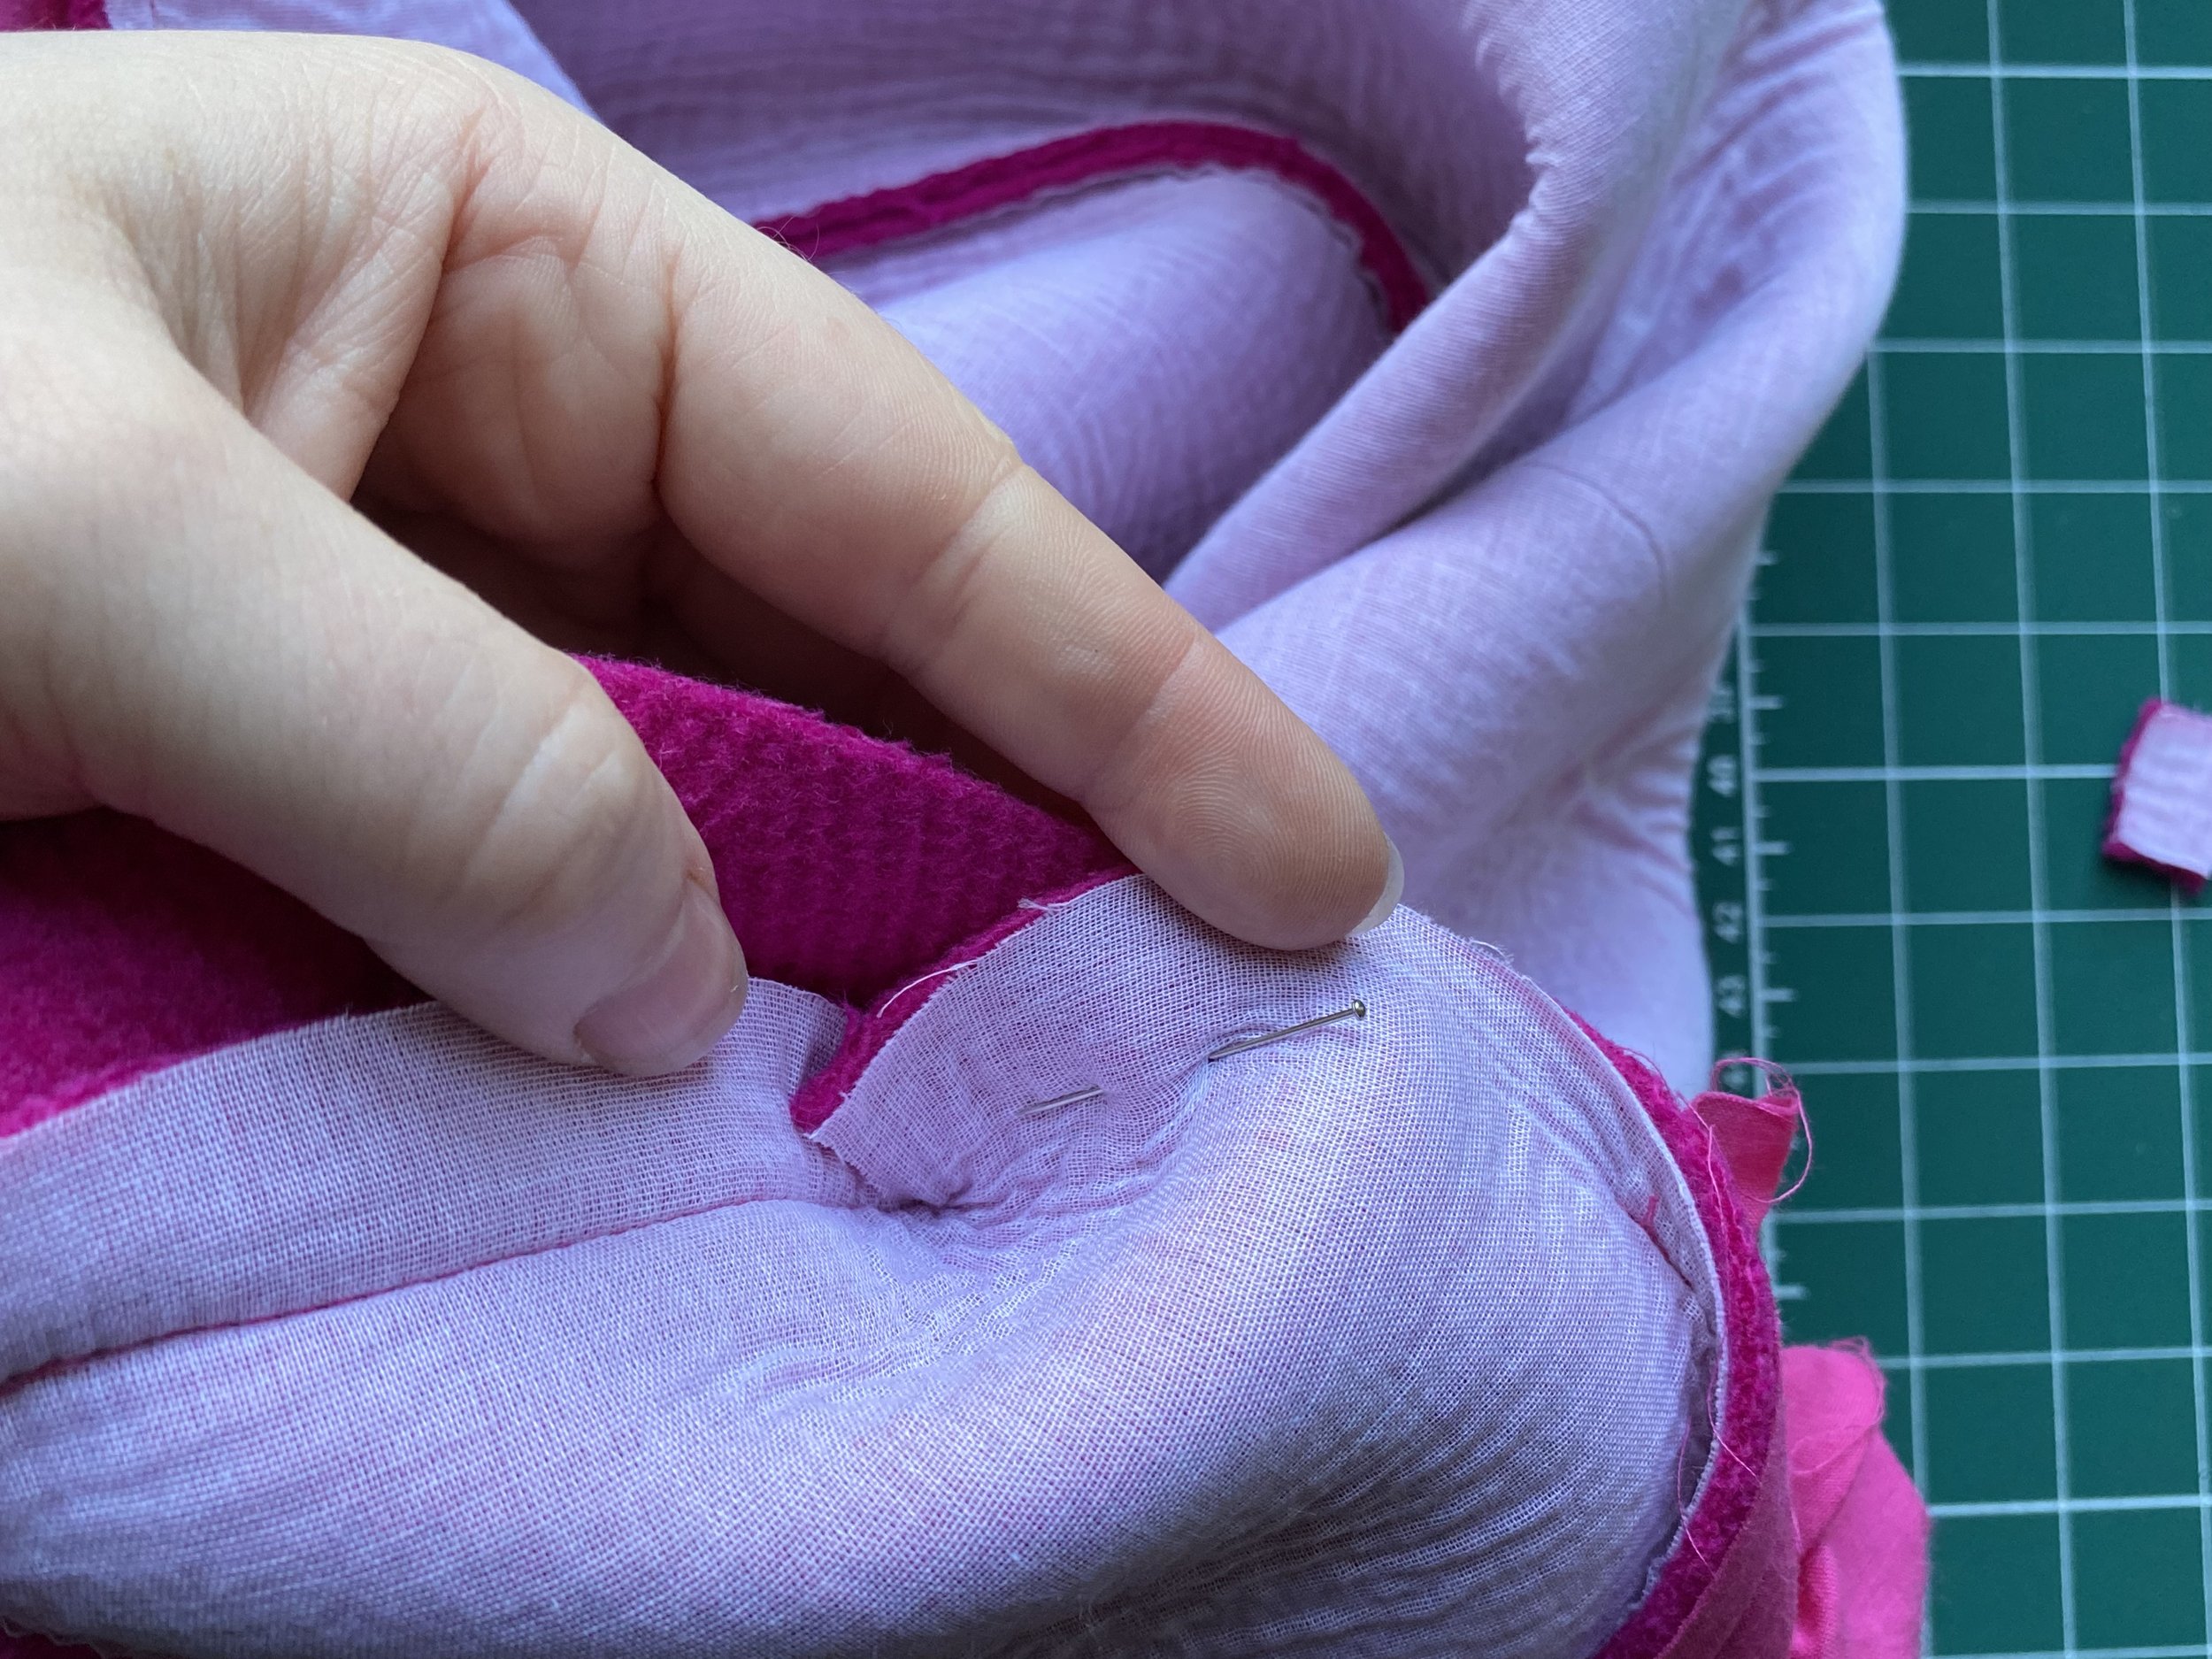
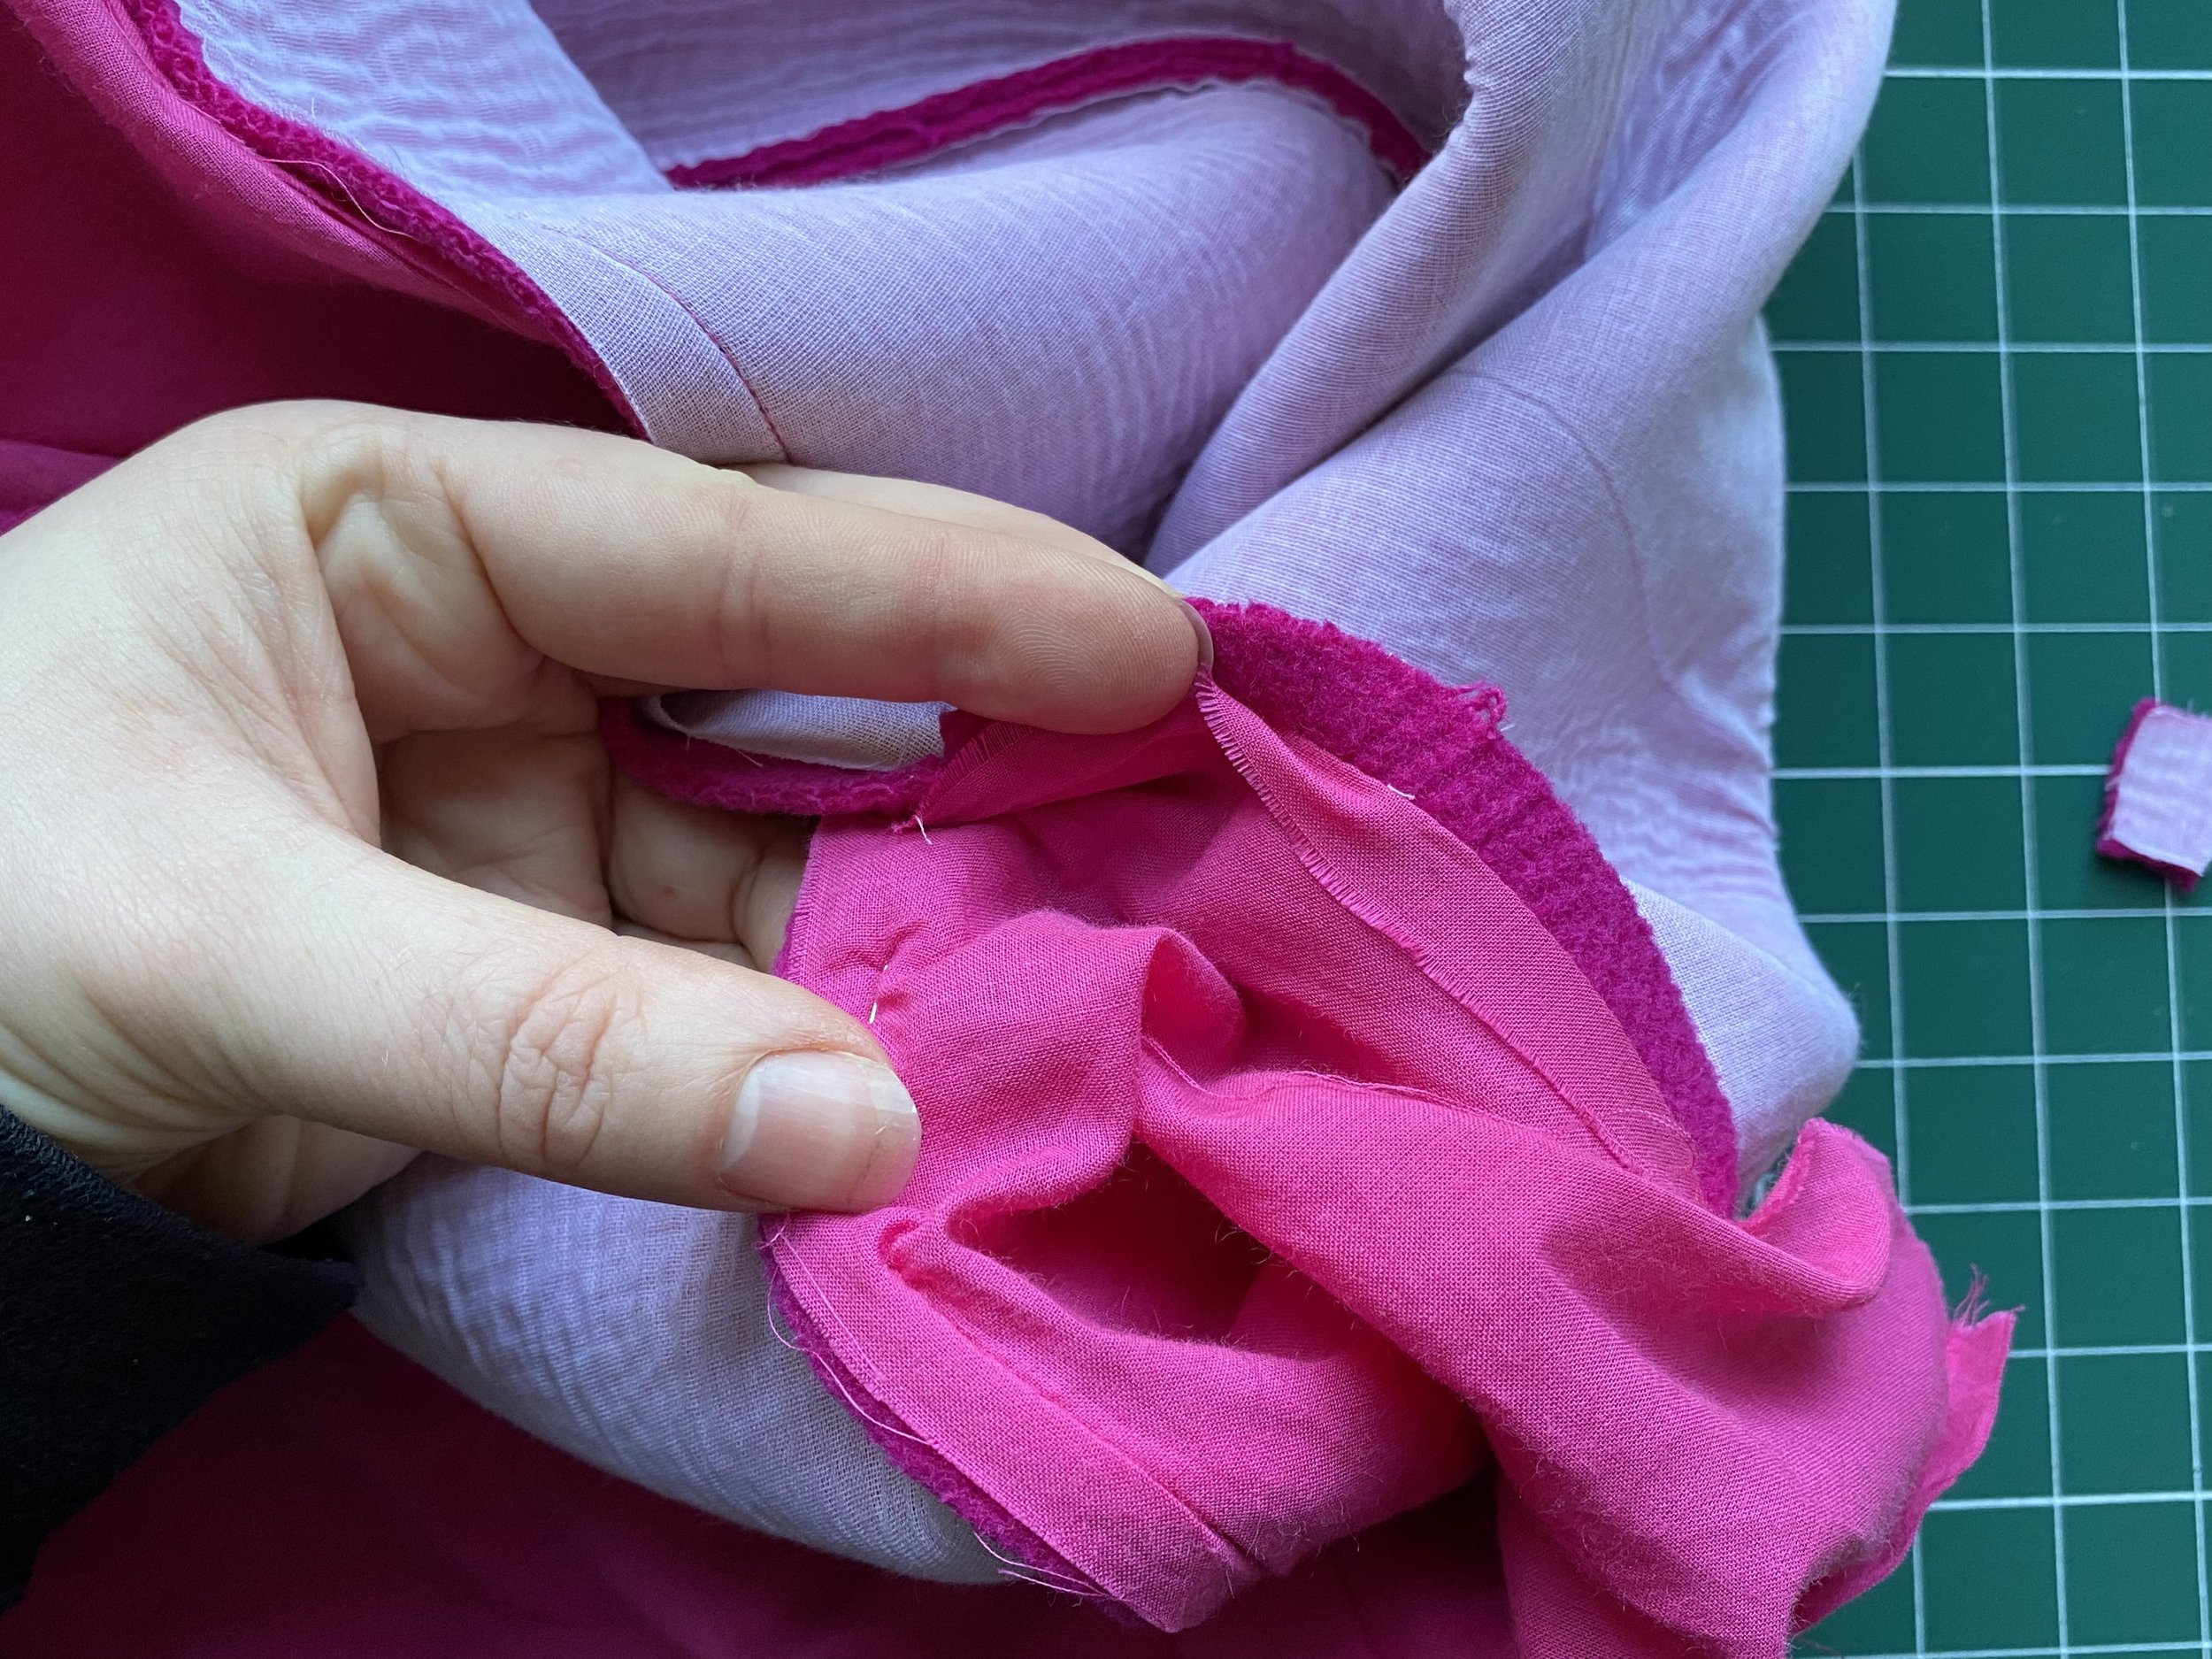
Sewing the facing up the hem vertically is fiddly. I have cut off a square so that I could pivot/fold back the seam allowance to position and pin in place.
Ive included an image of the hem under the machine so you can see that you’re stitching right into the end corner.
If your fabric is thick like mine or if you’re not feeling confident at sewing all the way down to the hem fold then just sew as much as you can and position the seam allowance inlace and hand sew the remaining. It may sit in place on its own.

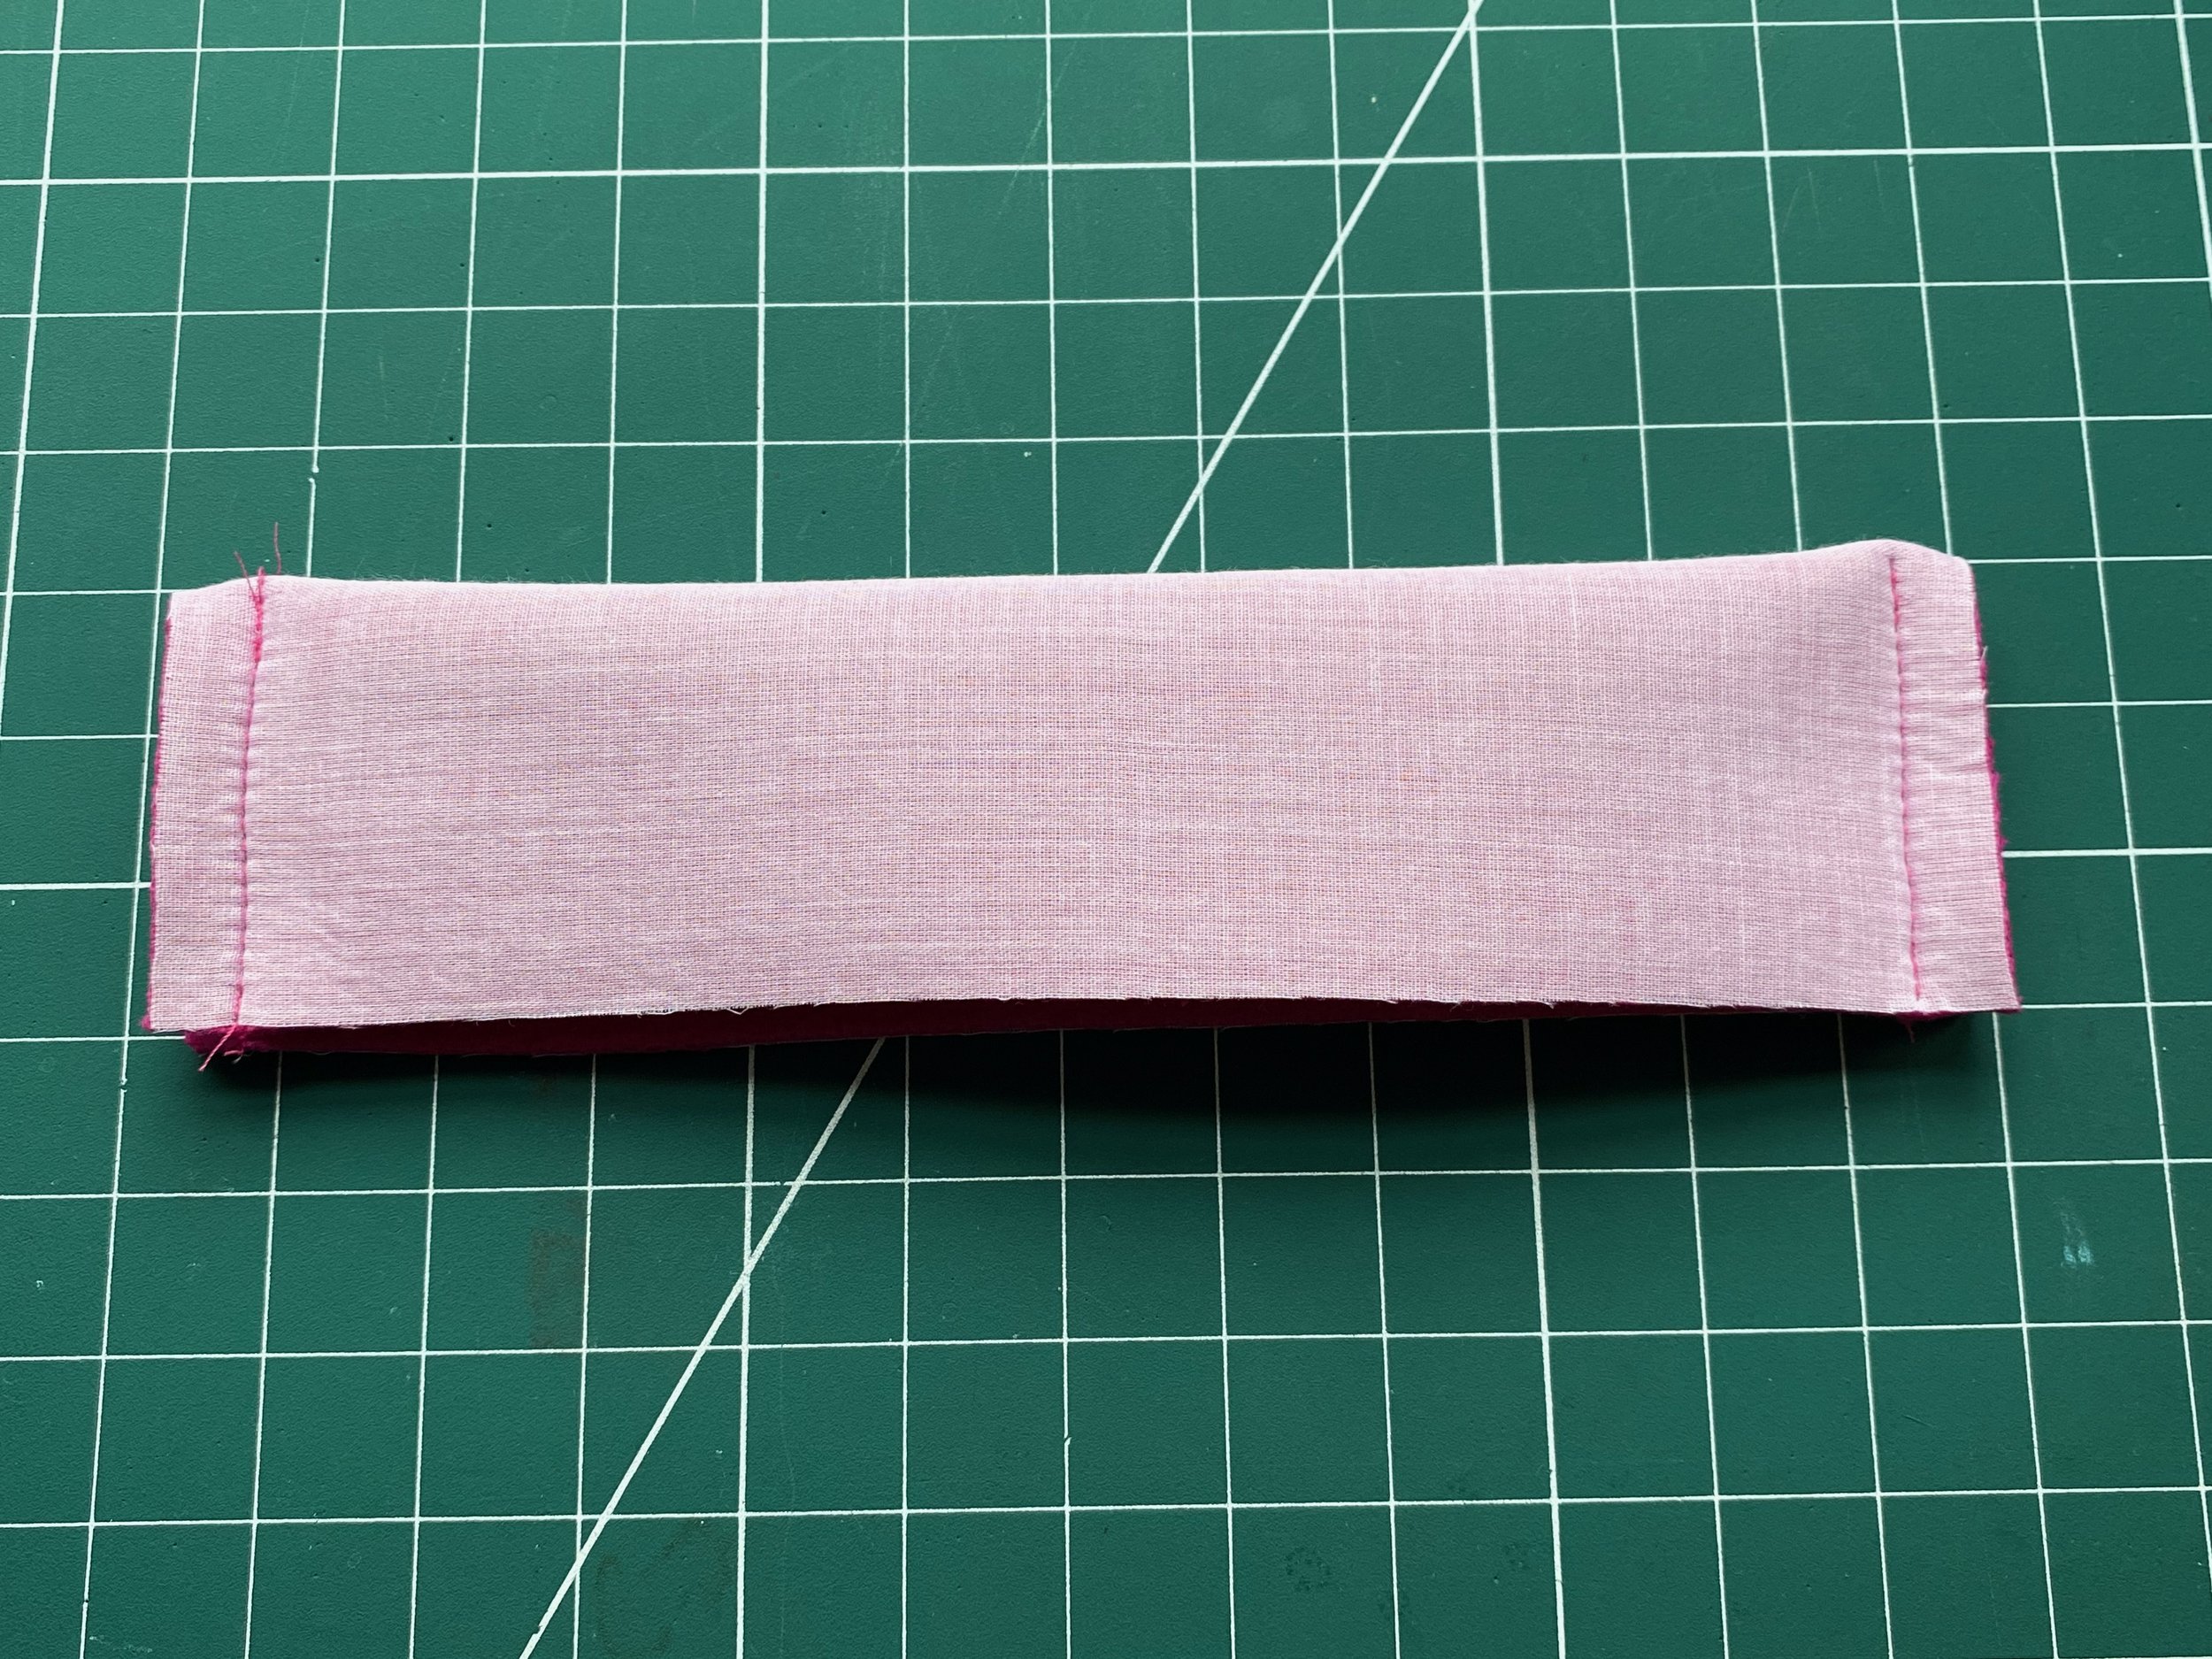
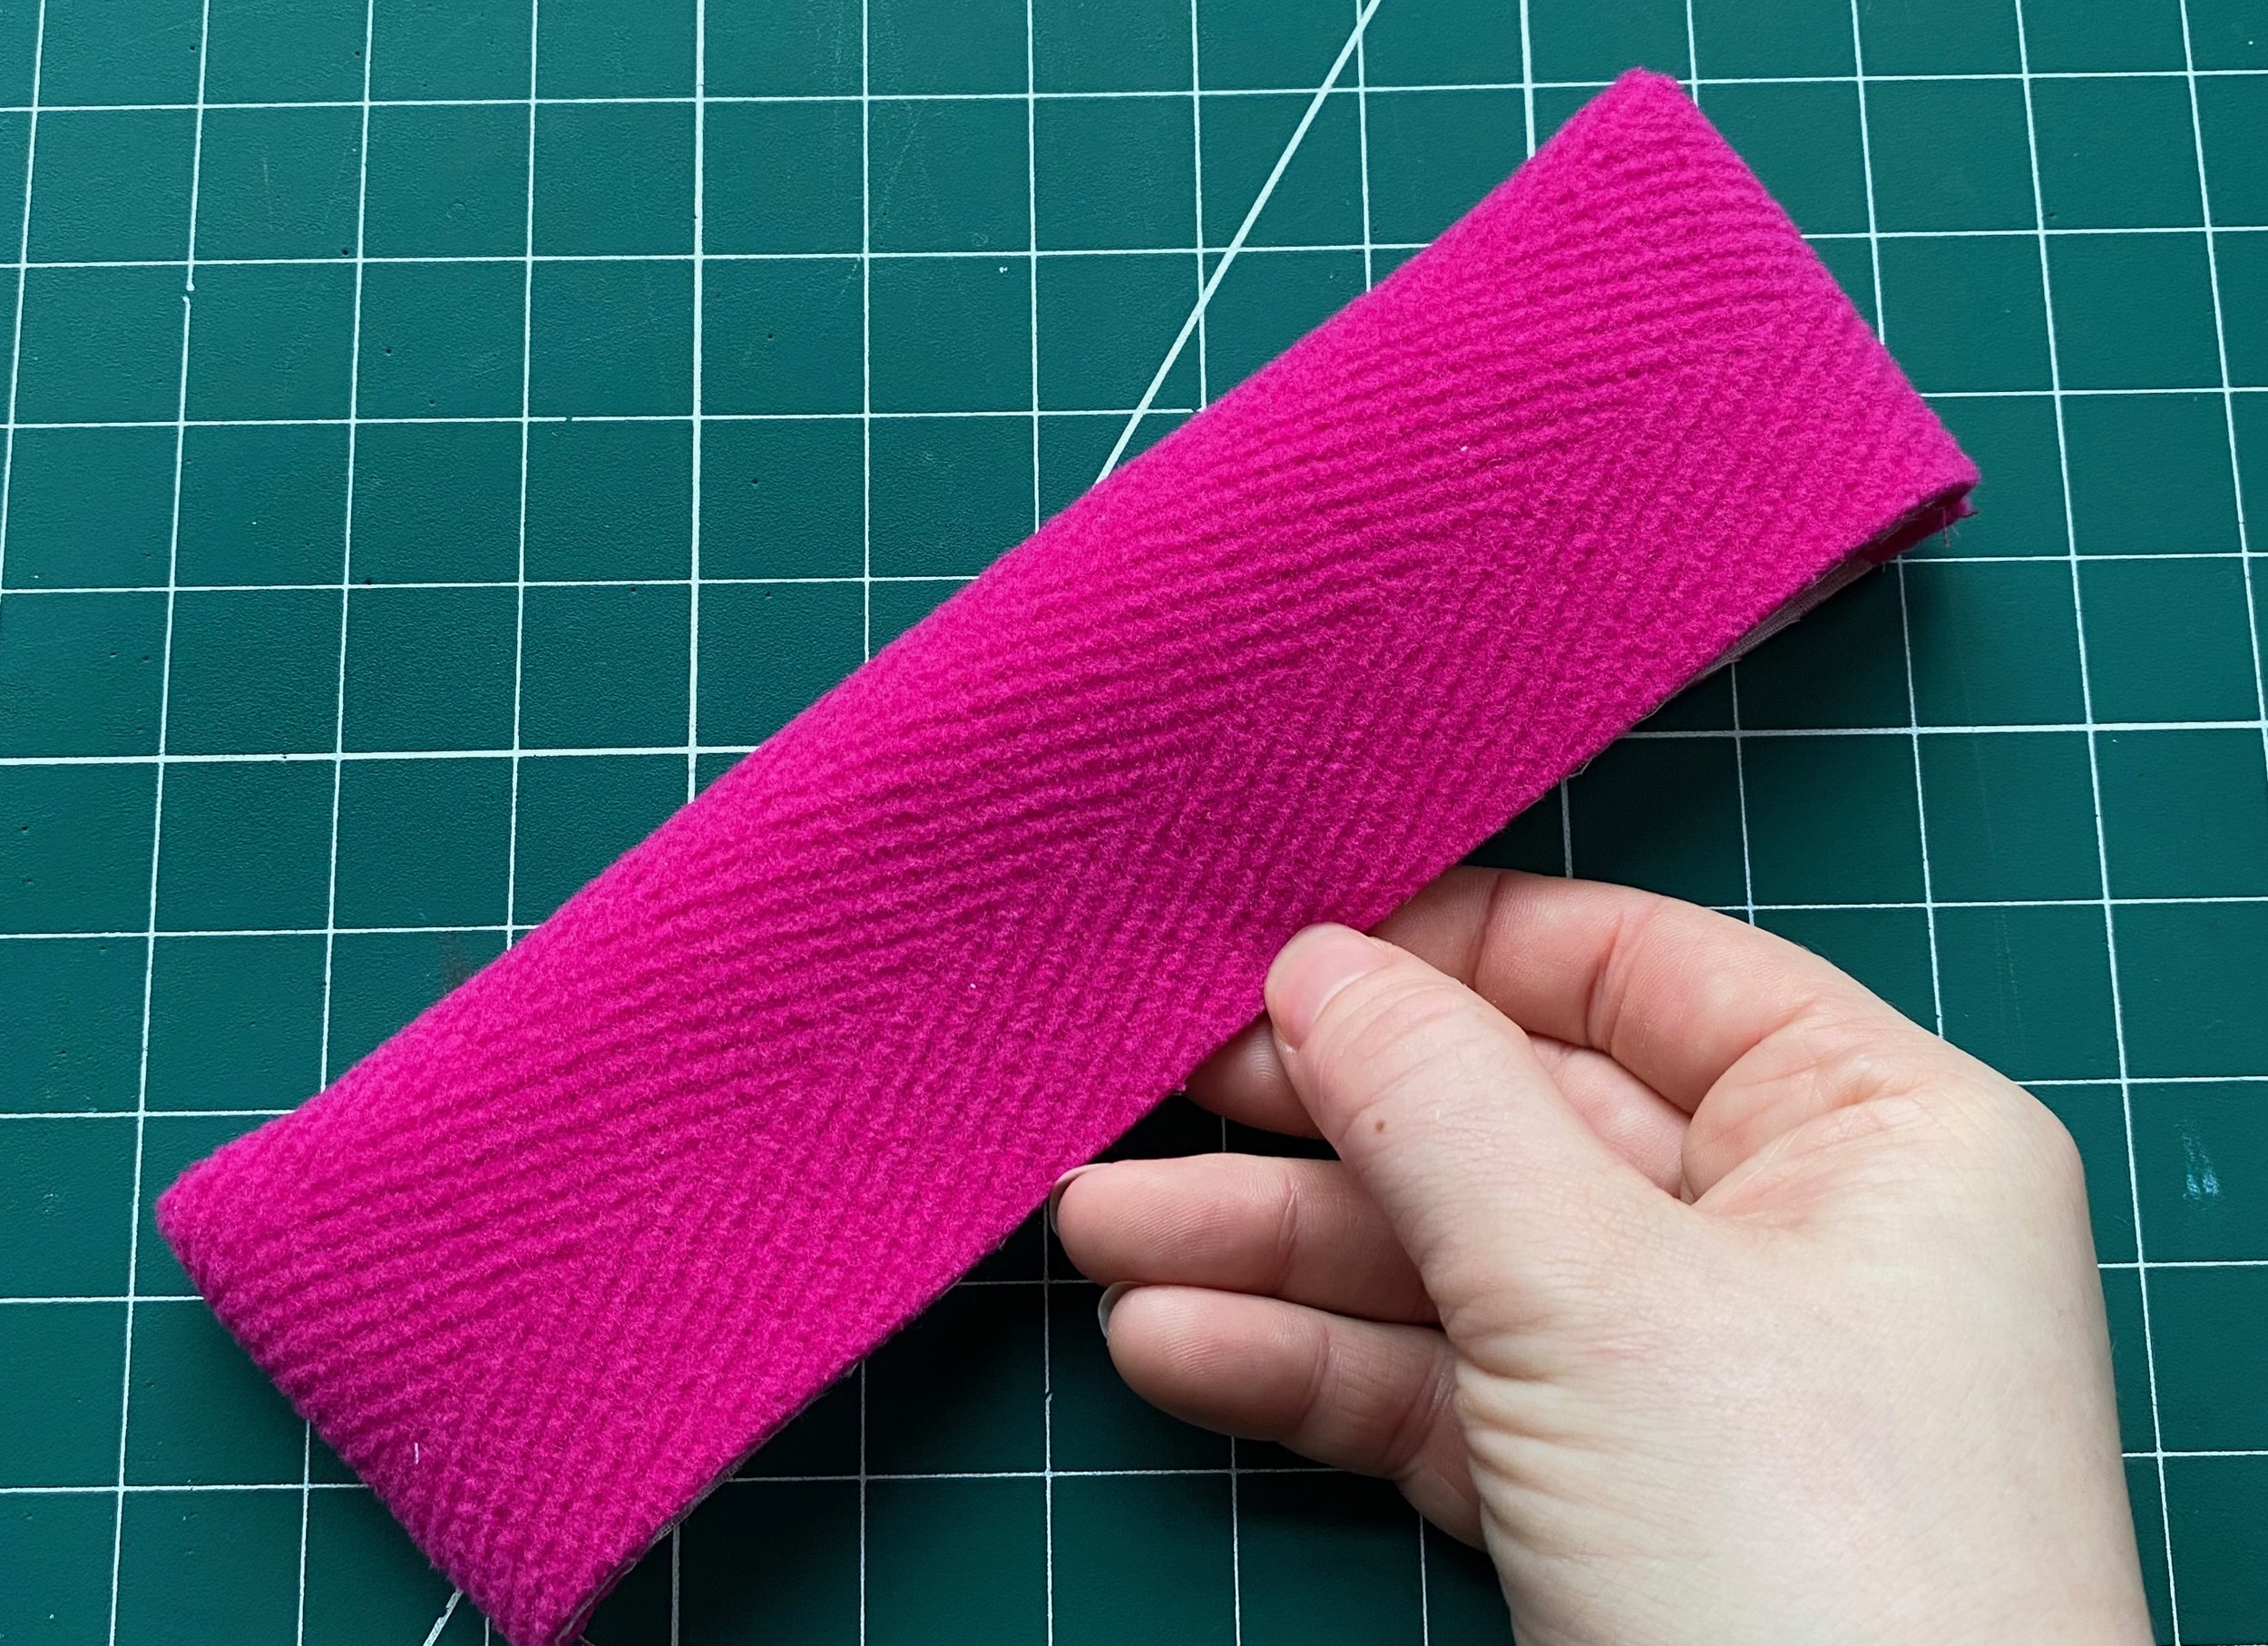
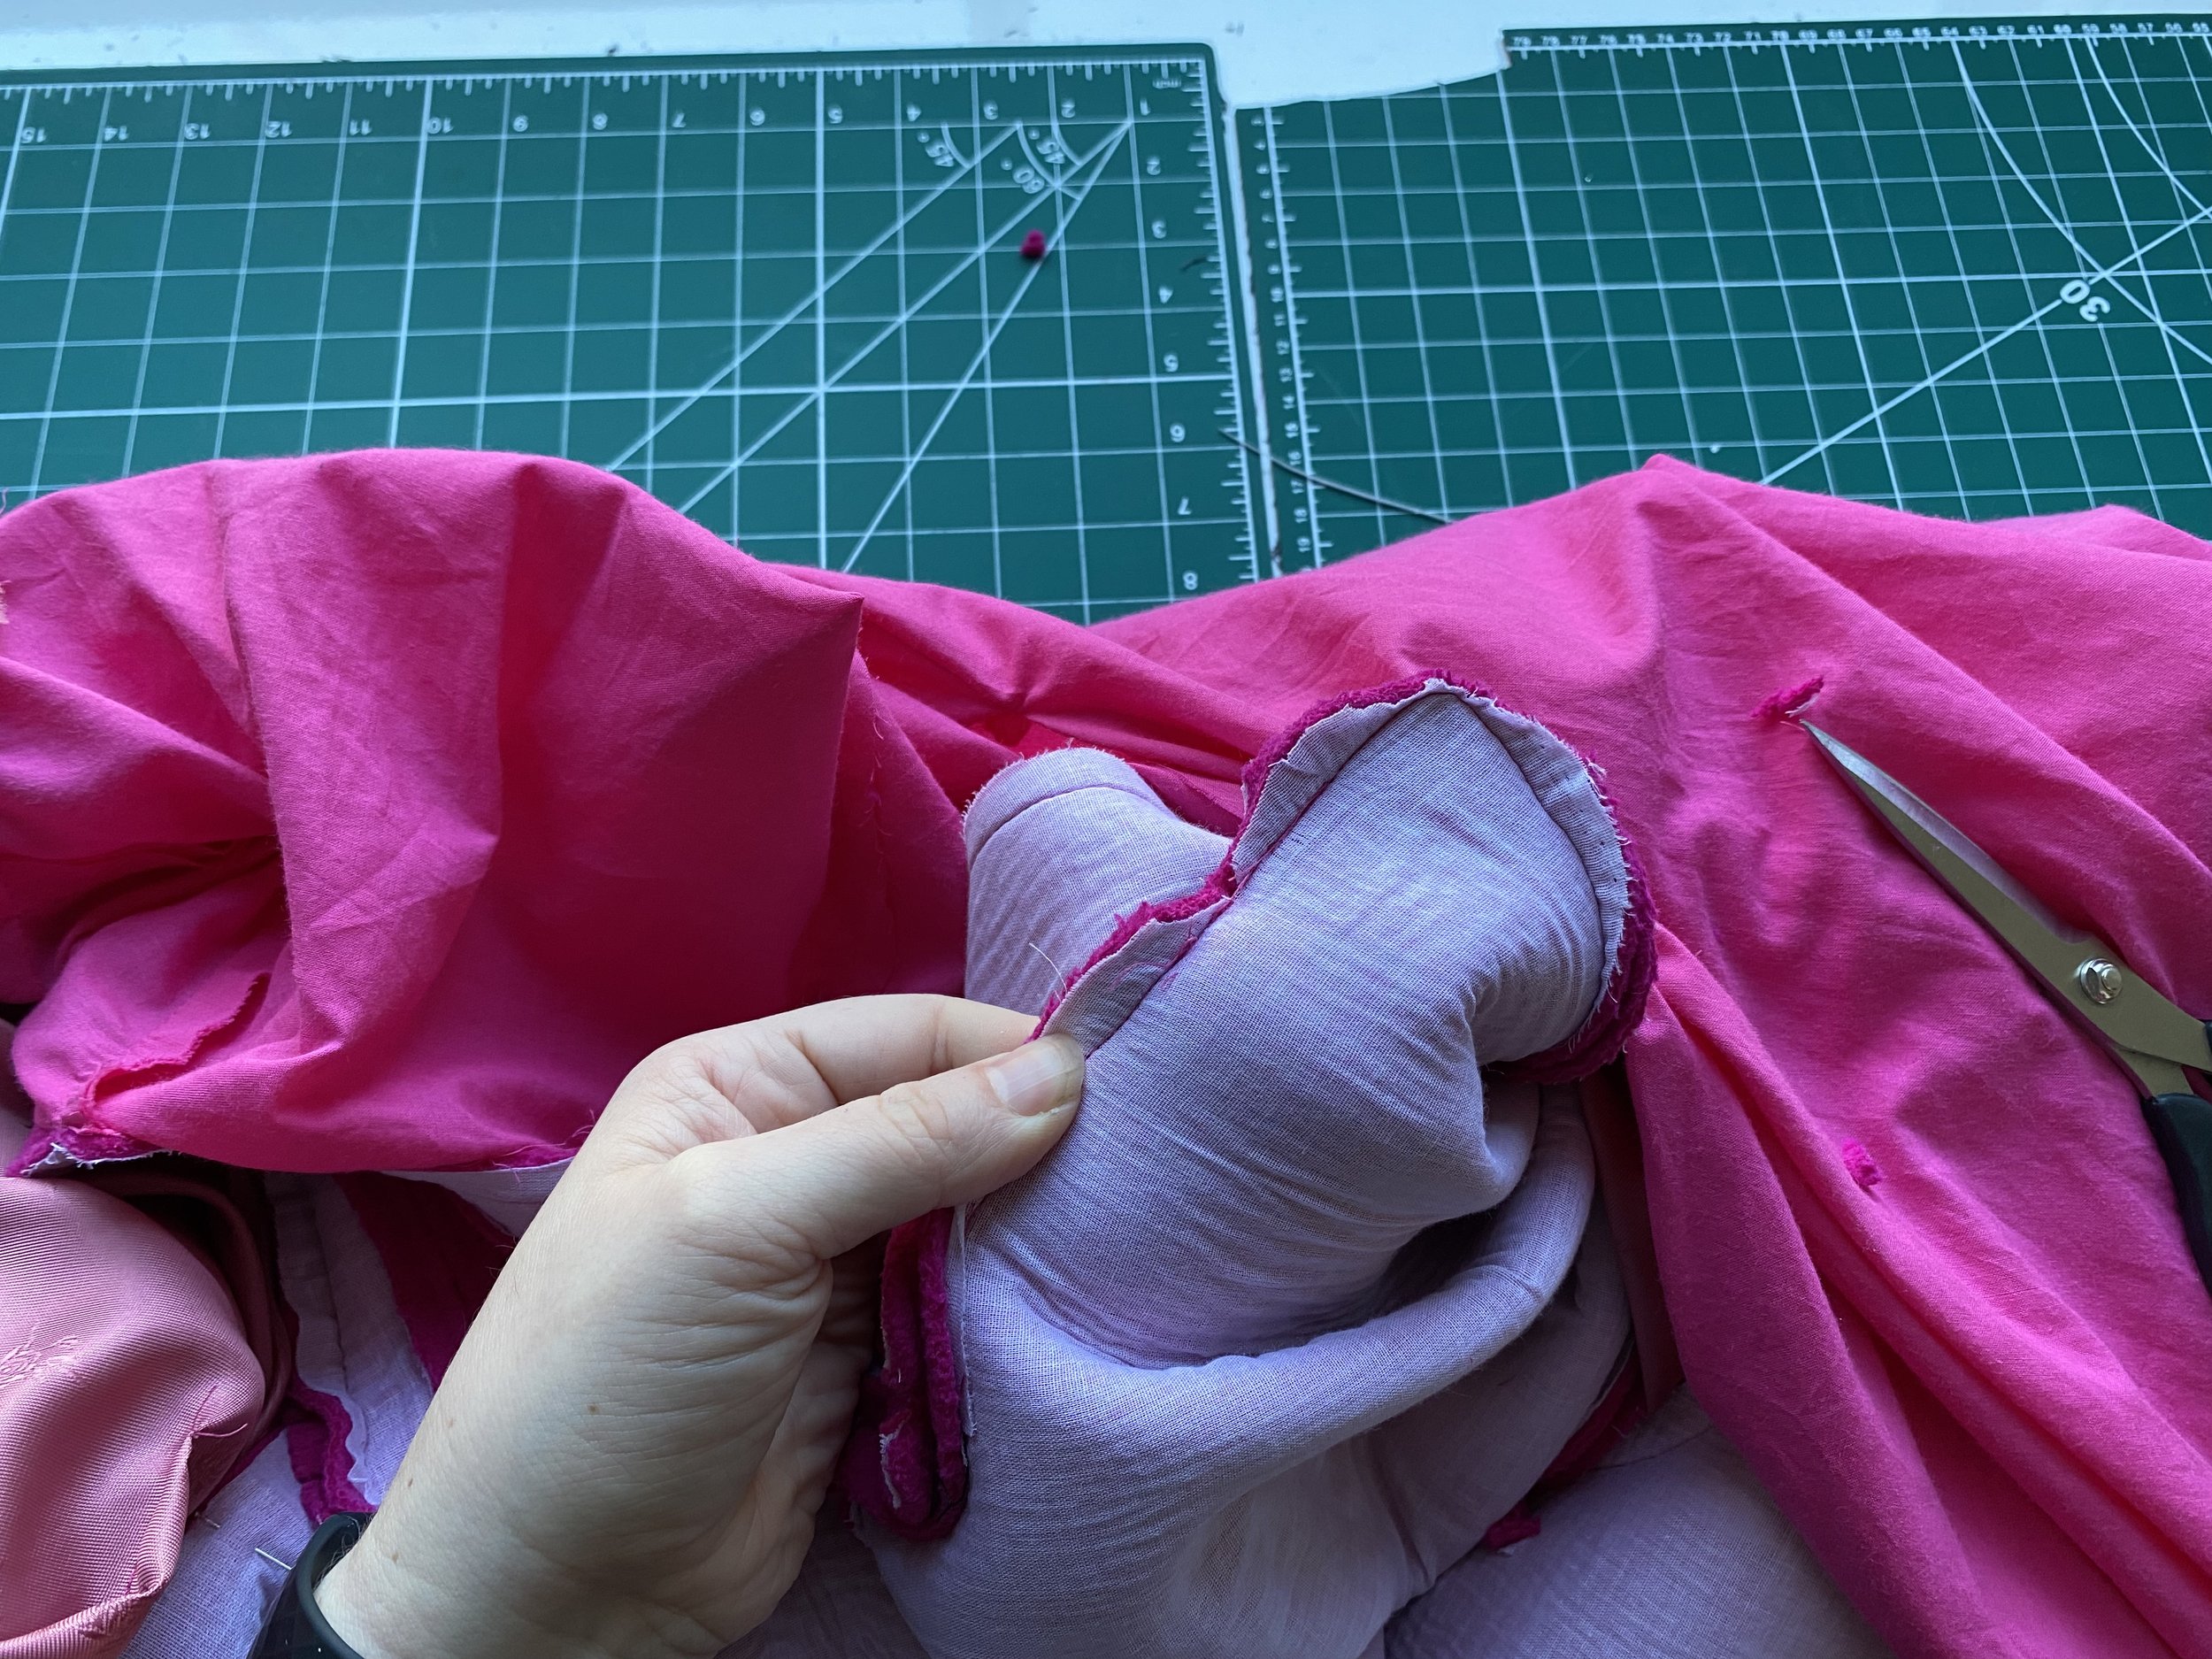
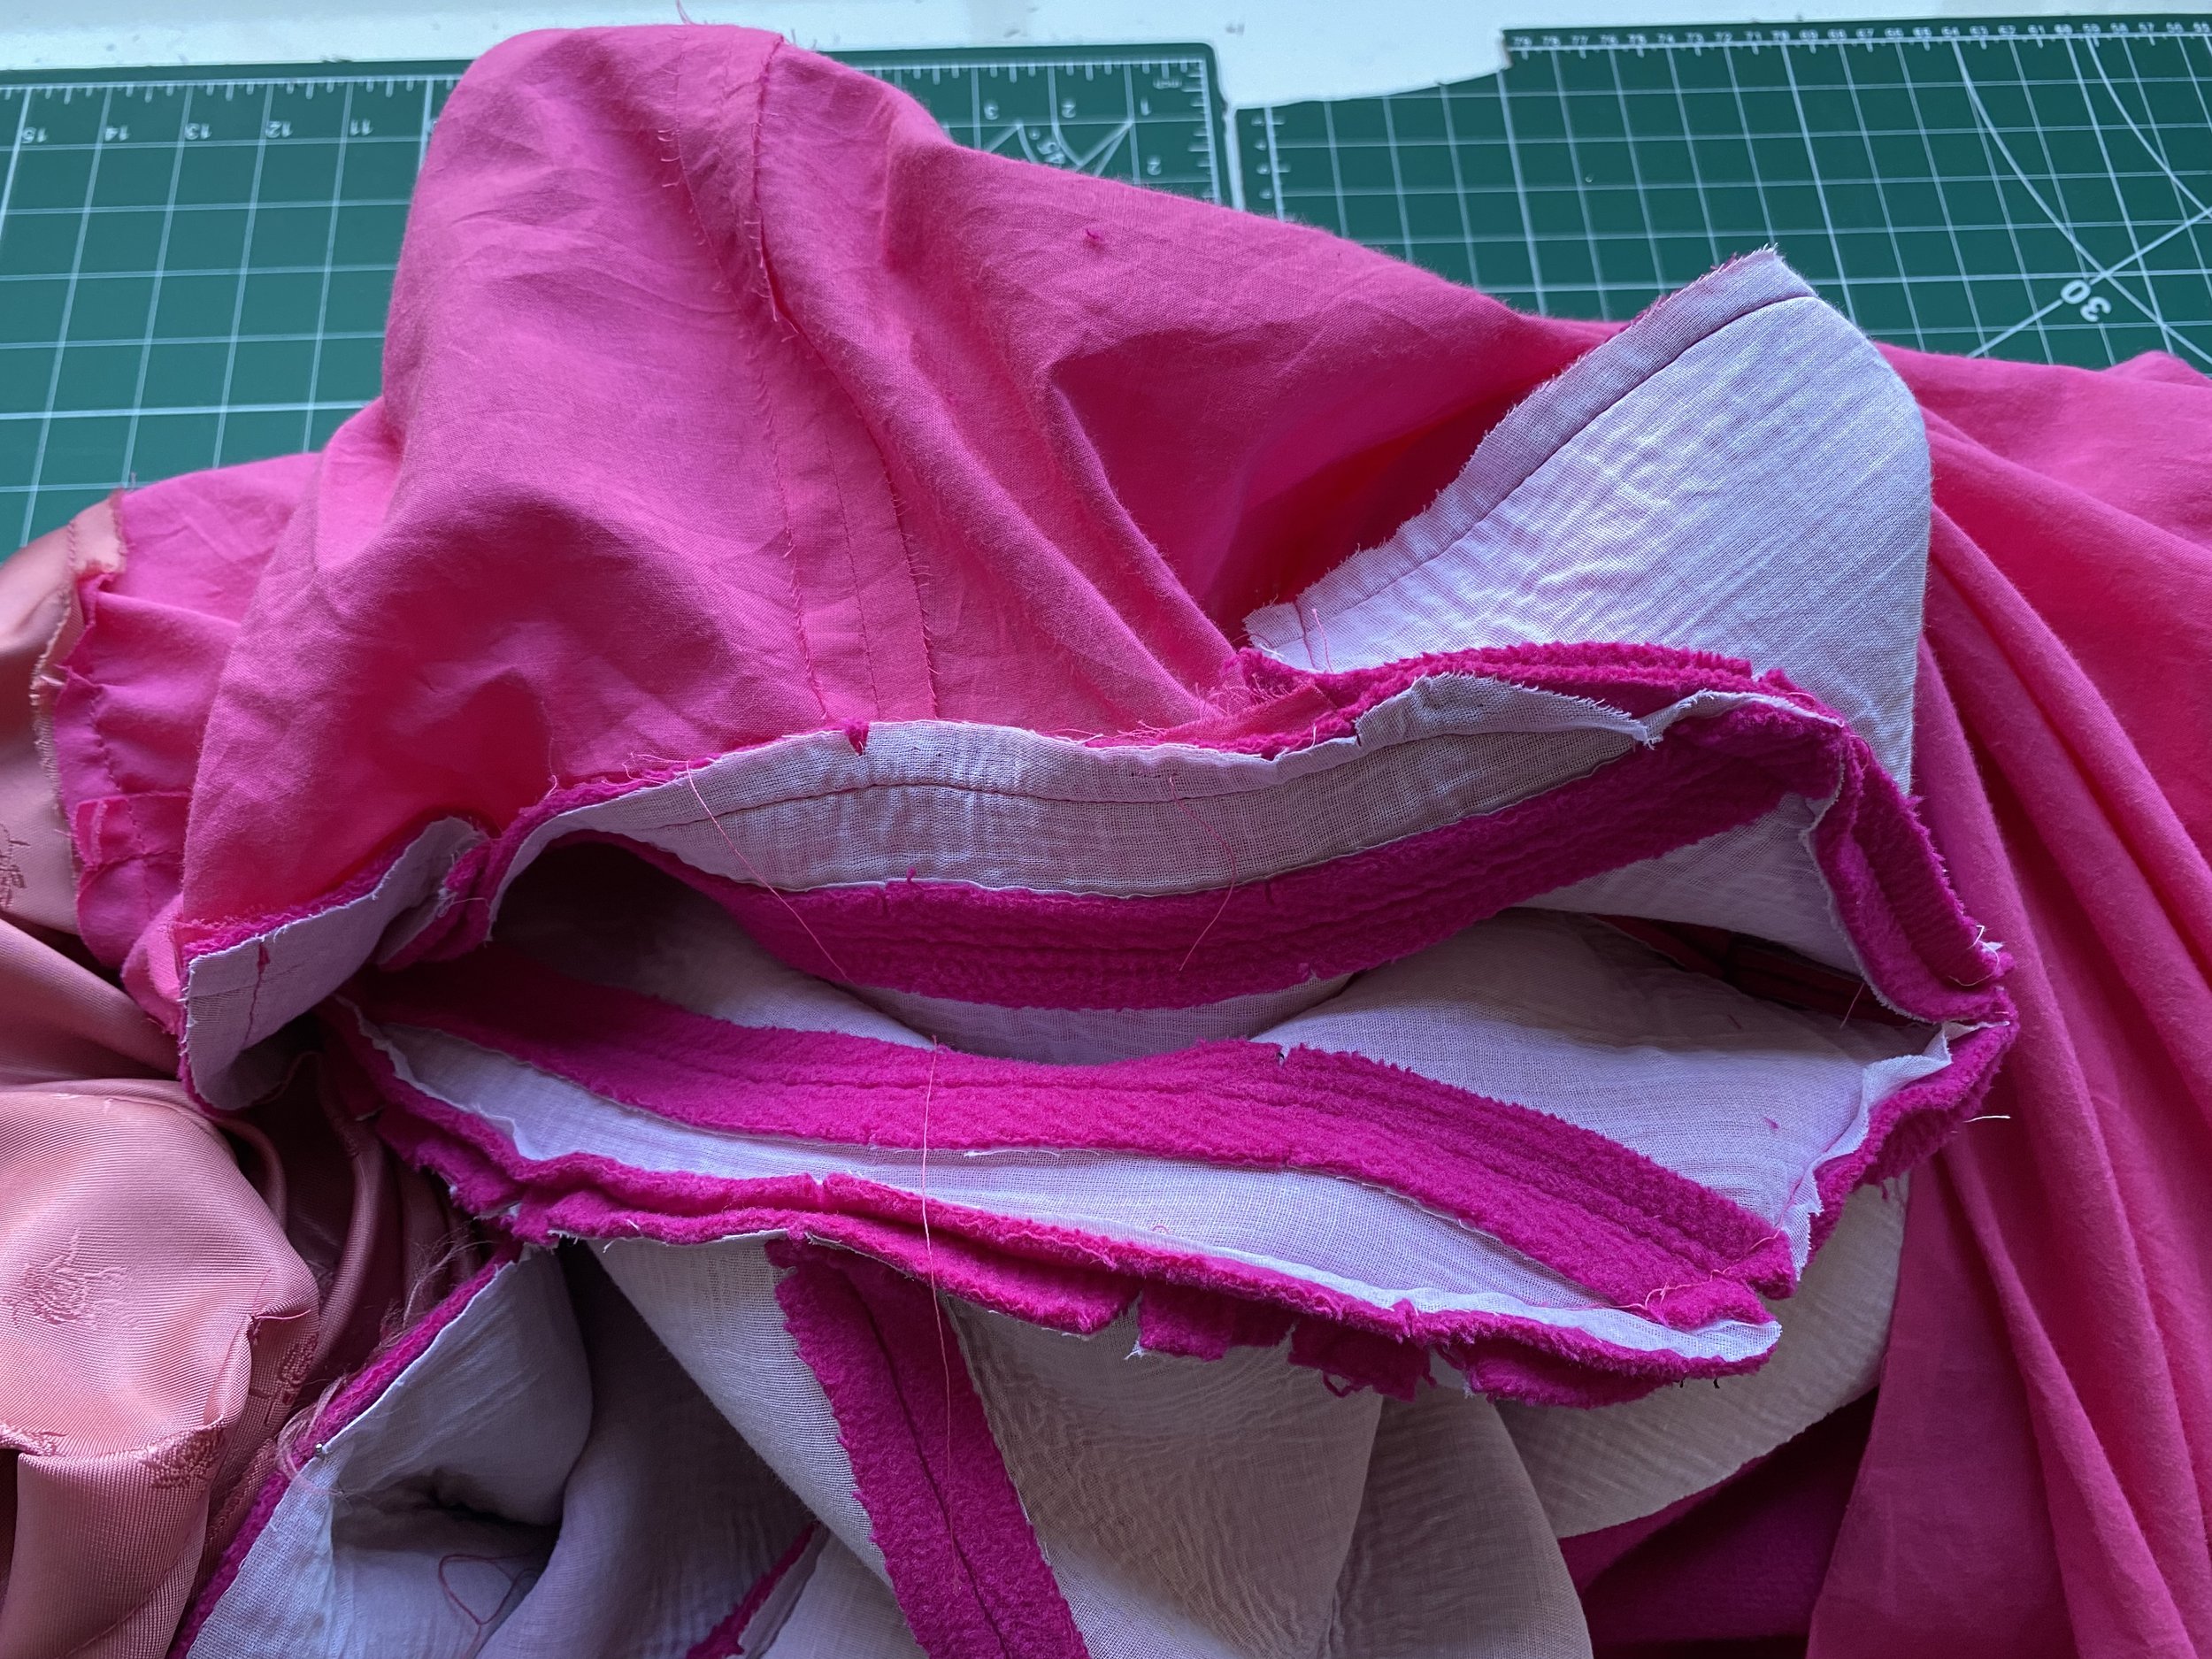
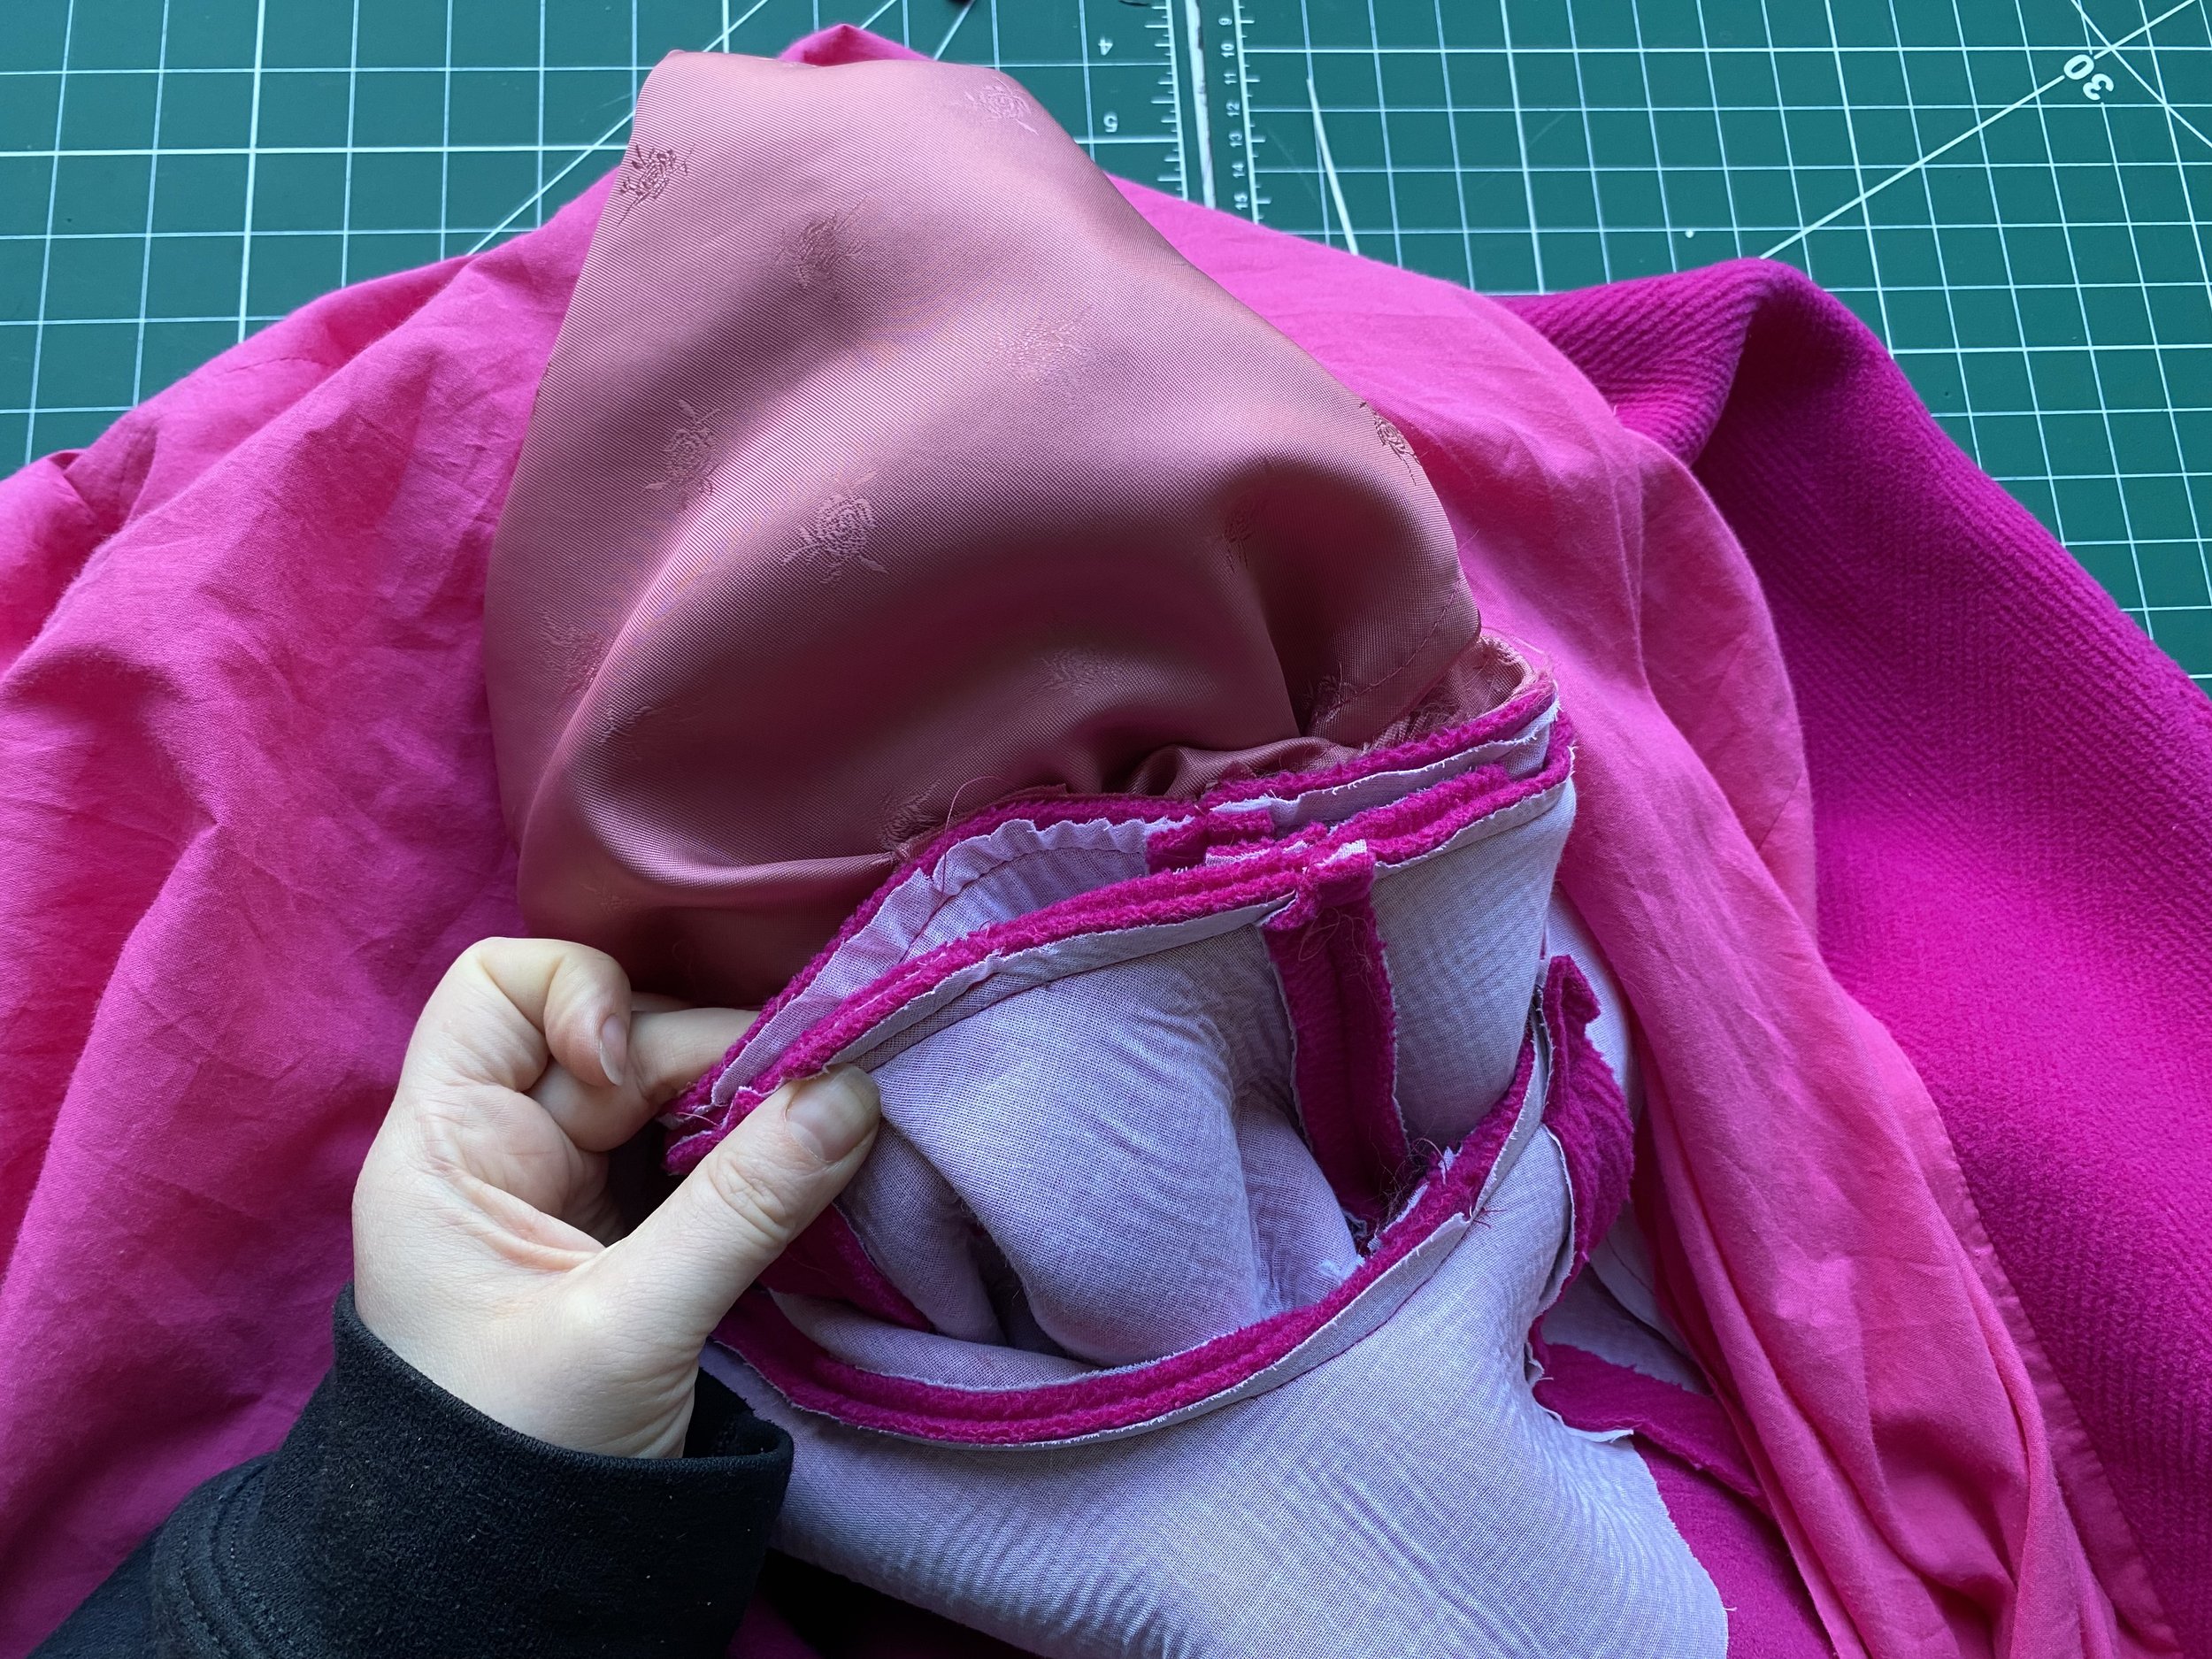
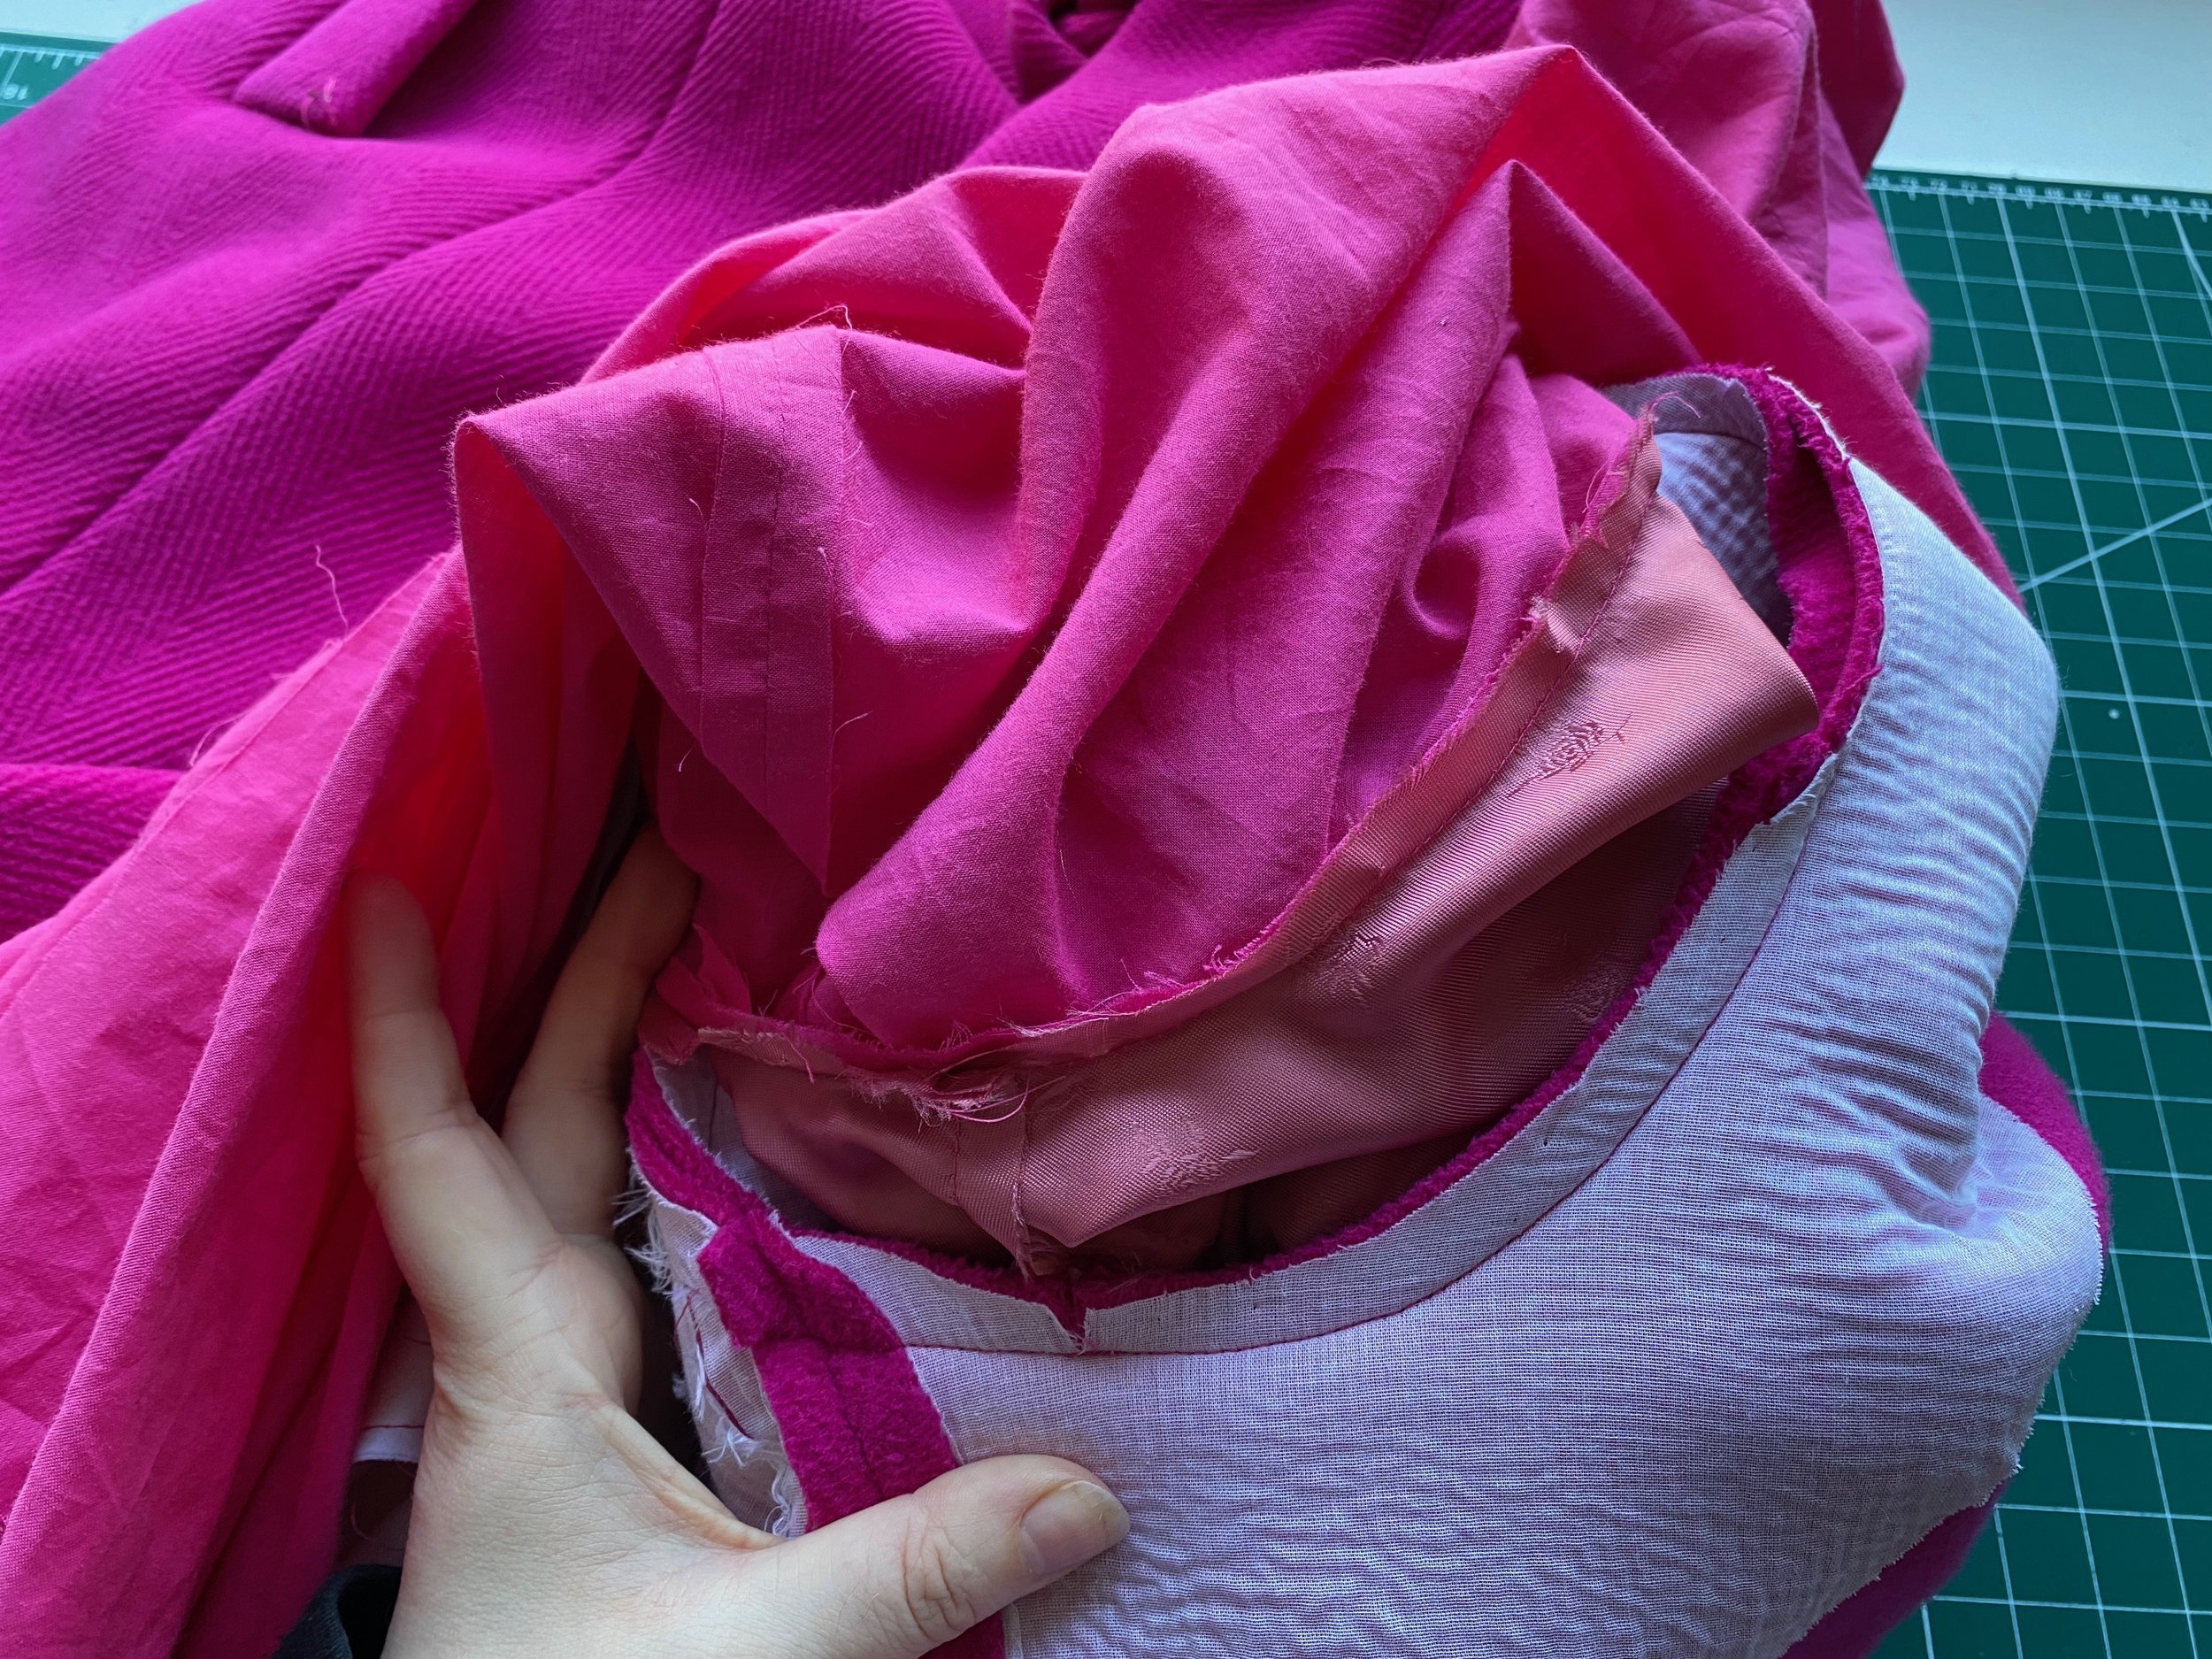
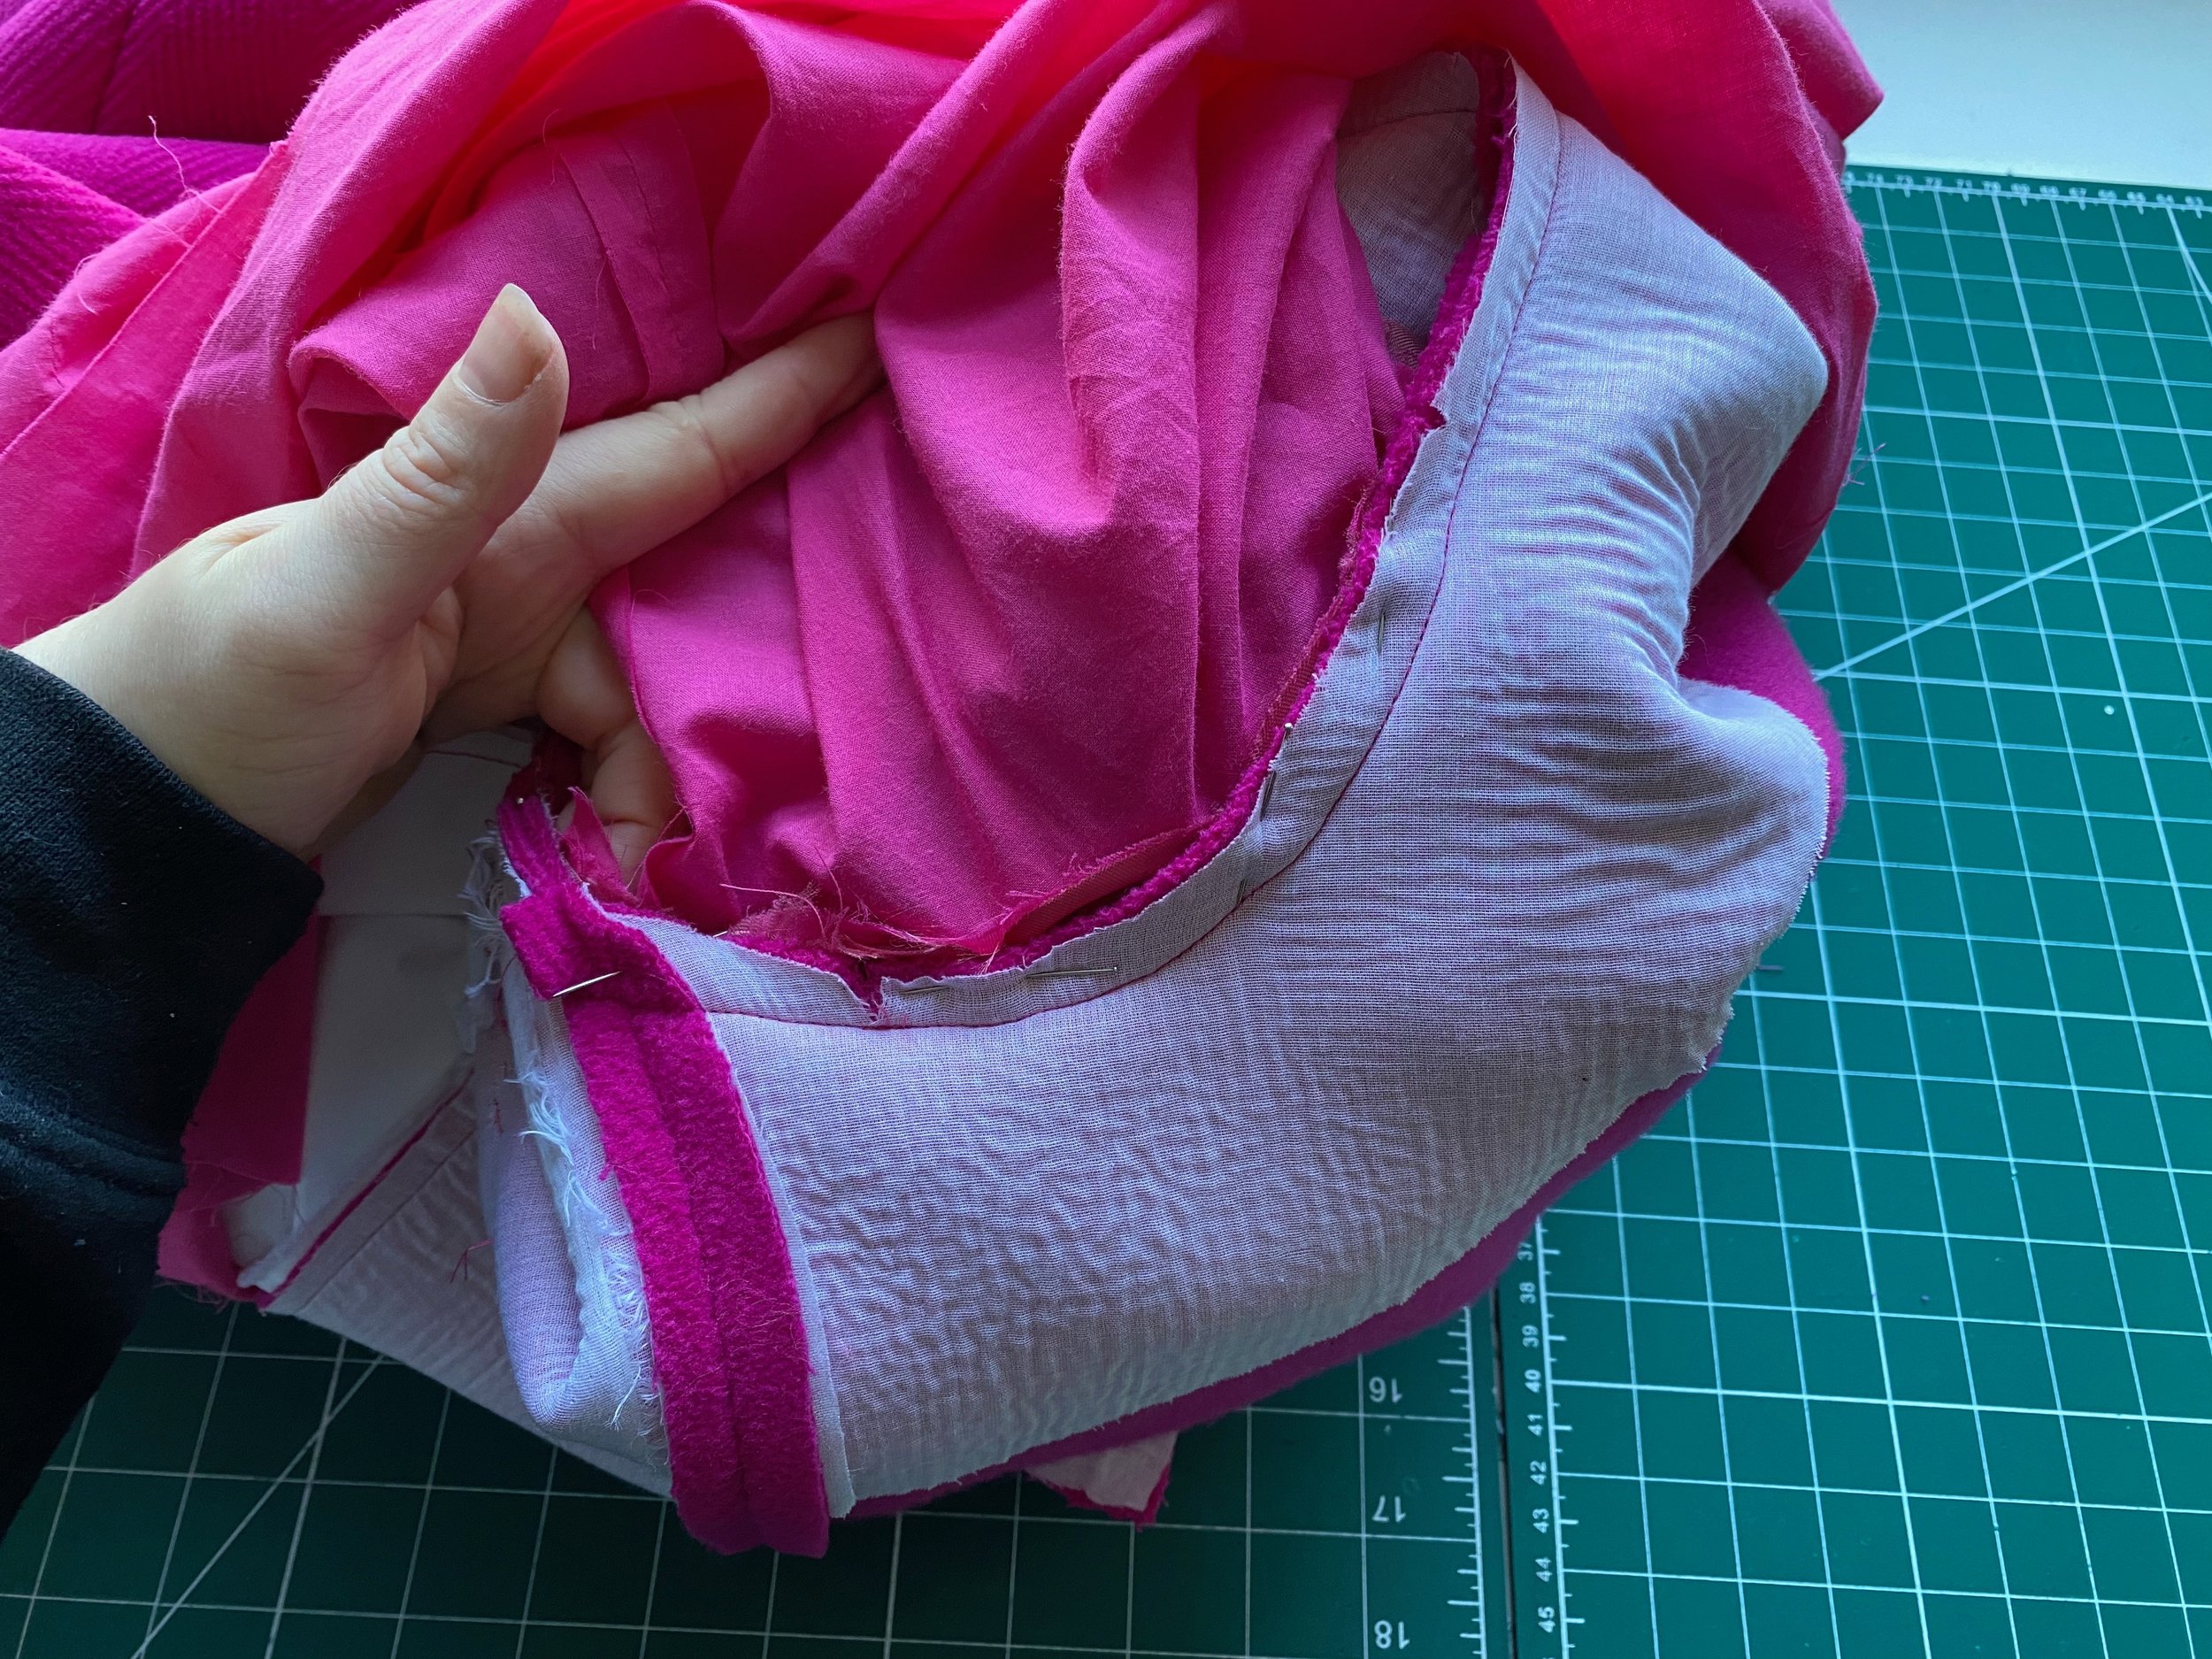
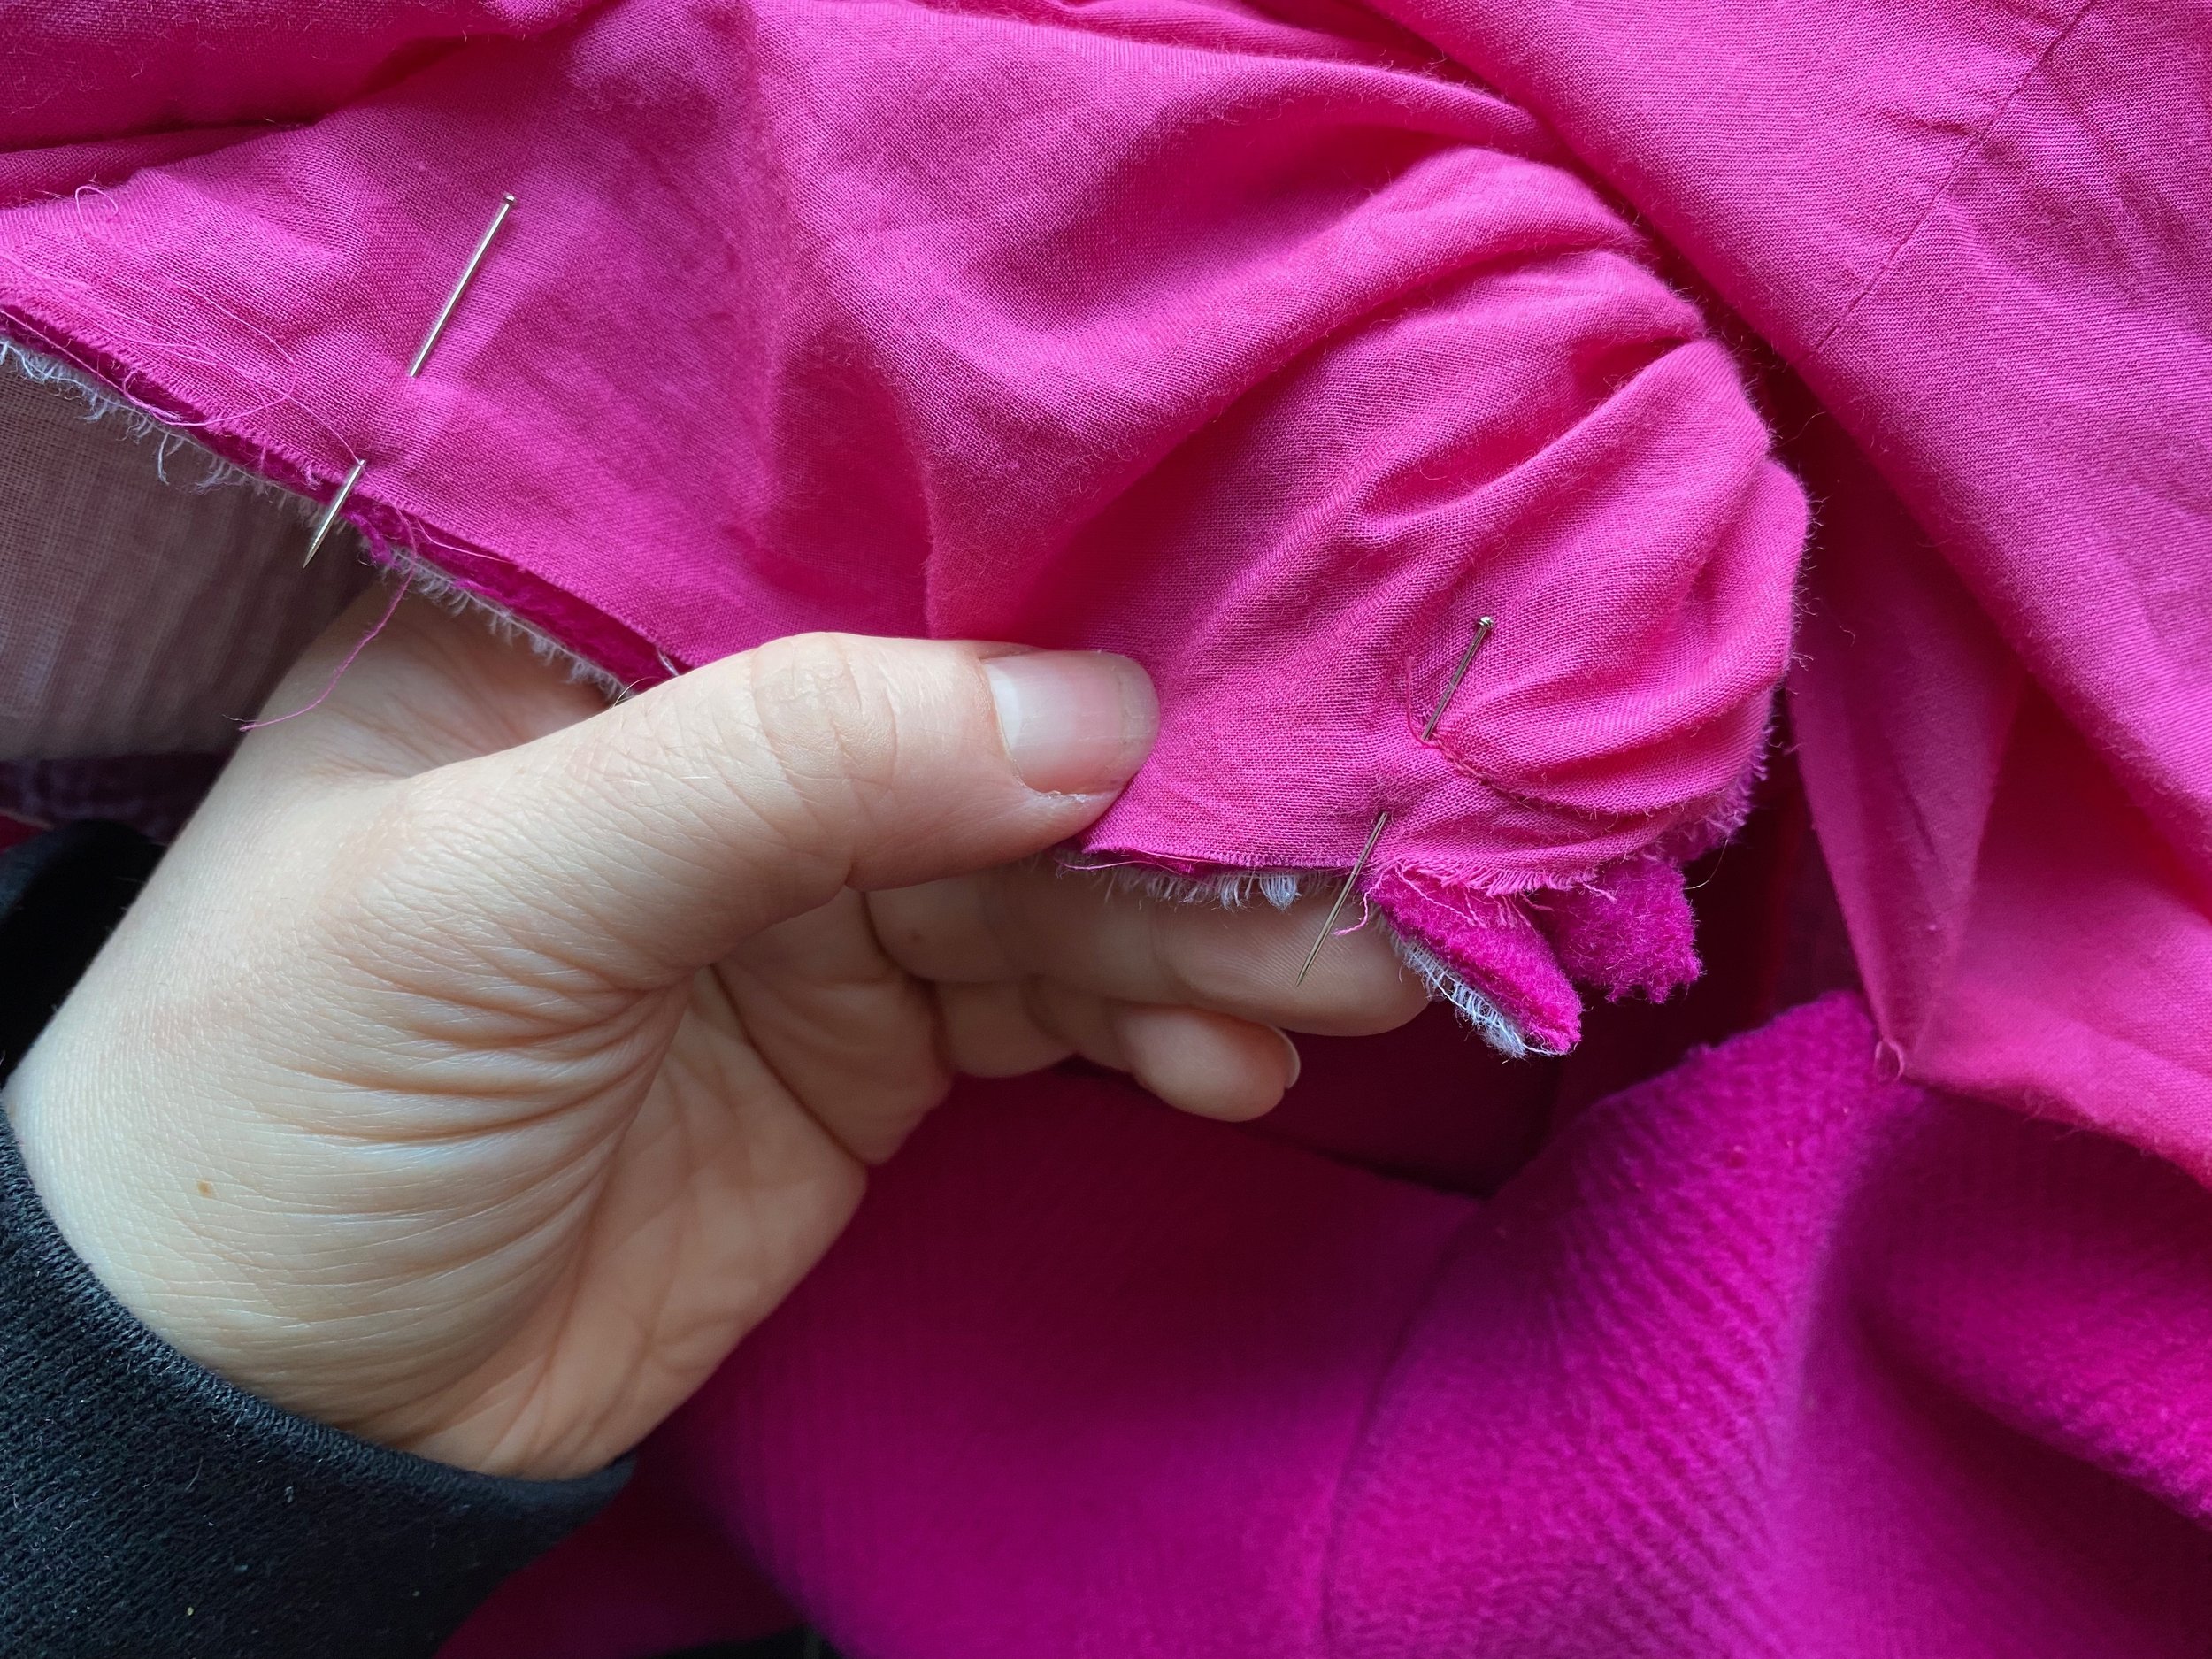
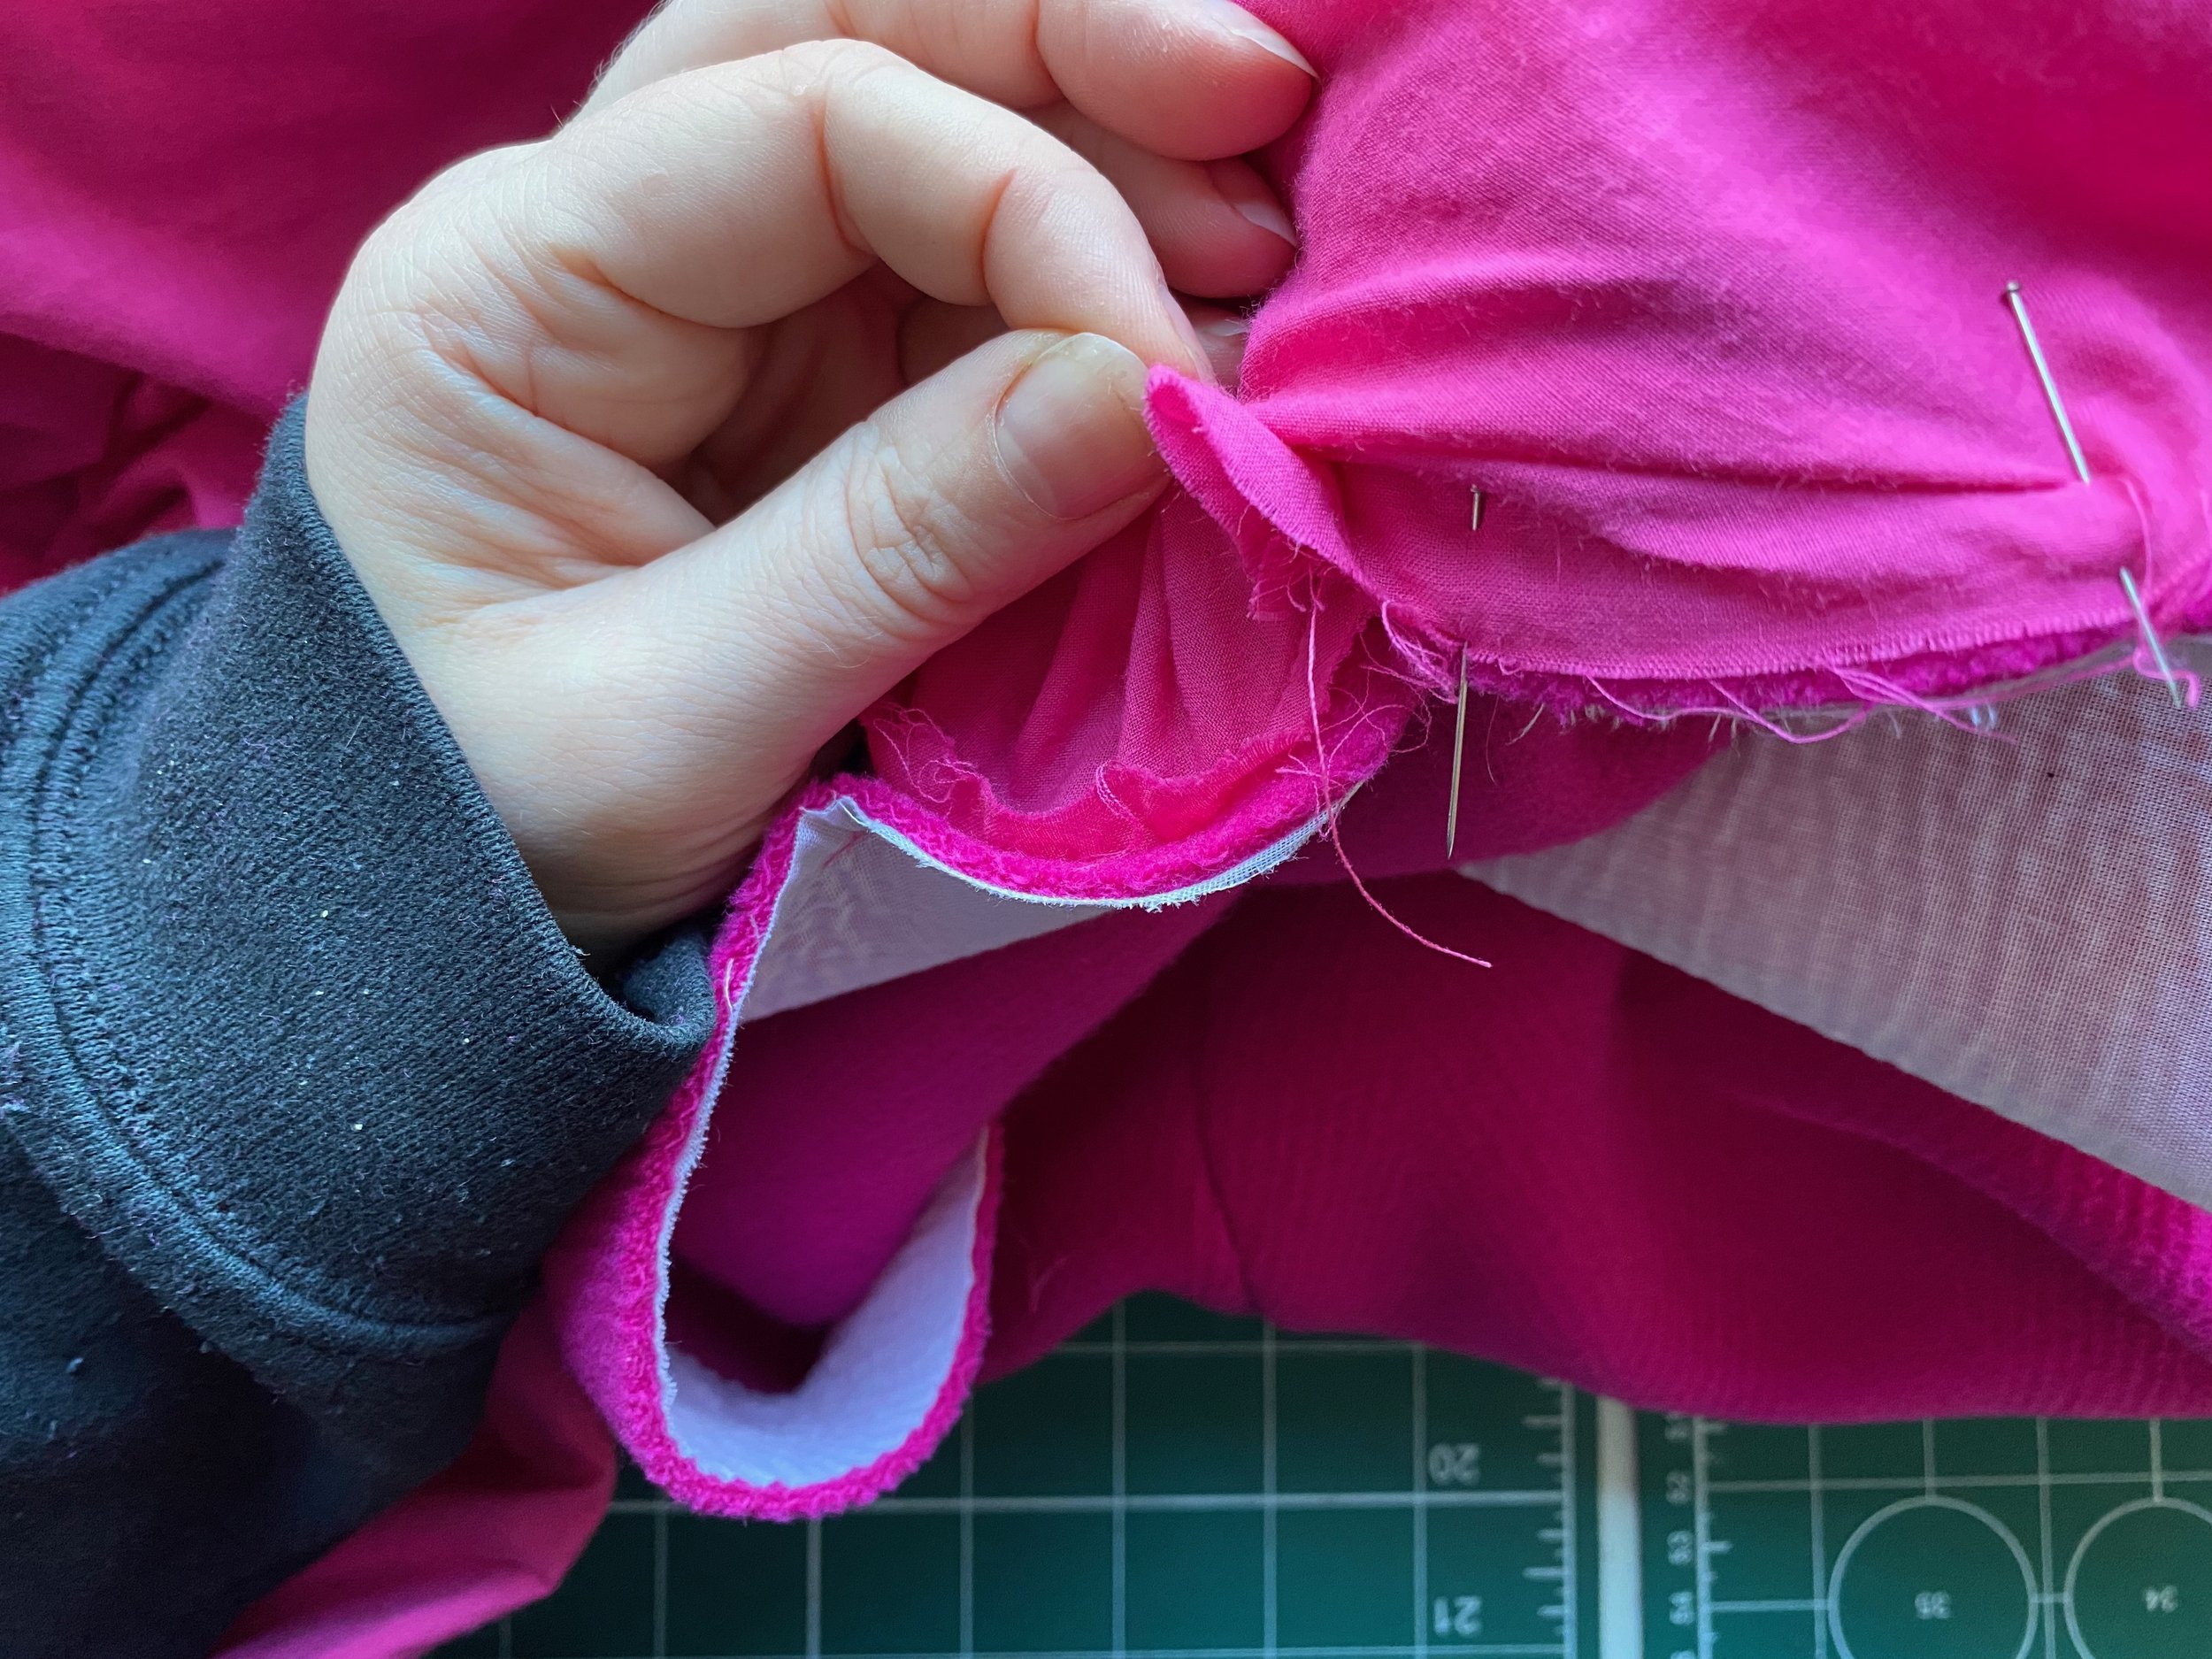
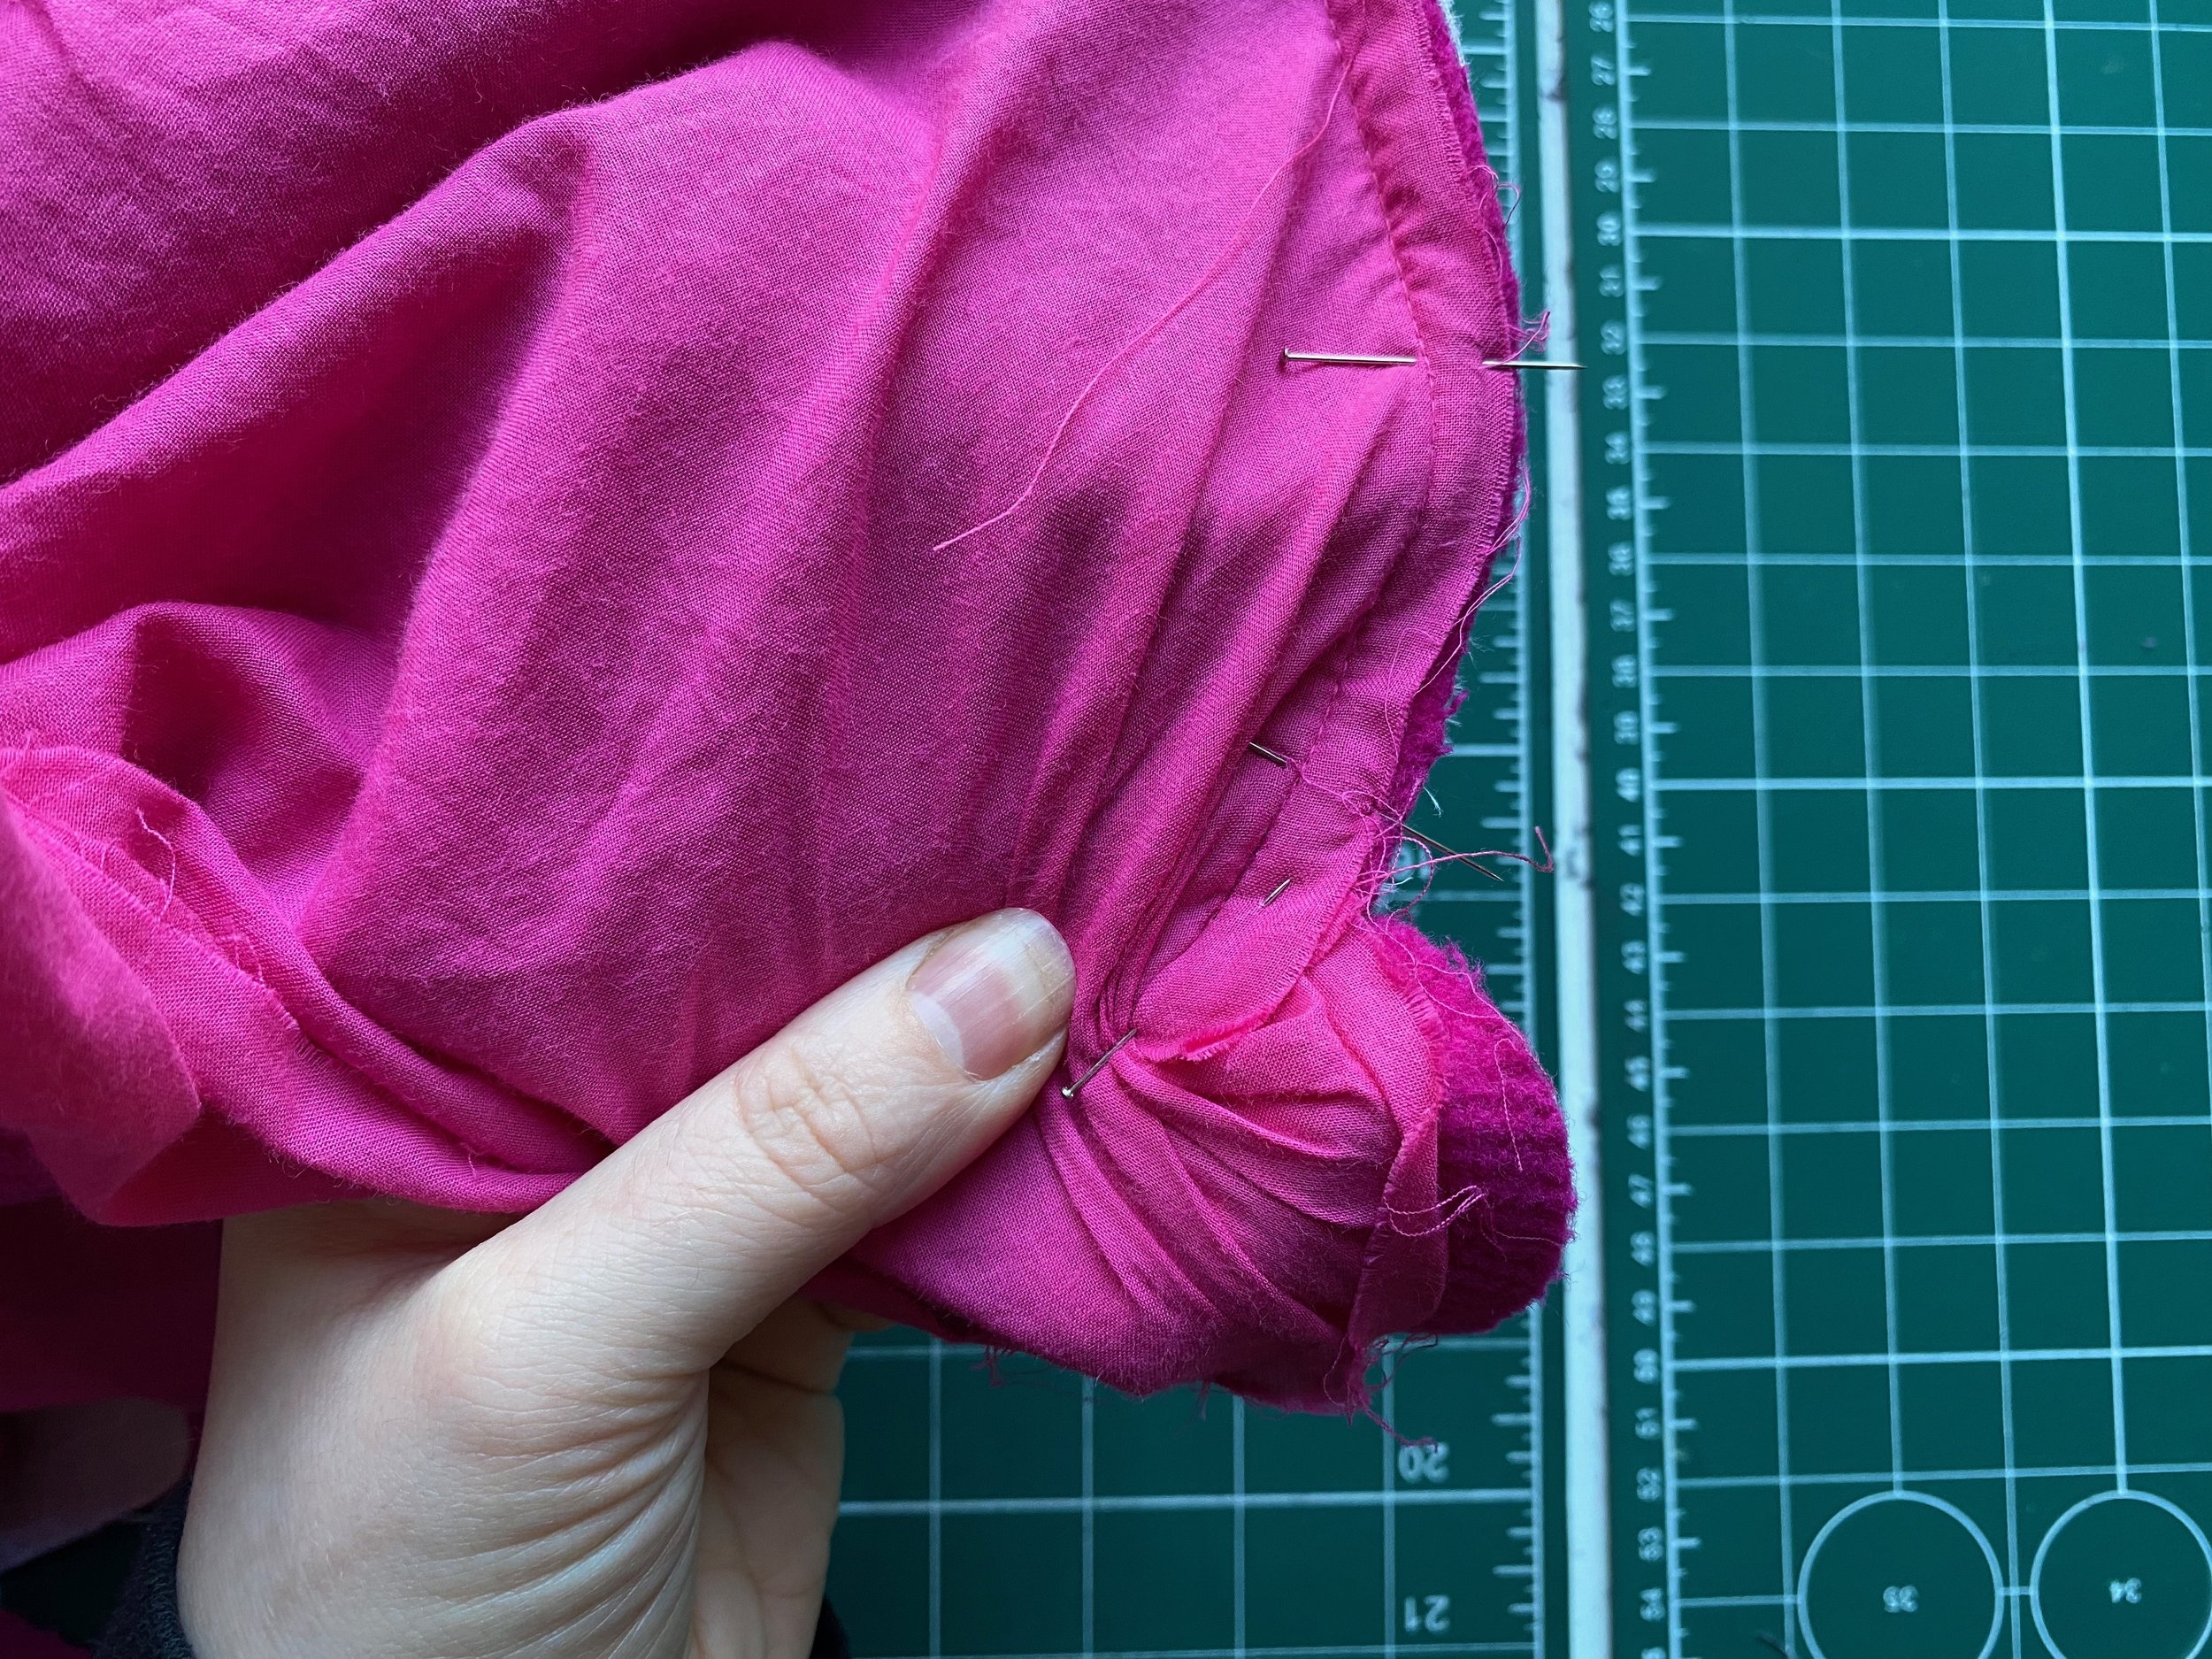
SLEEVE LINING
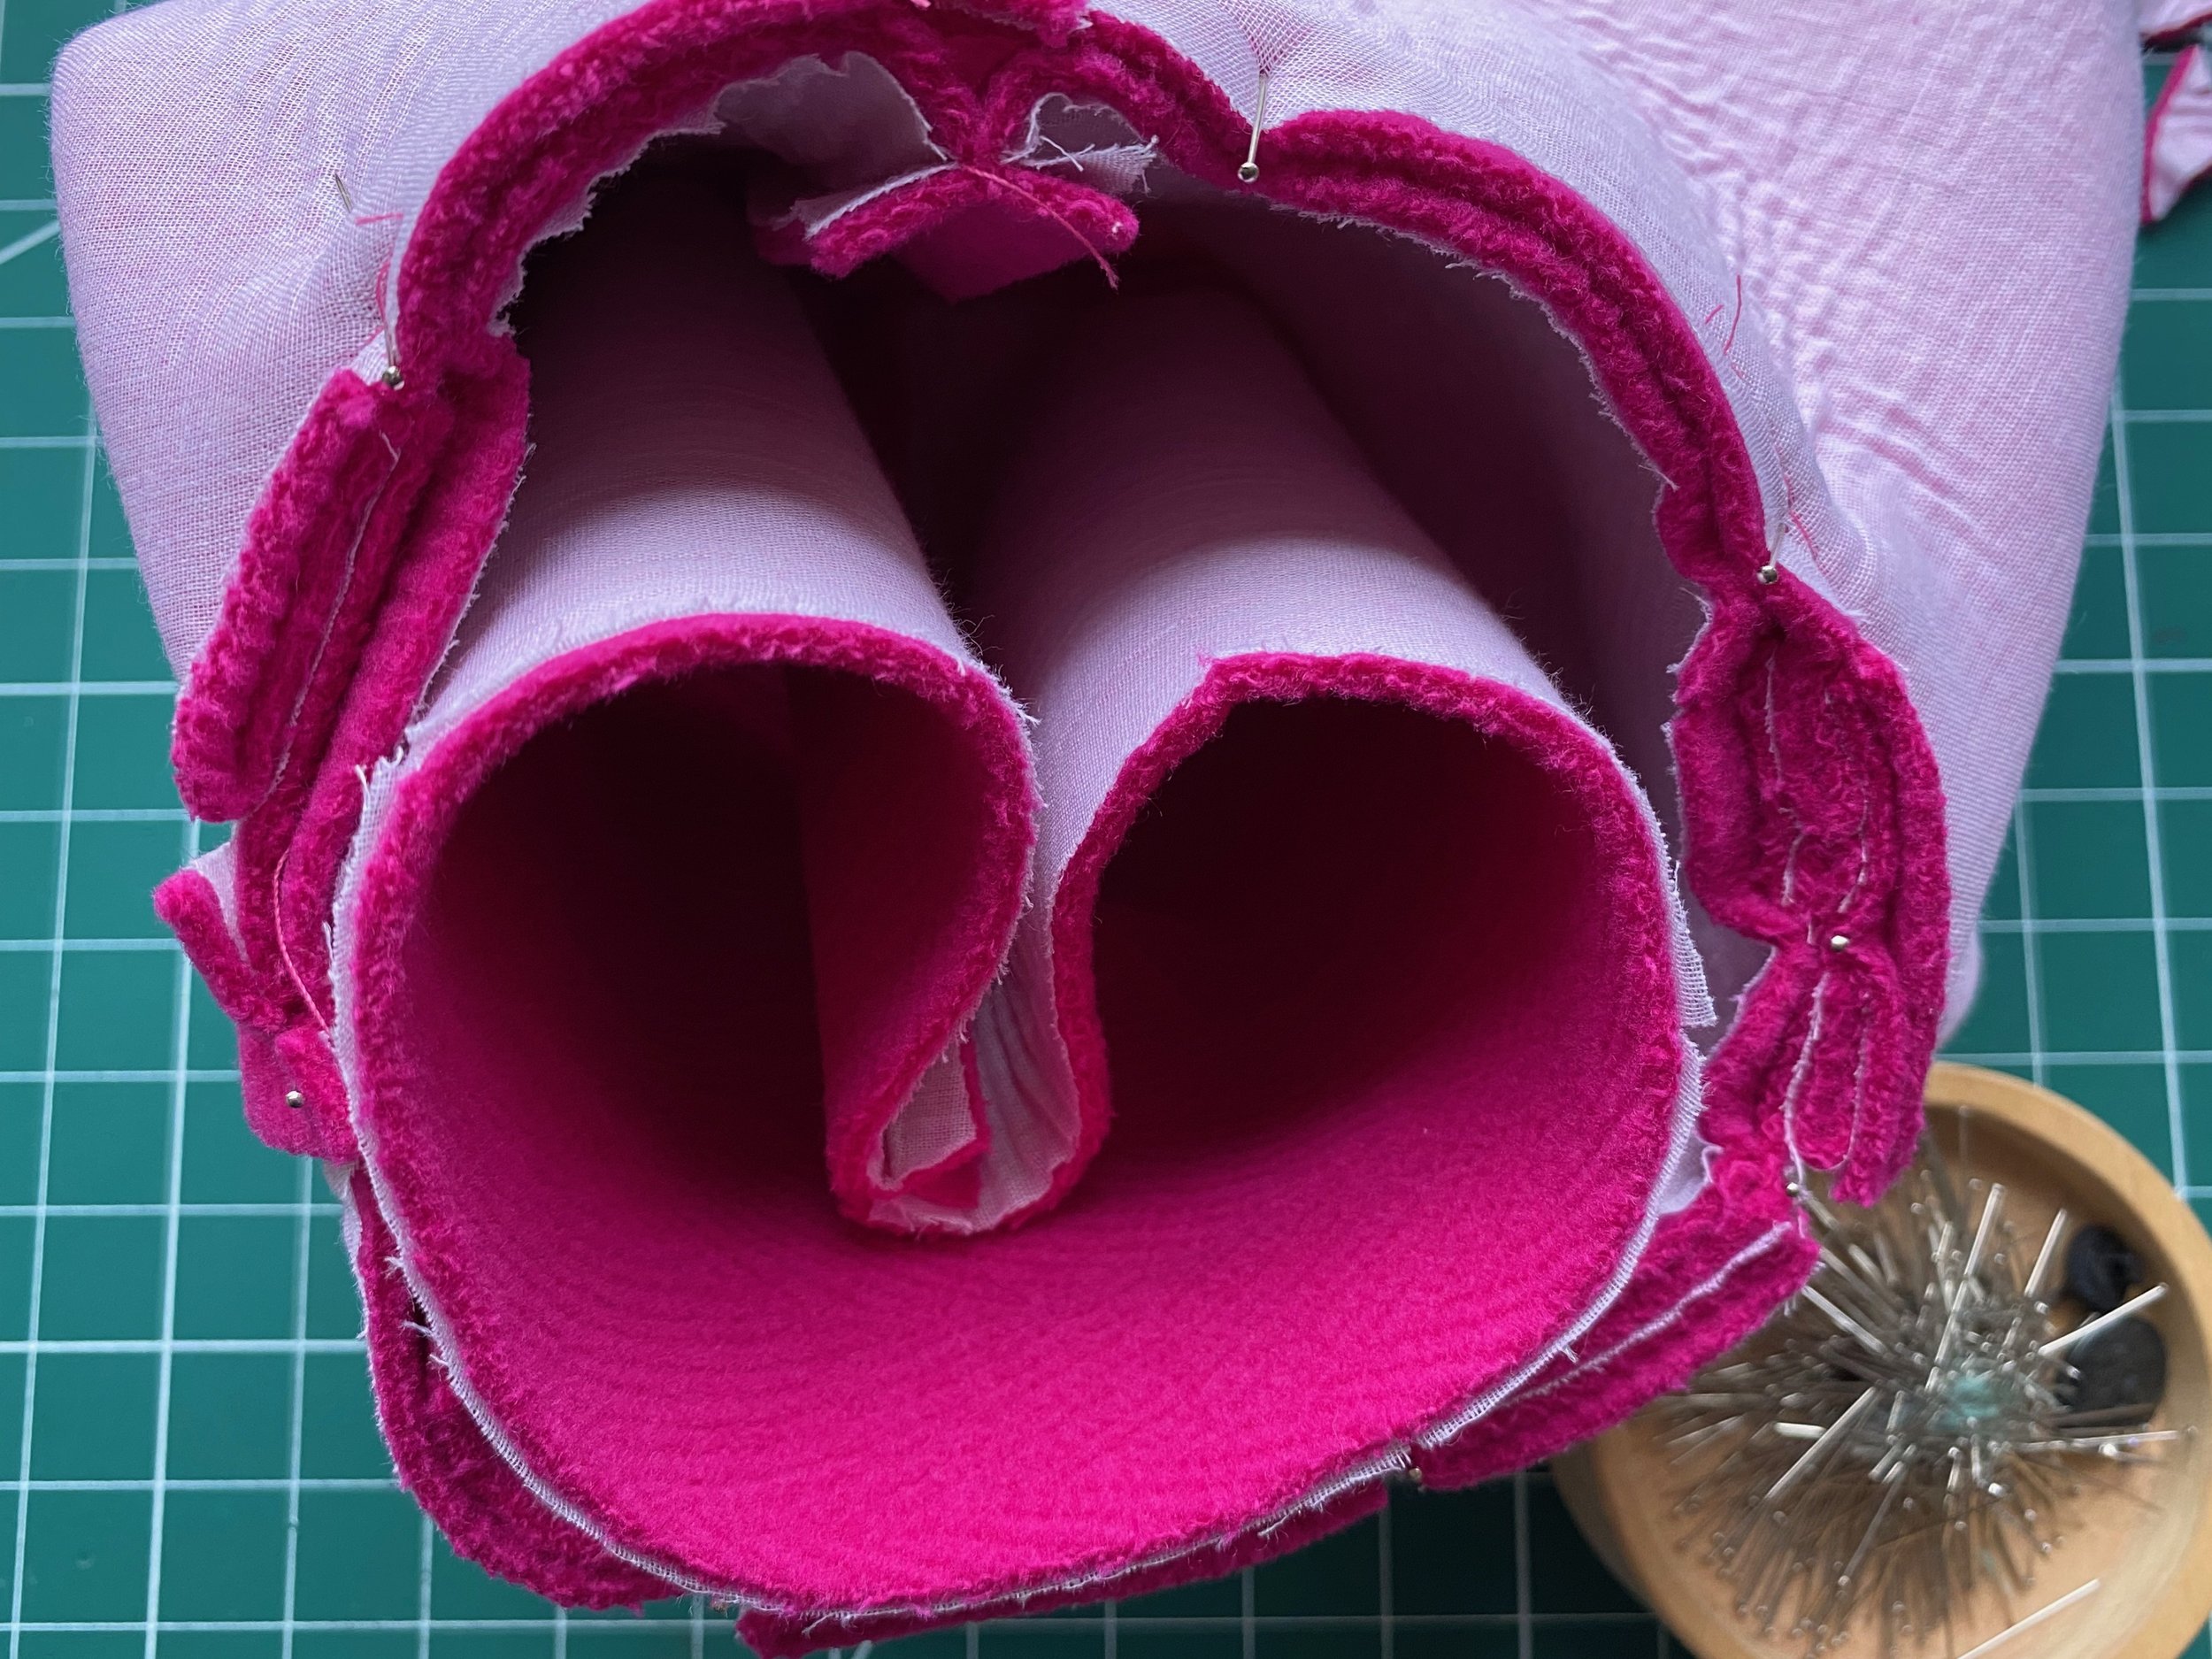
I’ve included a little video to show how to pull the sleeve lining and cuff through to the outside to be able to sew the two together.
This manoeuvre is how you should go inside the coat for all bagging out and hand sewing.
Image below video is mounting the cuff and cuff facing together along the top seam.
The cuff can be pushed back through and the underarm seam allowance can be mounted together while the armhole is still pulled out.
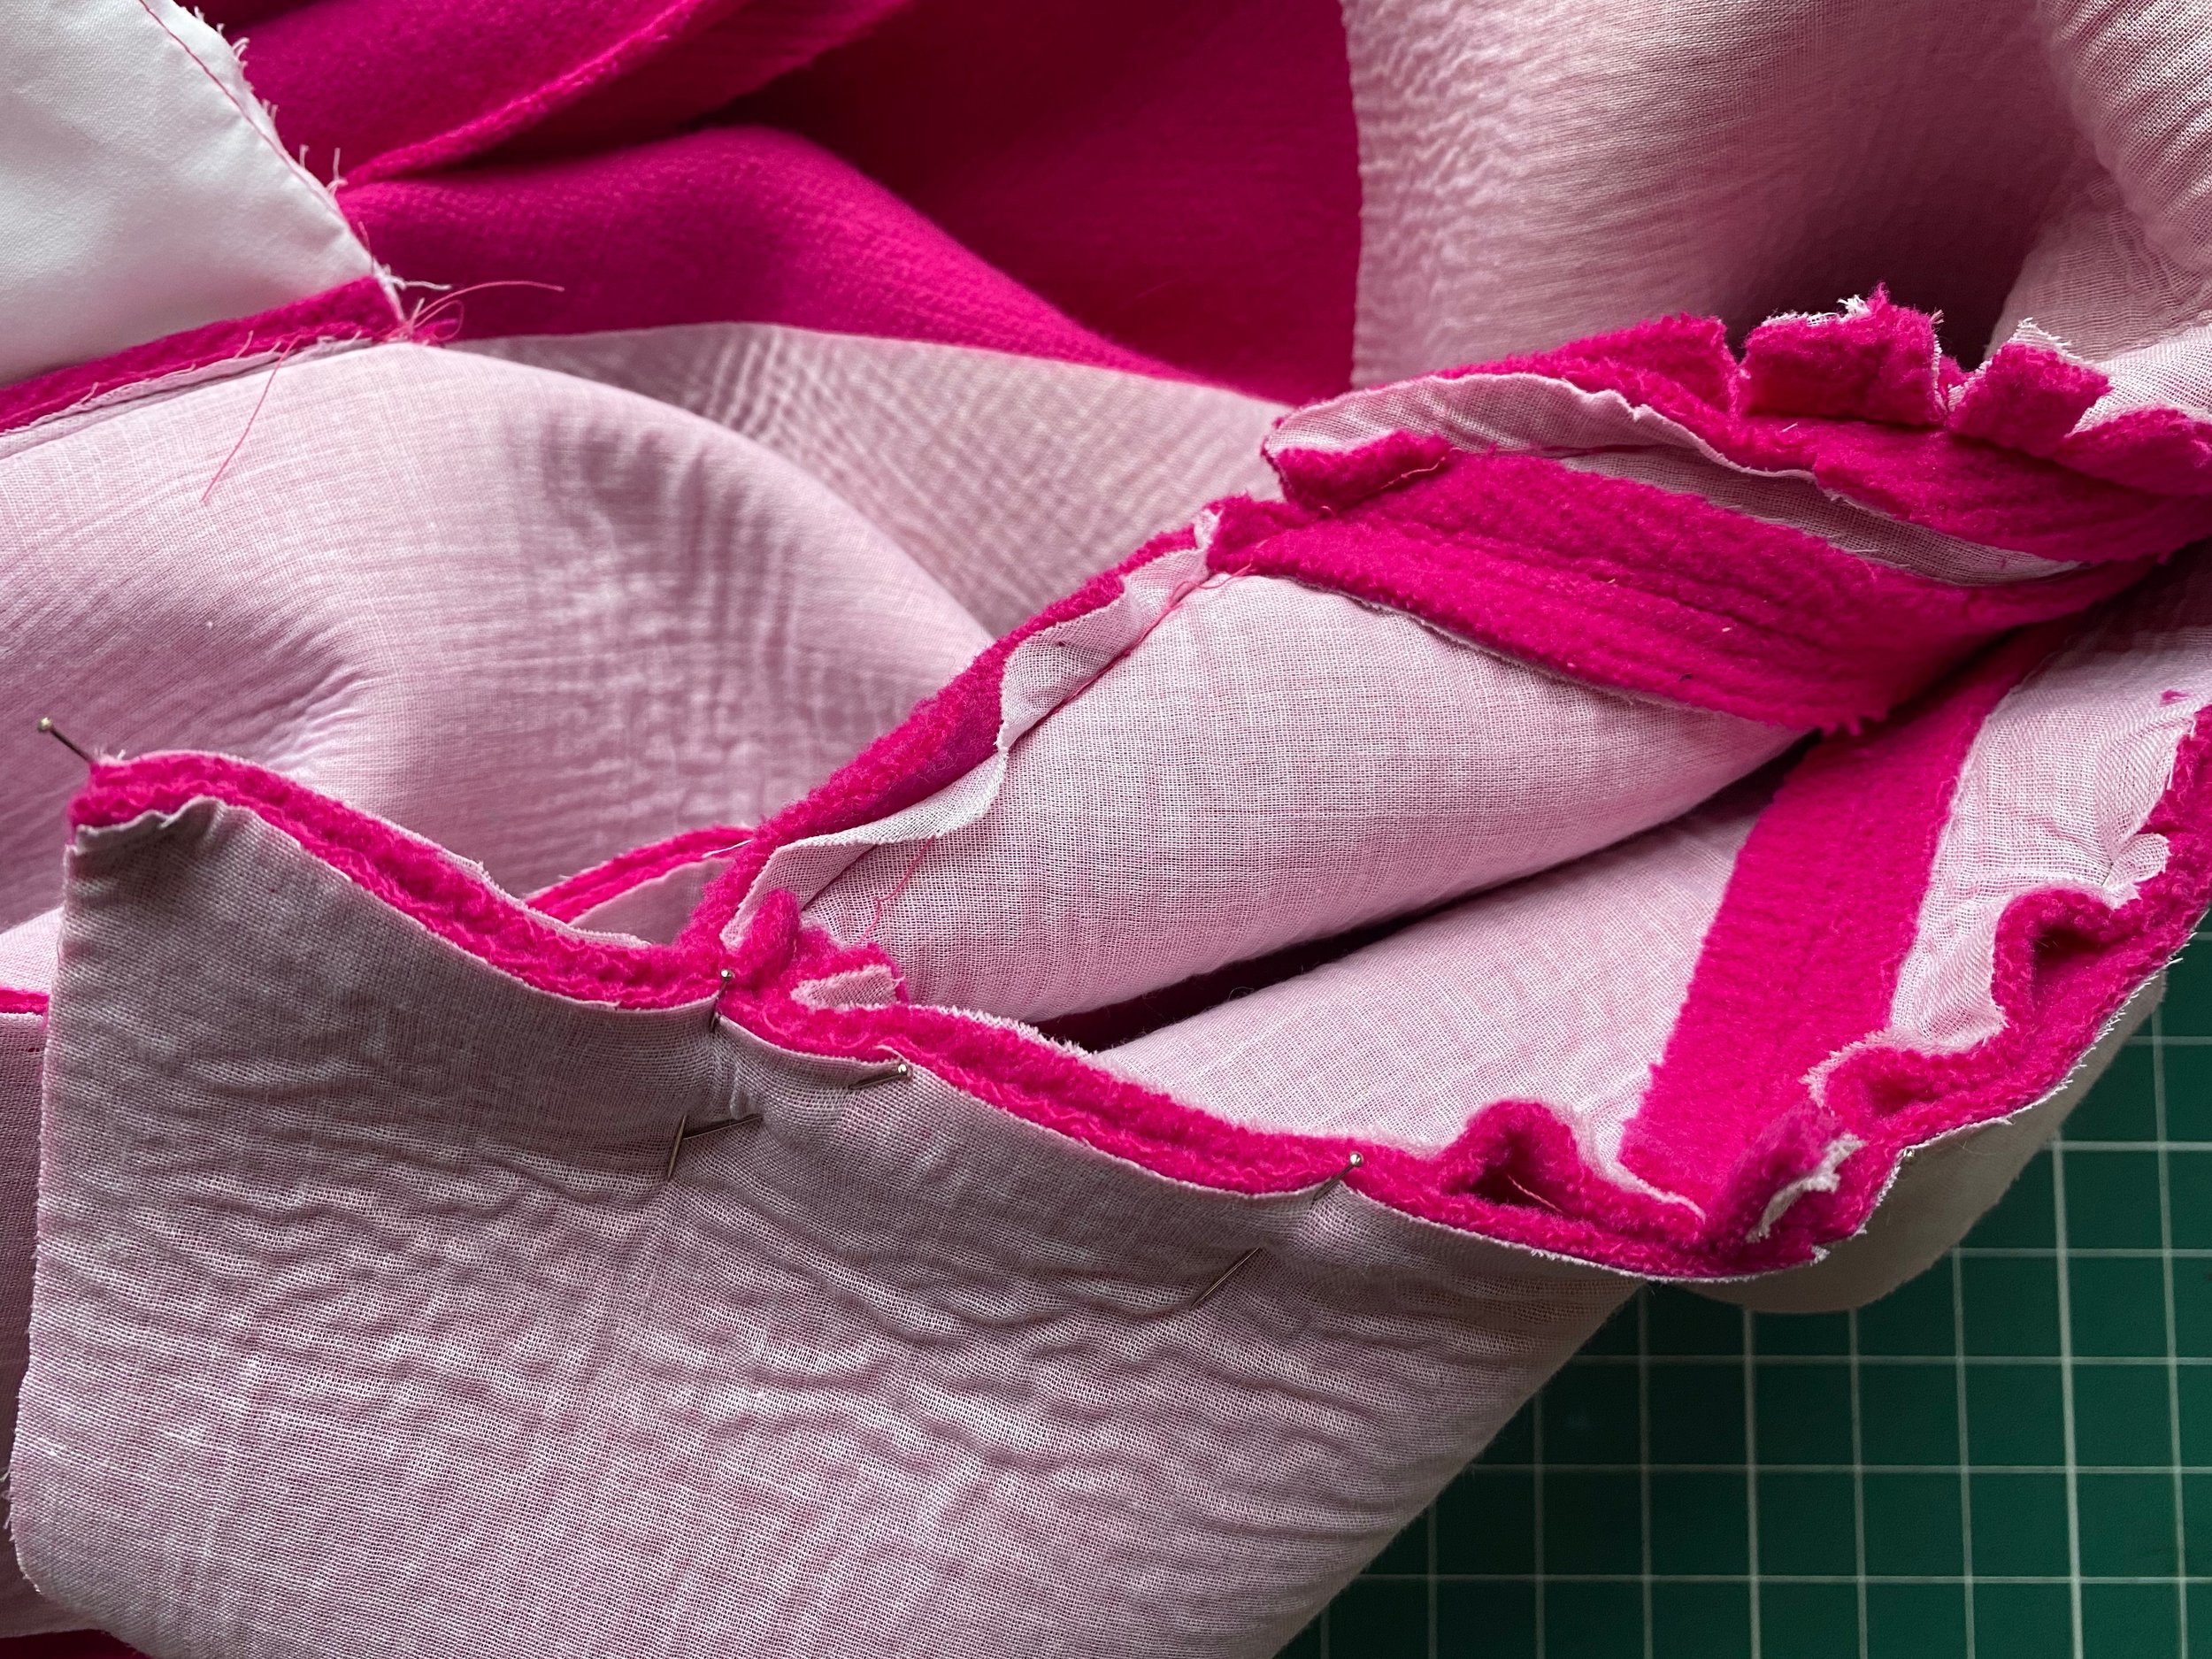
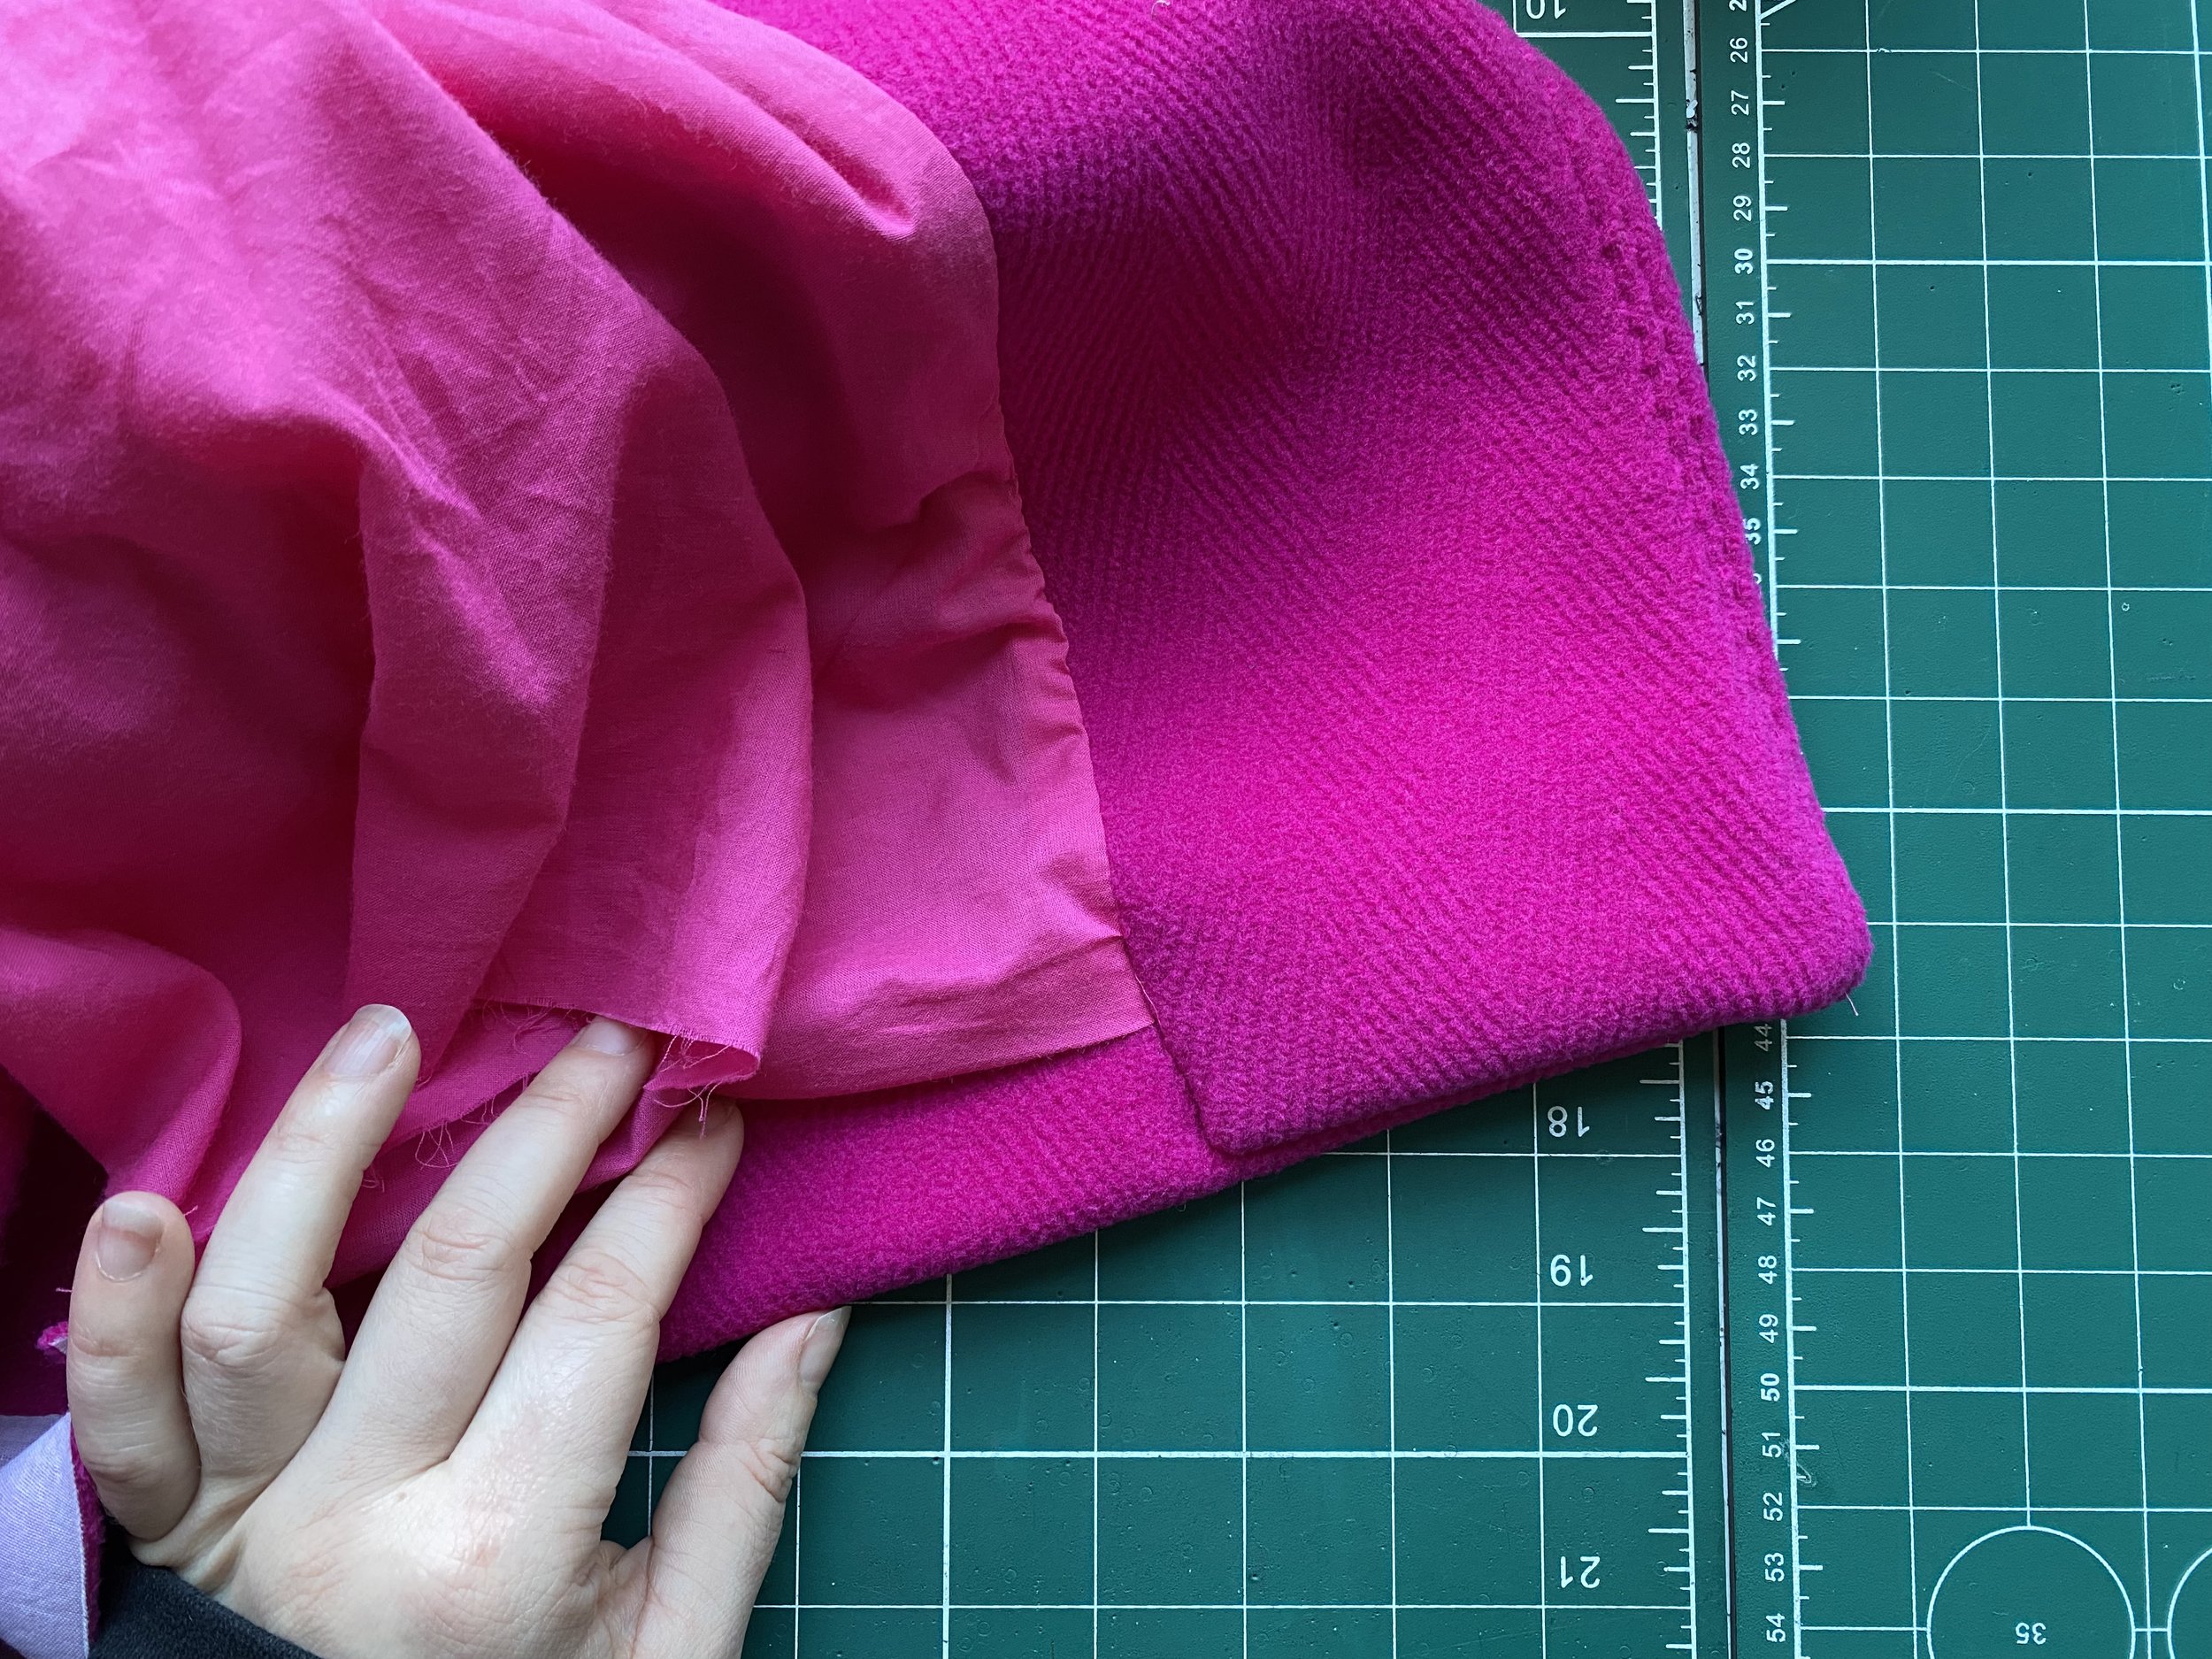
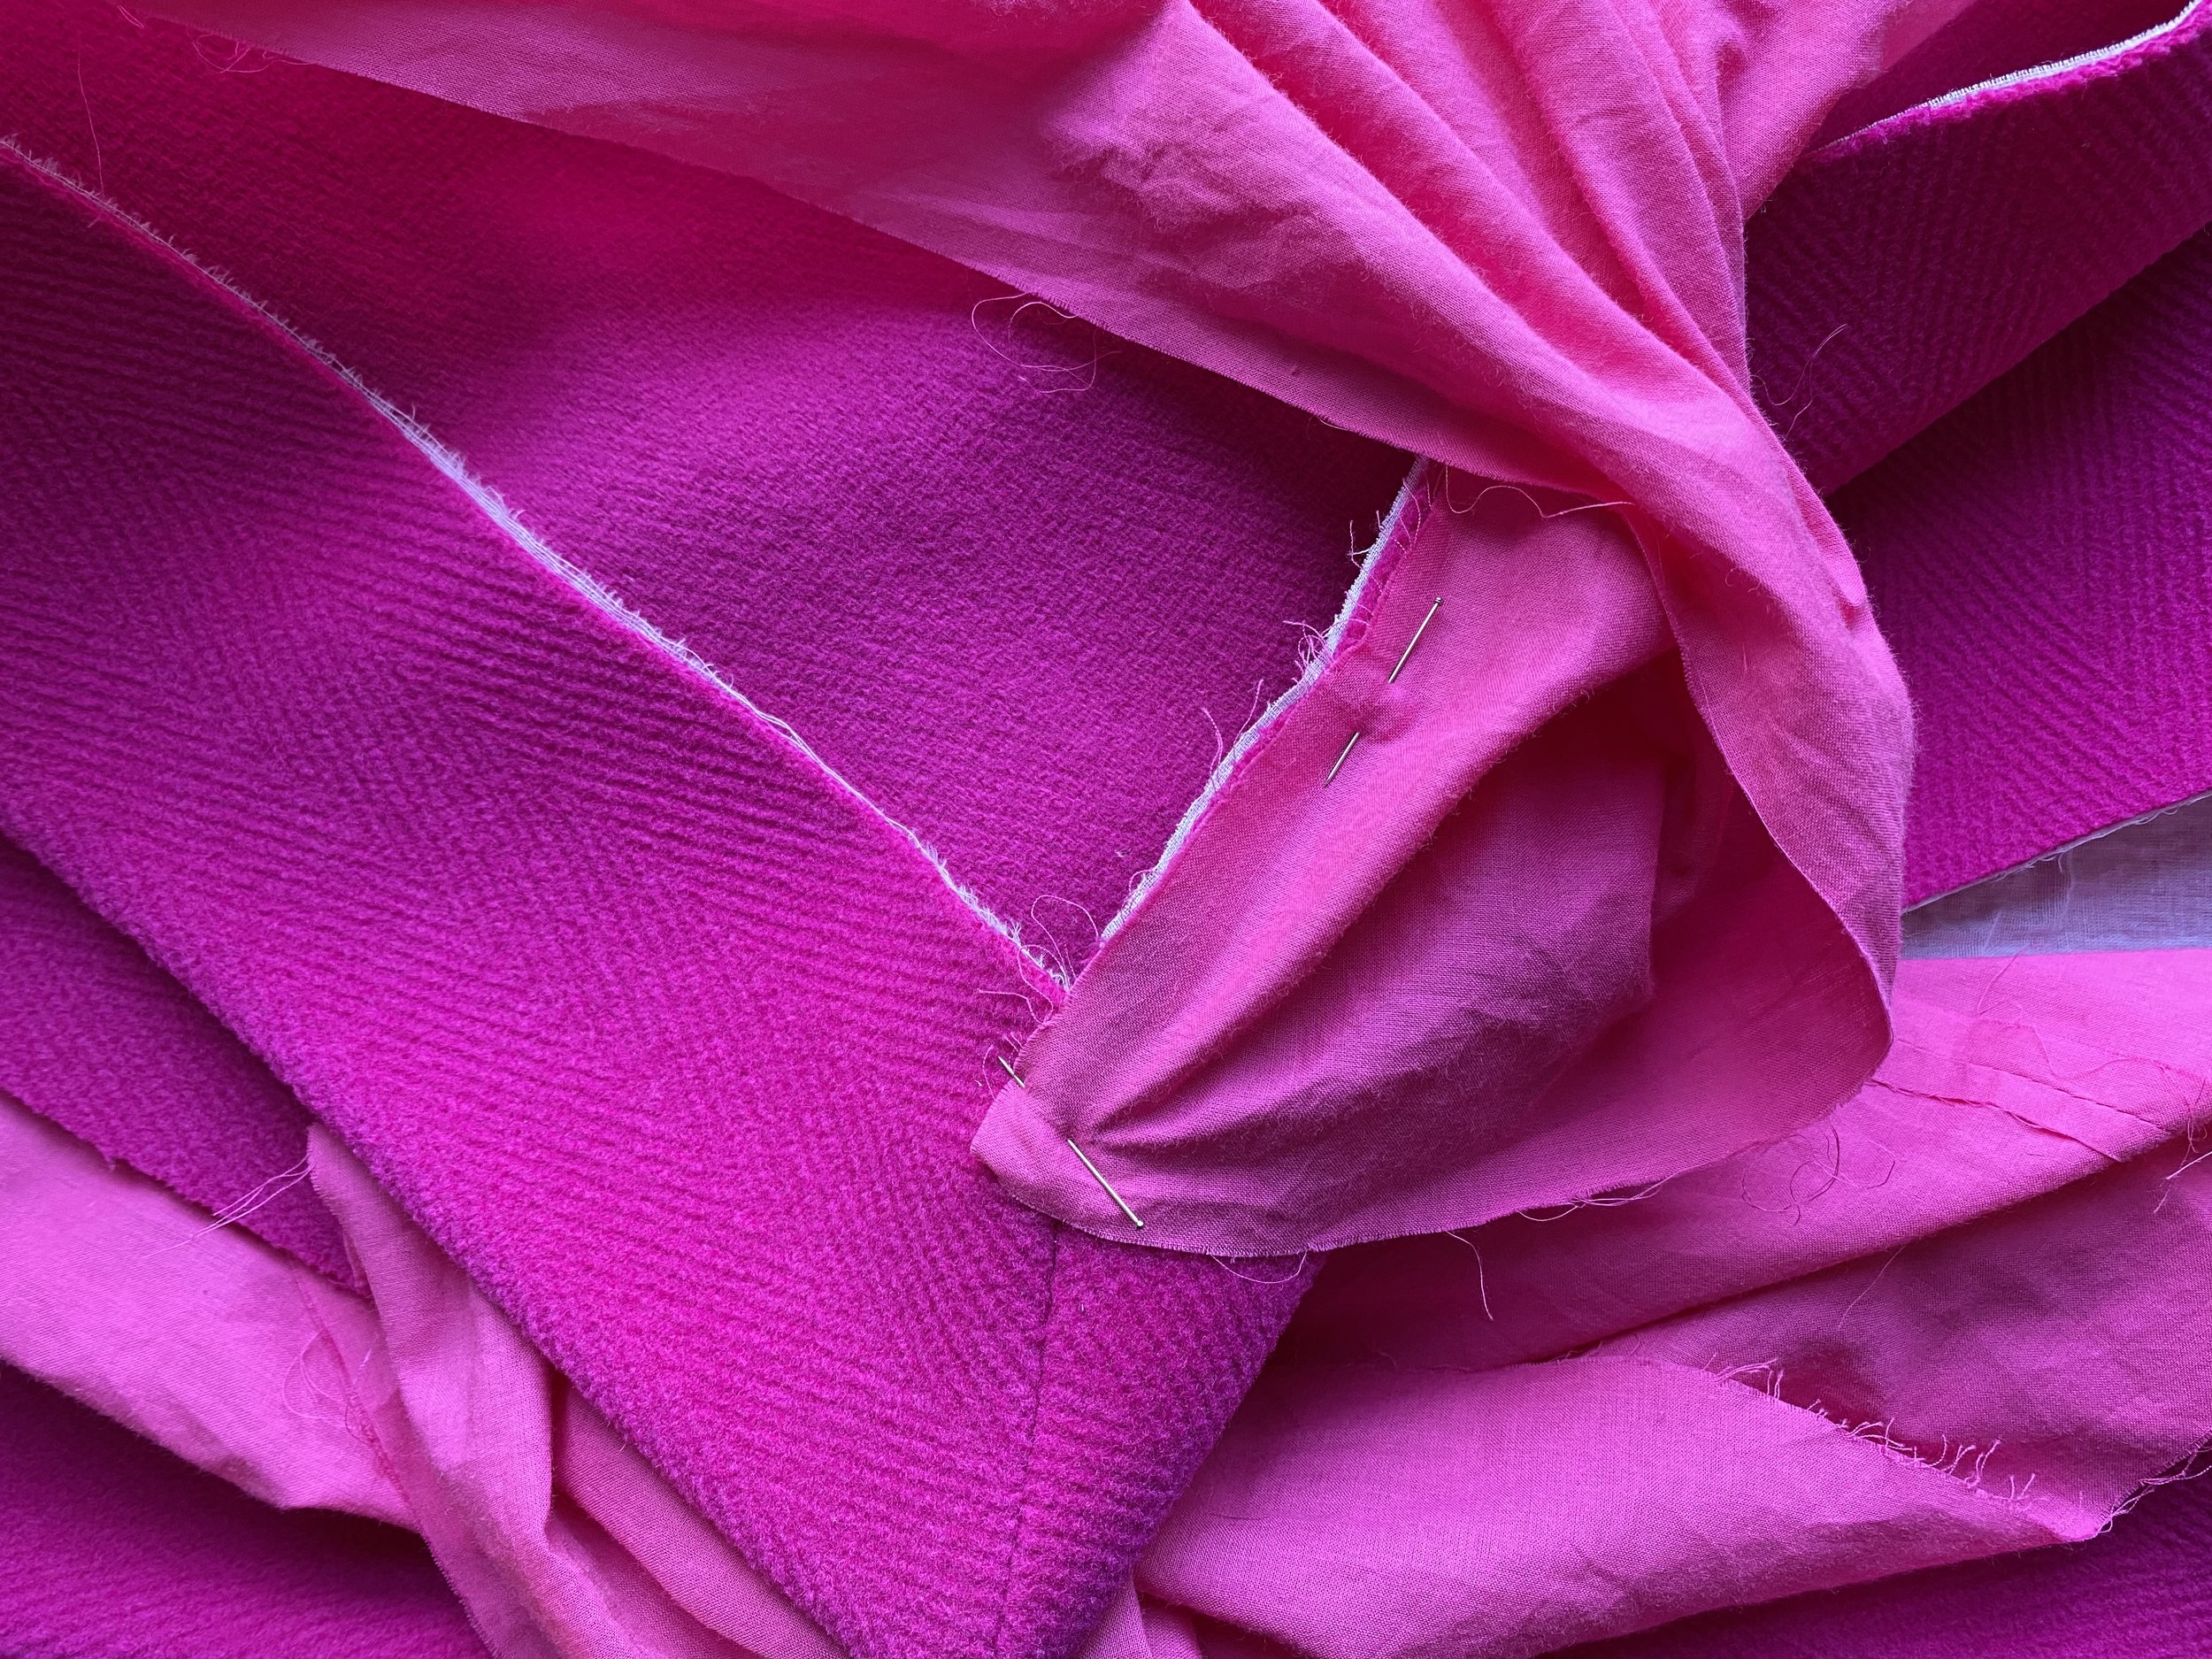
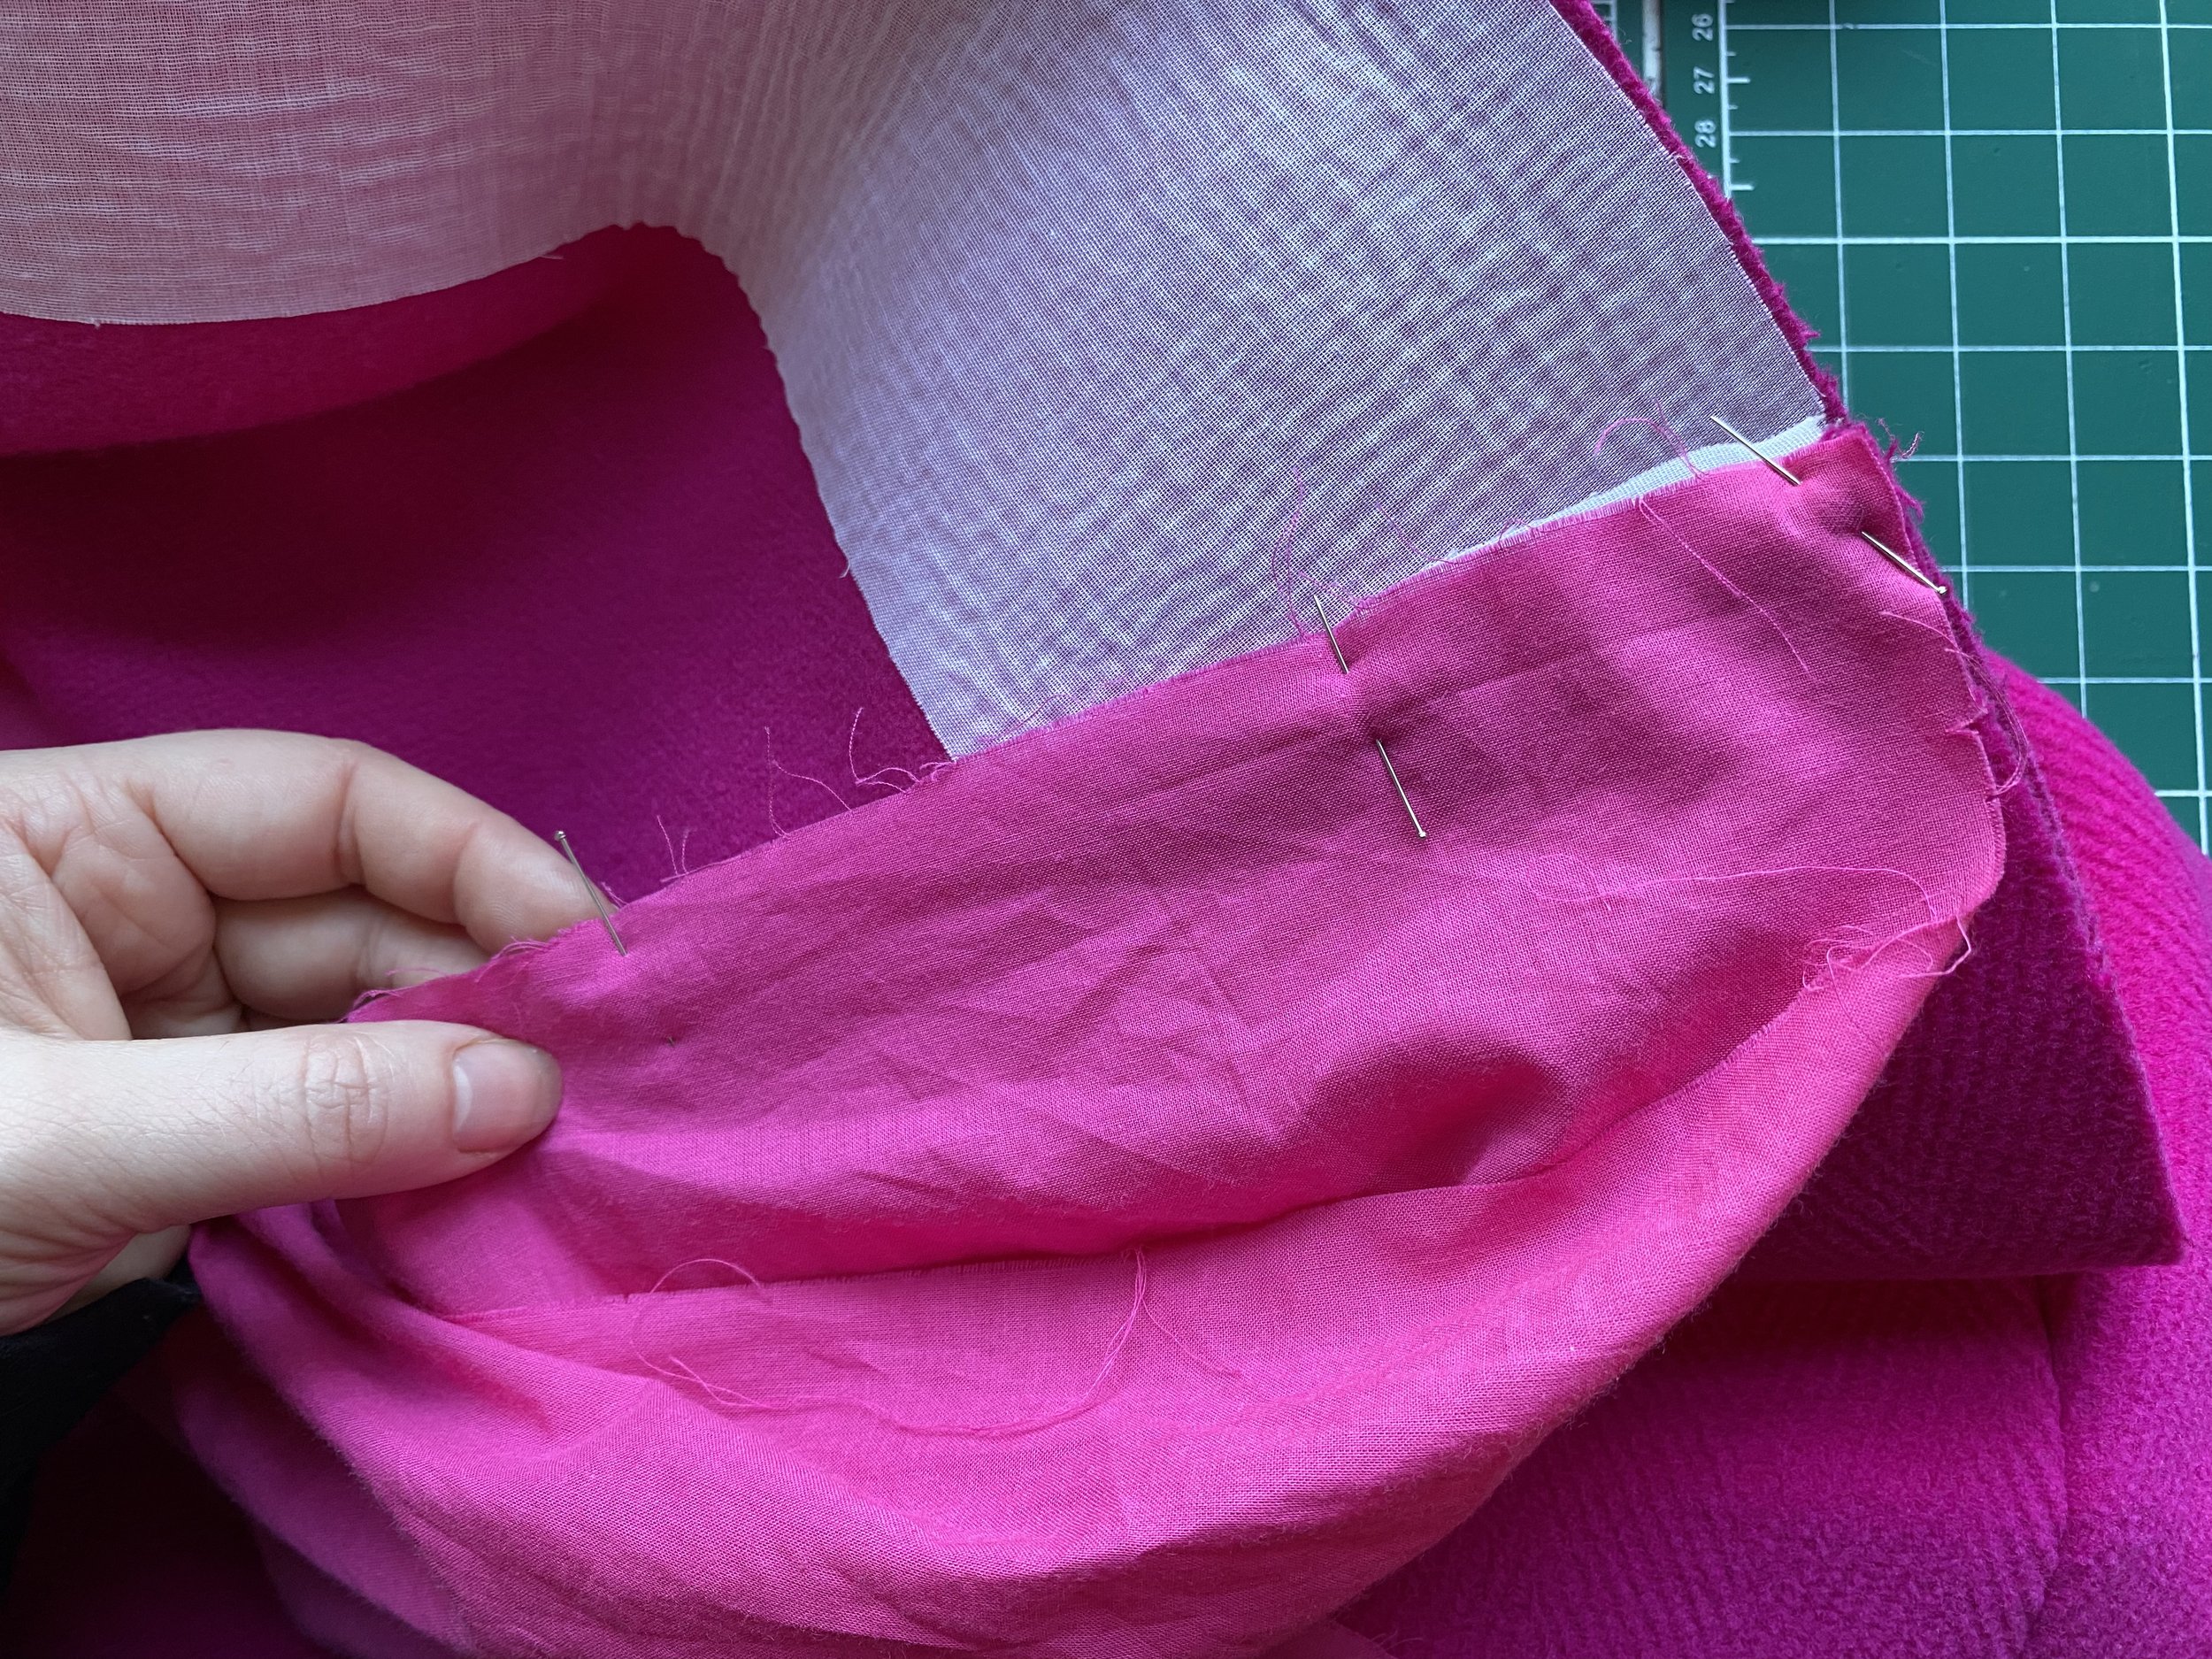
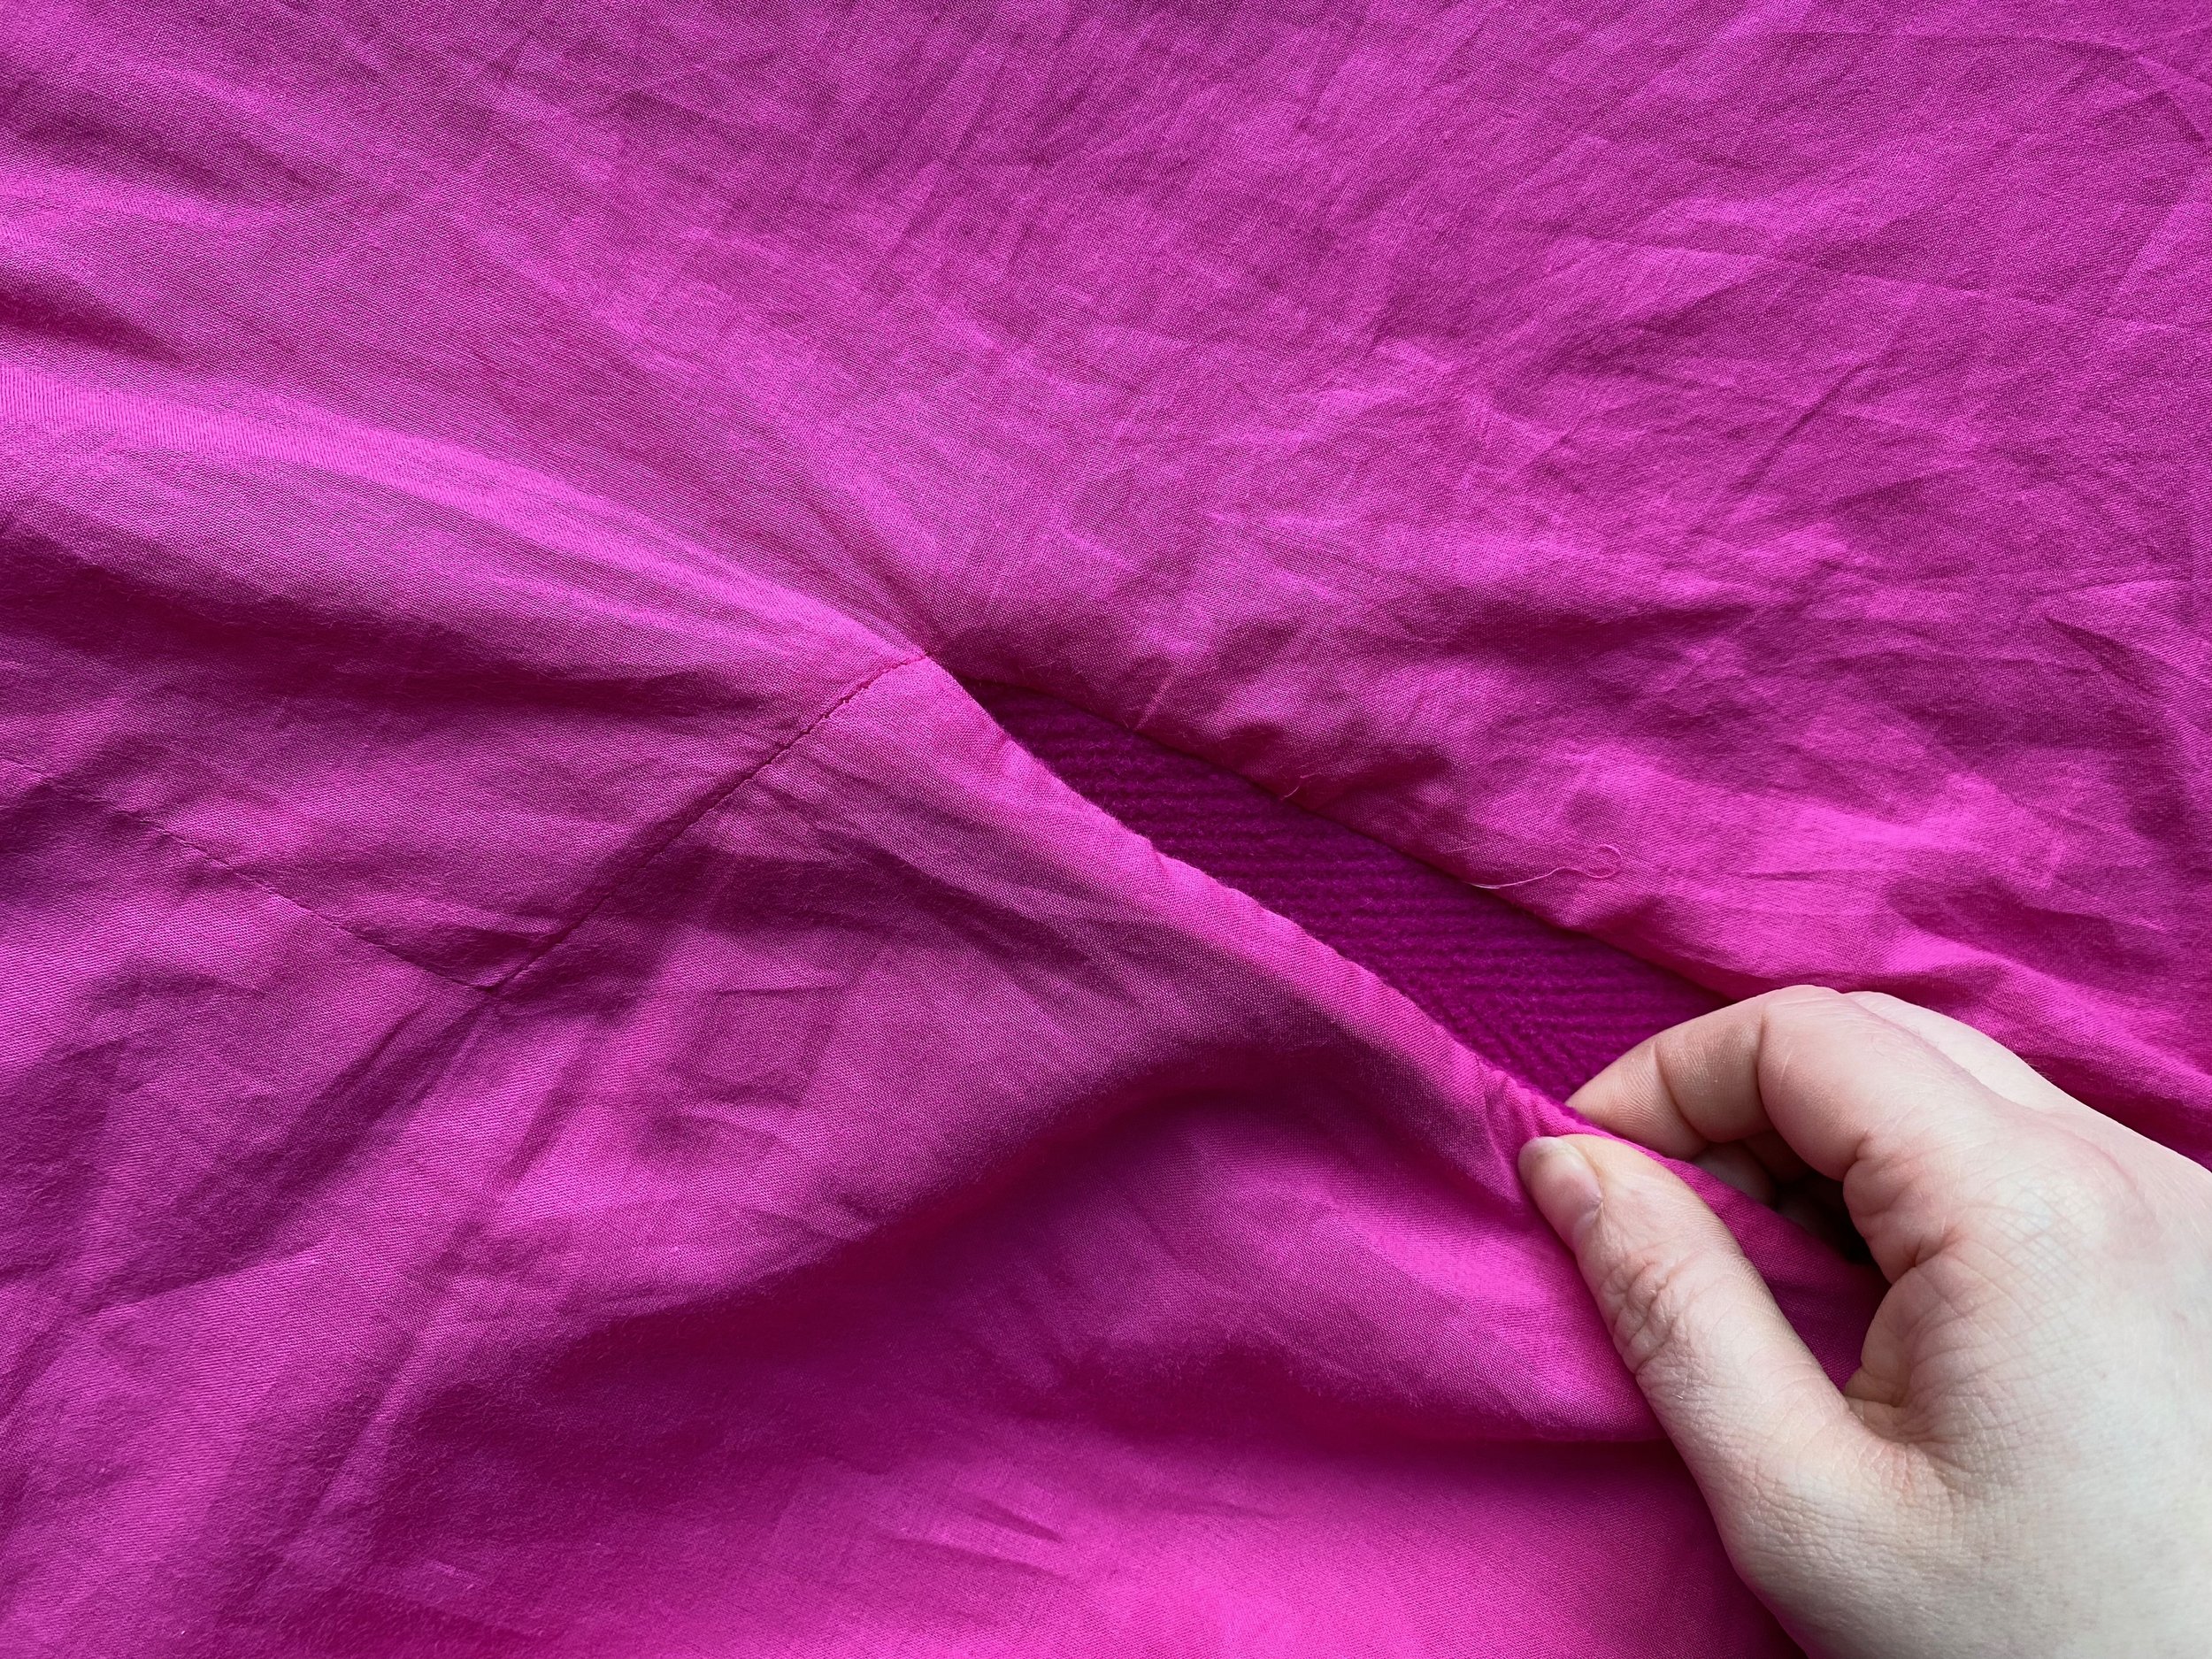
BACK VENT/LINING
I can see the light at the end of the tunnel of this project, finally!!
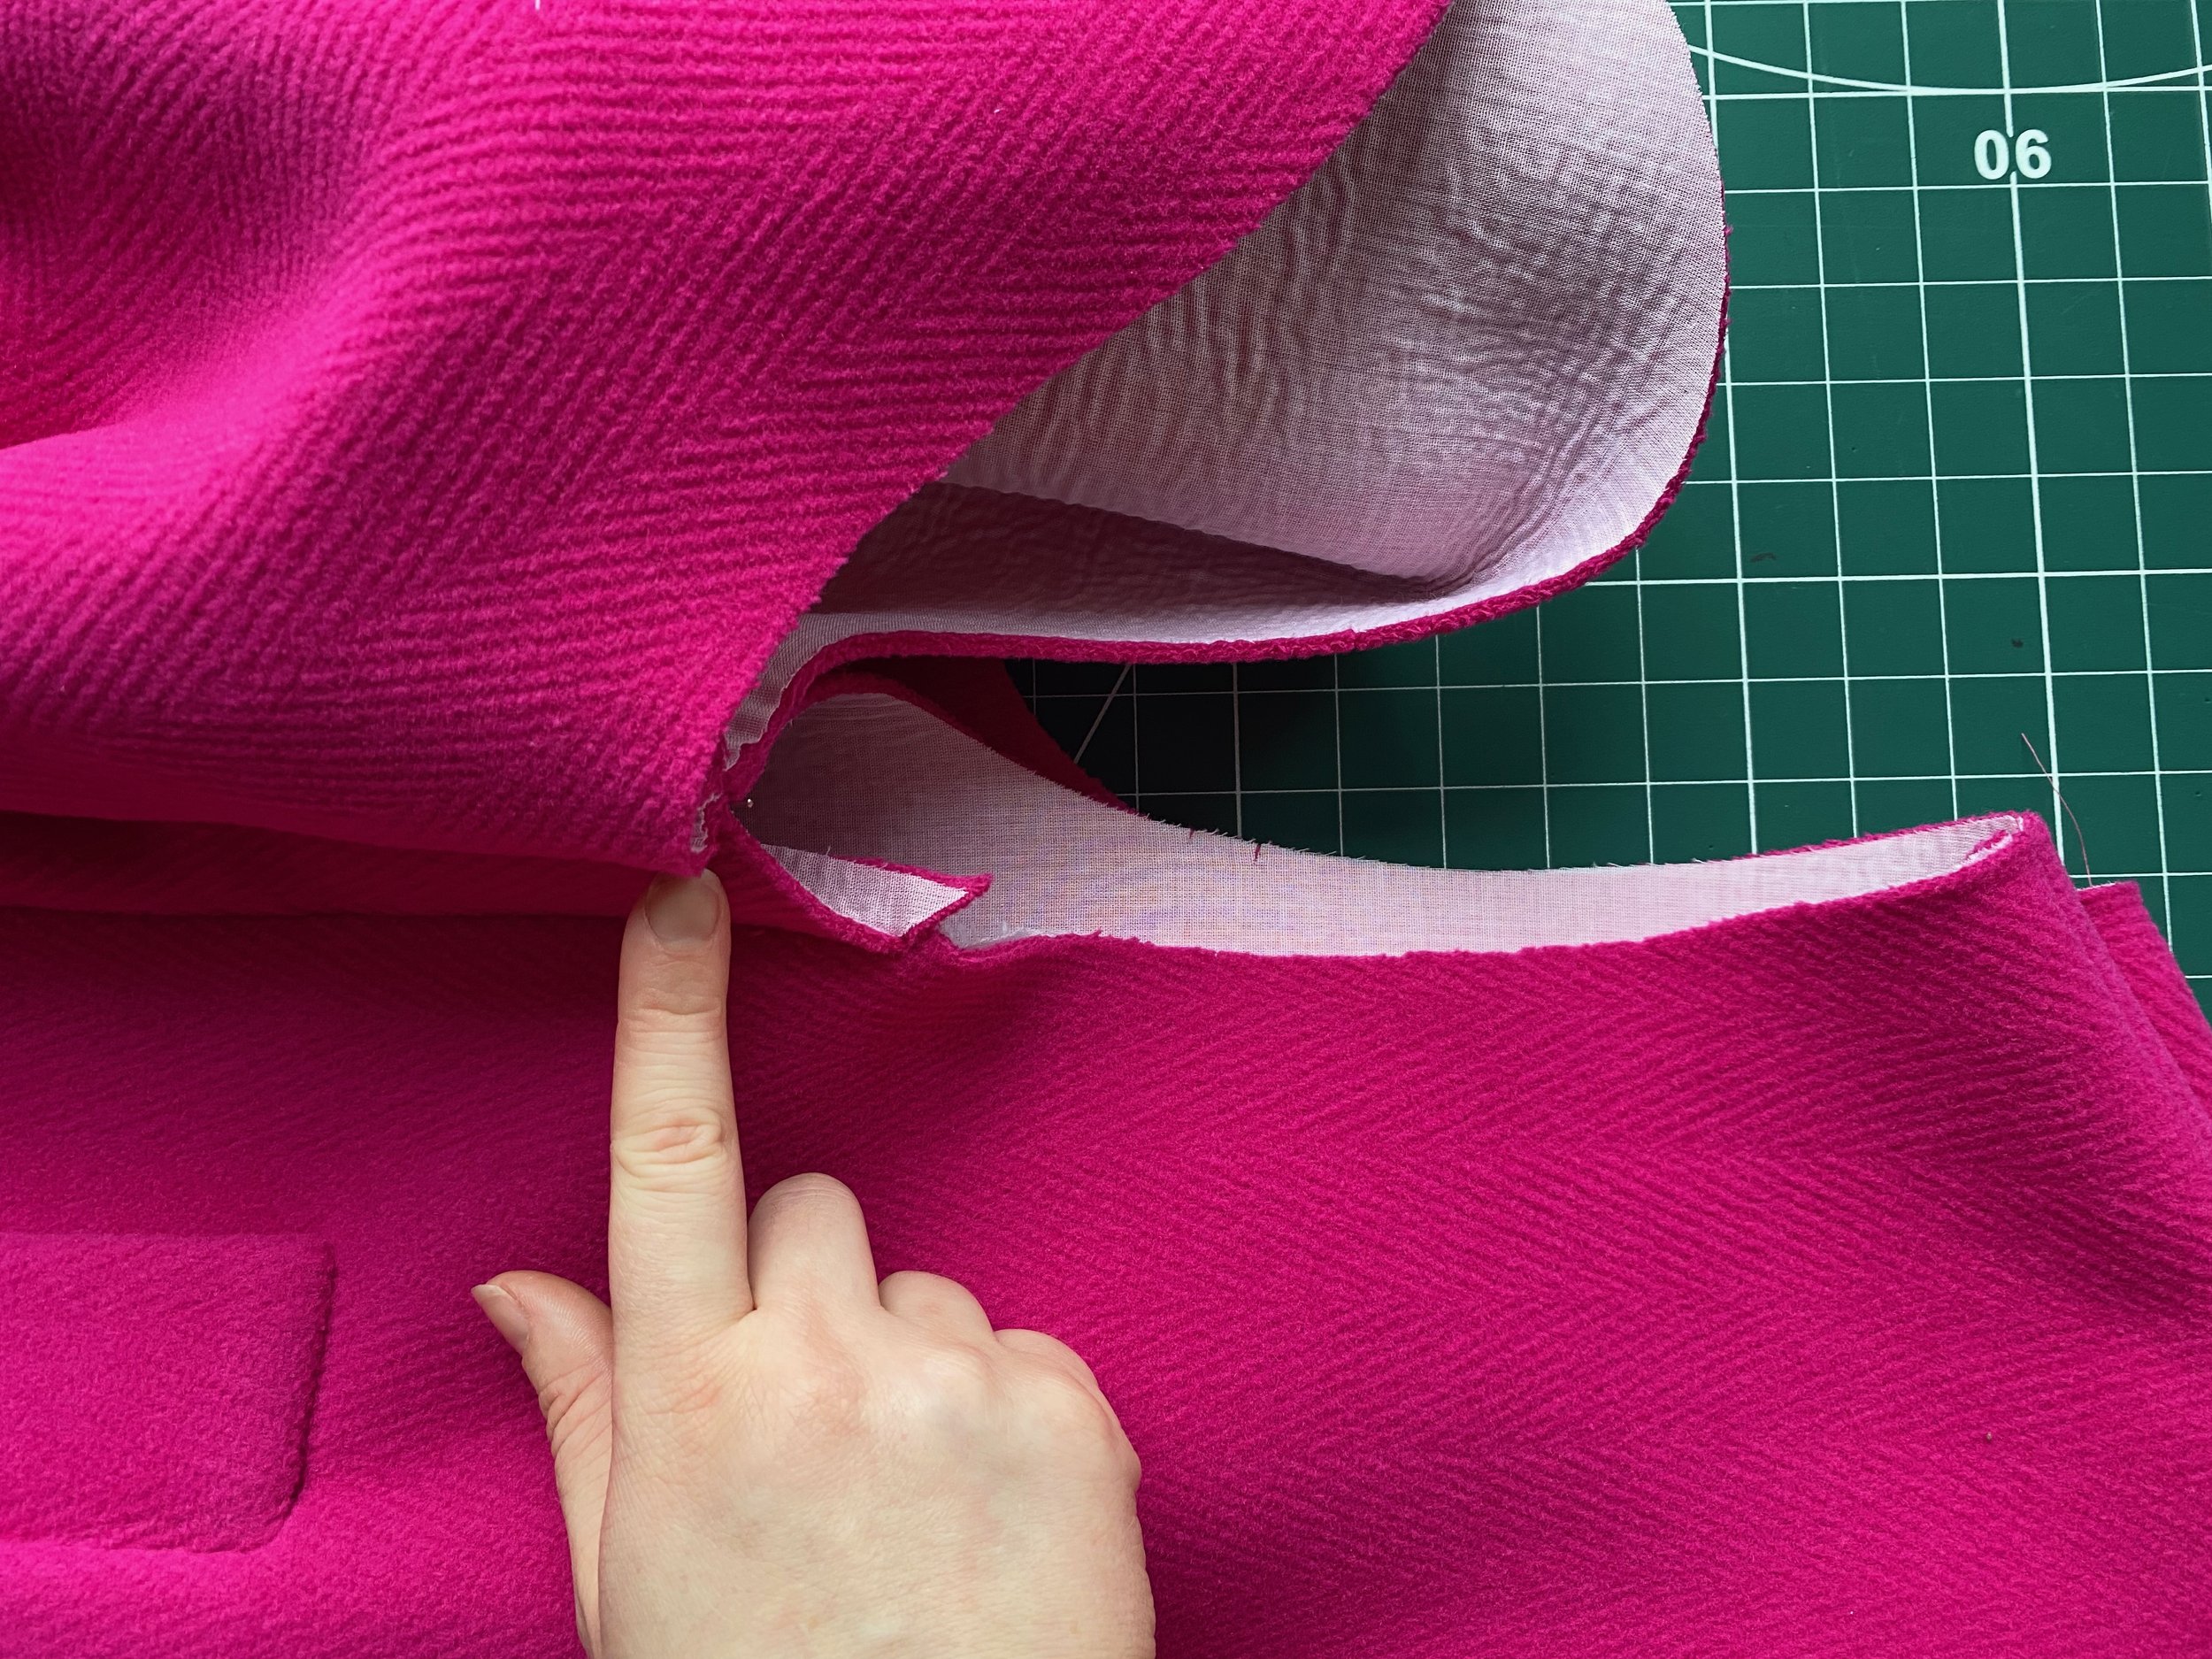
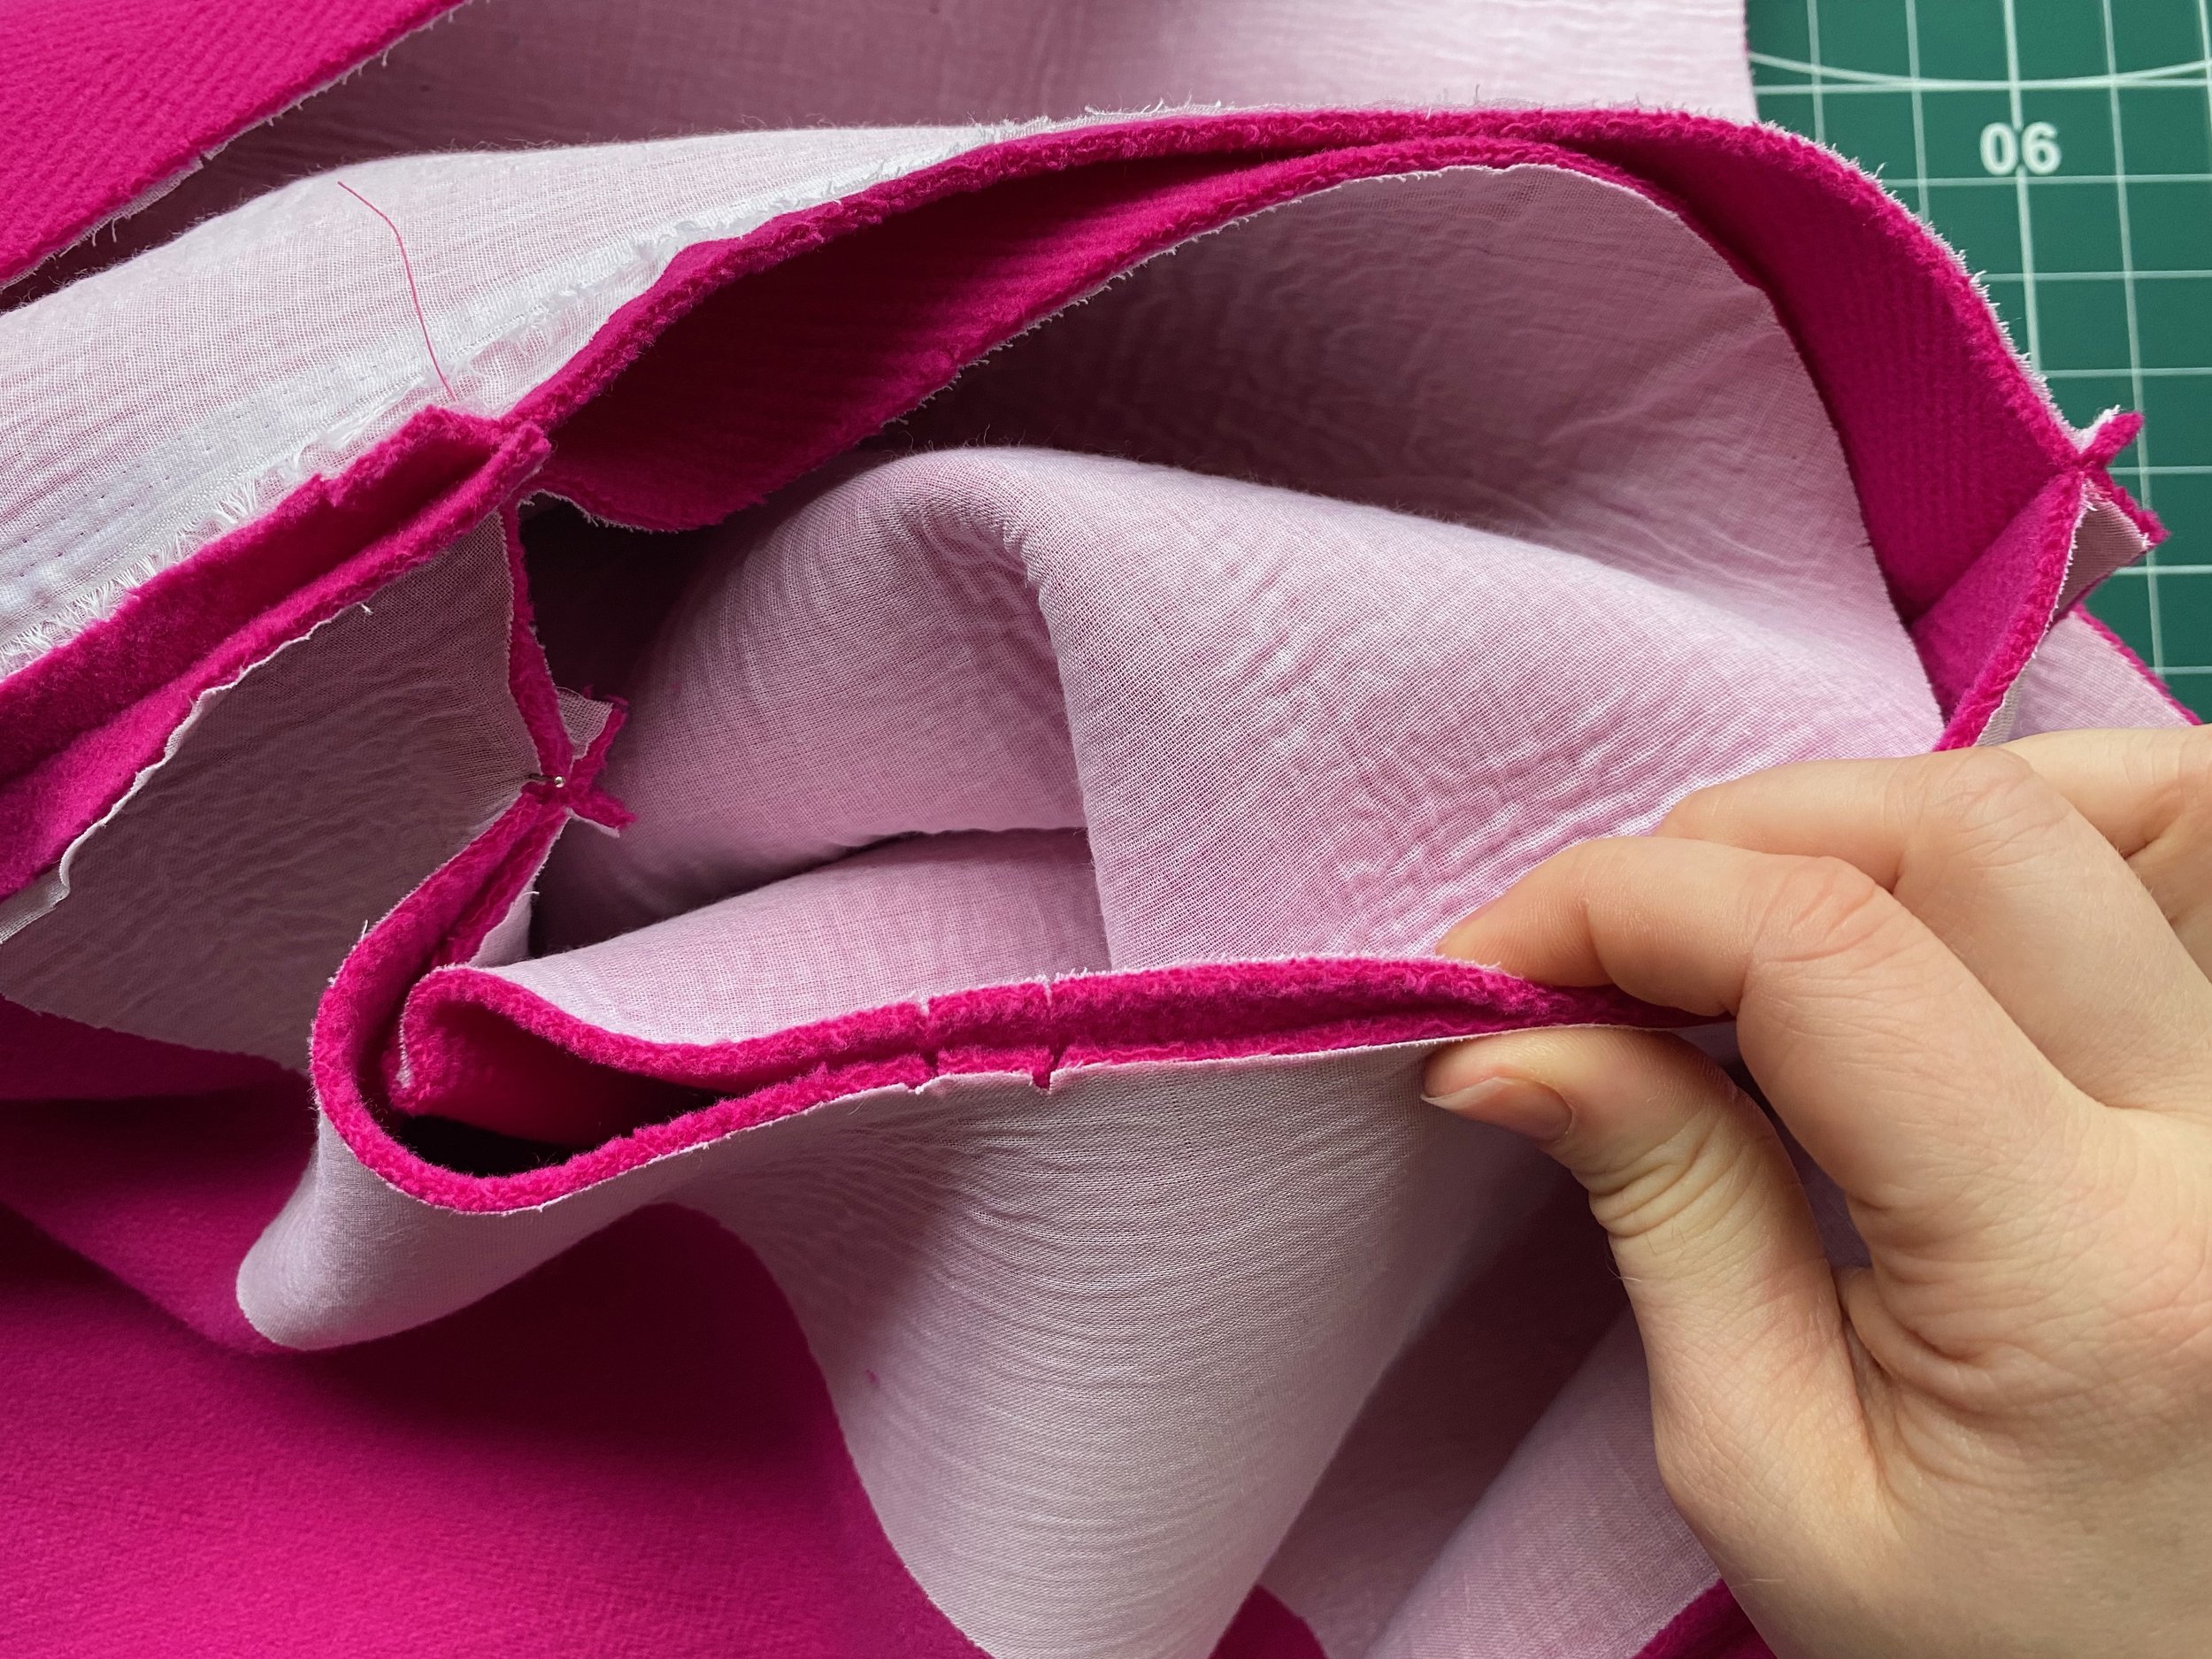
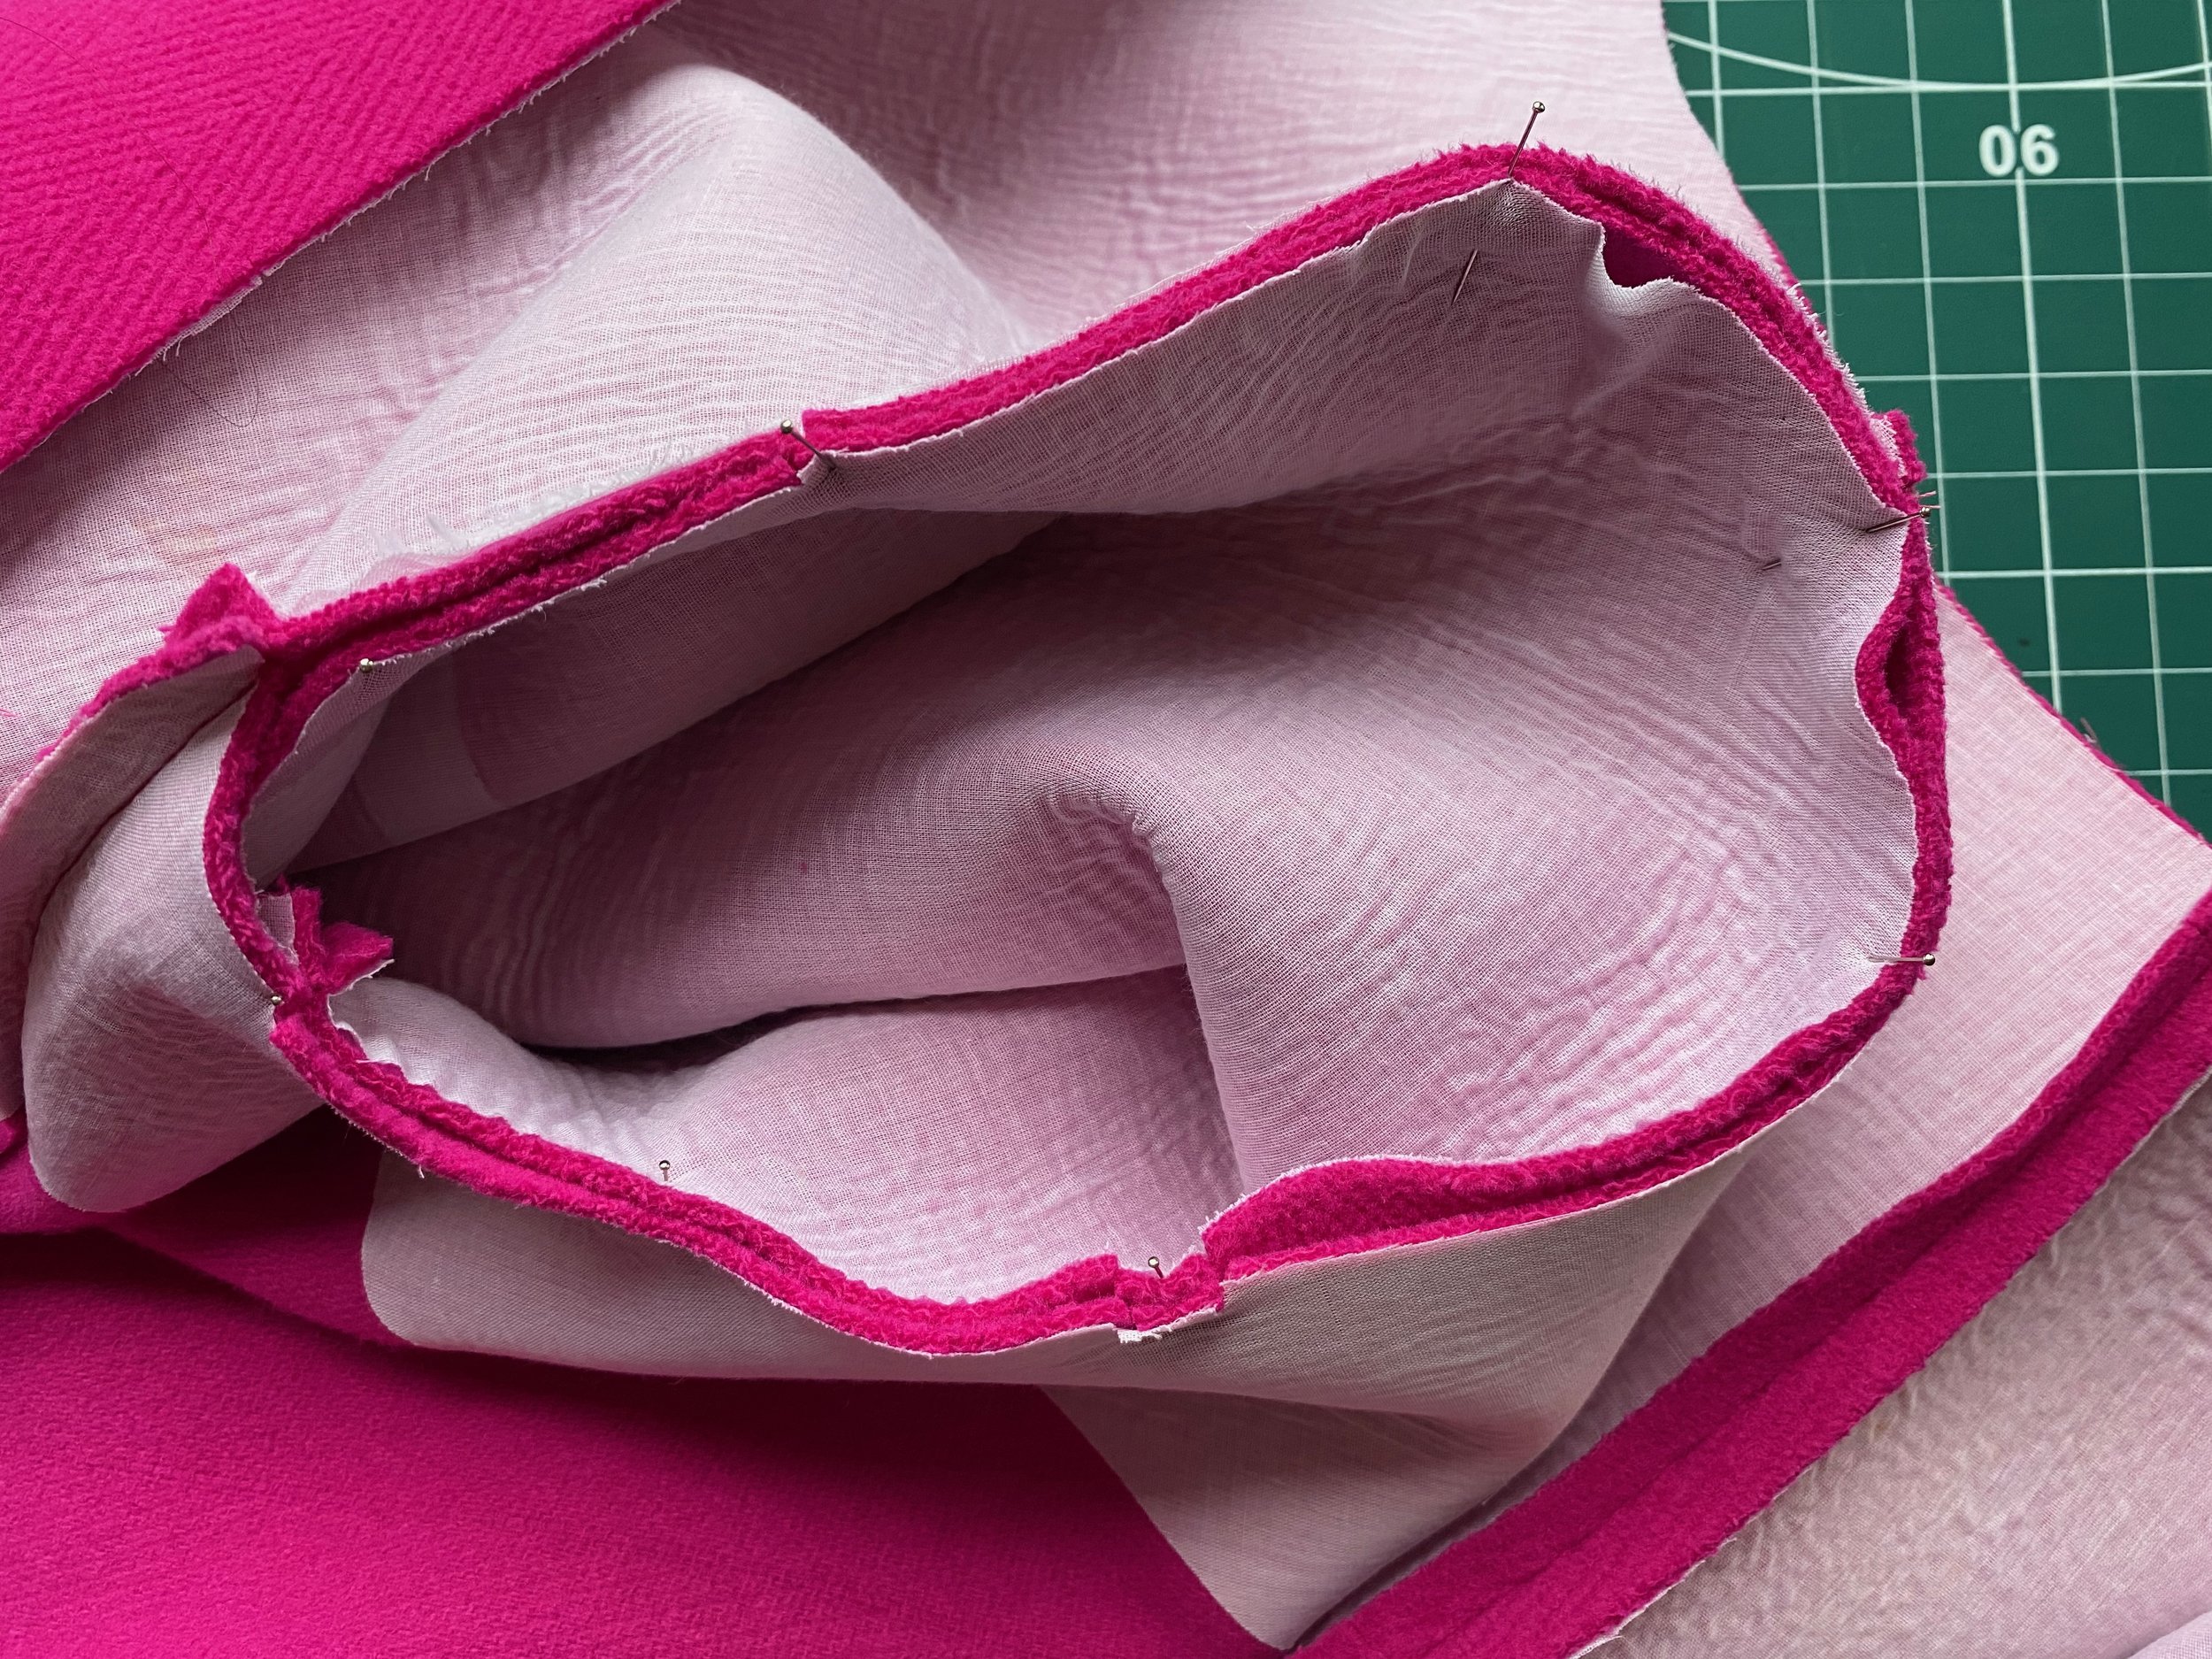
The back vent isn’t as tricky or fiddly as the front hem facing. Follow the booklet steps- sewing across the hem a bit first and then join the top of the back vents where the last 1cm is free. Trap the lining lip in at the bottom.
images below to help you visualise again.
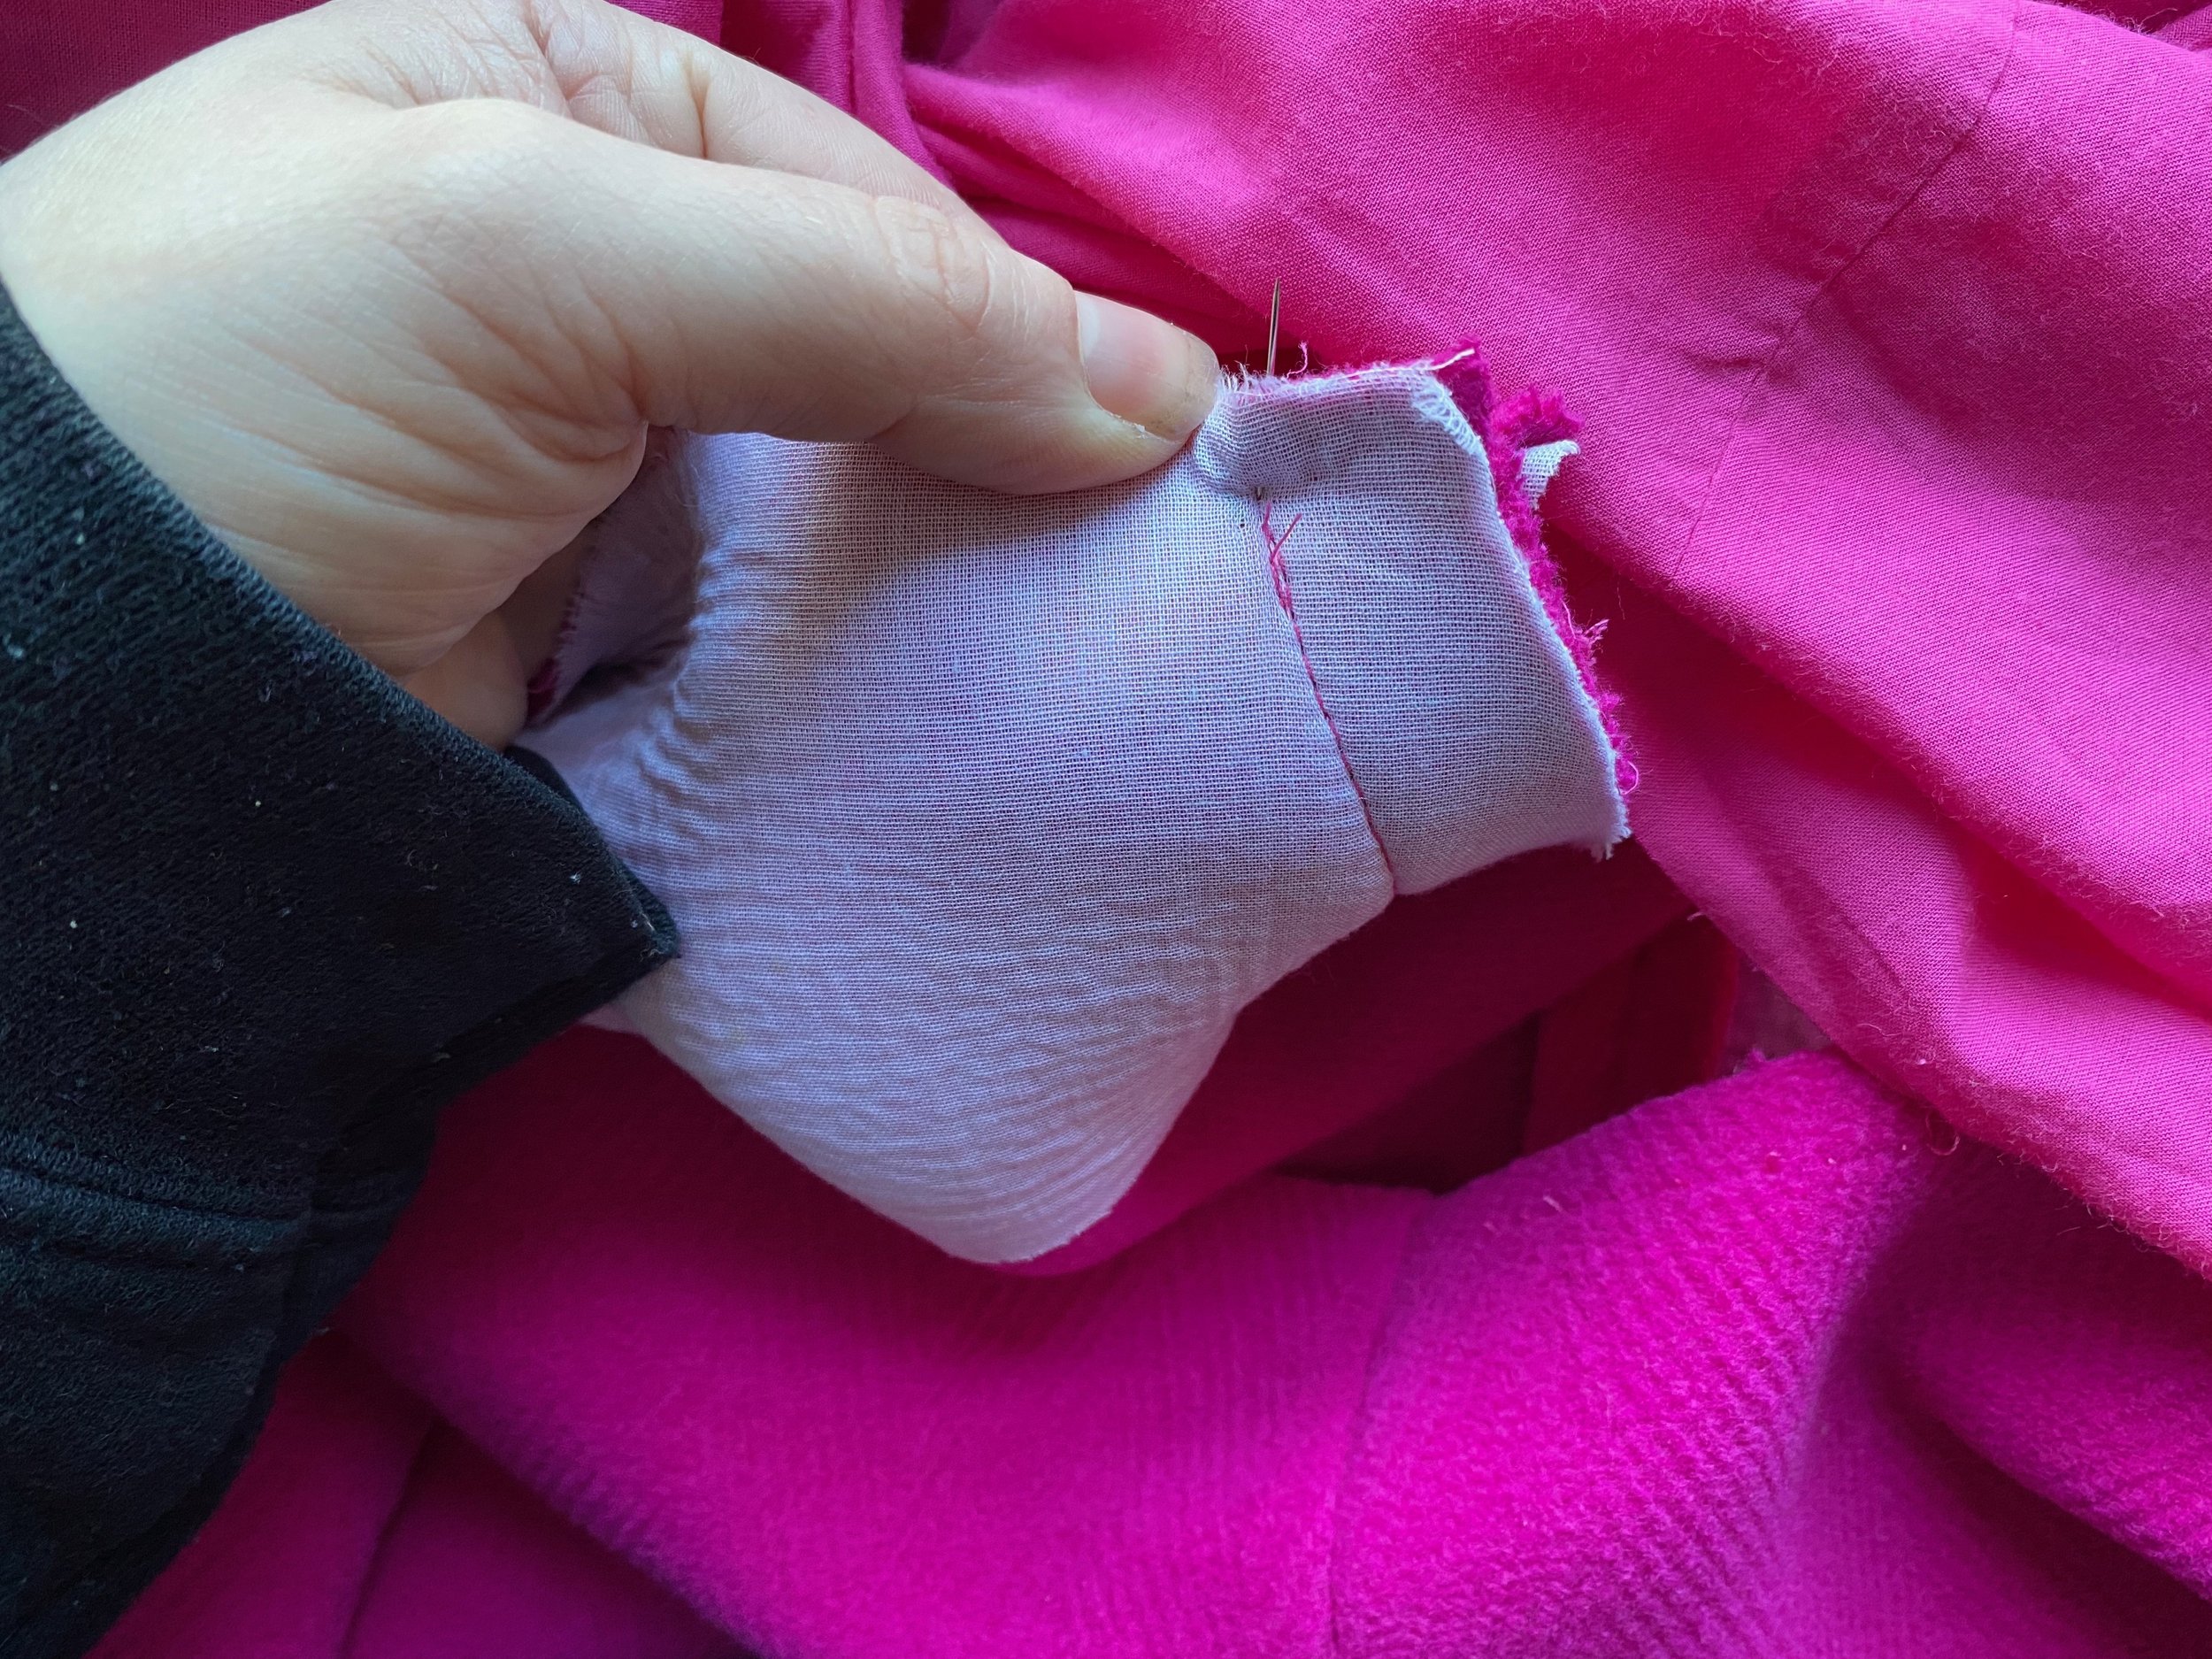


HAND WORK
The final bit of hand work before I will completely close the lining at the hem is hand sewing the facing to the front. its better to lay the coat flat on a table so and pin the facing in place so its flat and sitting where in the correct place.

Well, thats it finally! lol!
If there is anything I haven’t covered or anything you need help with leave a comment below or send an email to info@trendpatterns.co.uk
Lucy x
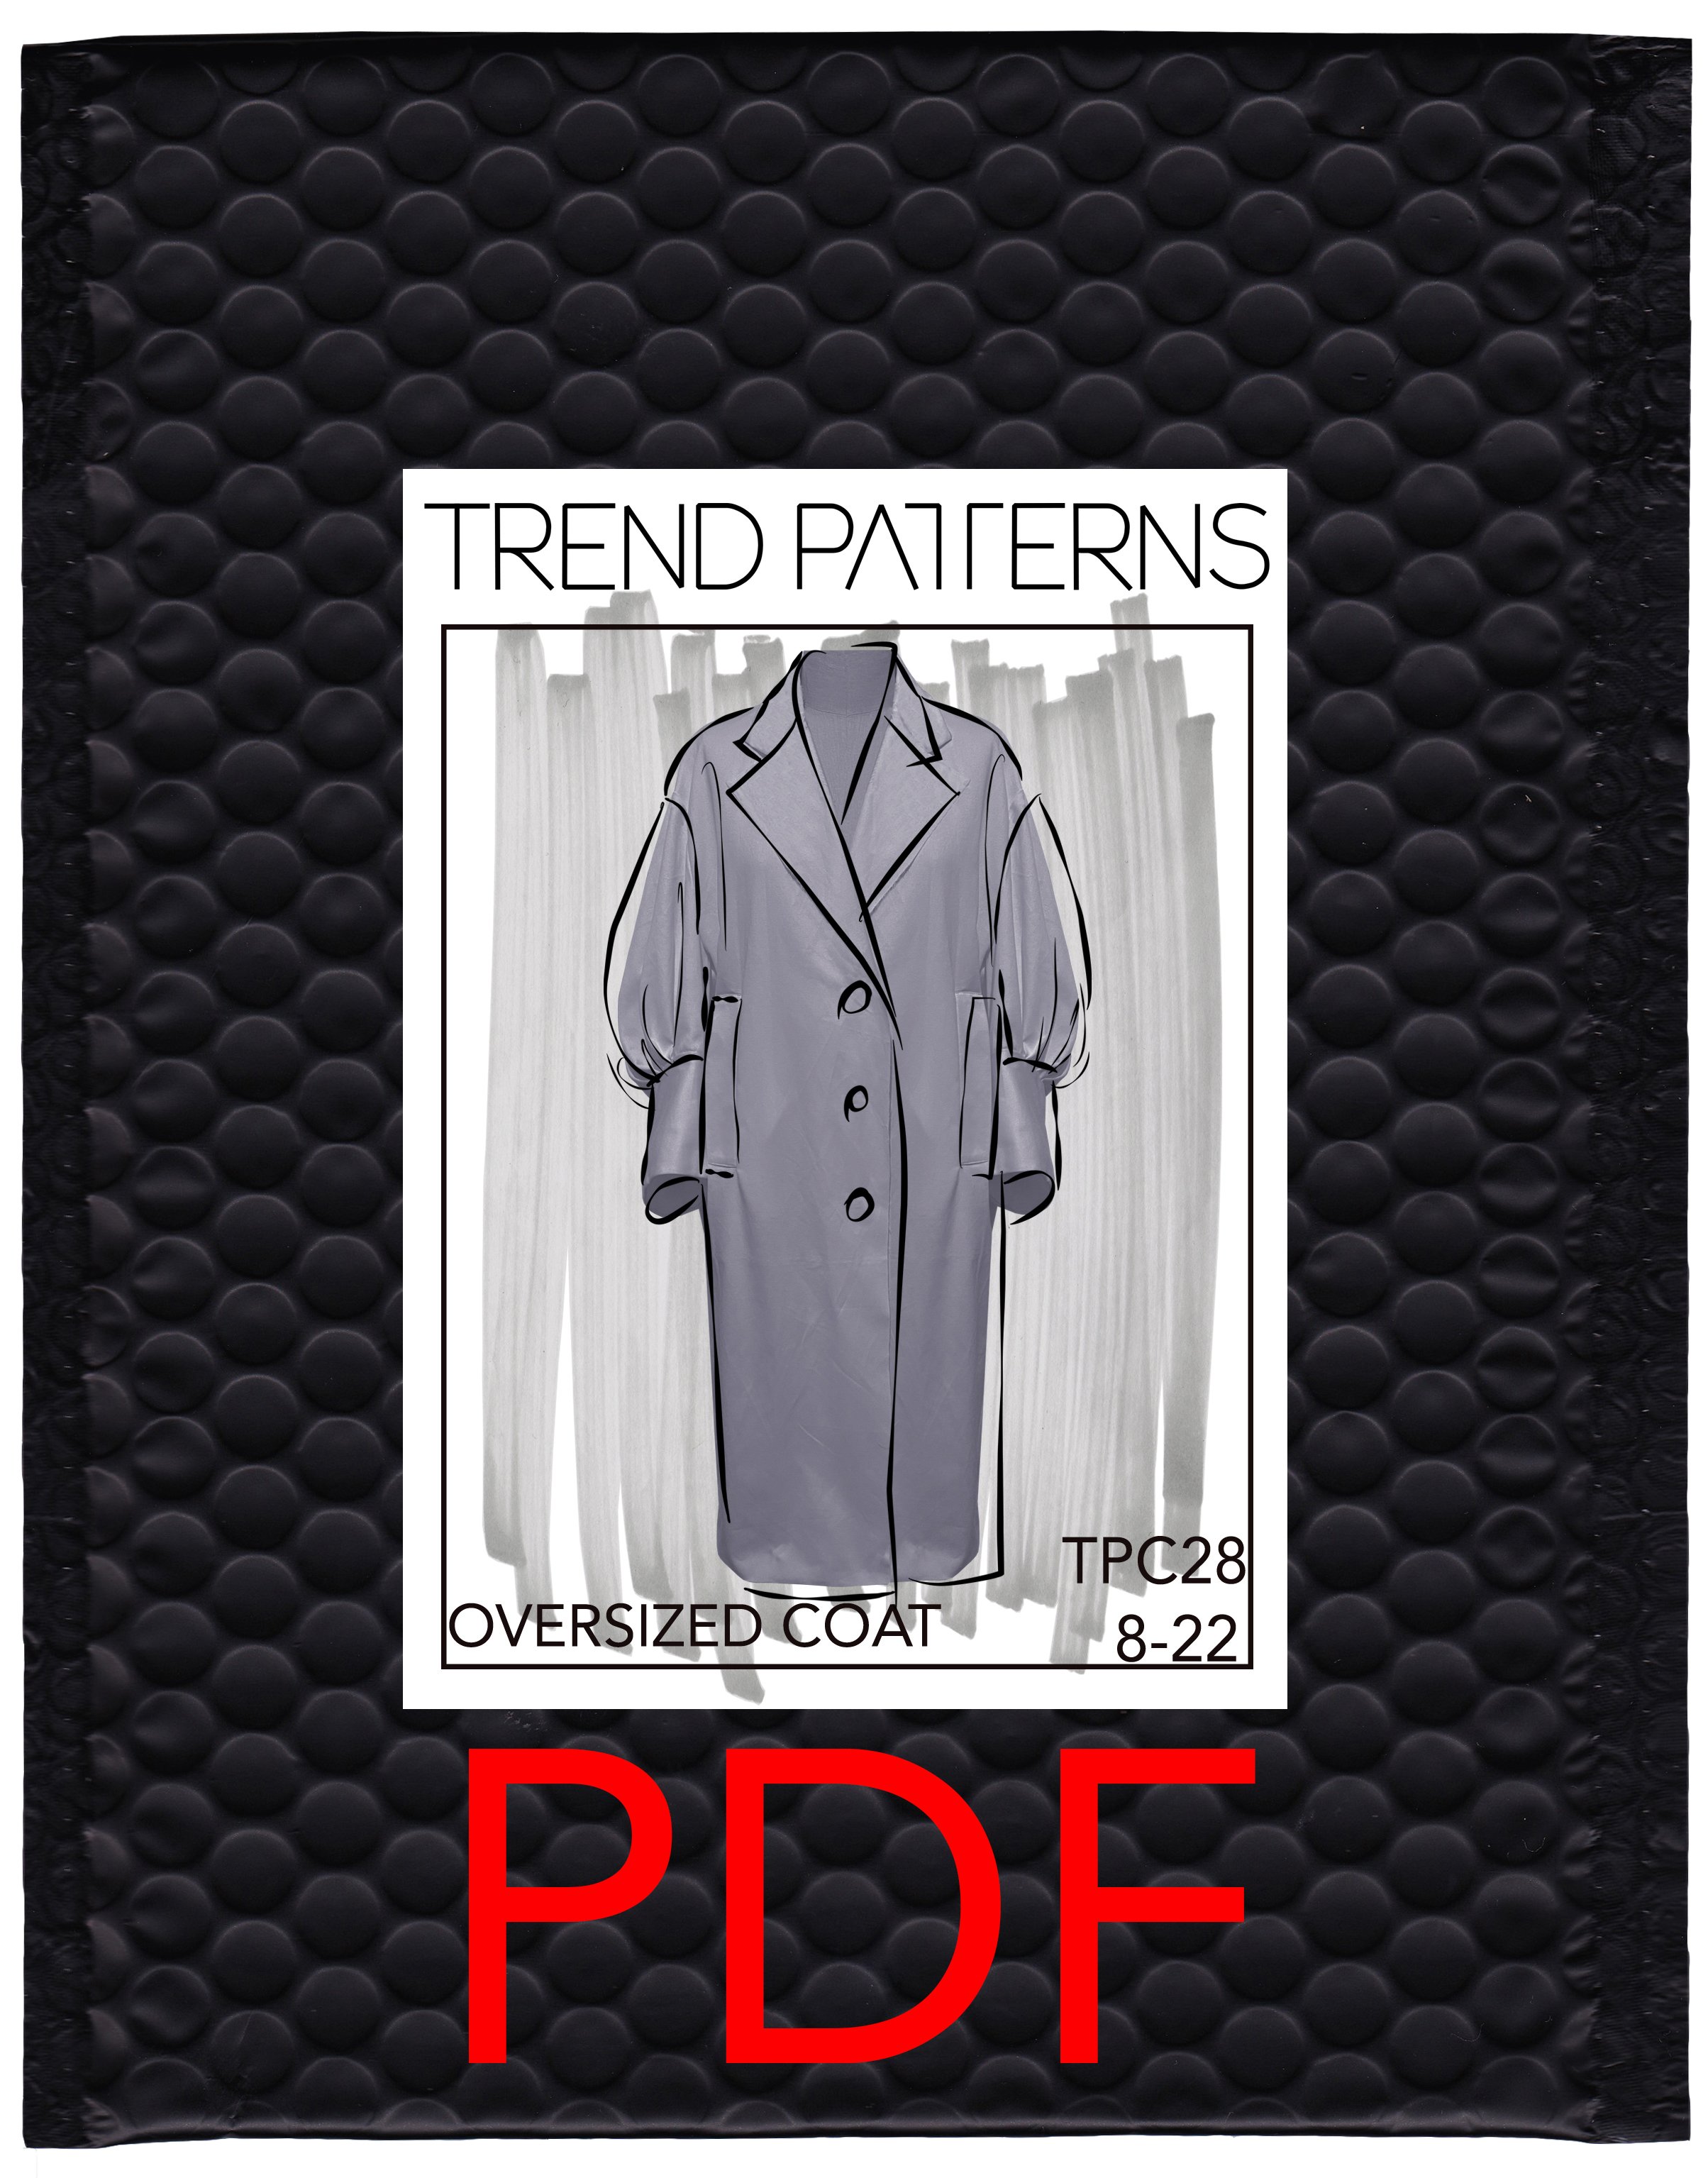
TPC28//OVERSIZED COAT
The latest pattern in the Trend Patterns range, is the ultimate winter coat. The design is closely based on a Prada coat from their AW21 collection.
This is a large file. Please endure you have plenty of space on your device before you attempt to download it!
File Info
This PDF is made up of both A4 and A0 files, and instruction booklet.
The A4 file is made up of 102 pages. When printing select "Actual Size" in Print setup. A 10cm x 10cm square is included within the file (page4). Measure this to check the file is printing to accurate measurements
All pages are numbered and have a "map" to show the full plan of the file, on page 17.
All pages have an overlap of approximately 2cm, and a dashed line boarder. This will enable you to accurately match each page.
THE A4 VERSION CAN BE PRINTED ON US LETTER. Do not change the scale, and where possible print centrally on the paper selecting boarder less printing. The overlap will be smaller but the overlap lines will appear in the page.
The A0 file is made up of 6 pages
The download will be sent via email, the link will expire 24hours after you first click to open it.
Strictly no refunds.
Included:
A4 tiled PDF 102 pages
A0 tiled PDF 6 pages
Instruction booklet
You will also need: Based on size22
375cm of fabric - based on a width of 140cm
240cm of lining - based on a width of 140cm
4 Buttons- 3 Front and a smaller one for the Back Vent is optional
350cm of fusible based on a width of 90cm
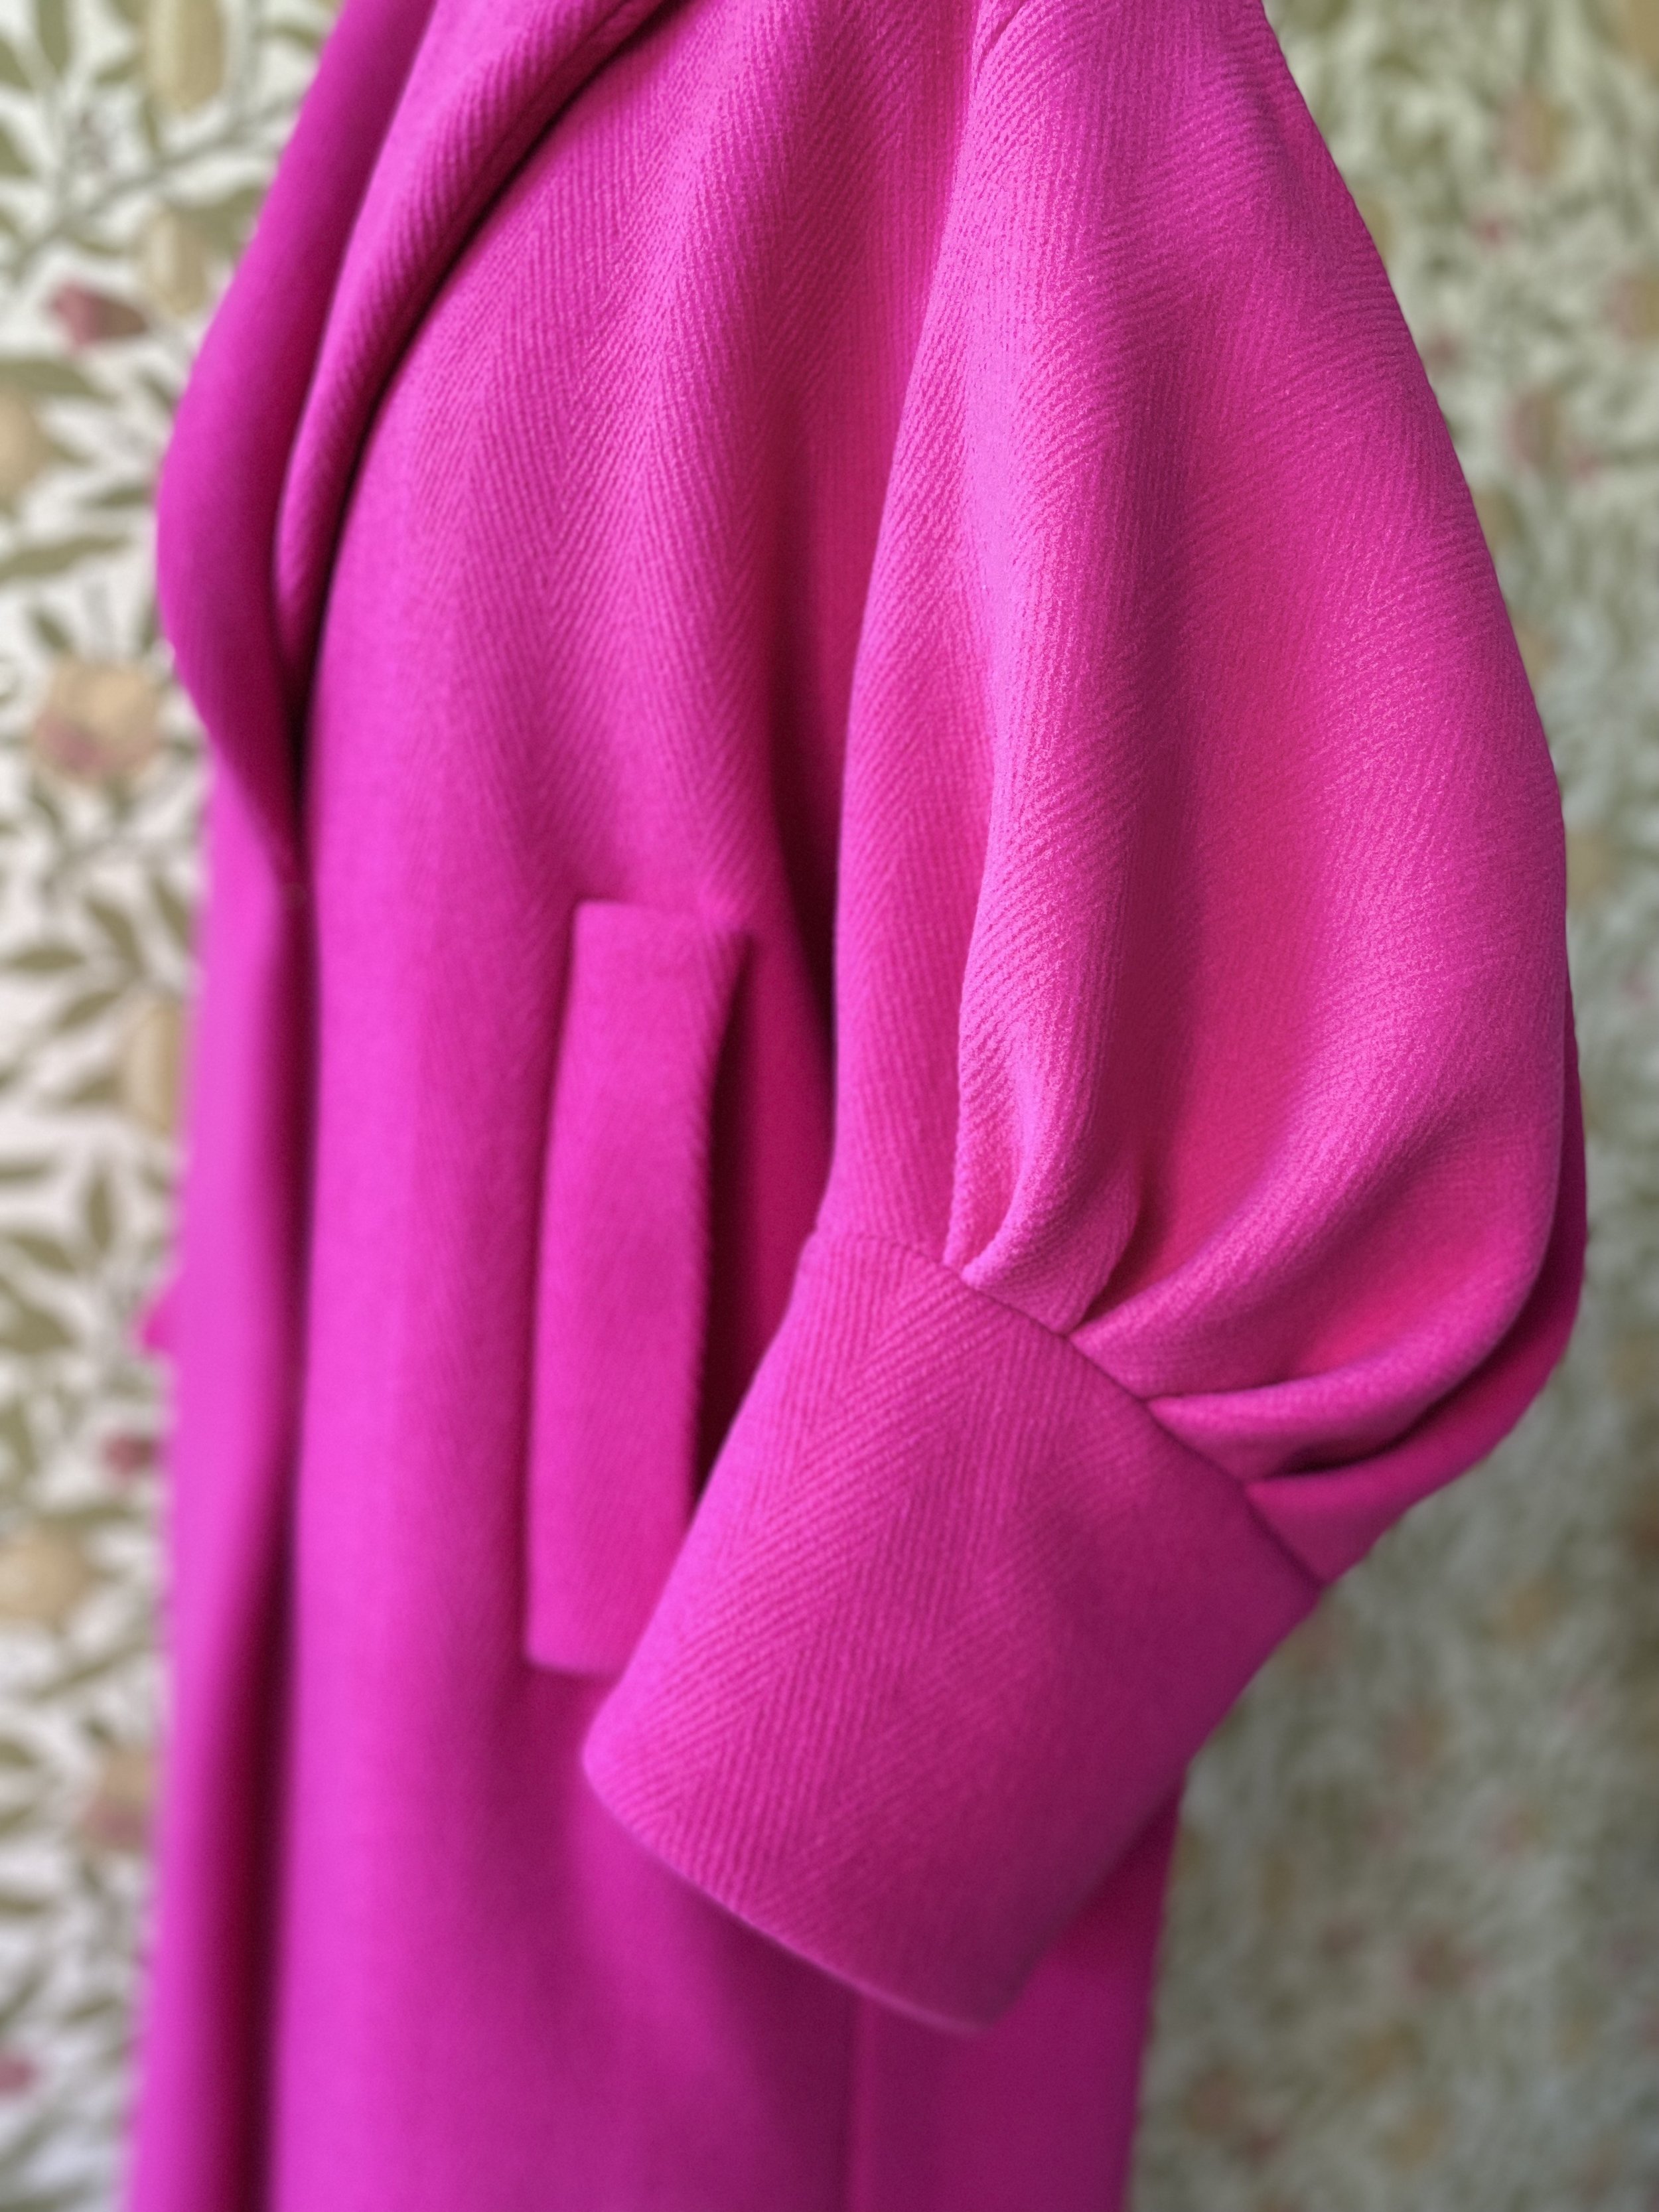
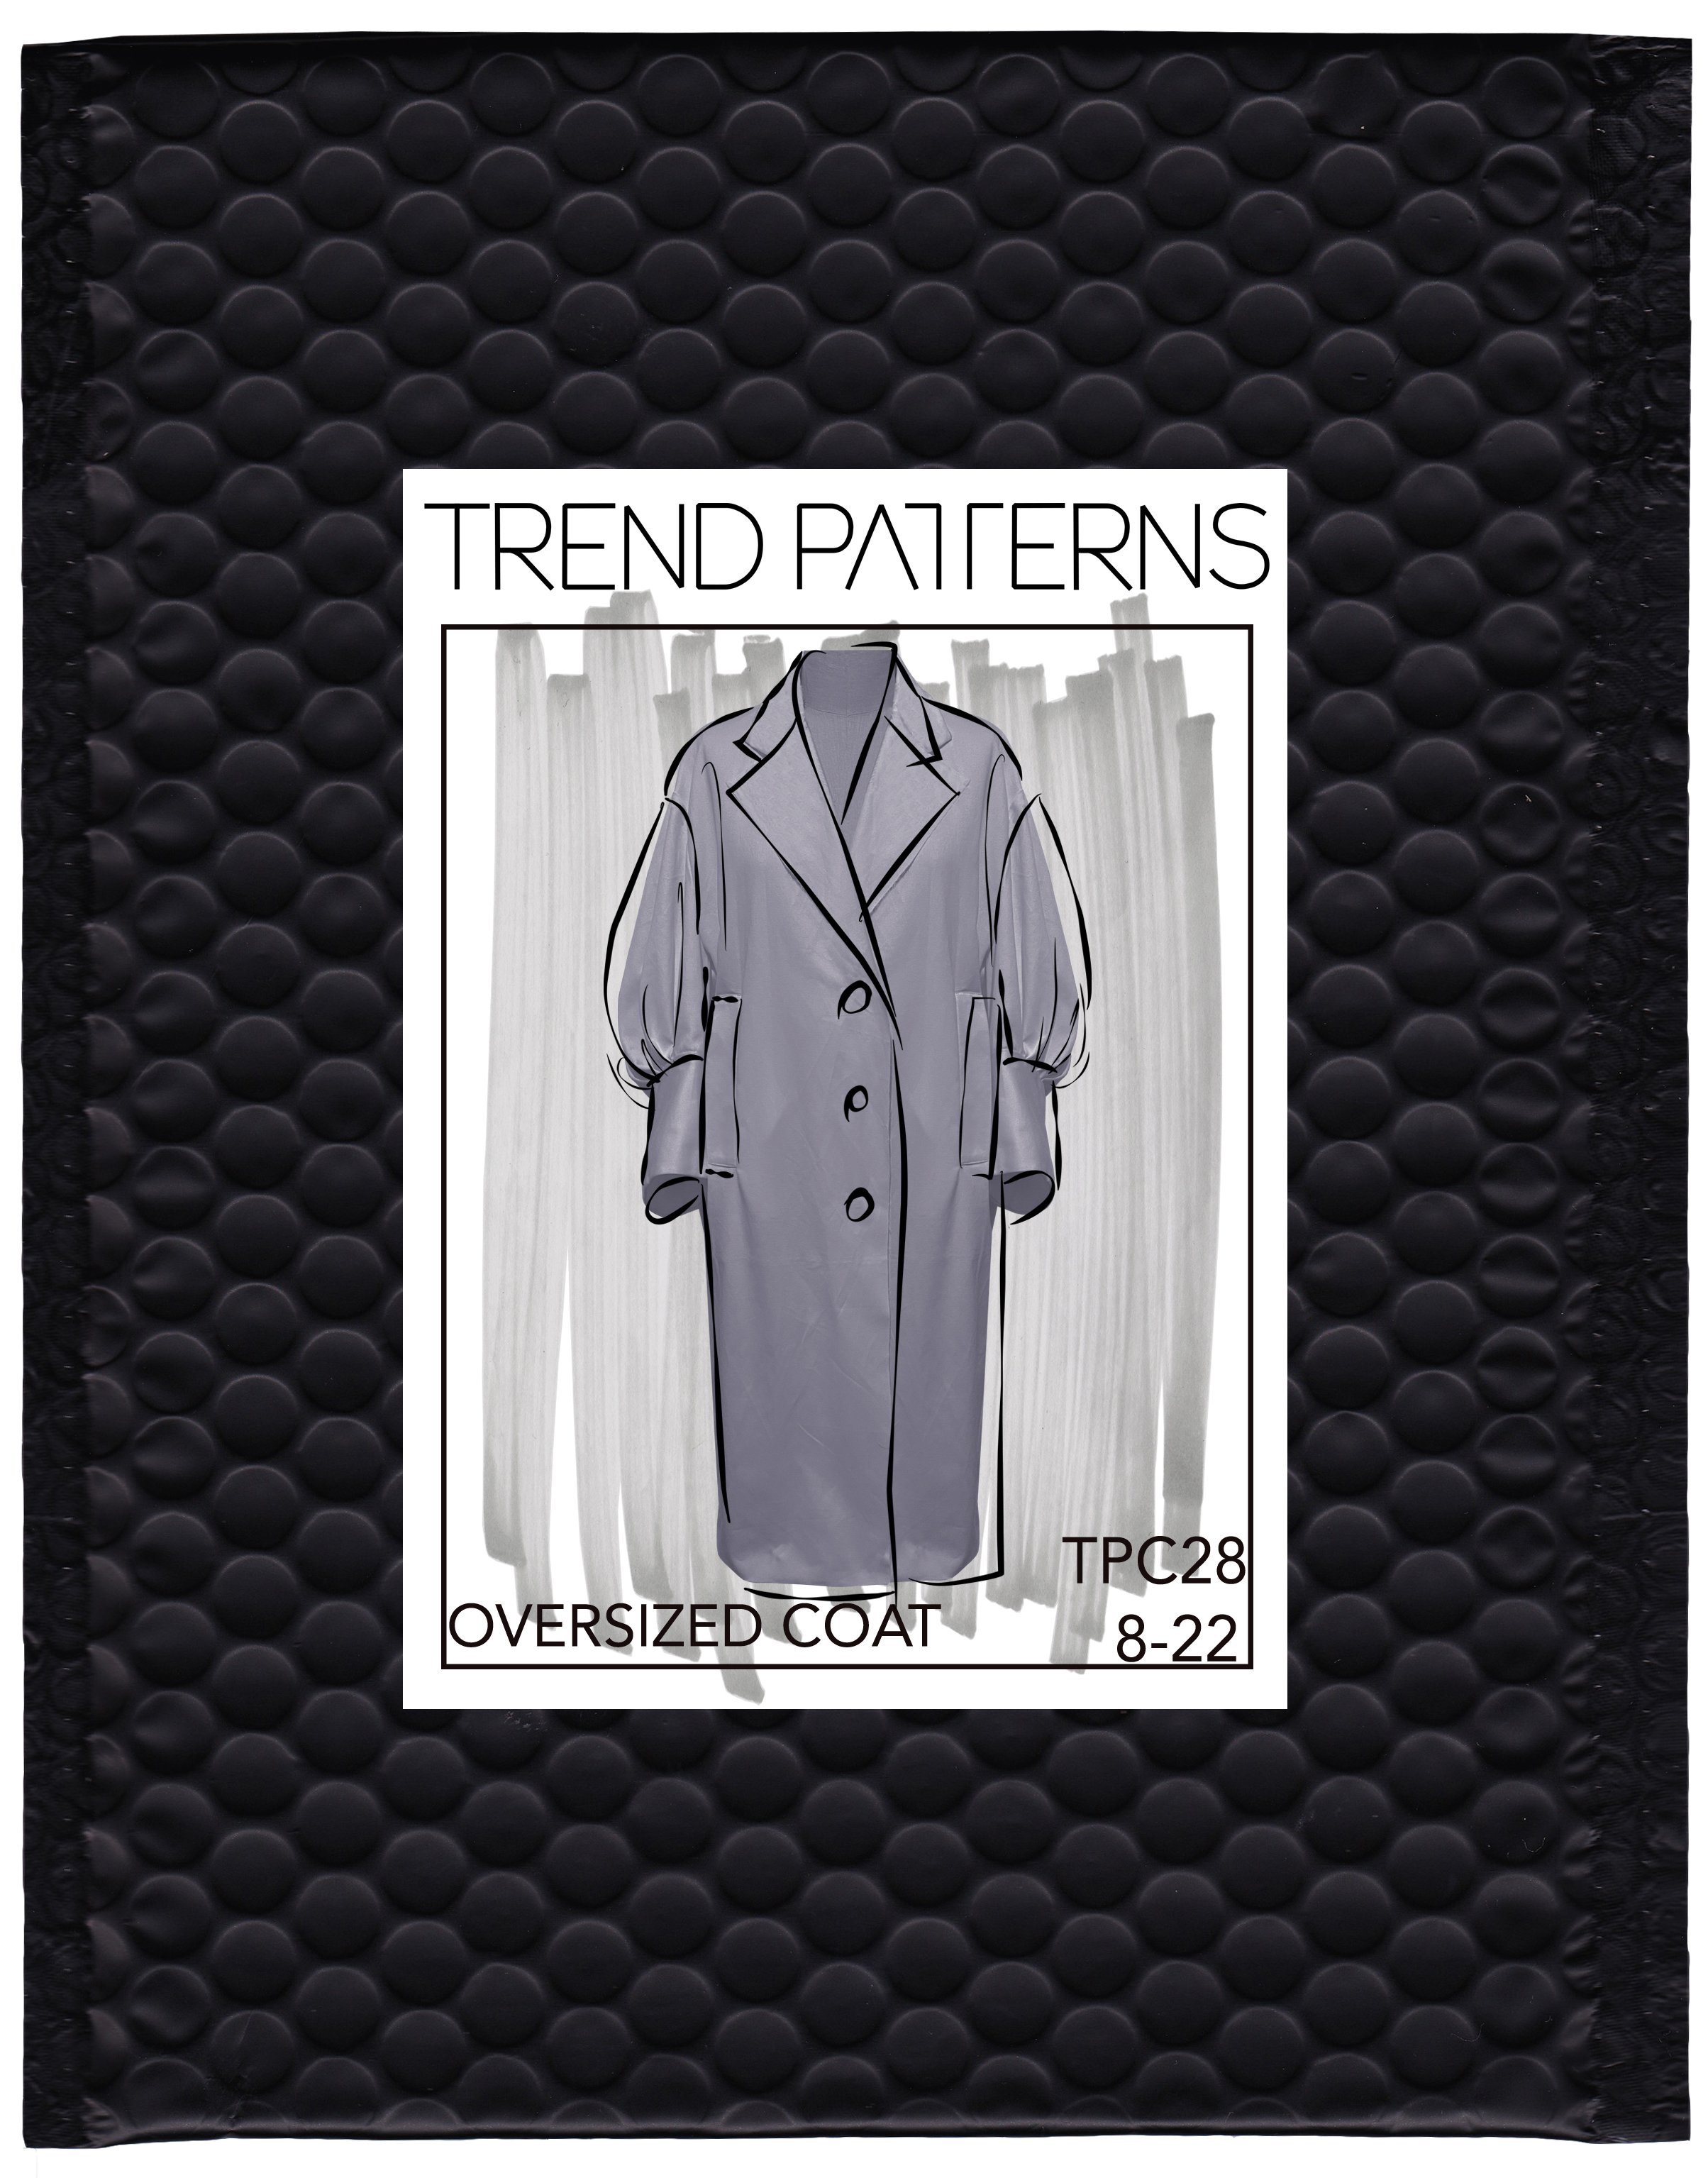
The Oversized Coat’s focal feature is the beautifully shaped, puffed, bracelet length Sleeve with a deep Cuff. The overall silhouette of the coat is wide and boxy with a dropped shoulder. And it’s fully lined.
The booklet accompanying this pattern includes step by step make instructions with detailed illustrations. Lay plans to help you cut the pattern out and a selection of fabric widths by pattern size.
There are finished garment measurements inside the booklet in centimetres and inches to help you decide which size to make. We think the Coat is true to size, but you may want to alter the length.
The desired Fabric weight is Medium to Heavy weight, but don’t choose anything too thick, the layers on the sleeve tucks become too thick.
The pattern includes a lining.
Difficulty
This pattern as Moderate to Difficult. TheOversized Coat has a lot of hand sewing to complete the overall construction and attaching the lining can be tricky for some with less experience in sewing. We would not recommend making this coat without a lining. Follow the booklet and get in touch whenever you need help!
TPC28//OVERSIZED COAT
The latest pattern in the Trend Patterns range, is the ultimate winter coat. The design is closely based on a Prada coat from their AW21 collection.
Included:
Printed patter in size 8-22
Instruction booklet
You will also need: Based on size22
375cm of fabric - based on a width of 140cm
240cm of lining - based on a width of 140cm
4 Buttons- 3 Front and a smaller one for the Back Vent is optional
350cm of fusible based on a width of 90cm
The Oversized Coat’s focal feature is the beautifully shaped, puffed, bracelet length Sleeve with a deep Cuff. The overall silhouette of the coat is wide and boxy with a dropped shoulder. And it’s fully lined.
The booklet accompanying this pattern includes step by step make instructions with detailed illustrations. Lay plans to help you cut the pattern out and a selection of fabric widths by pattern size.
There are finished garment measurements inside the booklet in centimetres and inches to help you decide which size to make. We think the Coat is true to size, but you may want to alter the length.
The desired Fabric weight is Medium to Heavy weight, but don’t choose anything too thick, the layers on the sleeve tucks become too thick.
The pattern includes a lining.
Difficulty
This pattern as Moderate to Difficult. TheOversized Coat has a lot of hand sewing to complete the overall construction and attaching the lining can be tricky for some with less experience in sewing. We would not recommend making this coat without a lining. Follow the booklet and get in touch whenever you need help!